Swirly Scribbles See-Through Window Shaker Card

Anna’ Stampin’ Cave – Simply Sketched Saturday Challenge – Swirly Scribbles See-Through Shaker Card
SSSC Header

Thank you for joining us for another Simply Sketched Saturday Challenge!  We’re so excited to be sharing this hop with you. The products used are all available in the current Annual, or seasonal, Stampin’ Up!®  Catalogues*. Simply use the buttons at the bottom of the post to keep hopping!

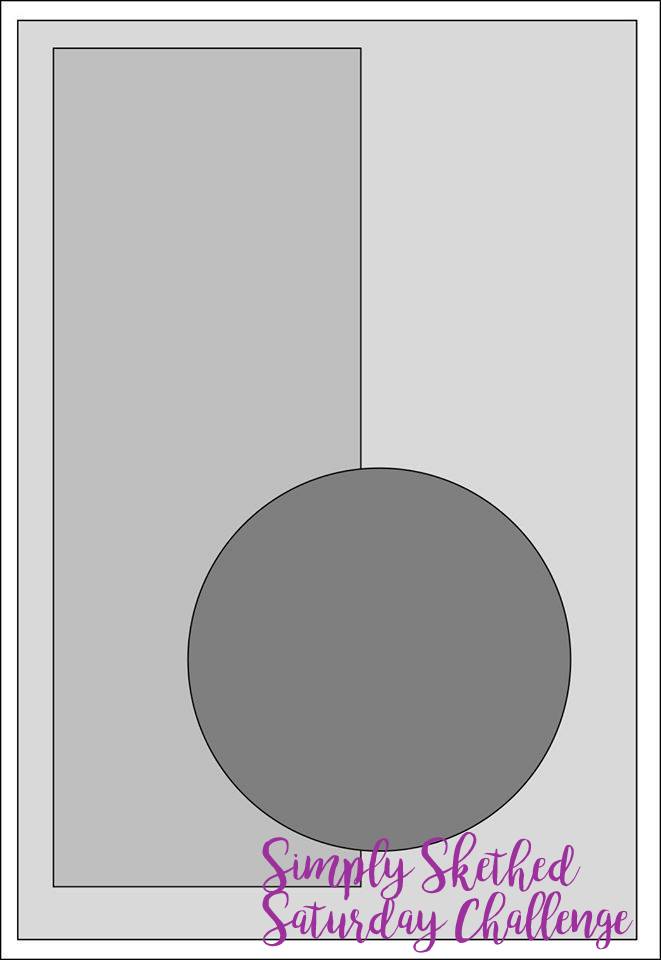
The sketch we’re working today with was designed by talented Keren Howell.
SSSC 11

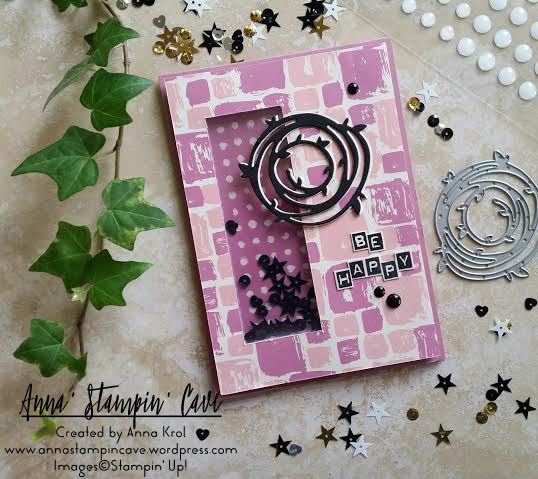
I really like this sketch. And funny how many cards I created recently could fit this sketch perfectly. But today I wanted to make something slightly different: a see-through window shaker card.
Swirly Ccribbles See-Through Window Shaker Card

Don’t you just love Playful Palette Designer Series Paper Stack?! 48 sheets of such fun designs! I couldn’t decide which one to choose. But because I wanted to use Sweet Sugarplum cardstock for my base, these fun, wonky squares were perfect.

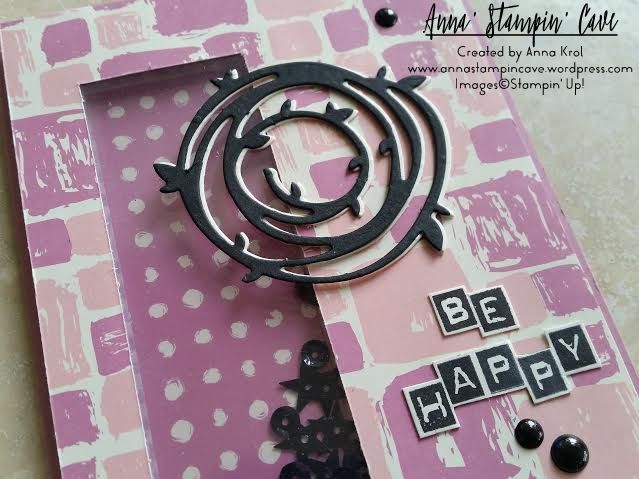
I cut out the window in my base first. Next, I traced the “window” on my DSP and cut it out too. Save that piece as you will need it later. I’ve used our new Foam Adhesive Strips to create the shaker. I added them around the window on the base and adhered a piece of acetate. I’ve used more foam strips around the base to adhere my piece of DSP. To finish my shaker window, I added black sequins and adhered another piece of acetate on the inside of the card.
Swirly Ccribbles See-Through Window Shaker Card 2

For the inside, I’ve used a Very Vanilla panel and a piece of DSP that I cut out when creating the window. But this time I’ve used the reverse side of that DSP. The placing is the key, so when the card is closed, you can see that piece through the window. The sentiment “It’s Your Day” was stamped in Basic Black Archival Ink, using Labeler Alphabet Stamp Set (which I truly love). And yes, I stamped it wonky on purpose 😉
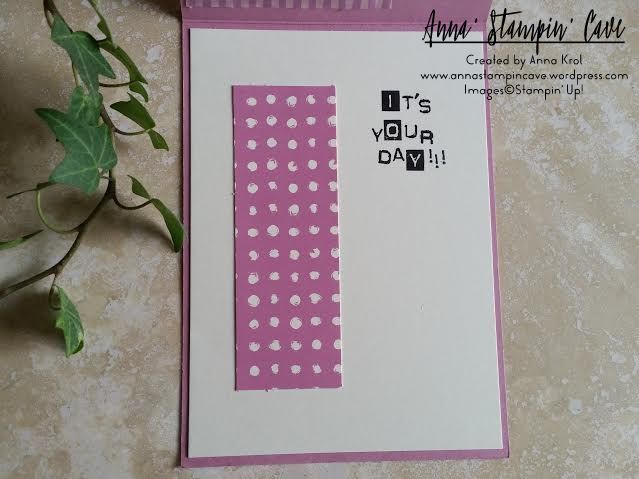
Swirly Ccribbles See-Through Window Shaker Card inside

When the shaker bit and the inside of the card were done I could concentrate on the front. I die-cut two wreaths using Swirly Scribbles Thinlits Dies. One in Basic Black, and one in Very Vanilla. I glued them together slightly off-setting, so the Very Vanilla is peeking from underneath. I adhered it to the base with Multipurpose Liquid Glue. My sentiment, again, was stamped using Labeler Alphabet Stamp Set. I stamped it on a piece of Very Vanilla, and hand-cut it leaving a little border around the letters. Adhered it with liquid glue.
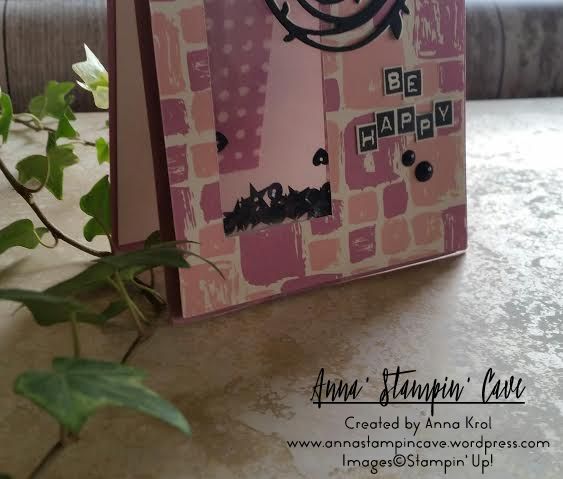
For embellishments, I’ve used White Perfect Accents, which I coloured black using a permanent marker. And that finish off my card.

Do you like my project?! If so please leave me a comment. I would love to hear from you!

Now, be sure to hop along and see more inspiring projects. Your next stop is Helen’s blog  go and see what she has made for you.

Thank you for stopping by and have a blessed day,


SSSC Previous   SSSC Next Blog

Watercolour Wash With Summer Silhouettes Stamp Set

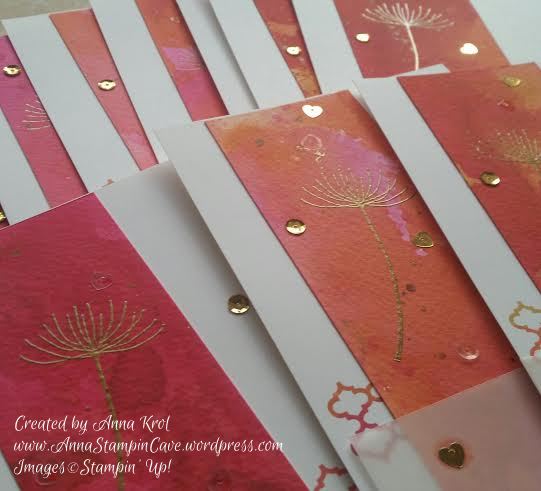
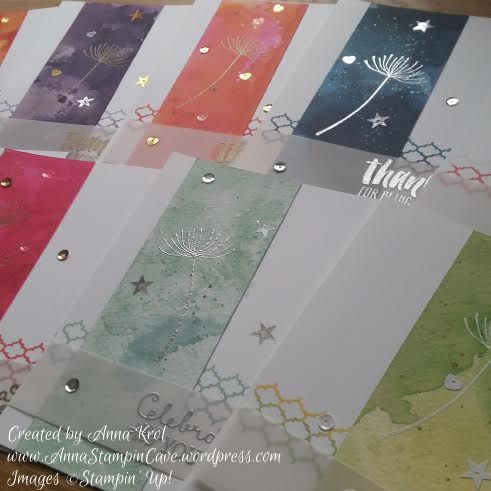
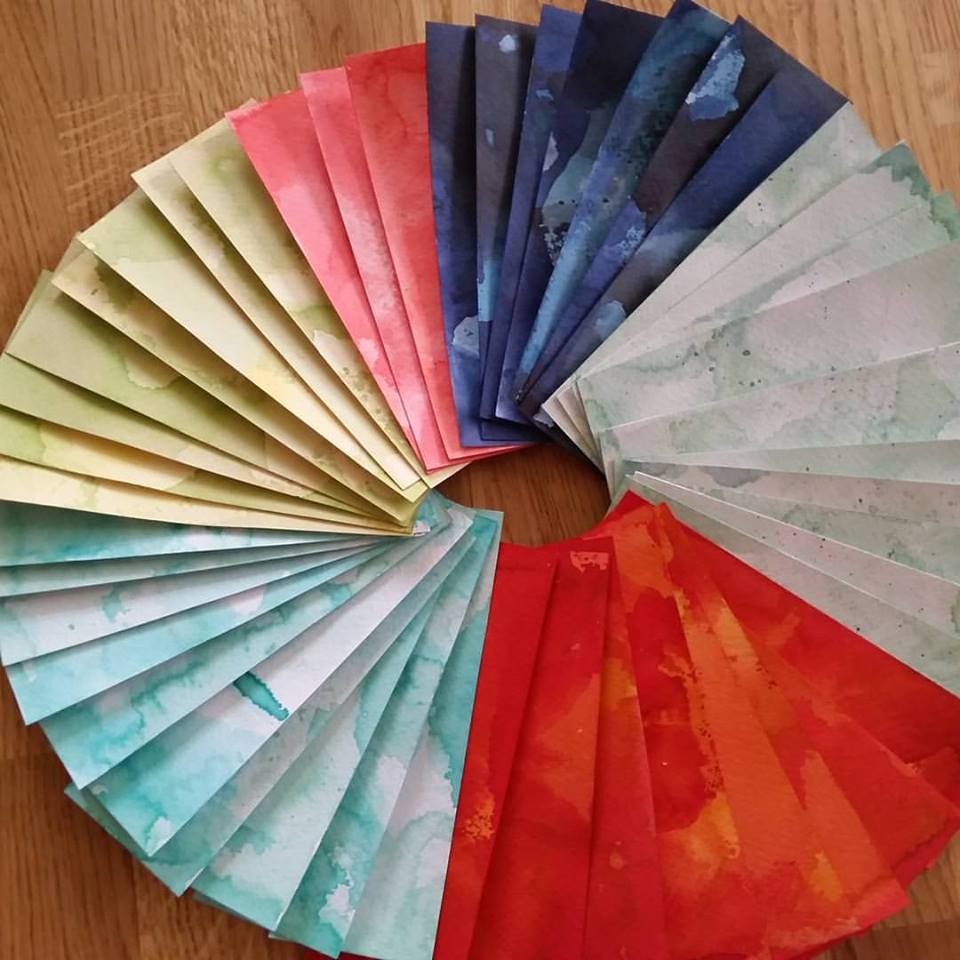
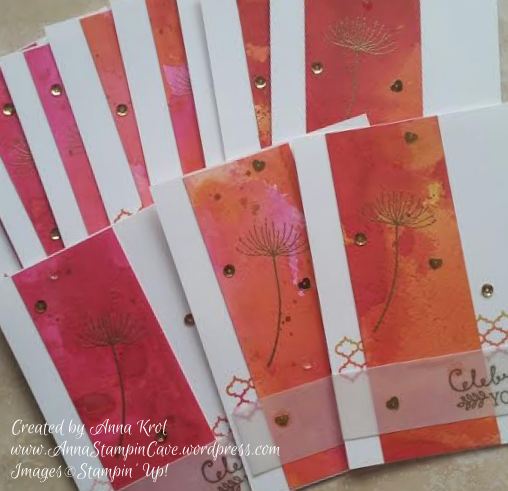
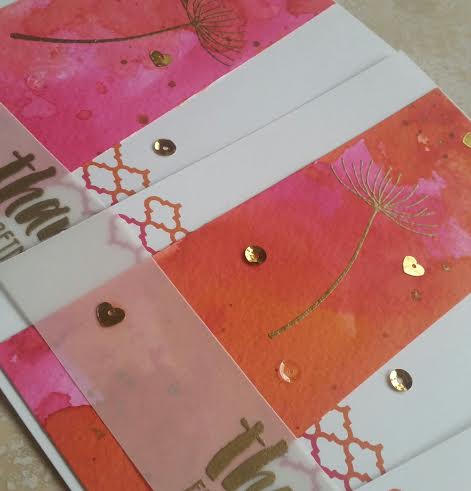
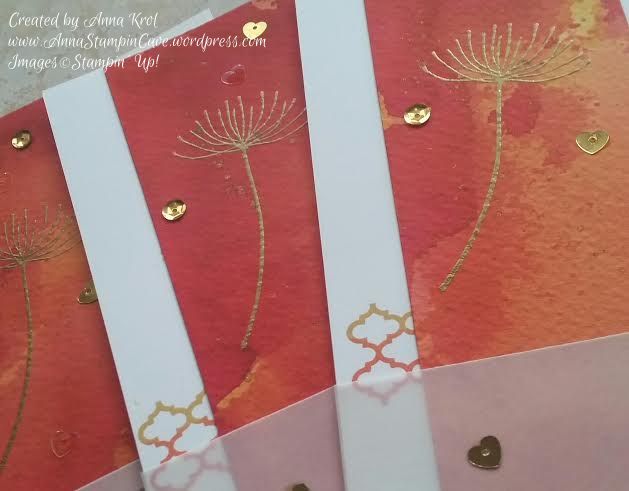
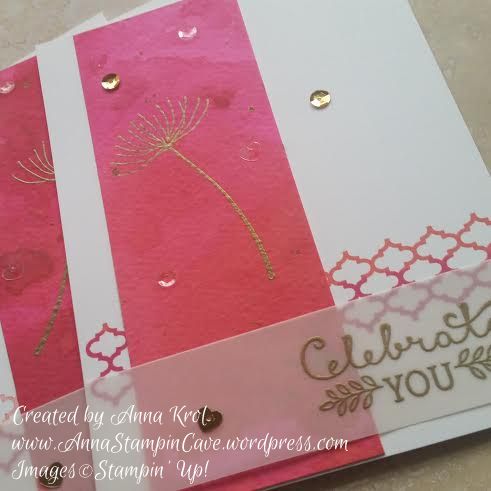
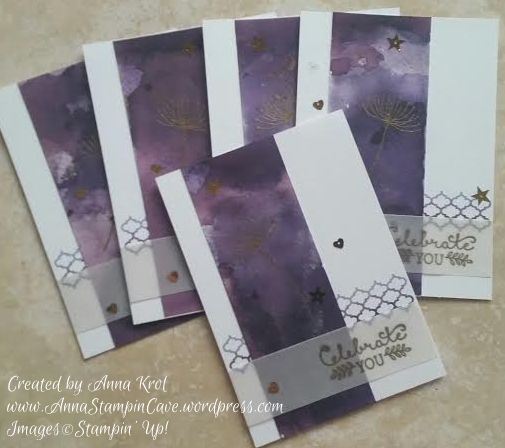
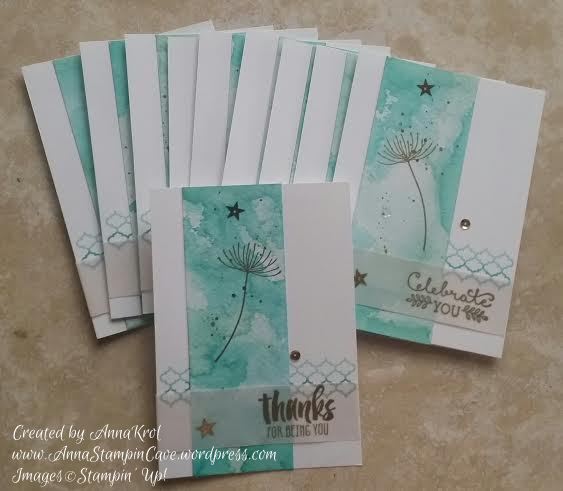
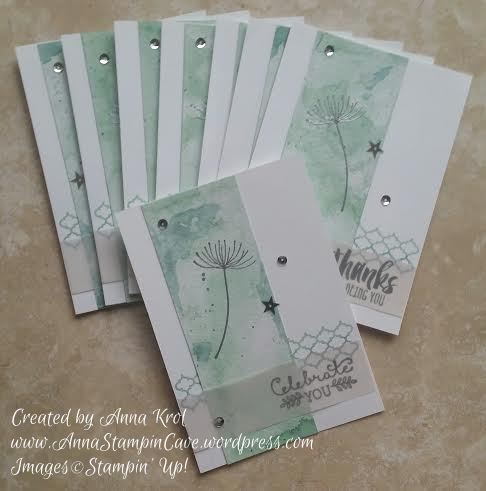
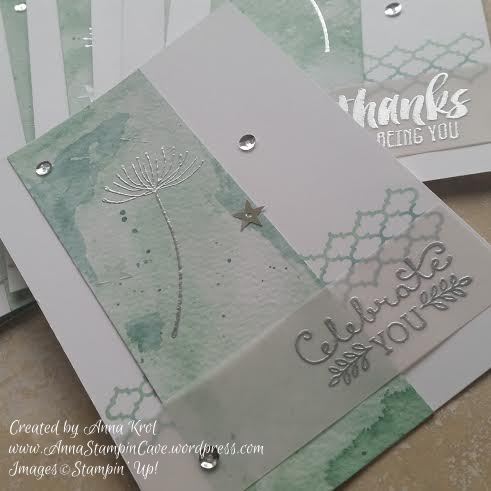
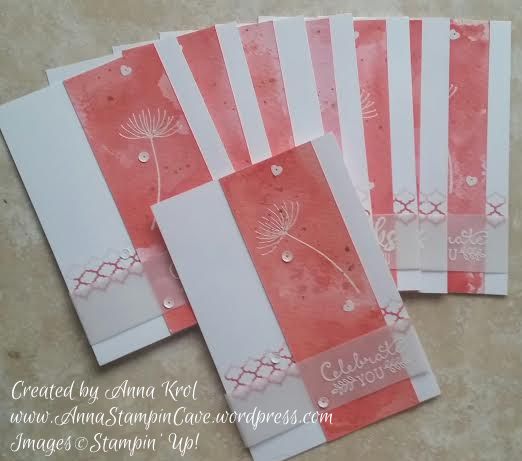
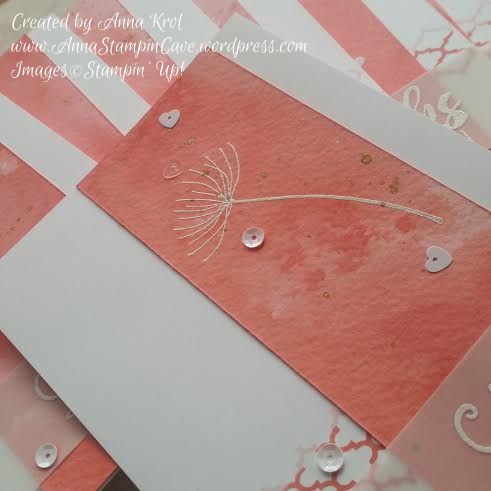
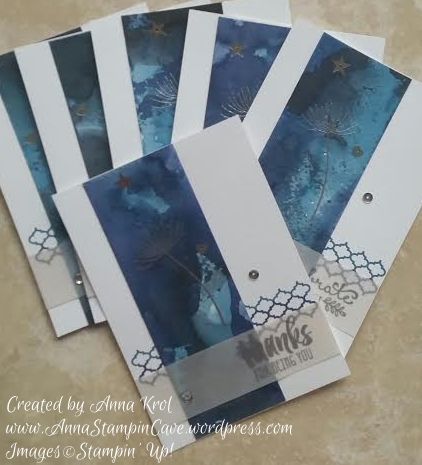
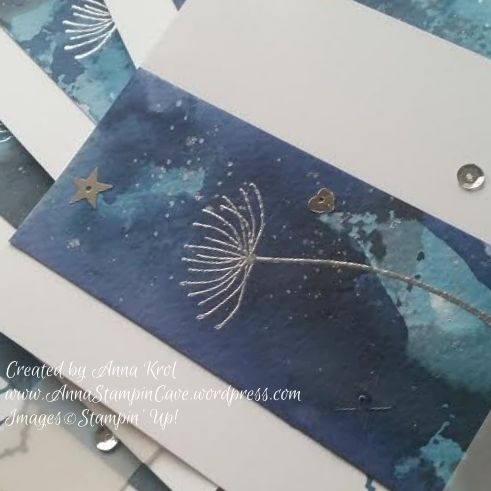
Today I wanted to show you a watercolour wash technique, using Summer Silhouettes Stamp Set from Stampin’ Up! These were SWAPS I created for fellow stampers.

swaps 5

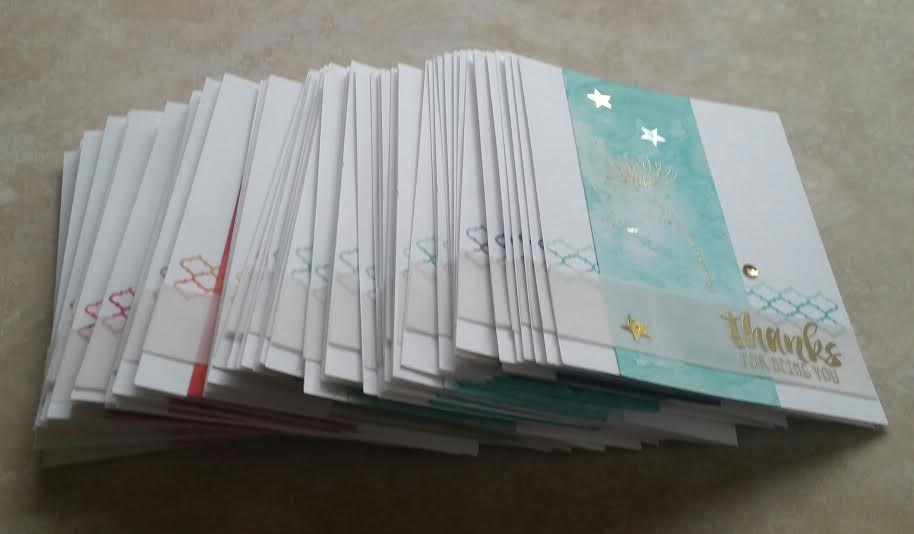
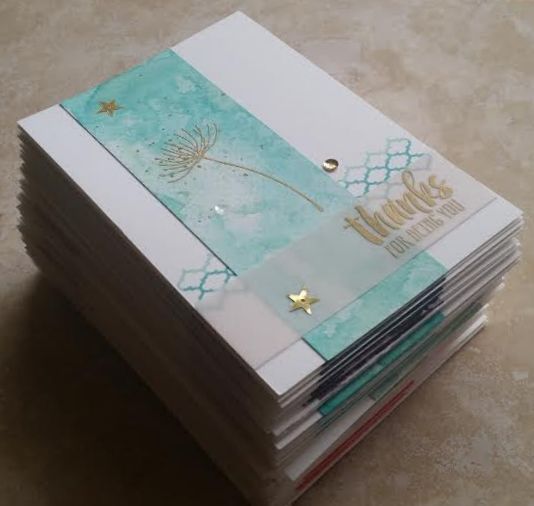
Stampers love to swap! Swapping lets us share our creativity, enjoy the creativity of other stampers, and gather and collect ideas. A swap is usually a card front (unless someone would like to do something extra). It can spotlight a particular technique or stamp set and can be as simple or as complex as you wish. For my swaps, I decided to highlight one of my favourite techniques – watercolour wash.

I had so much fun creating my watercolour panels! At the end of the day my hands were just as colourful hahaha, but it was an easy part.

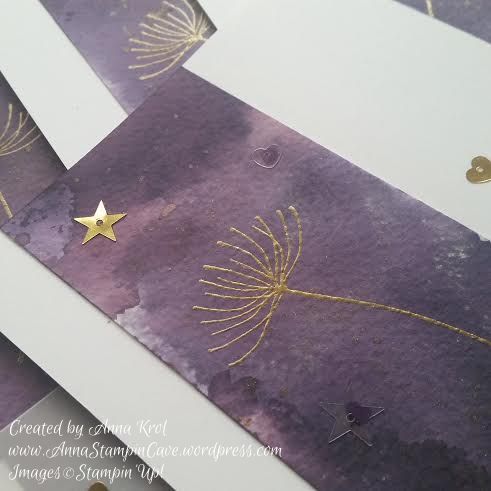
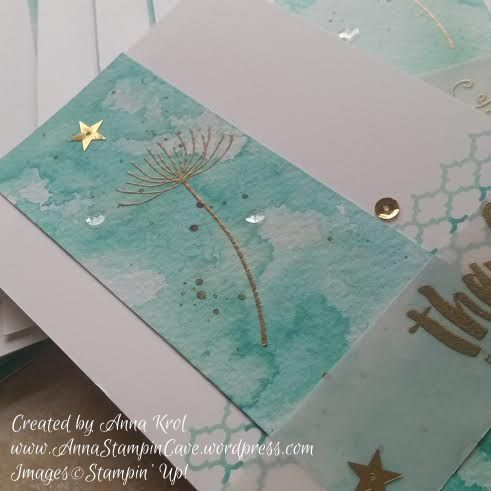
Next step was really time-consuming: heat embossing and lots and glueing lots of sequins.

After ombre stamping 58 card fronts, heat embossing 58 watercolour panels and 58 strips of vellum, and adding over 350 sequins (!!!) my swaps were finished!

I really hope these swaps will bring some inspiration – not only to those who swapped with me but to you also.

Thank you for stopping by and have a blessed day,

Watercolor Wings, Cotton Paper, Same Design And Two Different Cards

Hello everyone! Today I wanted to share with you couple of cards I created a few weeks back. In August we had two birthdays in close family: my niece had her 15th birthday, and my little sister was celebrating her round 20 🙂

For both cards, I’ve used the same layout, but by simply changing focal point and embellishments I created two cards that looked completely different 🙂

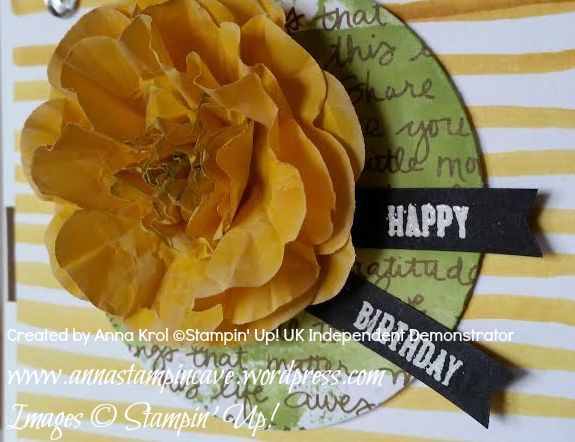
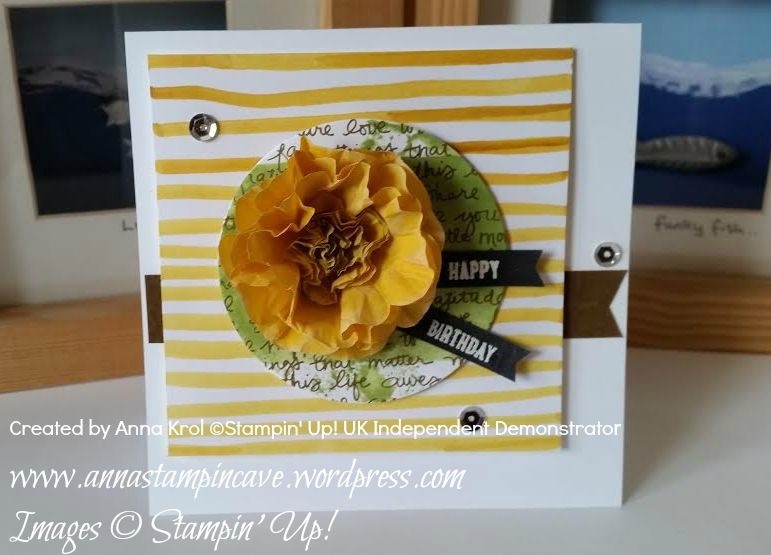
The first card I’ve made for my niece and I was dying to use our new Cotton Paper. With Floral Frames framelits, Pansy Punch and Petite Petals Punch I created this amazing 3D flower.

cotton paper 5

I’ve sponged edges of petals with Whisper White Craft ink and close to center slightly in Wild Wasabi. The sentiment comes from Sprinkles Of Life; stamped in Versamark and heat embossed in white on a piece of Basic Black.

cotton paper flower

The base for a card is 4×4″. The first layer is 3×3″ and I created this patterned paper myself. I simply used Stampin’ Write Marker in Crushed Curry and hand-drawn horizontal lines – cool, isn’t it? The second layer is a circle cut out from a piece of Neutrals DSP Stack (Soft Suede) with Wild Wasabi watercolour “wash”. For more interest, I added a banner underneath my layers and few sequins.

Watercolor wings

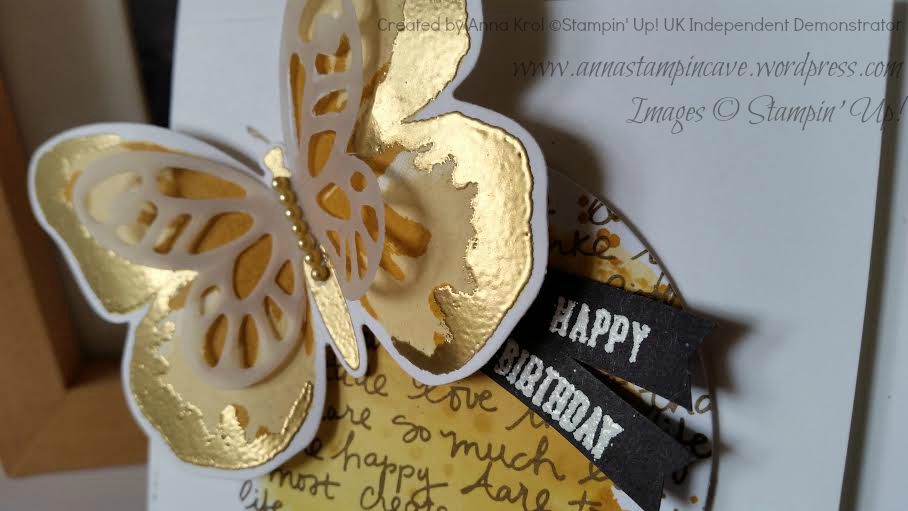
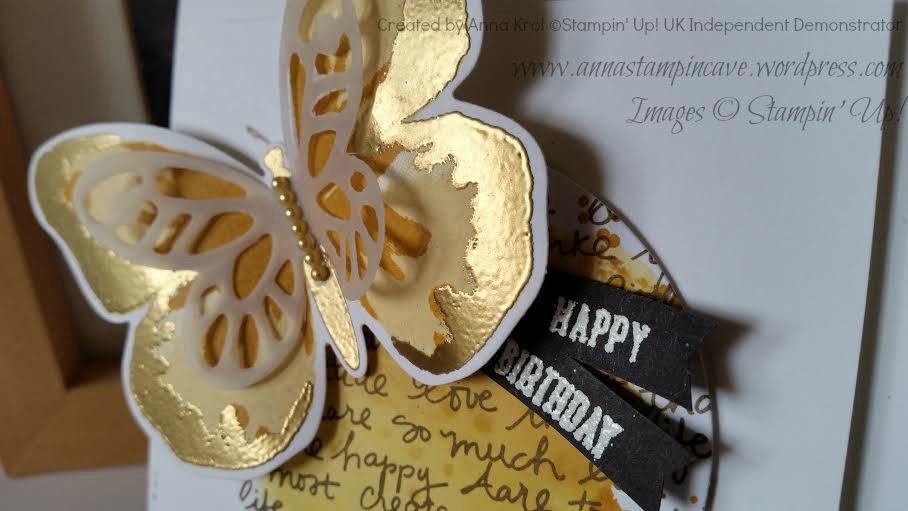
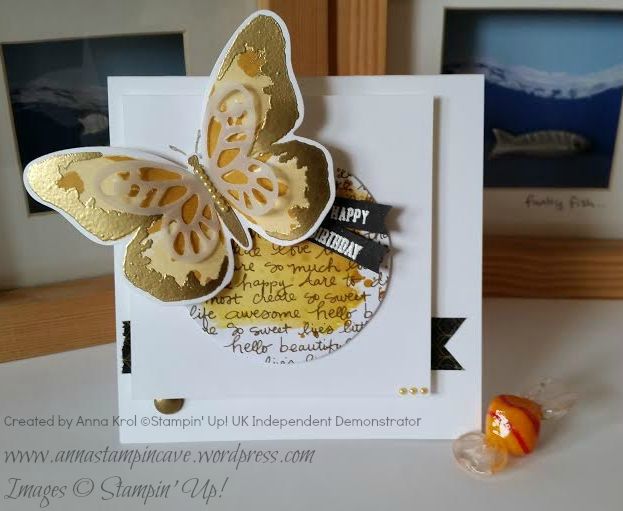
The second card I’ve made for my sister’s birthday. As I mentioned it’s the same design. The only difference is that I kept 2nd layer clean and for the circle, I used So Saffron, Hello Honey and Delightful Dijon “wash”. Same colours I’ve used for this gorgeous butterfly from Watercolor Wings.

Watercolors wings 4

The edges of wings and the body of butterfly I heat embossed in gold. On top, I added small vellum butterfly. Tiny yellow pearls, as well as a piece of black/gold washi tape, comes from my stash. Can you see little gold “bauble” peeking from underneath white layer? It’s one of White Perfect Accents, heat embossed in gold.

So what do you think about my cards? My niece and sister loved them to bits, so I really hope you like them too.

Thank you for stopping by and have a blessed day,