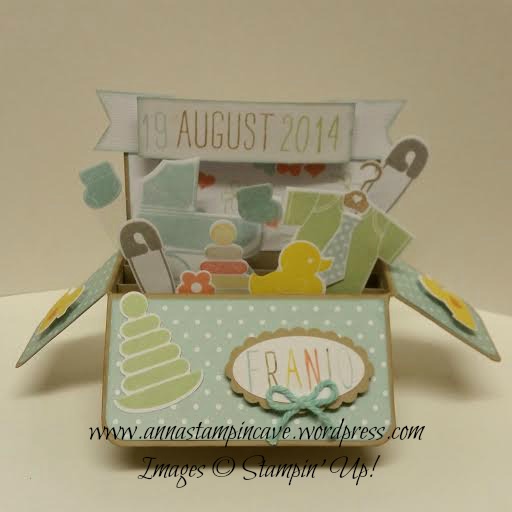
OMG! It has been ages since my last post and honestly, I’ve missed you all terribly! On a sad note, it seems like my hands and legs are giving up and MS taking it’s toll slowly. On a positive note though I’m not giving up just yet! In a past week I’ve managed to make some fun projects, but today I want to share with you a card in a box I’ve made while back for our new family addition: my husband’s nephew Franio. He’s our little star and true miracle but it’s a long story I won’t share on here. And even though he came to this world in August I just recently seen Franio’s mummy and daddy to give them this special card.
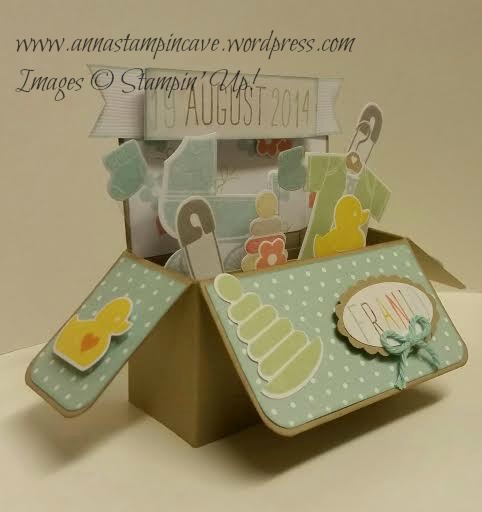
Dimensions: card base is made with a piece of cardstock that measures 11-1/2 x 4-1/8 inches ( half of A4). Here I’ve used Crumb Cake but you can use any colour really. Score the base at 3-7/8, 5-1/2, 9-3/8 & 11″ on the long side. Then score at 2-1/8 on a short side. You will also need two extra pieces of cardstock for the inserts. Each piece should measure 4-7/8 x 3/4″ and need to be scored at 1/2″ on each side.
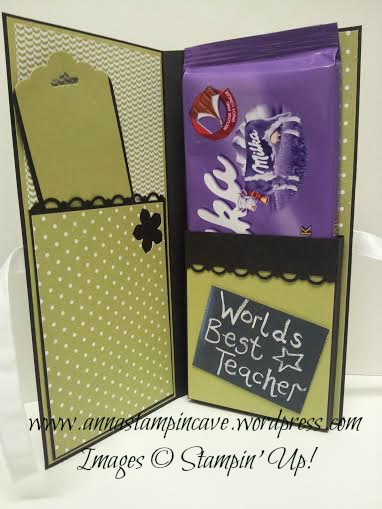
Dotted DSP I’ve used is from Subtles DSP pack which is amazing! 40 sheets high quality 12×12″ double-sided designs in 10 colours for 19.50! Bargain! But let us get back to the project. DSP goes only on front and side panels. on the back panel and reverse (not on the pictures) I’ve used pieces of Whisper White stamped randomly using hearts, flowers and safety pins from Something For A Baby set. All DSP panels and base of the card has been sponged either with Crumb Cake or Pool Party ink pads. And now the fun part! I took all of the stamps (except for a bib) from Something For A Baby stamp set and assigned ( wow sounds too serious 😉 ) the colours for each one – just to avoid a mess later on. The colours I’ve used are as follows: Crisp Cantaloupe, Crumb Cake, Pool Party, Smoky Slate, Daffodil Delight and Pistachio Pudding. But hey, if you spot different colour please let me know as I may forget all of the colours used by now.
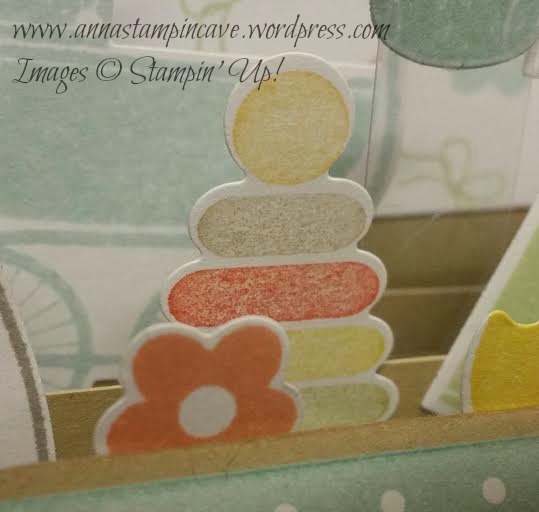
Every shape has been stamped and then cut out using coordinating Baby’s First Framelits Dies. It’s so much easier than fussy cut everything. But you’re probably wondering how I’ve made the stack of rings. I’ve simply coloured each ring in a different colour using Stampin’ Markers and then stamped on the piece of whisper white, just like the other shapes. Same technique with Stampin’ Markers I’ve used for the name using Stampin’ Up and Project Life stamp set Day to Day and Stamp-a-ma-jig to line up letters perfectly. The banner is made with the same stamp set. I’ve used a piece of white core’dination paper from American Crafts just to add some extra dimension.
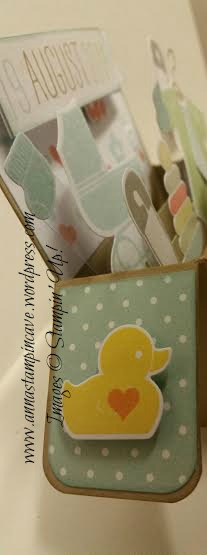
And now the easiest part: put the card together. All cut out pieces are assembled using either glue dots or dimensionals. For the socks and one of the safety pins I’ve used tiny straps of window sheet so the can keep “floating”. And that’s it! The card is finished. Oh, I forgot about little bow made with thick bakers twine!
If you like this project please leave a comment below. Thank you all so much for stopping by. Happy crafting,