Shadowhunters Fangirl Birthday Card using Stampin’ Up! Products

Sharing something a little different with you today. I’m so happy I finally had some spare time to post this awesome card (if I do say so myself).

My (not so little anymore) girl had her 16th birthday last Sunday. And because she’s a big fan of Cassandra Clare’s Shadowhunters book series, I really wanted to create something in that theme for her.
4

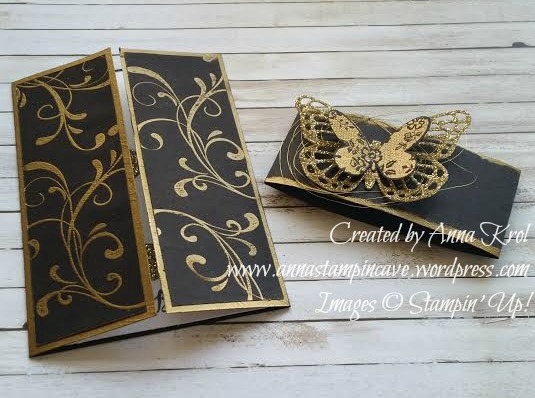
Obviously, I don’t own any matching stamp sets so I had to improvise. I’ve used pretty few current stamp sets to create my card. First I choose black & gold colour combo – I think it fits the theme perfectly. It’s a gate-fold card, with base in Basic Black. I “brushed” Versamark around the edges, added gold embossing powder and heat set it. I didn’t go for perfection – it was meant to be a bit edgy, rough. Next, I cut two panels to go on the front. Using Versamark again, I stamped flourishes from Everything Eleanor stamp set, and heat embossed it in gold. As before, I didn’t pay attention to detail on purpose – the edgier the better.
3

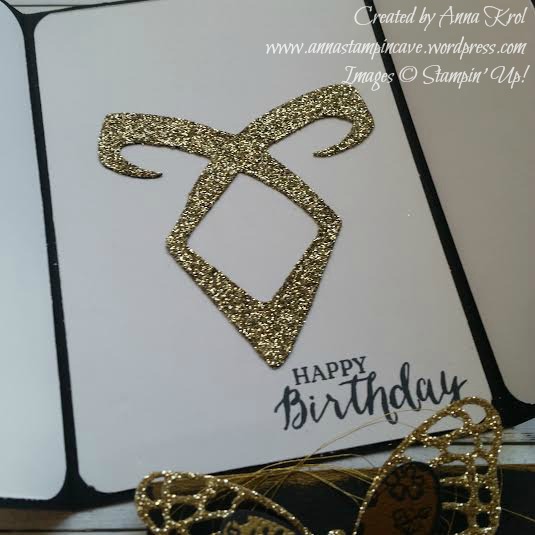
Inside of the card is pretty simple. I’ve found Angelic Rune symbol online, printed it on copy paper and then traced it on a piece of basic black. I hand-cut it and heat embossed it with Iridescent Ice embossing folder first. But I didn’t like how this turned out and decided to add more sparkle to it. I dabbed Versamark on top of my symbol and added  Heat & Stick powder. I melt the powder with Heat Tool, covered it with gold glitter and heat set my piece again. I love how this turned out. Sentiment comes from Rose Wonder stamp set.
1

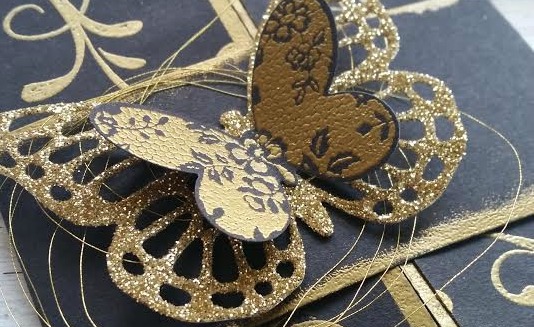
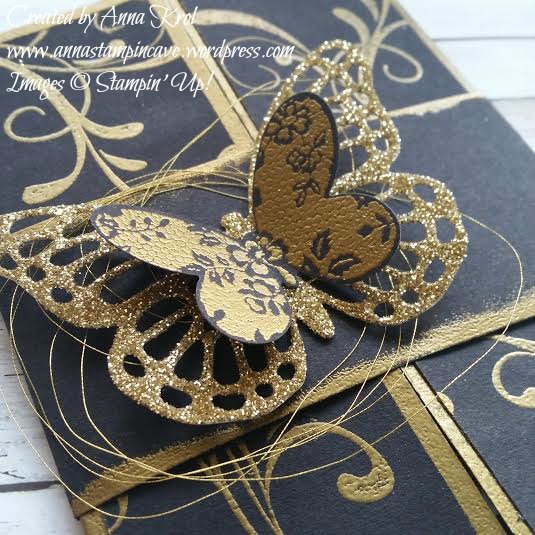
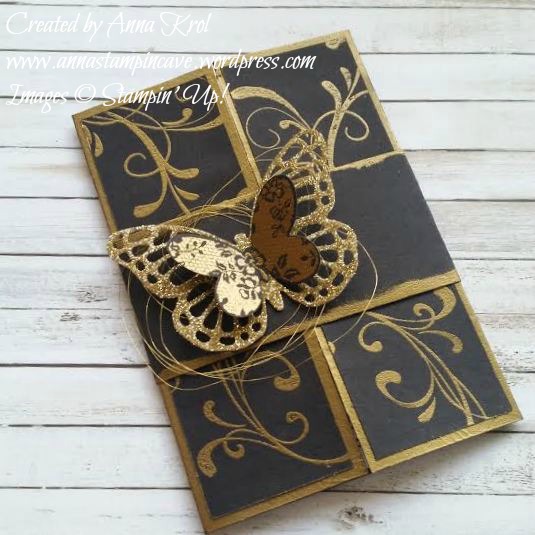
To close my card I created a belly-band. Same as with a card front I added that rough gold edge. I stamped small butterfly from Butterfly Basics, heat embossed it in gold and die-cut it. I also die-cut the more intricate butterfly from gold glimmer paper. I adhered them together, added some gold Metallic Thread underneath and attached it to my belly-band.
2

And that’s it. That’s my Shadowhunters birthday card. Do you like it? I have to say that my daughter truly loved it. And the moment she opened the card and saw the Angelic Rune symbol – well, that was priceless to see how her eyes light up. Mission completed!

Thank you for stopping by and have a great day,

Simply Sketched Saturday Challenge Blog Hop #5 – Valentine’s Day Gift Box

SSSC Header

Thank you for joining us for another Simply Sketched Saturday Challenge!  We’re so excited to be sharing this hop with you. The products used are all available in the current Annual, or seasonal, Stampin’ Up!®  Catalogues*. Simply use the buttons at the bottom of the post to keep hopping!

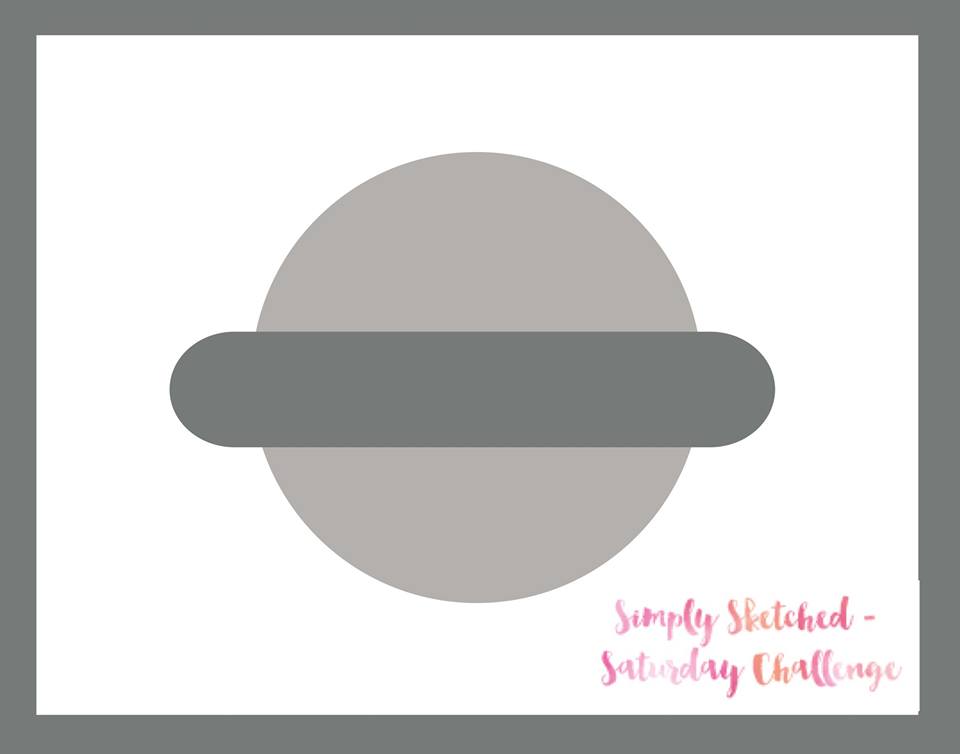
Wow! It’s been long since we’ve played with our challenge last time. Did you missed us?! But we’re back with a new sketch and lots of fabby projects to bring you endless ideas and inspirations. So welcome to our 5th sketch challenge! And today’s sketch has been created for us by lovely Cat.

January 16

I love this sketch! And the moment I saw it I had this idea popped into my head. It’s a little bit out of my comfort zone because I don’t do boxes usually. But I was just dying to make my idea into a project. So here it is:

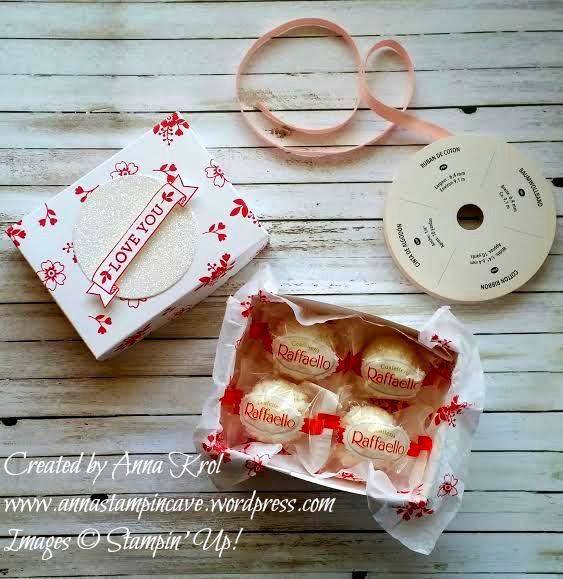
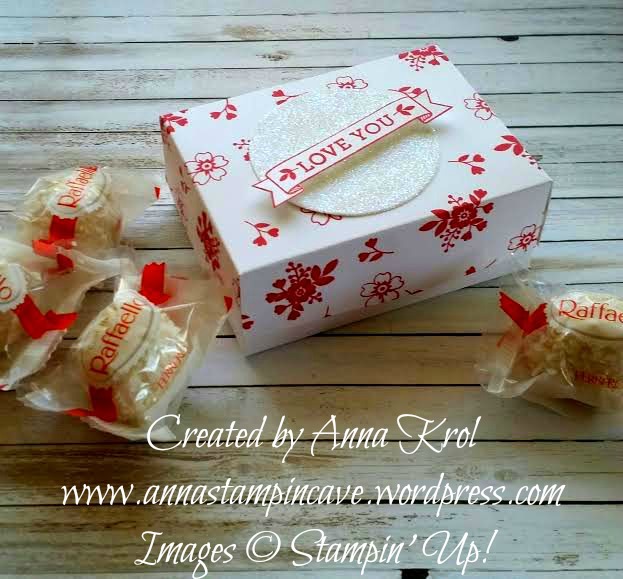
Isn’t it cute?! This box measures 4 x 3″ and make perfect “home” for Raffaello chocolates

To create my box I took 2 pieces of whisper white that measured: for the lid 7 x 6″ (I trimmed it later slightly) and for the base 6-7/8 x 5-7/8″. I stamped the top piece randomly using a Real Red ink pad and flowery stamps from Bloomin’ Love stamp set. When it was done I scored both pieces at 1-1/2″ on each side. After I assembled the base I’ve decided I want my lid to be slightly shorter than the base so I trimmed it 1/2″ on each side.

stamping on tissue paper

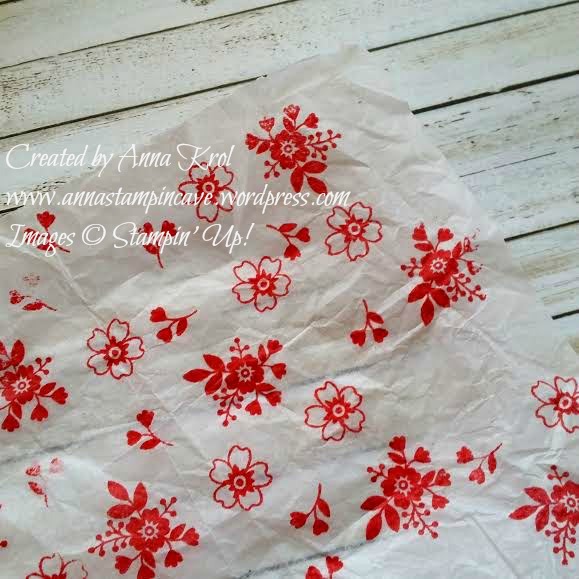
I also stamped same design on a piece of white tissue paper, to put it inside of my box. As for the sentiment, I’ve stamped it in Real Red again and fussy cut it. But because it would disappear in a “busy” background I die cut a circle from Dazzling Diamonds Glimmer Paper. I attached it to my box with Tombow adhesive and added my sentiment on top using dimensionals.

Valentines Day favour box 2

Taa-daah! The box is done! And it’s perfect little box for delicious chocolates. Or maybe for a piece of jewellery? What do you think?

I hope you enjoyed my little project today. I would love hearing from you.

Now, be sure to hop along and see more inspiring projects. Your next stop is lovely Karen  go and see what she has made using our cute sketch. Thank you for stopping by and have a blessed day!

SSSC Previous   SSSC Next Blog

Ink Smooshing With Bloomin’ Hearts Thinlits Dies – Using Die-cut Negatives

Hello guys! I’m back today with ink smooshing technique again. But this time I’ve used die-cut negatives I’ve saved from my previous project.

bloomin love

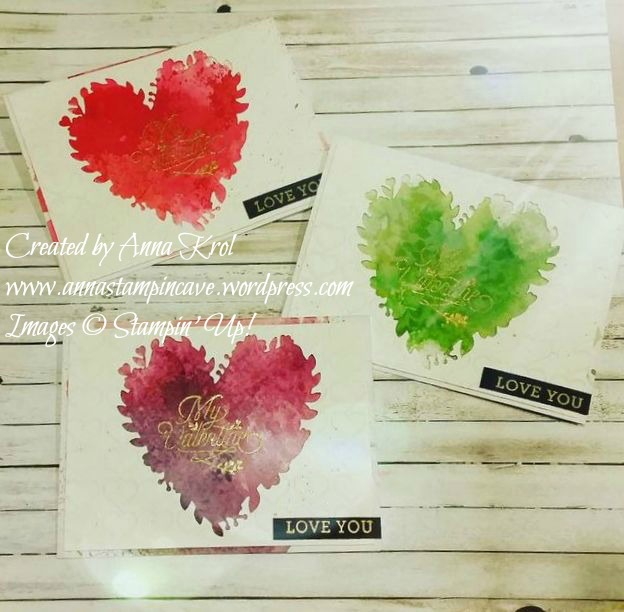
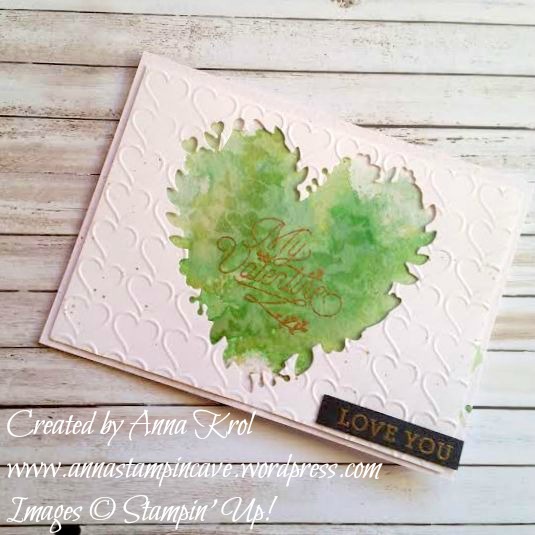
For these cards, I decided to choose different colours: shades of red, green and purple. The base of my cards is again a watercolour paper as it’s perfect for watercolour techniques. I explained ink smooshing technique in my post here.

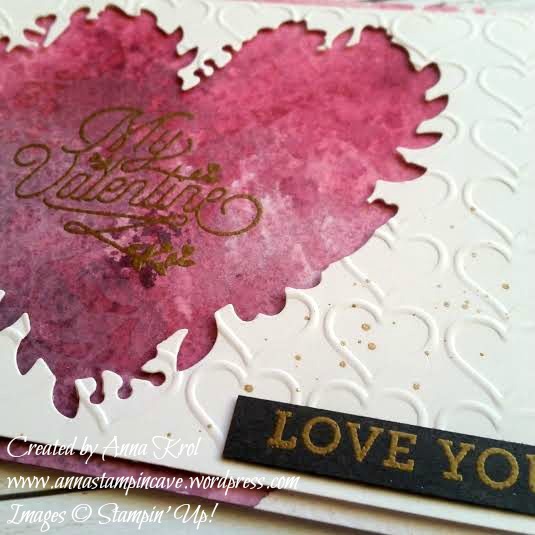
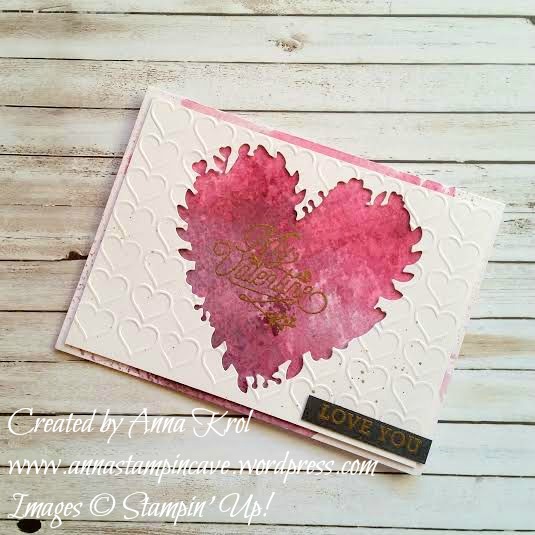
To add some more detail to the die-cut pieces I run them through my big shot with Happy Heart Embossing Folder. I love how they stand out from busy backgrounds.

bloomin love green

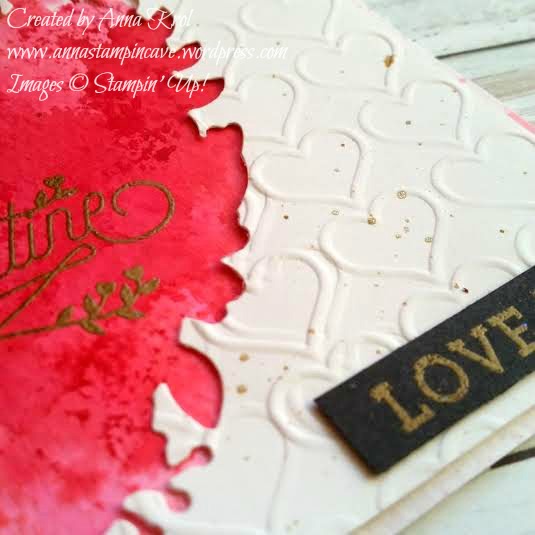
To stamp main sentiments I have used my die-cut as a guide to make sure I stamp it exactly in the middle of my card. I stamped it in Versamark and heat embossed in gold. Before adhering the panels I’ve made few “splotches” using Gold Wink Of Stella Glitter Brush.

To finish off my cards I took a strip of black cardstock and heat embossed “love you” sentiment in gold. My husband’s friend came over at the weekend and “nicked” one card for his girlfriend straight away haha Hope she will like it.

If you like my project or got any questions please let me know in the comments below.

Thank you for stopping by. Have a blessed day,

Ink Smooshing With Bloomin’ Hearts Thinlits Dies

I have to say when I first saw Bloomin’ Hearts Thinlits Dies in new Stampin’ Up! Spring Summer Catalogue I couldn’t wait to put my hands on them and try ink smooshing technique.

bloomin love 2

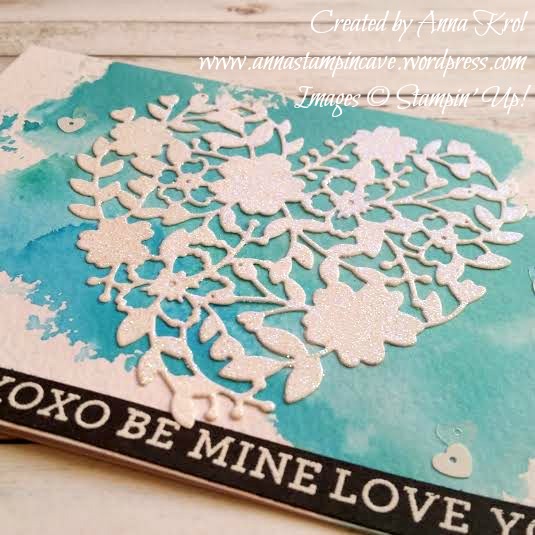
Aren’t these awesome?! And ink smooshing is childishly easy. All you need is a piece of acetate or craft mat, you can use a plastic packaging too (any sleek surface works really).

bloomin love yellow 2

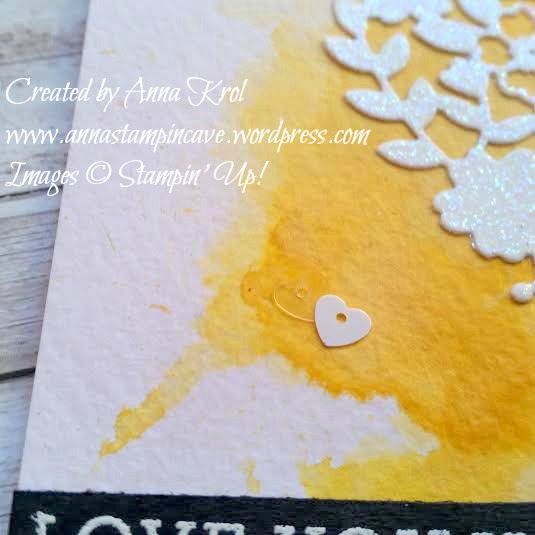
Then you choose the colours you want to use on your card and you simply smoosh them onto your surface. Spritz it with water and dip your card into the ink droplets. Let your card dry completely before you add more colour.

bloomin love yellow

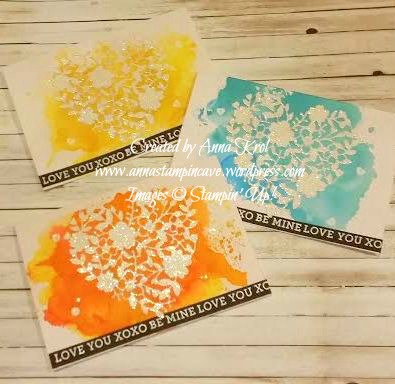
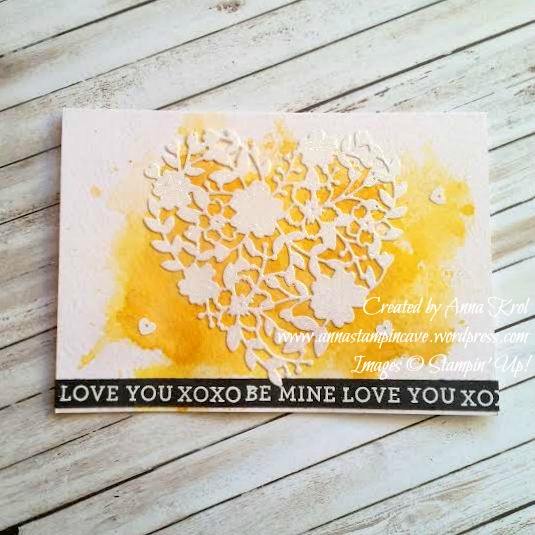
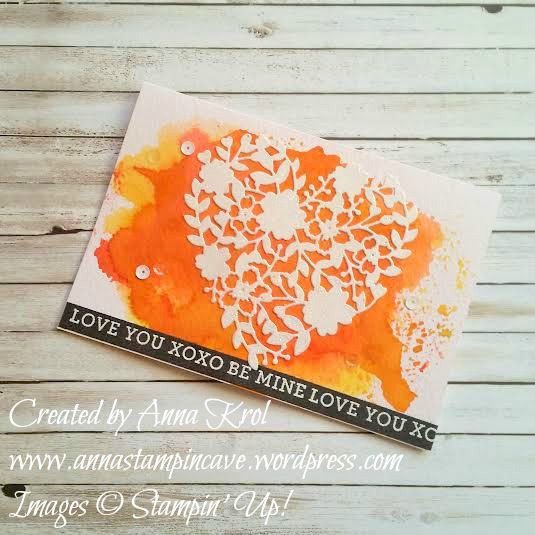
For my cards, I decided for really bright, intense colours. But you can make it as soft as you wish just add less ink and more water. And I have to say here I highly recommend using watercolour paper with this technique.

bloomin love orange 2

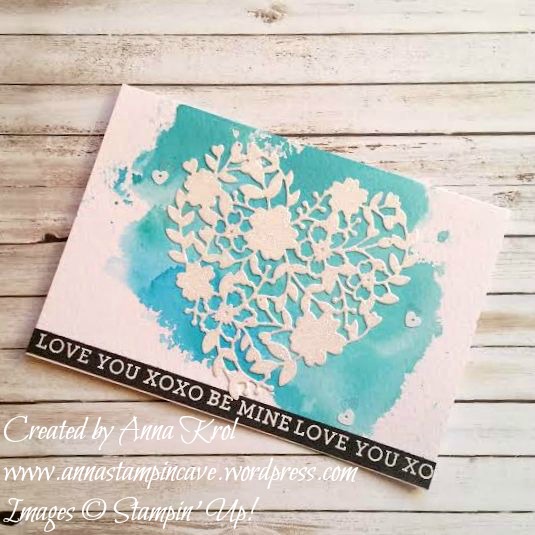
I’ve used the same design for all my cards. I die-cut hearts from a piece of Whisper White cardstock using Precision Base Plate. Trust me you need this plate! It’s perfect for more detailed thinlits dies to give you extra fine cuts. I saved the negatives (not tiny bits just “frames”) for another project.

bloomin love orange

I then dabbed my die-cuts in Versamark and heat-embossed it with Iridescent Ice embossing powder. I love the gentle bling/shimmer it gives.

bloomin love blue 2

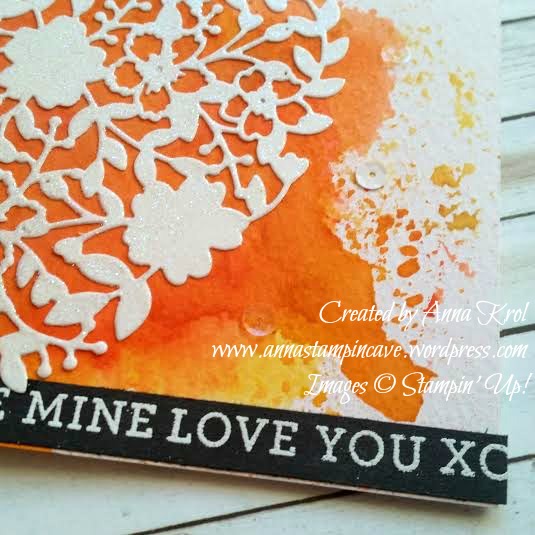
I wanted the sentiment to really stand out so I took a strip of Basic Black c/s and stamped my sentiments in Versamark and heat embossed them in white.

bloomin love blue

To finish off my cards I added few white and clear sequins from Metallics Sequin Assortment.

I love how these turned out,  really pleased! I know these are not typical cards you would think off for Valentine’s Day, but I love the unusual.

Thank you for stopping by,

New Butterfly Basics Stamp Set and Framelits by Stampin’ Up!

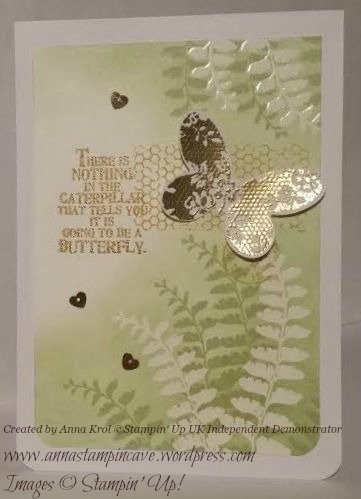
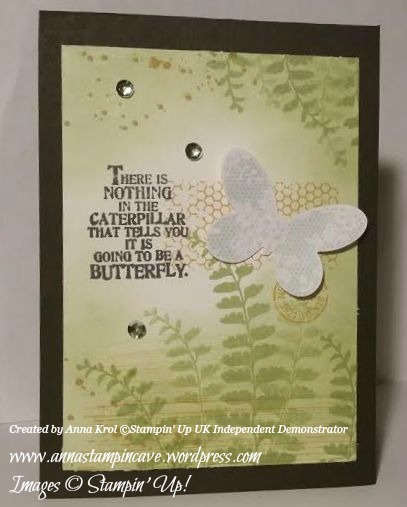
Oh, so happy I finally get to play with some new products: Butterfly Basics stamp set and coordinating thinlits.The cards I’ve made today are bit edgy because I really like a slightly distressed look. Backgrounds for all cards are sponged using different shades of green. For some of those cards, I’ve used colour resist technique. I’ve stamped leaves with Versamark and then heat embossed them with clear embossing powder.

butterfly basic 3

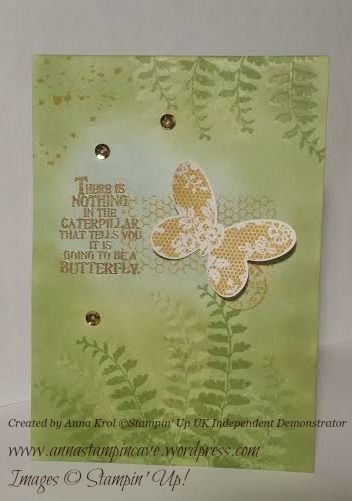
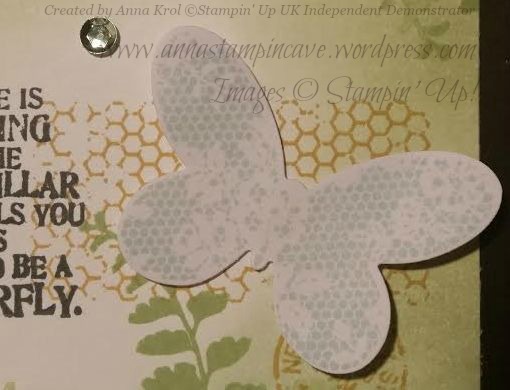
With second card I also stamped leaves with Versamark but this time I didn’t heat-emboss it. As you can see Versamark resist colour even if it’s not embossed, but the effect is more gentle. The only layer in this card is a butterfly 🙂

butterfly basic 4

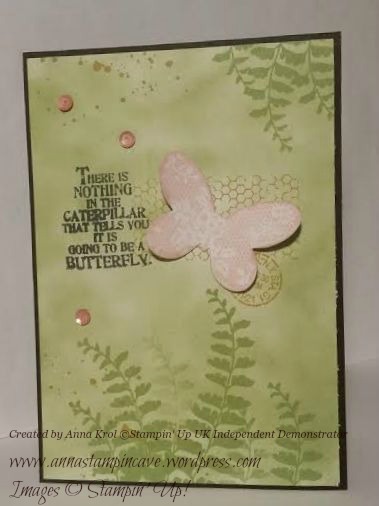
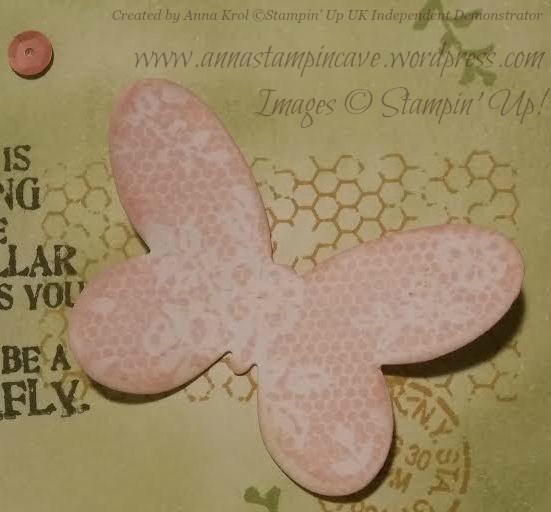
Some leaves have been also stamped off first to get a lighter shade. Filigree honeycomb-kind-of image and little circle are stamped in Hello Honey.

butterfly basic 5

To add some interest to the cards I’ve stamped some “splatters” from Gorgeous Grunge (Hello Honey again)

butterfly basic 6

I just love this sentiment! So versatile. You can use it for thank you cards, birthdays, scrapbook pages, decorations, frames, shadowboxes, etc

butterfly basic 7

For a final touch, I’ve added some beautiful sequins from In Color Sequin Assortment. Easy yet effective 🙂

butterfly basic 8

 Last two cards are mounted on black base. I just couldn’t decide which one I like the most: white, black or none 🙂 And which one is your favourite?

I hope you like my today’s cards. I surely had lots of fun making them.

Thank you for stopping by, happy crafting