Anna’ Stampin’ Cave – Stampin’ Up!’s 2020-2021 Beginner’s Brochure
Getting into paper-crafting can be overwhelming…
…and expensive—at times, and if you are new, you might not know where to start. And that’s exactly why Stampin’ Up! curated this brochure.
The Beginner Brochure features high-quality products with:
- coordination
- versatility
- colouring
- easy-to-accomplish techniques
- and card kits that are easy to get started
Click HERE to download your FREE copy
So let’s dive in and see what this brochure is hiding on its pages.
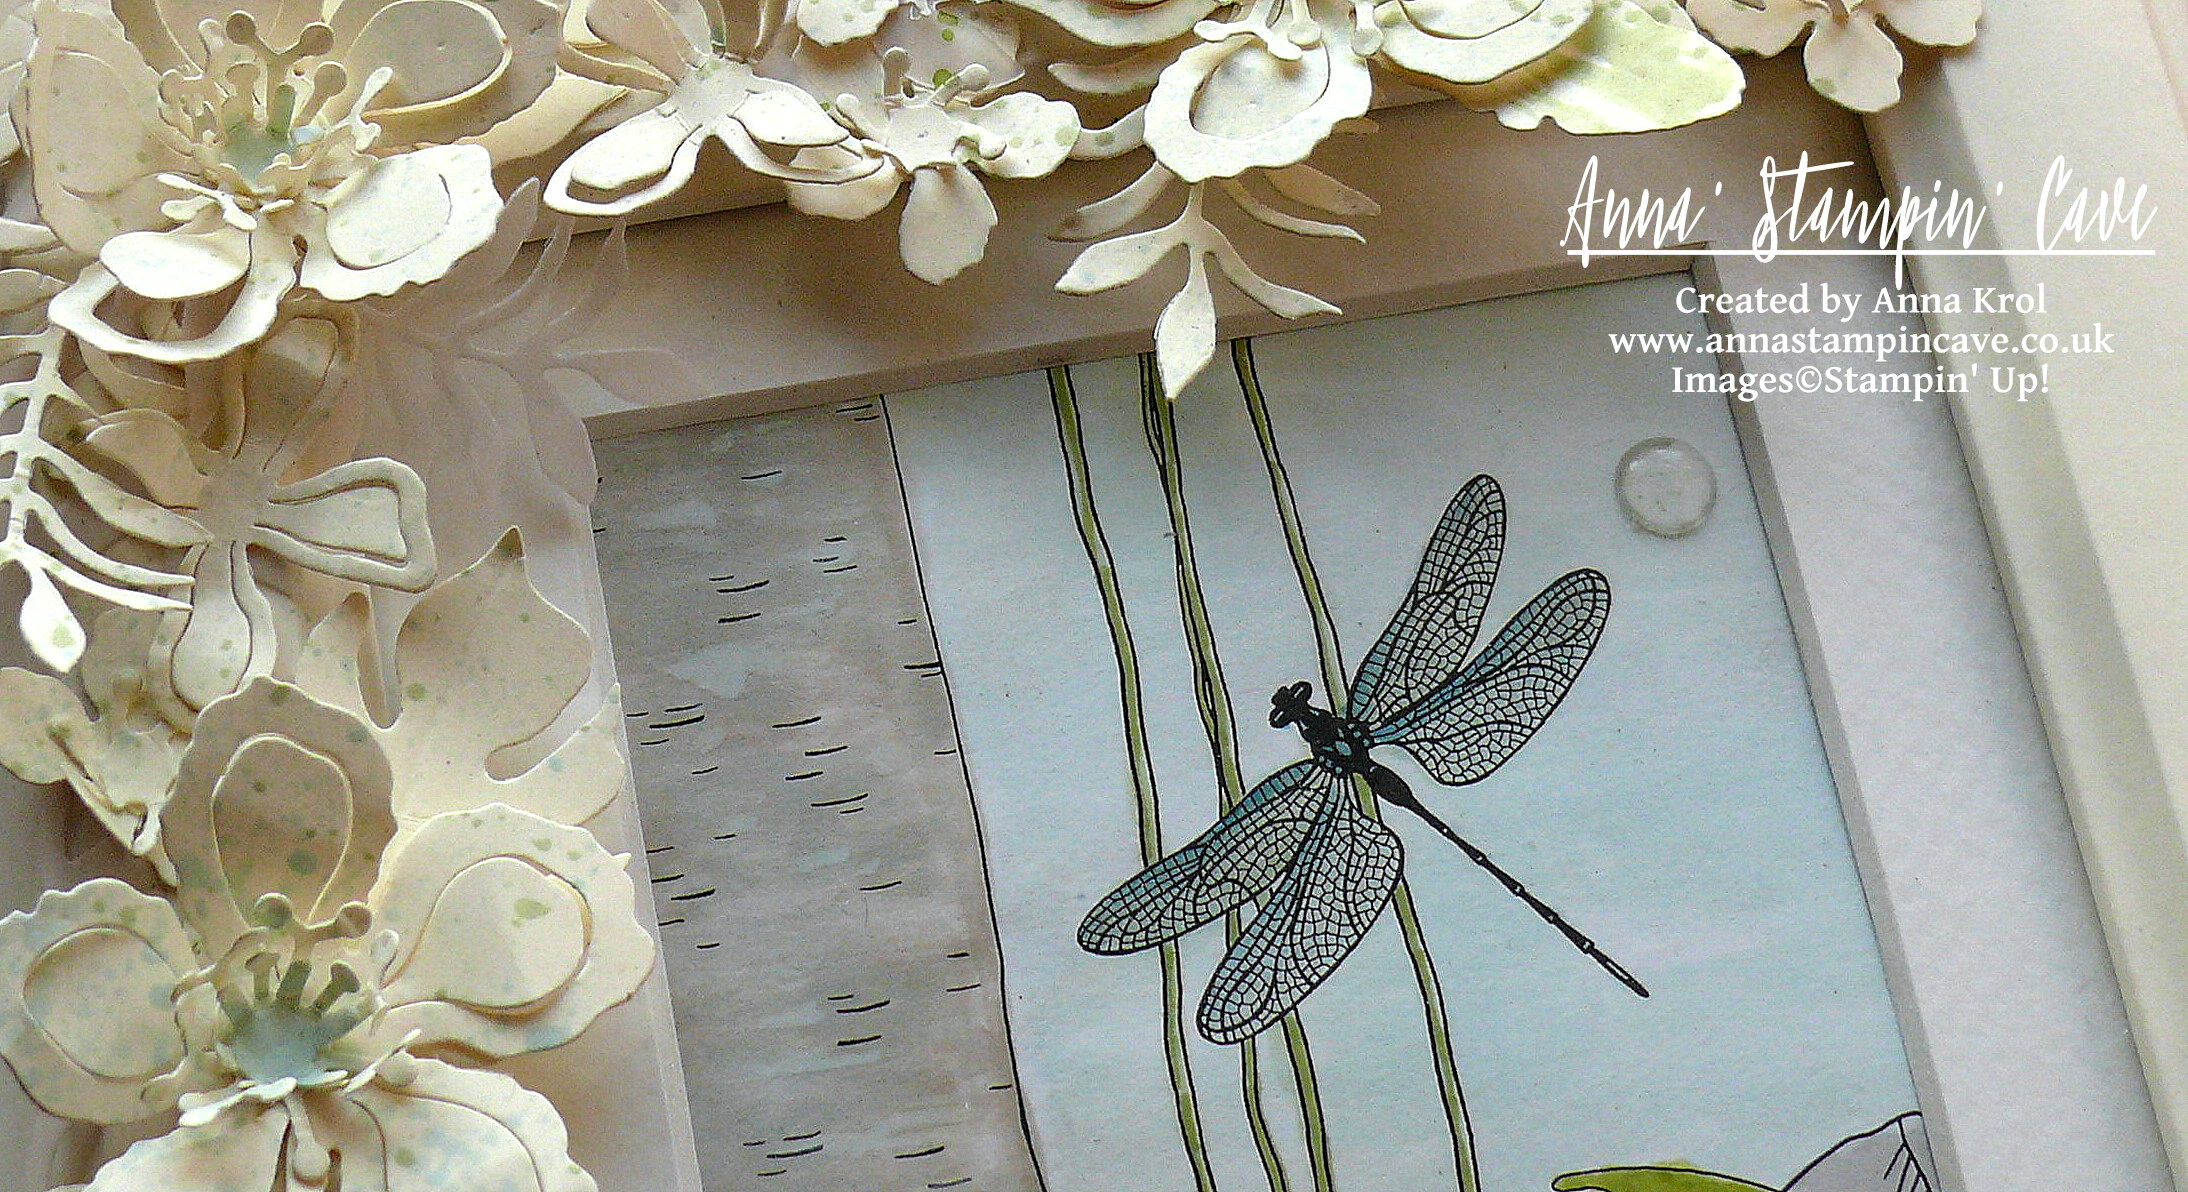
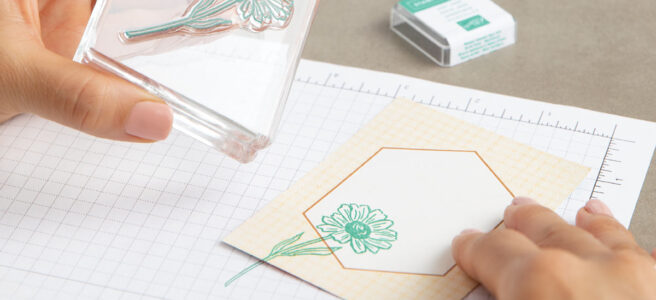
Four Season Floral Cards
Flower stamps and floral card bases are some of the most versatile craft products. They’re great for all-occasion handmade cards and projects. The Four Season Floral Cards Collection features graceful flowers representing each of the four seasons, making it an excellent choice for all-year projects. No guesswork needed – we’ve done it for you! Mix and match the images and greetings from the stamp set with the pre-printed card bases to create projects for any occasion. The collection includes the supplies to make ten simple and elegant cards. Also available in French and German.
|
|
|

")


Cute Fruit Cards & Tags
Combine juicy fruit and happy smiley faces for bright and fresh projects. The Cute Fruit Cards & Tags Collection includes enough supplies to create as many cards and tags as you can imagine. No guesswork needed – we’ve done it for you! Mix and match the images and greetings to create projects for any sweet friends. The Two-Step Stampin’ allows you to layer images in multiple colours. You’ll have so much fun combining the images to create a variety of fruit!
|
|
|
|
|
|
")


Zany Zebras Cards
Kick up your heels with these sweet zebras! The Zany Zebras Cards Collection includes project supplies to create cards and learn how to use Watercolor Pencils. Watercolour Pencils are an easy way to add colour to your projects. Use alone or with water for a watercolour look. The fun images in the included Zany Zebras Stamp Set can be used all year long. There’s no limit to what you can do. Use the adhesive foam Stampin’ Dimensionals to add a pop of dimension to your projects.
|
|
|
|
|
|
|
|
")


Hooray To You Cards & Envelopes
Show off your creativity and create birthday cards for all your friends and family. The Hooray To You Cards & Envelopes Collection includes everything you need to make twenty simple and fun birthday cards. Learn the ‘markering’ technique with this Collection. Choose your favourite marker colour and use the brush end to colour the stamp. Once you’re done colouring, breathe on the stamp to remoisten the ink and stamp the image. You can colour the whole image or smaller sections to create different patterns. The ‘markering’ technique makes customising your stamp images a cinch!
|
|
|
|


Simply Citrus All-Inclusive Card Kit
Makes 15 cards, 3 each of 5 designs, using the included Simply Citrus Photopolymer Stamp Set.
Folded card size: 4-1/4″ x 5-1/2″ (10.8 x 14 cm). Includes 9-1/4″ x 9-1/4″ x 1-7/8″ (23.5 x 23.5 x 4.8 cm) printed cardboard box. Available in French & German.
|
|
")
")
")


 Burlap Ribbon")