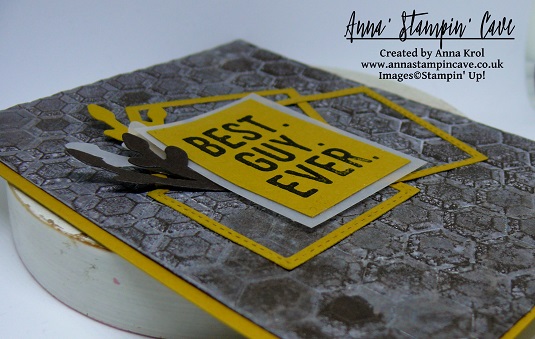
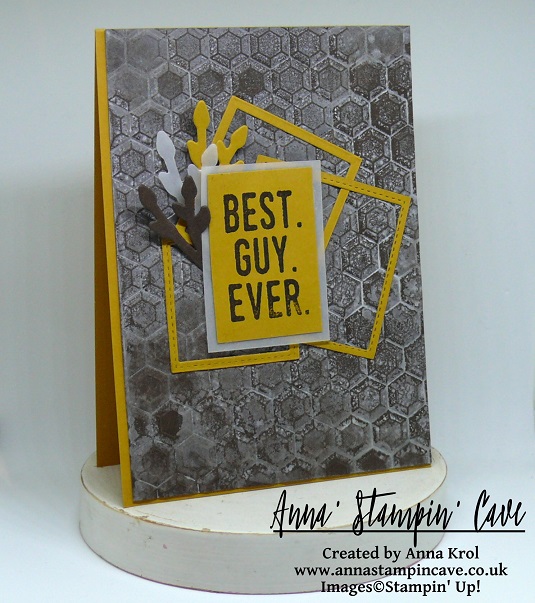
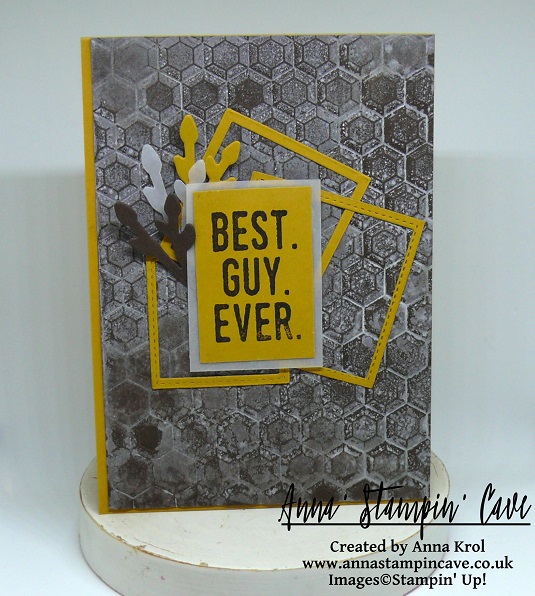
Best Guy Ever Clean & Simple Masculine Card

Anna’ Stampin’ Cave – Best Guy Ever Clean & Simple Masculine Card

International-Highlights-header-vote-fav

Thanks for coming to my blog today! We are being highlighted internationally by Kylie Bertucci and you are able to VOTE for my project. The top ten winners will get to be part of an international blog hop so please vote for my project. You can do it here or use a button at the end of my post.

This month we have a theme that, I think, most of cardmakers struggling with – MASCULINE.

I know that for some it’s hard if you can’t use pink, glitter or rhinestones on the card. Not to mention flowers. I even heard that masculine cards are boring! What?! Today I will show you that masculine cards can be fun and not boring at all.

Best Guy Ever card dimensions:

  • Delightful Dijon cardstock: 11-6/8″ x 4-1/8″ scored in half at 5-7/8″ (29.7 x 10.5 cm scored in half at 14.8 cm)
  • Early Espresso cardstock: 5-6/8″ x 4″ (14.6 cm x 10.2 cm)
  • Delightful Dijon cardstock for sentiment: 1-3/8″ x 2″
  • White Vellum cardstock mat: 1-5/8″ x 2-2/8″
  • Early Espresso, Delightful Dijon and White Vellum scraps for die cutting

To achieve this fun texture on my Early Espresso panel I spritzed it with water to soften the fibre. Next, I dabbed Hexagons Dynamic Embossing folder with Whisper White Craft Ink, put Early Espresso cardstock inside, run it through the Big Shot and let it dry. When it dried I adhered it to the card base.

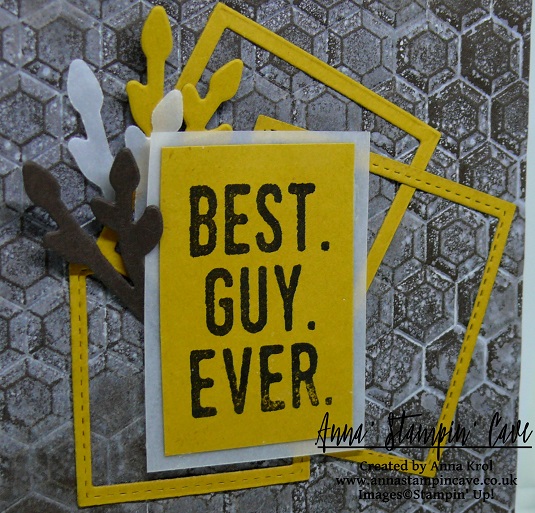
Next, I die cut various size frames from Delightful Dijon cardstock using squares from Stitched Shapes Framelits Dies and Layering Squares Framelits Dies. You can mix and match these as you wish. Glued them to my card with liquid adhesive.

I also die cut three ‘branches’ using one of the dies from Everyday Jars Framelits Dies: one from vellum, one from Delightful Dijon and one from Early Espresso cardstock.

The sentiment I chose for my card is brilliant and can be used for any occasion really. And I love the bold font. I stamped it on a piece of Delightful Dijon in Early Espresso and matted it with a piece of vellum.

I adhered my sentiment to the card with a couple of dimensionals. For a final touch, I added my ‘branches’ to the card. I glued their ends under the sentiment panel. And this is my card done. I hope I inspired you today.

Thanks for visiting my blog today and make sure you head over to Kylie’s blog to check all lovely projects and vote for your favourites. Hope you like my project enough to give it some love ?

Vote for me Kylie's Highlights Badge

Thank you for stopping by and have a blessed day,

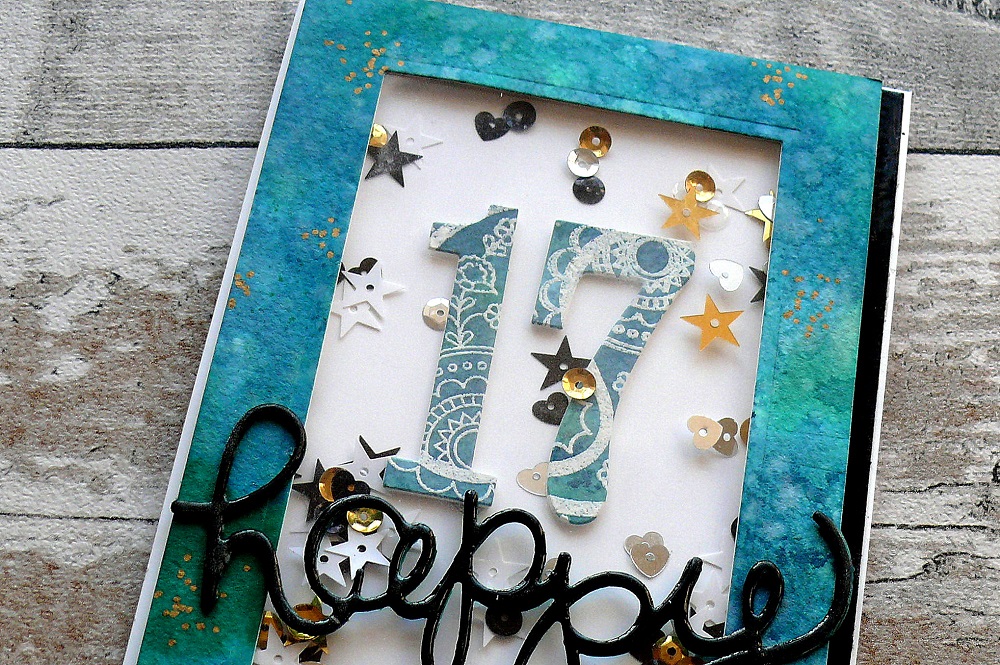
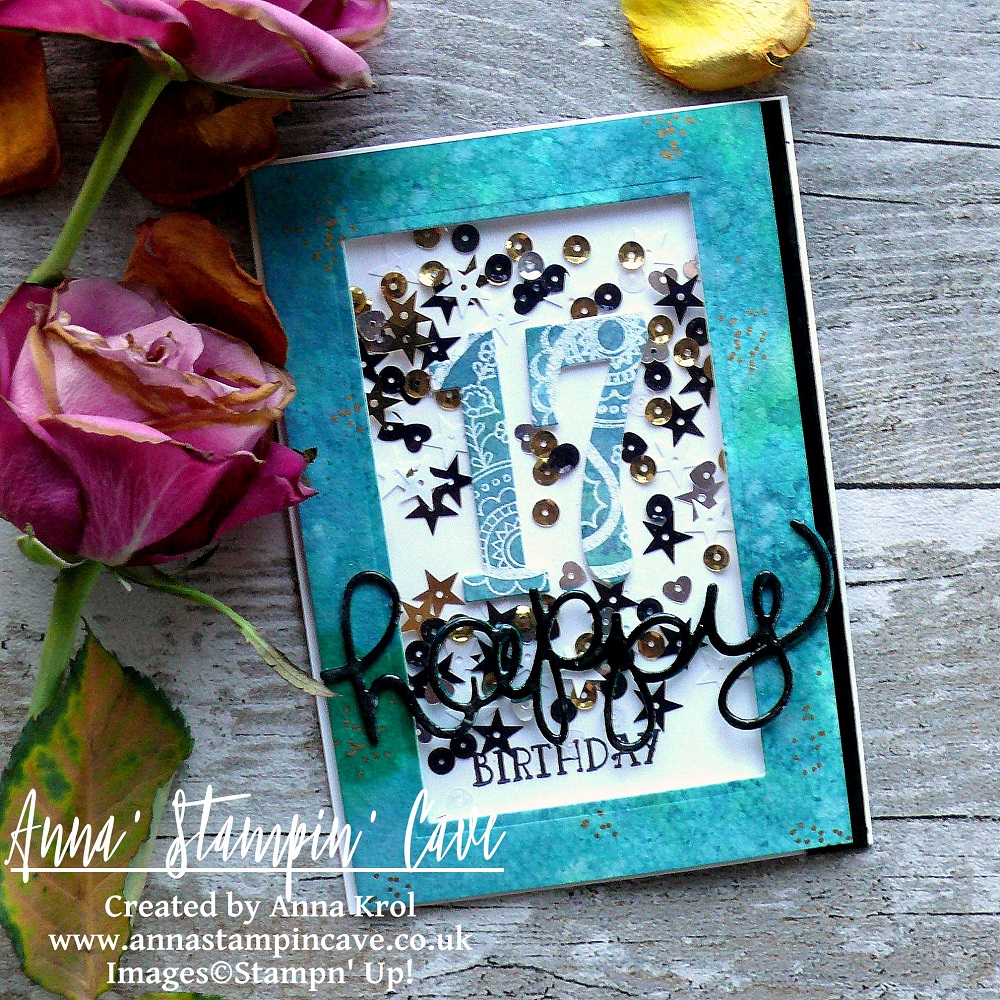
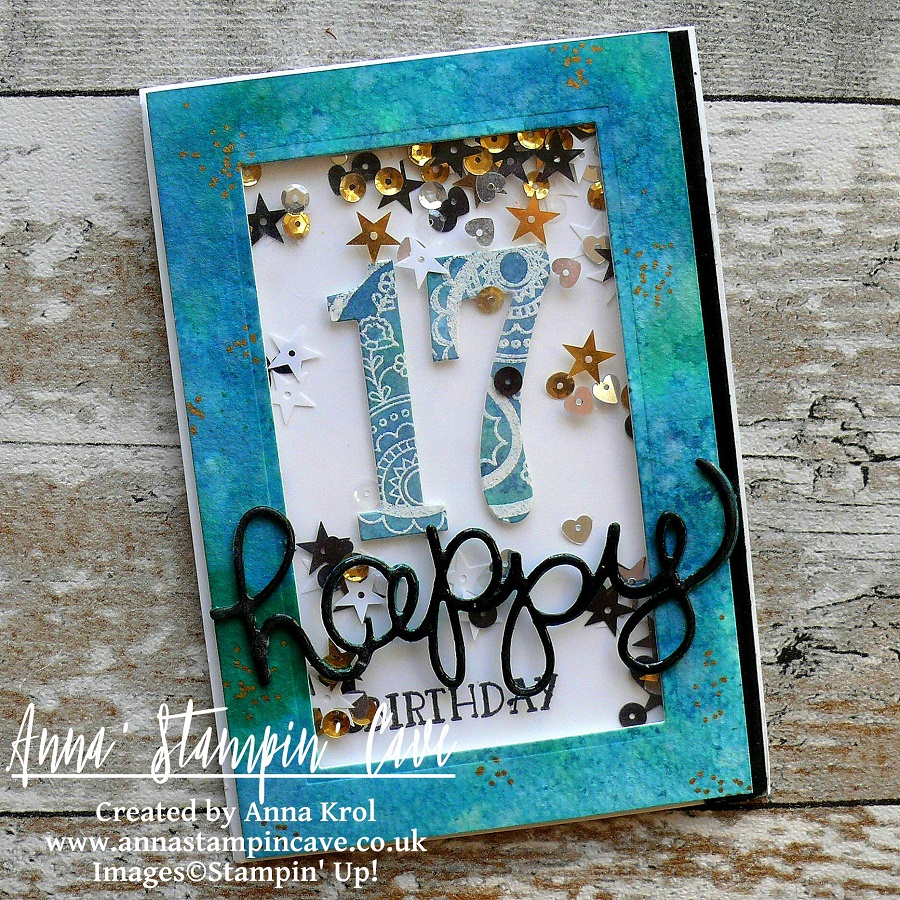
Shake It In Teals – Birthday Card For Sweet 17

Hello and welcome! Today I want to share with you a card I’ve made for our daughter’s 17th birthday. I don’t know where the time has gone but I could swear she was just 7 not that long ago.

She’s not a girly-girl ( happy mamma here lol). She’s studying fine art in Sixth Form and she loves mixed media. So I had to come up with something little more ‘sophisticated’ than flowers and butterflies if you know what I mean 😉

This year I decided to make a shaker card in beautiful teal shades. [You can see her last year’s birthday card here]

P1130276

Shake It In Teals Card dimensions:

  • Thick Whisper White cardstock: 11-6/8″ x 4-1/8″ scored in half at 5-7/8″ (29.7 x 10.5 cm scored in half at 14.8 cm)
  • Watercolour Paper: 5-6/8″ x 3-7/8″ (14.5 cm x 9.7 cm)
  • Basic Black cardstock: 1/2″ x 5-6/8″ (14.5 cm x 1.2 cm)
  • for die-cutting word happy pieces of Basic Black, Island Indigo and Emerald Envy

It’s very simple, a straightforward card so I won’t include a whole step by step instructions, just some hints, and tips.

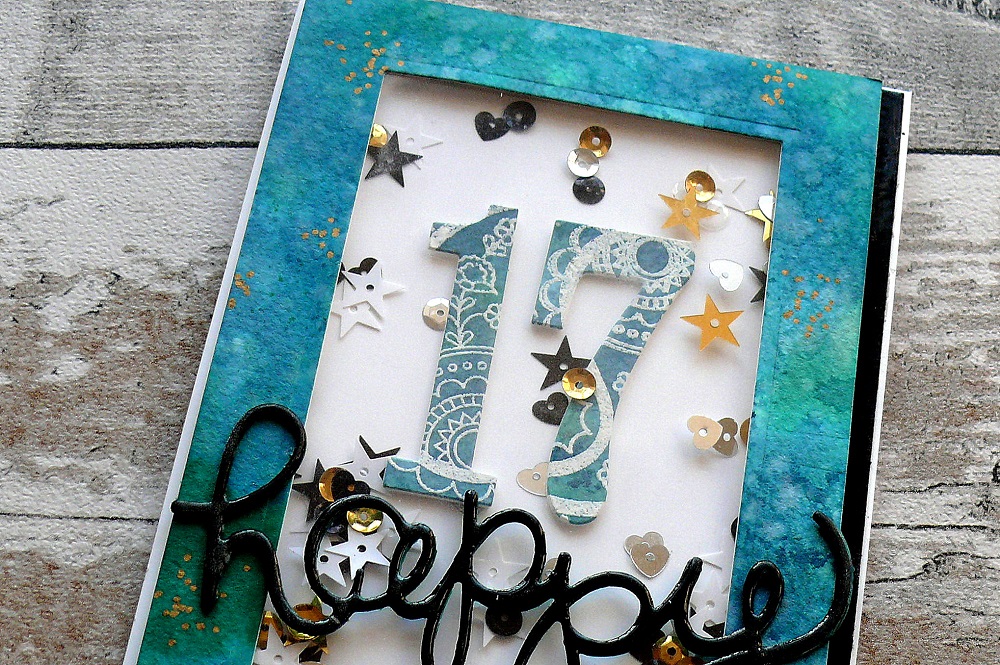
Frame: To create a teal-like shade for the watercolour panel I’ve mixed Island Indigo ink with Emerald Envy ink in a watercolour wash. When the panel was dry I die cut a rectangle from the middle of the panel, creating a frame.

P1130298

Numbers: I didn’t want the number to look flat and boring, so I took that watercoloured rectangle, stamped two paisley images in Versamark in the middle, heat embossed them in white and die cut numbers 1 and 7 from that piece.

‘Happy’: I die cut it three times: one from Basic Black cardstock, 2nd from Island Indigo and 3rd from Emerald Envy and adhered them together. To add shine to it I cover my word in Versamark and heat embossed in clear. I did the same with the Basic Black strip.

P1130289

Before I put my shaker card together I adhered few sequins to the base of my card so not all sequins fall down when the card is standing on the shelf. For the final touch, I added some random gold dots to the frame with my gold Sharpie.

There’re few things that didn’t come out as I hoped for, but with my numb hands, I think that overall the card looks nice. The most important is the fact that our girl loved it, so YAY!

If you wish to purchase any of products I have used, simply click the images below to go directly to my online store and don’t forget to enter the hostess code for the month of March G3JKVASG to receive a gift from me.

Thank you for stopping by and have a blessed day

You Are My Hero

Anna’ Stampin’ Cave – You Are My Hero


Another week has passed by, and it’s that time again when our little group of demonstrators is showcasing you this lovely stamp set called ‘My Hero’. I love the versatility of this set, as it covers all major holidays/occasions throughout the year. But not only that. This is Ronald McDonald House Charities stamp set, which means for every set purchased, Stampin’ Up! donates £2 to the RMHC. Visit www.stampinup.com/giving_uk to learn how you can help too.

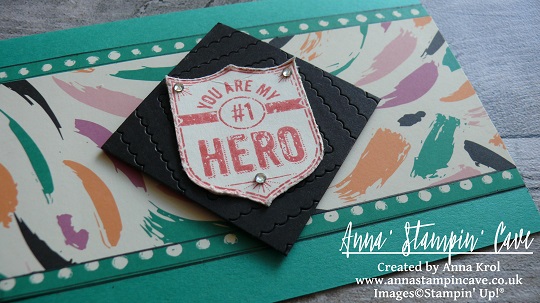
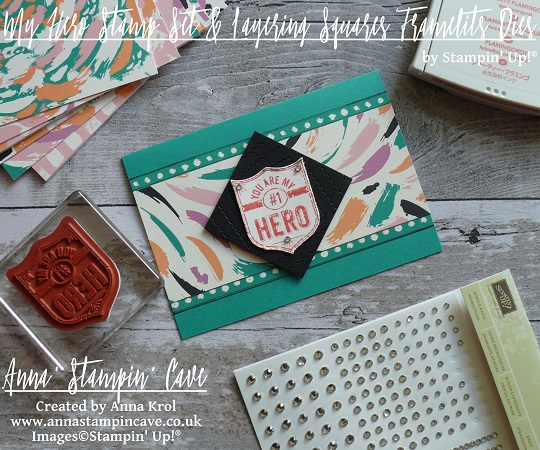
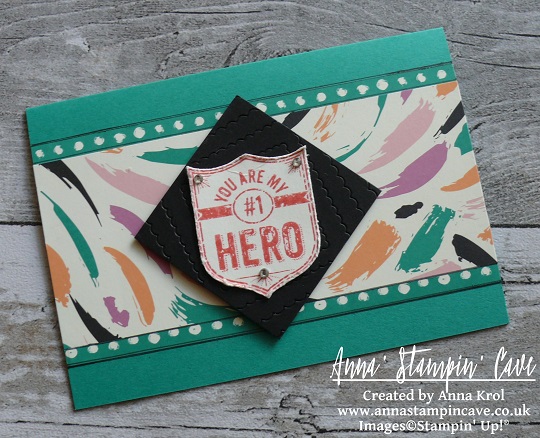
For today’s project, I’ve chosen ‘You are my #1 hero’ sentiment. I’ve seen many beautiful samples using this stamp. It’s perfect for all those oh-so-hard-to-make masculine cards. But I decided to make a card with a feminine twist. After all, women can be heroes too.

stampin-up-my-hero-stamp-set-you-are-my-1-hero

This is a very simple card. For the card base, I chose beautiful and very vibrant Emerald Envy cardstock (standard A6 size). Next layer is a piece of DSP from Playful Palette Designer Series Paper Stack. I took half of the sheet of my chosen design ( 3″x 6″) and trimmed 1/4″ from both sides. I adhered the larger piece to the base first and next, those tiny strips on each side of the panel, but reverse side up. Because the base is smaller than 6″ wide, I trimmed any overhanging paper using my scissors. It’s easier, and for sure you won’t end up with a too small panel. Unfortunately, my strips slightly ‘disappeared’, when adhered to the card base. So I draw few black lines along the edges using Project Life Journaling Pens.

Tip: learn from my mistakes! If, like me, you chose a design that has a kinda symmetrical pattern on the reverse, make sure you trim your panel so you have the same pattern on both strips you’ve trimmed.

stampin-up-my-hero-stamp-set-you-are-my-1-hero

Now to the focal point. I stamped my sentiment in Flirty Flamingo, on a piece of Very Vanilla cardstock and fussy cut it. It’s an easy shape to do so. I distressed the edges slightly. To make the sentiment ‘pop’ I decided to add a square Basic Black cardstock underneath. I could dry emboss it but instead, I decided to create a fun panel using Layering Squares Framelits. I’ve seen this idea just recently, on Carolyn Bennie blog and just had to try it myself. Carolyn is an amazing Australian demo. You should definitely check her out.

I arranged five scalloped squares dies on a piece of Basic Black cardstock, but offset them slightly. I secured dies to the paper with washi tape and run it through the big shot. Before I removed my dies, I’ve added washi tape underneath of the panel, to keep the squares together. I took another piece of Basic Black cardstock and adhered my die cut squares to that panel. I trimmed it to the 2-3/8″ square.

stampin-up-my-hero-stamp-set-you-are-my-1-hero

I adhered my fun square to the card base with a couple of dimensionals. Next, I’ve added my sentiment on top of it, with regular snail adhesive. Few rhinestones on the corners of the badge finish off my card.

Thank you for stopping by and have a blessed day,