Shake It In Teals – Birthday Card For Sweet 17

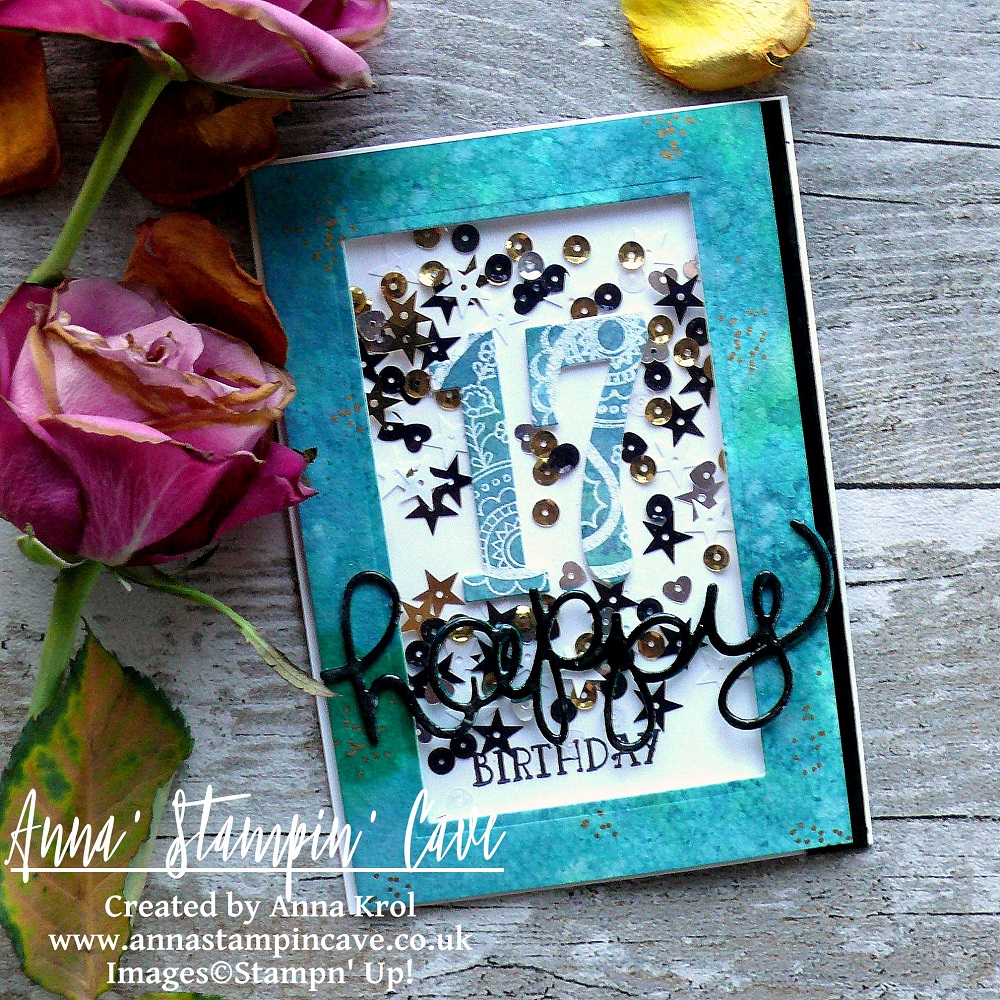
Hello and welcome! Today I want to share with you a card I’ve made for our daughter’s 17th birthday. I don’t know where the time has gone but I could swear she was just 7 not that long ago.

She’s not a girly-girl ( happy mamma here lol). She’s studying fine art in Sixth Form and she loves mixed media. So I had to come up with something little more ‘sophisticated’ than flowers and butterflies if you know what I mean 😉

This year I decided to make a shaker card in beautiful teal shades. [You can see her last year’s birthday card here]
P1130276

Shake It In Teals Card dimensions:

  • Thick Whisper White cardstock: 11-6/8″ x 4-1/8″ scored in half at 5-7/8″ (29.7 x 10.5 cm scored in half at 14.8 cm)
  • Watercolour Paper: 5-6/8″ x 3-7/8″ (14.5 cm x 9.7 cm)
  • Basic Black cardstock: 1/2″ x 5-6/8″ (14.5 cm x 1.2 cm)
  • for die-cutting word happy pieces of Basic Black, Island Indigo and Emerald Envy

It’s very simple, a straightforward card so I won’t include a whole step by step instructions, just some hints, and tips.

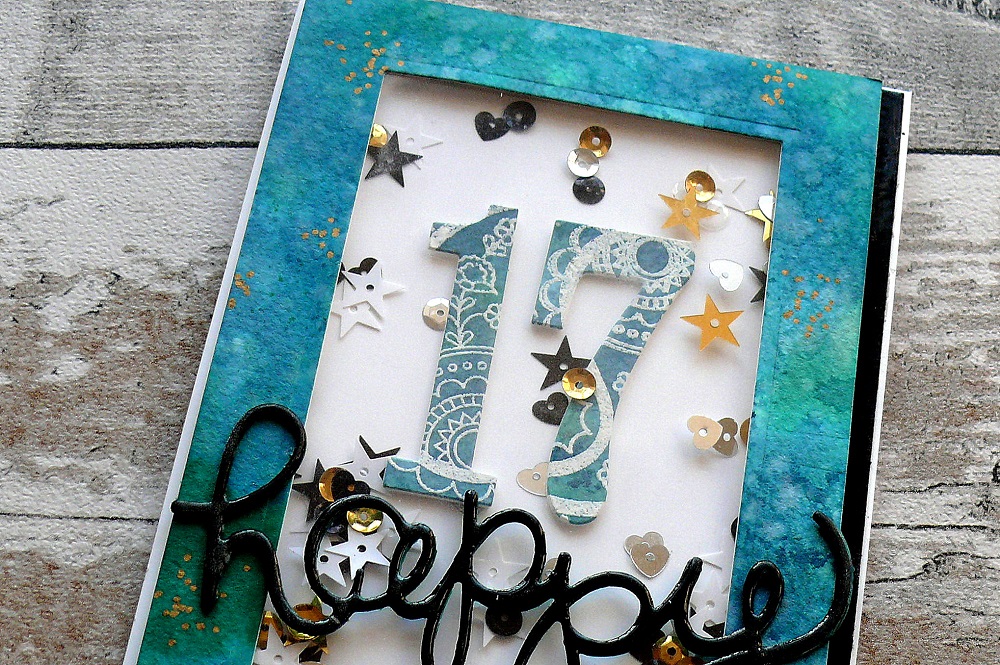
Frame: To create a teal-like shade for the watercolour panel I’ve mixed Island Indigo ink with Emerald Envy ink in a watercolour wash. When the panel was dry I die cut a rectangle from the middle of the panel, creating a frame.
P1130298

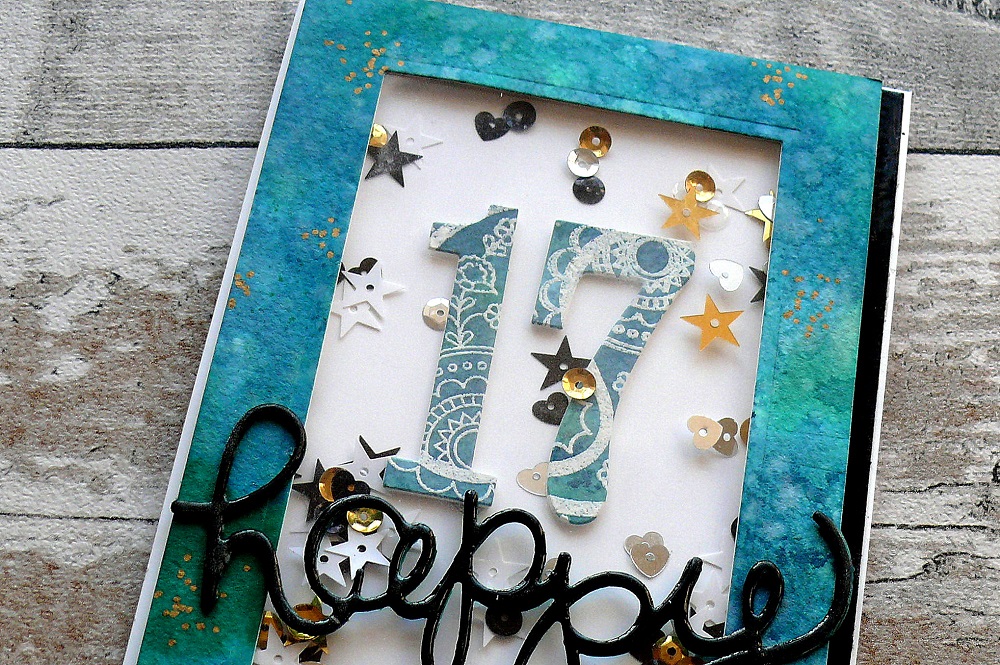
Numbers: I didn’t want the number to look flat and boring, so I took that watercoloured rectangle, stamped two paisley images in Versamark in the middle, heat embossed them in white and die cut numbers 1 and 7 from that piece.

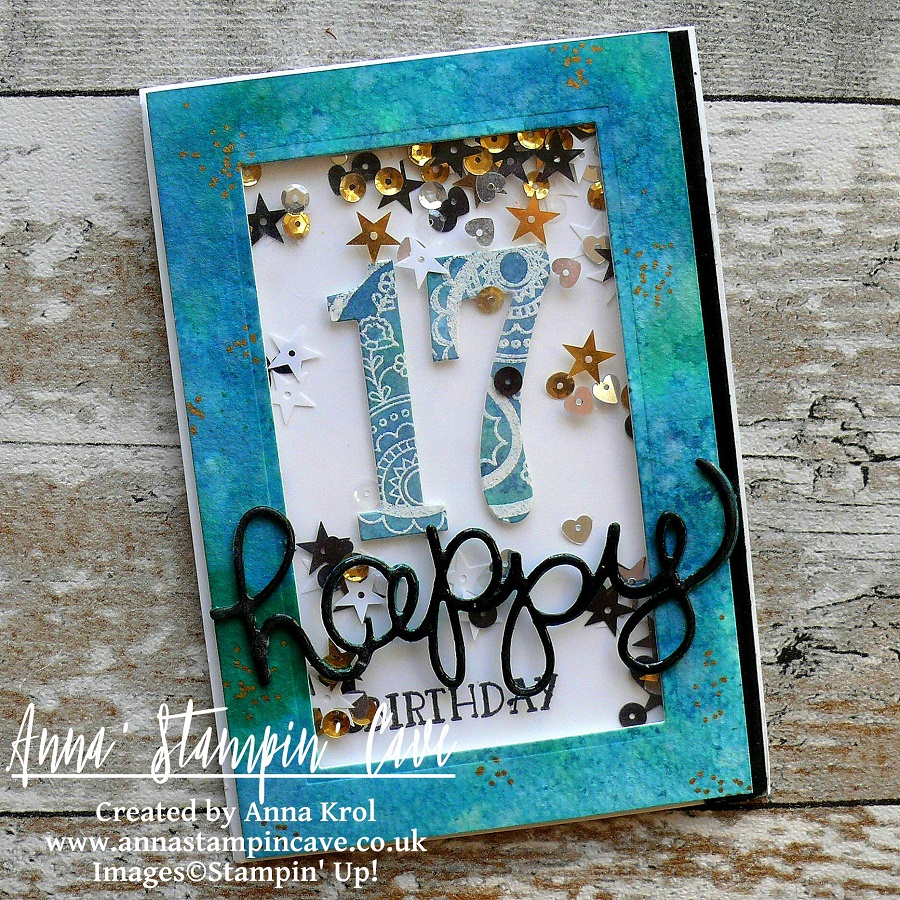
‘Happy’: I die cut it three times: one from Basic Black cardstock, 2nd from Island Indigo and 3rd from Emerald Envy and adhered them together. To add shine to it I cover my word in Versamark and heat embossed in clear. I did the same with the Basic Black strip.
P1130289

Before I put my shaker card together I adhered few sequins to the base of my card so not all sequins fall down when the card is standing on the shelf. For the final touch, I added some random gold dots to the frame with my gold Sharpie.

There’re few things that didn’t come out as I hoped for, but with my numb hands, I think that overall the card looks nice. The most important is the fact that our girl loved it, so YAY!

If you wish to purchase any of products I have used, simply click the images below to go directly to my online store and don’t forget to enter the hostess code for the month of March G3JKVASG to receive a gift from me.

Thank you for stopping by and have a blessed day

Simply Sketched Saturday Challenge #13 – Birthday In Marina Mist Blues

Anna’ Stampin’ Cave – Birthday In Marina Mist Blues

SSSC Header

Thank you for joining us for another Simply Sketched Saturday Challenge!  We are so excited to be sharing this hop with you. The products used are all available in the current Annual, or seasonal, Stampin’ Up!®  Catalogues*. Simply use the buttons at the bottom of the post to keep hopping!

Welcome welcome! We are back with our monthly challenge after a long summer break. Did you miss us?

This week sketch was designed by our lovely Mandy and it is…anything goes. I know! A nice little warm-up for us – thank you, Mandy.

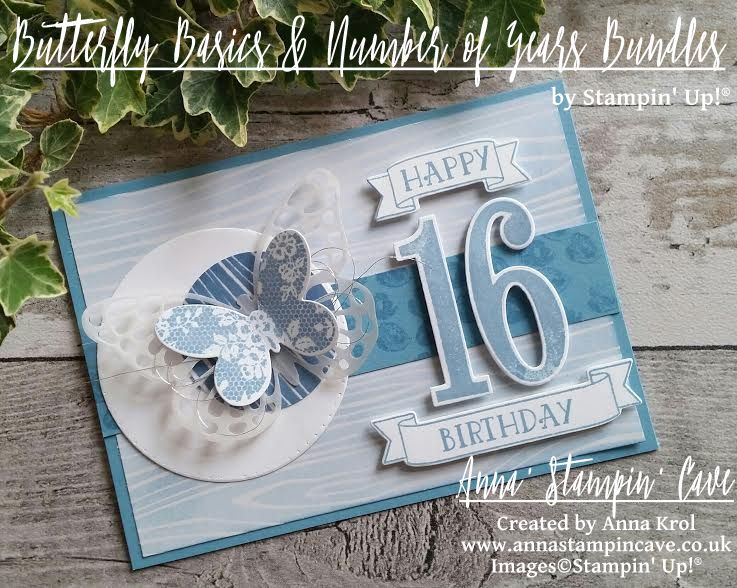
I know you see more and more holidays related projects lately. But I decided to keep the warm summer days for a little bit longer. And what says ‘summer’ more than blue skies and butterflies?

stampin-up-butterfly-basics-meets-number-of-years-bundles

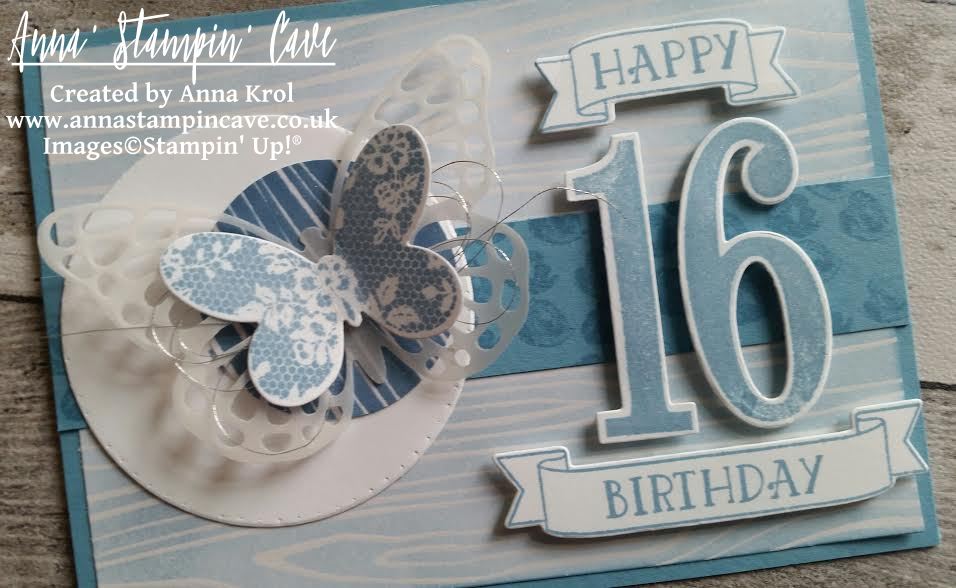
This is a birthday card for sweet ‘sixteen’ who loves blue. The base of my card is Marina Mist cardstock, standard A6 size. The first panel is a piece of Color Me Irresistible Specialty DSP that measures 5-5/8″x 3-7/8″. I chose to use white, embossed woodgrain pattern and gently sponged Marina Mist over my piece and adhere it to the base. Next, I cut a strip of Marina Mist cardstock, 1″ wide, and stamped little roses from Number Of Years Stamp Set all over the piece and adhere it across the sponged panel.

stampin-up-butterfly-basics-meets-number-of-years-with-wink-of-stella

I die-cut two circles: large one from Whisper White ( I pierced it around the edge) and smaller one again from Color Me Irresistible Specialty DSP. I sponged this smaller one with Marina Mist. But this time, I’ve added lots of ink for really deep shade. I adhered smaller circle on top of the large one, off-setting it.

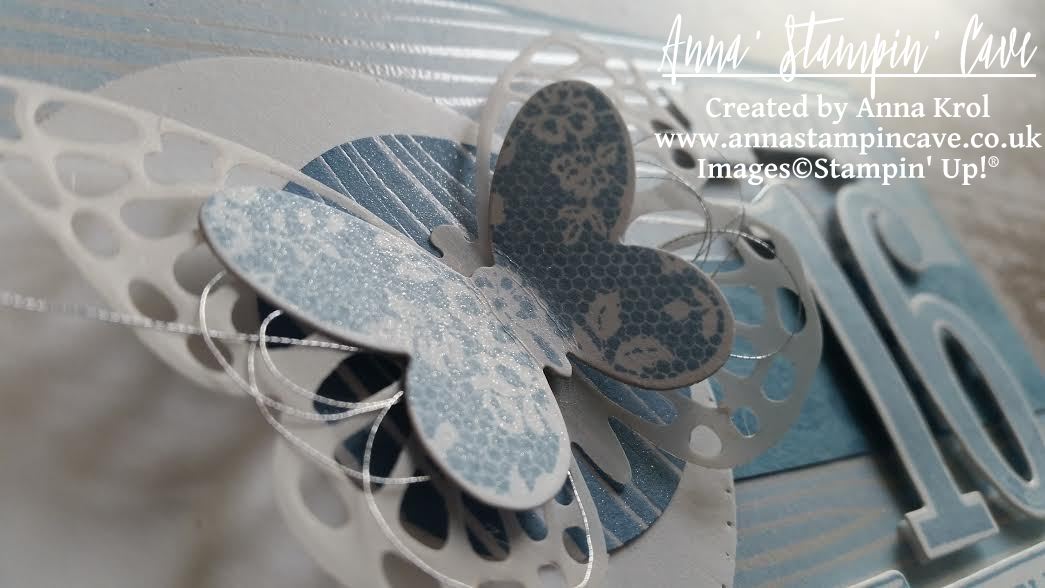
I stamped butterfly from Butterfly Basics on a piece of Whisper White in Marina Mist and die cut it using coordinating die. I also die cut larger, detailed butterfly from vellum, using the same die set. Next, I attached small butterfly on top of detailed one, with Silver Metallic Thread in between. I adhered them both to the circles using glue dots and attached the whole piece to the card base, off-setting it to the left.

stampin-up-butterfly-basics-meets-number-of-years

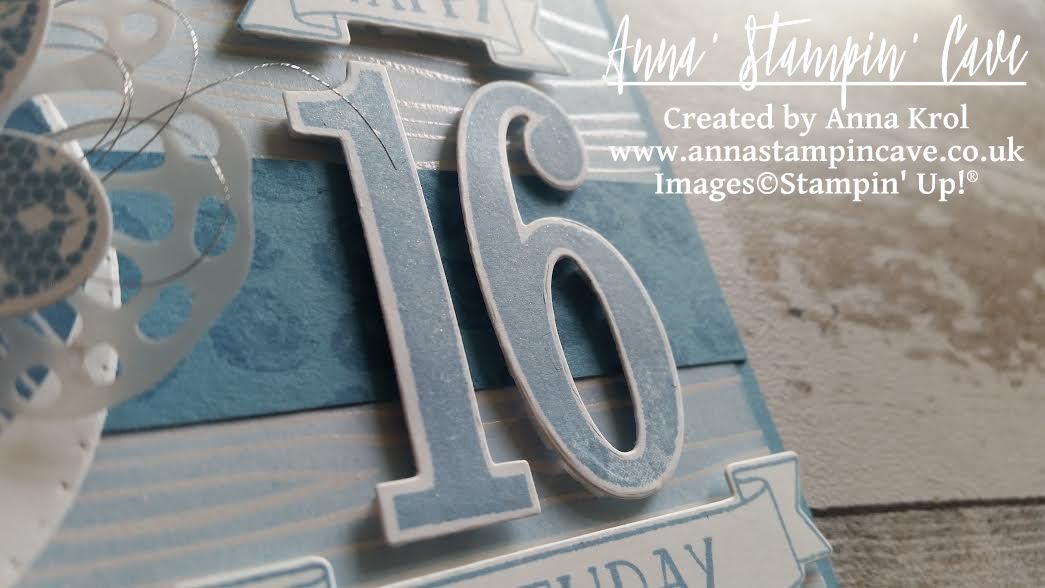
I stamped numbers 1 and 6, from Number of Years Stamp Set, in Marina Mist of course, and die-cut it with coordinating dies (I love this set!!!). Next, I stamped banner and word ‘birthday’ inside of the banner and die-cut it. For the word ‘happy’ I had to adjust it a little bit, and with help of masking, and partial die-cutting, I was able to create matching smaller banner. I attached the numbers and banners to the card base using dimensionals.

stampin-up-butterfly-basics-meets-number-of-years

There’s no such a thing as bling-free teenage girl card, right? So my finish touch was to add a gentle shimmer to the butterfly, circle, and numbers with Clear Wink of Stella Glitter Brush. I think it’s my first card ever where I’ve used one ink pad colour only. And to be honest I really like this monochromatic look.

And what do you think? Do you like monochromatic? Please let me know in comments below.

As always, if you wish to purchase any of the products I have used, simply click the images below to go directly to my online shop and don’t forget to enter the hostess code for the month of September RKW34AHD, to receive a gift from me.

Now, be sure to hop along and see more inspiring projects. Your next stop is Mandy’s blog  go and see what she has made for you.

Thank you for stopping by and have a blessed day
SSSC Previous   SSSC Next Blog

Product List

Glue Dots

£4.75

Big Shot

£99.00