Something Old, Something New…Kind Koala Birthday Card

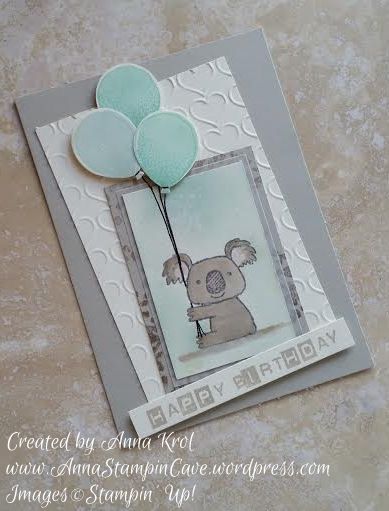
Hello, everyone! Something old, something new…Today I’ve got for you really adorable birthday card using sadly retiring Kind Koala stamp, and also a sneak peek at new Labeler Alphabet stamp set.


Kind koala

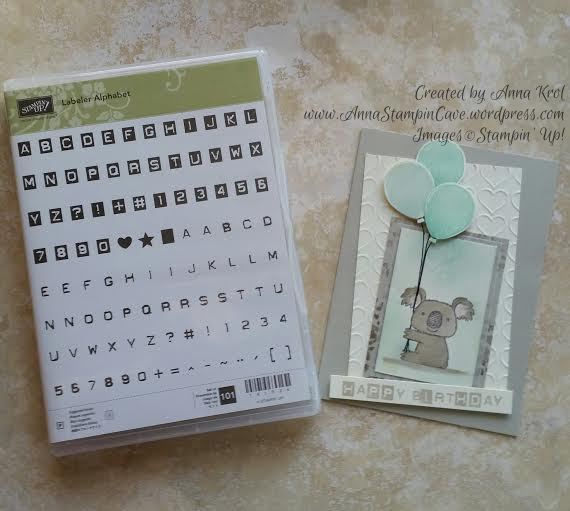
Isn’t this little koala cutest ever!? The base of my card is standard, top folded A6 in Sahara Sand. For the background, I’ve used Very Vanilla and dry embossed it with Happy Heart embossing folder.

Because I wanted this card to be a birthday card I used washi tape to cover the flower and a sentiment on my stamp before I inked it up in Basic Grey Archival Ink. Next, I stamped my cute koala on a piece of Very Vanilla. Just remember to take off the washi tape first or you will have a disaster. Guess how I know lol I also stamped him on a scrap of paper to create a mask I will need later.

Kind koala 4

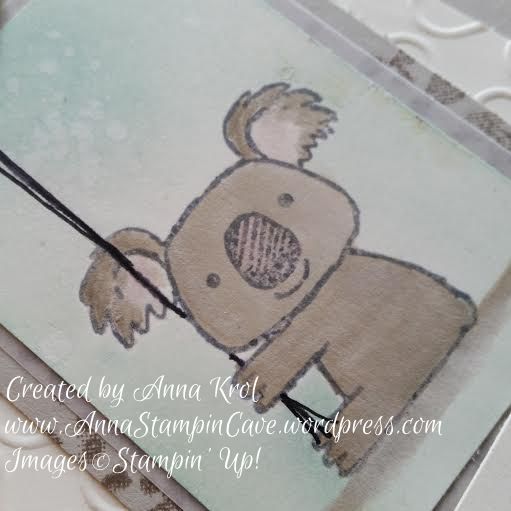
I watercolour my little fella in Sahara Sand and added some shadow underneath him. I also added a touch of Blushing Bride to his nose and inside of his ears. When I was happy with the results I masked my koala and sponged the background with Soft Sky and Pool Party. Then I used the aqua painter to add few droplets of water to the background and took off a little bit of the colour.

Kind koala 2

Next, I matted my koala panel with a piece of vellum and a slightly bigger piece of Sahara Sand. But to add some more interest to this panel I stamped it with Tip Top Taupe using the foliage stamp from Sheltering Tree. I assembled all my panels.Now was time for balloons!

Kind koala 5

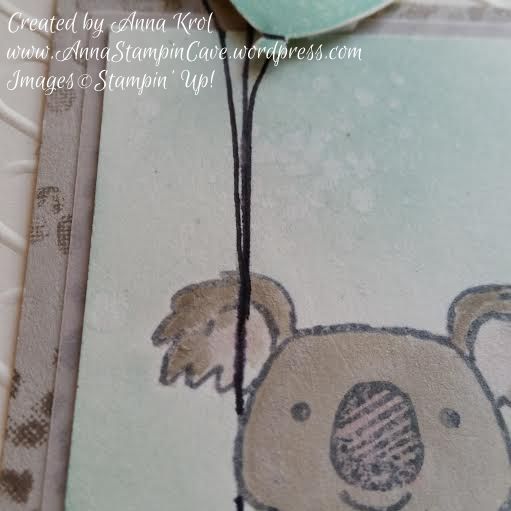
I stamped three smaller balloons from Balloon Celebration, two in Pool Party and one in Soft Sky, punch them with Balloon Bouquet punch and arrange them on the card using dimensionals. I also hand-drew balloon strings with Project Life pen (and yes, I know, I probably should have used a lighter colour, maybe Basic Grey or Smoky Slate marker) so it looks like koala is holding them in his paw.

kind koala 3

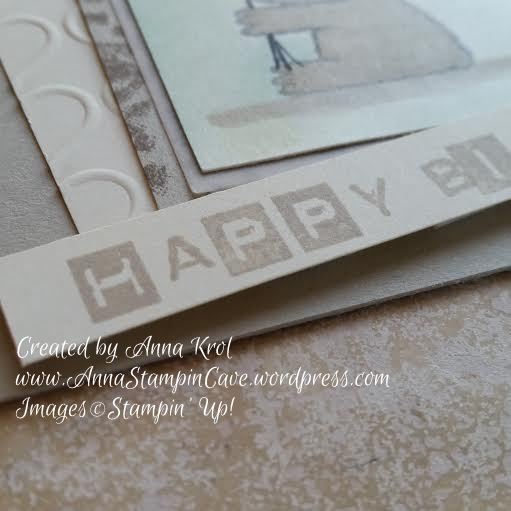
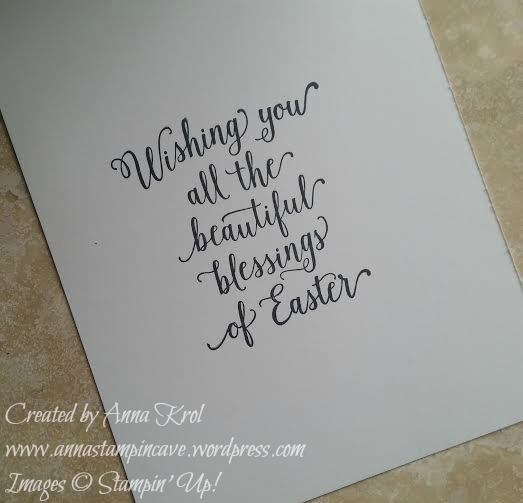
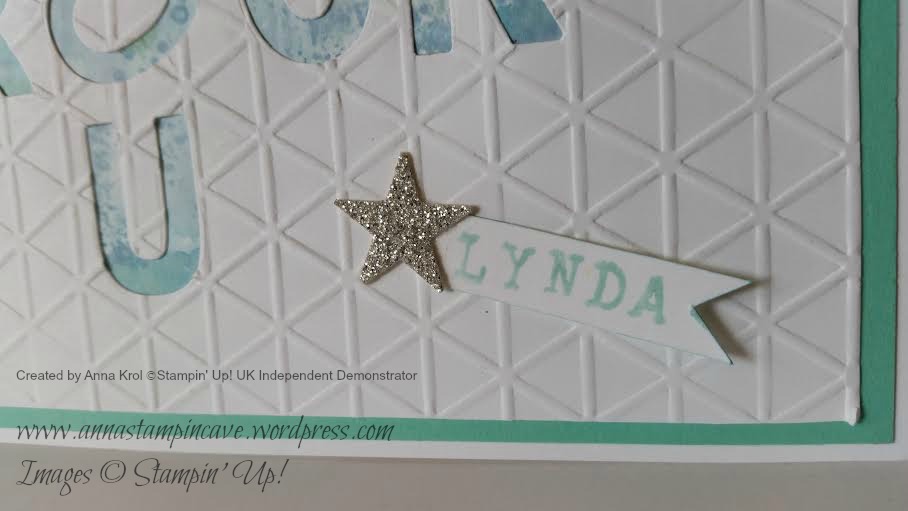
The card was busy enough so I kept the sentiment simple. I cut a strip of Very Vanilla and stamped my sentiment in Sahara Sand, using Labeler Alphabet stamp set. To keep it fun I mixed both types of letters and add it at wonky angle to my card.

Kind koala 6

Dimensions:

Very Vanilla:

  • 3-1/8 x 4-6/8″
  •  2 x 3-2/8″
  • 1/2 x 3-5/8″

Sahara Sand:

  • 2-2/8 x 3-4/8″

Vellum:

  • 2-1/8 x 3-3/8″

I’m adding my card to

Do you like my little card? I truly hope you do. Please let me know in the comments below.

Thank you for stopping by and have a blessed day,

Simply Sketched Saturday Challenge Blog Hop #8 – Easter Lamb At Wildflower Fields

Simply Sketched Saturday Challenge Blog Hop #8 – Easter Lamb At Wildflower Fields

SSSC Header

Thank you for joining us for another Simply Sketched Saturday Challenge!  We’re so excited to be sharing this hop with you. The products used are all available in the current Annual, or seasonal, Stampin’ Up!®  Catalogues*. Simply use the buttons at the bottom of the post to keep hopping!

I really like today’s sketch designed by lovely Justyna from Perfect Crafts.

SSSC 8

Don’t you just love it?! I had so many ideas for this sketch, I couldn’t decide which way to go. But I really wanted to use super cute Easter Lamb stamp as my focal point. So here’s my take on the sketch:

Easter Lamb

My very first idea for this sketch was to make a shaker card. So I created a frame for my card first. I’ve used foam adhesive at the back of my frame – you could use Stampin’ Dimensionals too. But because I only have the metallics sequins at this moment, and I really didn’t want to go into silver/gold colour theme, I gave up this idea. But then I thought: hey, you can still use the “frame” to create a dimensional layout.

Easter Lamb 2

I had some leftover pieces of Wildflower Fields DSP, so I cut three strips and adhered them to the card base, beneath my frame. I stamped Easter Lamb in Stampin’ Up! Black Archival ink on a piece of Whisper White, and die-cut it using the middle circle from Circles Collection Framelits. I’ve used Stampin’ Write Markers to add some colour to my little cutie: Pink Pirouette for ears, nose and cheeks, Sahara Sand for wool and Pear Pizzazz for grass. I also stamped some grassland using swoosh stamp from Sheltering Tree.

Easter Lamb 3

To make it even cuter I punched few tiny flowers in Blushing Bride, Daffodil Delight and Pool Party using Tree Builder Punch. I’ve made a little cut between each petal to add some extra dimension to my flowers. I also punched few raindrops using the same punch and Pear Pizzazz cardstock and turned them into tiny leaves for my flowers. To finish off my card I added smallest of the Pearl Basic Jewels to the centre of each flower. For the inside, I stamped beautiful sentiment from Suite Sayings.

Easter Lamb 4

I would love to hear from you. Do you like my take on the sketch?

Now, be sure to hop along and see more inspiring projects. Your next stop is Karen’s blog  go and see what she has made for you.

Thank you for stopping by and have a blessed day!

SSSC Previous   SSSC Next Blog

Simply Sketched Saturday Challenge Blog Hop #5 – Valentine’s Day Gift Box

SSSC Header

Thank you for joining us for another Simply Sketched Saturday Challenge!  We’re so excited to be sharing this hop with you. The products used are all available in the current Annual, or seasonal, Stampin’ Up!®  Catalogues*. Simply use the buttons at the bottom of the post to keep hopping!

Wow! It’s been long since we’ve played with our challenge last time. Did you missed us?! But we’re back with a new sketch and lots of fabby projects to bring you endless ideas and inspirations. So welcome to our 5th sketch challenge! And today’s sketch has been created for us by lovely Cat.

January 16

I love this sketch! And the moment I saw it I had this idea popped into my head. It’s a little bit out of my comfort zone because I don’t do boxes usually. But I was just dying to make my idea into a project. So here it is:

Isn’t it cute?! This box measures 4 x 3″ and make perfect “home” for Raffaello chocolates

To create my box I took 2 pieces of whisper white that measured: for the lid 7 x 6″ (I trimmed it later slightly) and for the base 6-7/8 x 5-7/8″. I stamped the top piece randomly using a Real Red ink pad and flowery stamps from Bloomin’ Love stamp set. When it was done I scored both pieces at 1-1/2″ on each side. After I assembled the base I’ve decided I want my lid to be slightly shorter than the base so I trimmed it 1/2″ on each side.

stamping on tissue paper

I also stamped same design on a piece of white tissue paper, to put it inside of my box. As for the sentiment, I’ve stamped it in Real Red again and fussy cut it. But because it would disappear in a “busy” background I die cut a circle from Dazzling Diamonds Glimmer Paper. I attached it to my box with Tombow adhesive and added my sentiment on top using dimensionals.

Valentines Day favour box 2

Taa-daah! The box is done! And it’s perfect little box for delicious chocolates. Or maybe for a piece of jewellery? What do you think?

I hope you enjoyed my little project today. I would love hearing from you.

Now, be sure to hop along and see more inspiring projects. Your next stop is lovely Karen  go and see what she has made using our cute sketch. Thank you for stopping by and have a blessed day!

SSSC Previous   SSSC Next Blog

Floral Wings By Stampin’ Up! And Pootlers Blog Hop

pootlers blog hop

Thank you for joining us on our second Pootler’s Blog Hop! This Blog Hop is all about new Stampin’ Up!® Annual Catalogue so prepare yourself for lots of beautiful projects and tonnes of inspiration. Simply use the buttons at the end of each post to keep hopping!

If you have arrived here from Keren’s blog thank you for stopping by. I hope you enjoy seeing the inspiration from our team and continue to hop on through to see what everyone has made.

It’s actually my very first blog hop so I’m a little bit nervous but hey – let’s have some fun!

For today’s projects, I’ve chosen gorgeous new hostess set Floral Wings. The idea for today’s cards was born the minute I saw our new 6×6″ Brick Wall Embossing Folder.

blog hop roz 2

For my top layer, I stamped the vine and roses first before embossing it with Brick Wall TIEF. But I wanted to watercolour my panel so needed my images to be water-proof. To achieve it I ink vines stamp in Versamark first, followed by Pear Pizzazz ink pad – this way once stamped Versamark was on top and I could emboss it with clear embossing powder. I did the same with roses, just used one of our new In Colors: Watermelon Wonder ink pad. The sentiment is stamped in another new In Color: Tip Top Taupe.

Floral Wings Stamp Set

I’ve used embossing resist technique to create the background. I applied Versamark onto the ridges of embossing folder ( on the side that says Sizzix) and run it through the Big Shot with a piece of Whisper White. Then I heat embossed it with clear embossing powder. I used Pink Pirouette, Blushing Bride and Watermelon Wonder to watercolour my panel, and added few Gorgeous Grunge splotches.

Floral Wings Stamp Set

I die cut butterfly from Whisper White and embossed it using Iridescent Ice embossing powder for some sparkle. Tiny bit of new Silver Metallic Thread (L.O.V.E. this stuff!!!) and my card was done 🙂

My second card measures 4×4″ and background (panel) is made using the same technique.

blog hop square 2

This time for the focal point I’ve used this gorgeous three-step butterfly stamp from Floral Wings set. First I stamped wings in Tip Top Taupe. Next roses in Watermelon Wonder. Leaves are the third step. I’ve used (again) Pear Pizzazz. I die cut the butterfly using new Bold Butterfly Framelits, but if you don’t have dies you can also fussy cut it. The second butterfly is die cut from vellum, this time with Butterfly Thinlits Die. I layered them together to add some more interest and dimension to the card.

blog hop square

My last card for today uses same technique and stamp set like previous cards – just completely different style and different colours. I also used new background stamp A World Of Thanks and Cotton Paper. And again – I love this stuff! I know that many people got mixed feelings about it but I truly, deeply love it 🙂 Cotton paper is quite thin, like a tissue paper, but is much, much stronger. Really hard to tear it’s perfect for making flowers. It die-cuts beautifully but if you want to use punches (like me in this project) bear in mind that you need to punch through several layers at a time, otherwise it won’t punch. But enough talking – here’s my card:

blog hop blue 2

I won’t go into details how I made the entire card, but…

blog hop blue

For flowers, I’ve used Bermuda Bay cotton paper and three different punches: Pansy Punch for the largest one (six layers), Petite Petals Punch for medium flowers (six layers) and little flower from Itty Bitty Accents Punch Pack for the tiny ones (three layers for each flower).

blog hop blue 3

To make leaves I’ve used Petite Petals and Flower Medallion punches and Cucumber Crush cotton paper. For the flower centres, I’ve used 2/8″ wide and around 2″ long strips of Crushed Curry cotton paper. I do not own fringe scissors however it wasn’t that hard to make tiny cuts (halfway) through those strips. Adhered them with Tombow glue.

I really hope you’ve enjoyed my projects today. Which one is your favourite? Feel free to leave a comment below. Next stop is lovely Jerim at Willow Piggy. I’m sure she’s made something beautiful for you.

   next blog

previous blog

Thank you for stopping by,

Truly Blessed And Grateful

It’s been a long time since last time I posted a project on here. I still struggle with crafting a bit but seems like my hands are slowly getting better. Last week I’ve noticed that I can manage to hold a pen, which I wasn’t able to do since February – I nearly cried with happiness.

Today I wanted to share with you cards I’ve made recently for few of my friends from all over the world. Friends who supported me and cheered me up when I was really poorly and in hospital. I have to say I’m truly blessed and grateful to have such an amazing people in my life. These cards have been delivered already so no faux pas here xx

linda 3

Linda 2

Linda

lynda 4

lynda 2lynda 3

And what are you grateful for?

Thank you for stopping by,