Embossing Resist Technique With Corner Garden Background Stamp By Stampin’ Up!
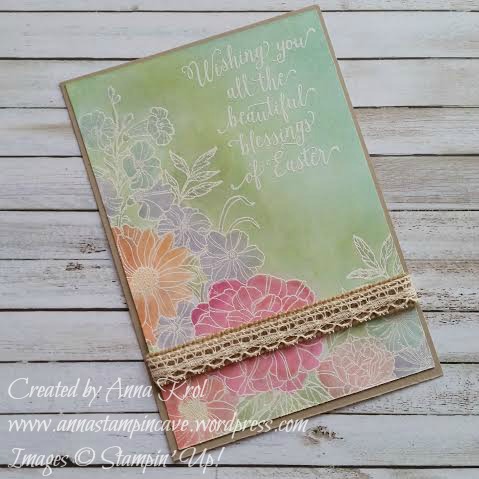
While Easter is just around the corner, today I’ve got for you beautiful Easter card using embossing resist technique. I love this technique as it has a real WOW factor to it! I love how the colours just POP on the card when sponged or water coloured over the heat embossing.
But first thing first – I wanted to apologise for being absent on the blog for a long time. I didn’t mean to neglect anyone of you but I’ve been struggling with a very nasty bacterial chest infection, which knocked me down, literally. I wasn’t able to do anything around the house, or even myself (not to mention crafting). So blessed to have a wonderful husband who took care of the house and our family, cooking, cleaning, etc and most of all – me.
The project I share today was made for our team swap at the end of February. But since the infection kicked in I wasn’t able to share it with you at all.
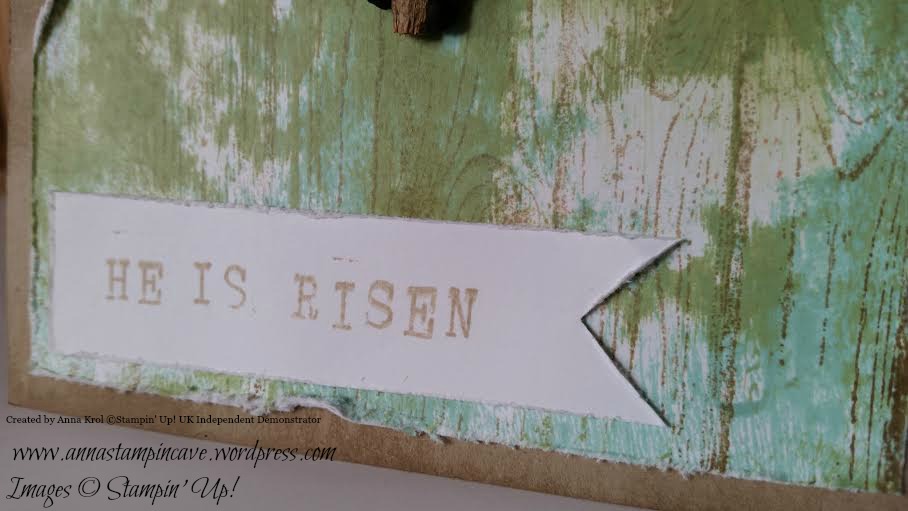
To create my card I stamped a beautiful image from Corner Garden background stamp in Versamark on the piece of regular Whisper White. Remember to always use an antistatic tool on your card before stamping your image if you want to heat emboss it, as it will take all the static from your card, and embossing powder will stick only to your stamped image. The sentiment is stamped in Versamak too. Both: flowers and sentiment are heat embossed in white.
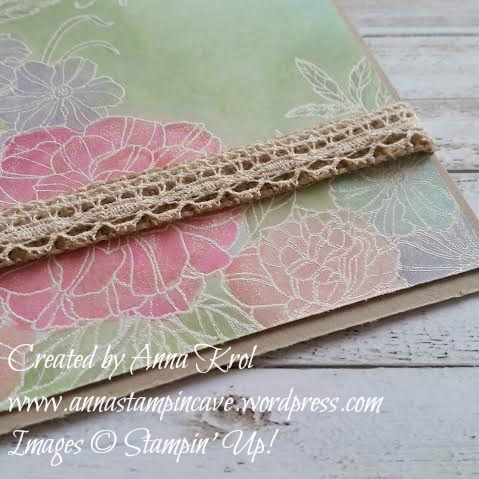
Now the fun part starts – water colouring! You may think: oh no! You should use a watercolour paper. But to be honest, if you don’t plan to soak your cardstock in water, use your aqua painters gently, and your layer will be mounted on the base – you can add your water colouring on regular cardstock without any problem. Just like I did. Believe me or not, I coloured all my flowers and leaves using aqua painter. As they say, the devil is in the detail. You can’t allow aqua paint brush to carry lots of water, it needs to be slightly wet. You only use it to pick the colour from the lid of your ink pad ( to have some ink on your lid you have to squeeze you ink pad gently when it’s closed). And you pick more colour with every stroke or two. You can’t paint with water only as it will damage your paper if using regular Whisper White.
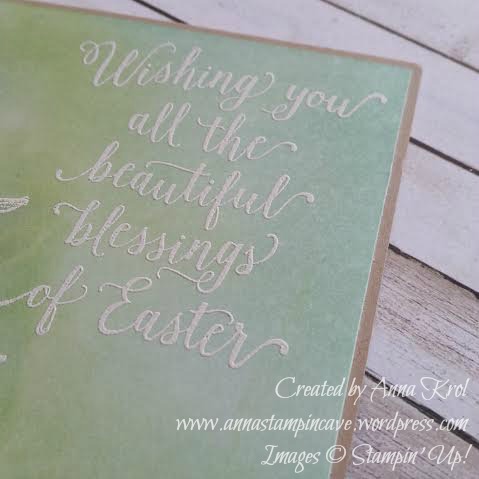
When all the colouring was done I sponged the background using Pear Pizzazz, Wild Wasabi and Pool Party. Any place of the background that I thought was too dark, I lightened with Whisper White Craft ink pad. I also lightened the look of some flowers, especially the Melon Mambo one, the large at the bottom of my card. I also added some Clear Wink of Stella to my flowers for a shimmer.
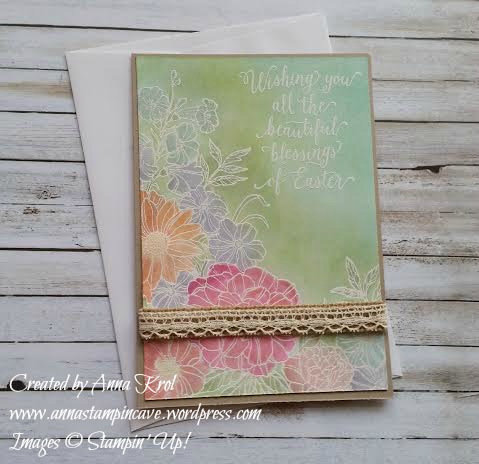
To embellish my card I cut a narrow strip of Burlap Ribbon, added Venetian Crochet Trim at the top and add it at the bottom of my layer. Next, I mount it on my Crumb Cake base.
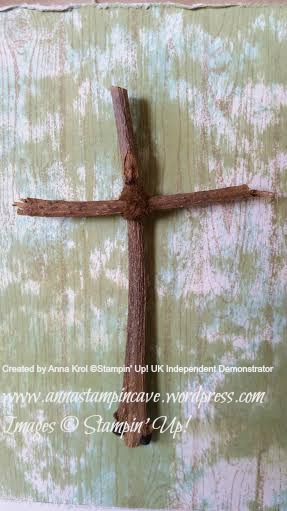
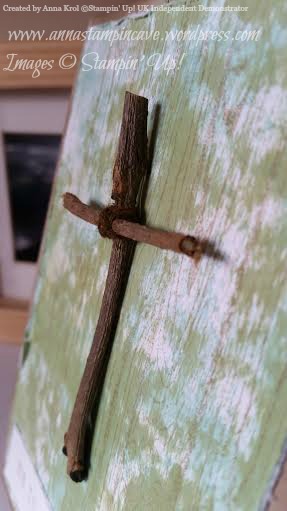
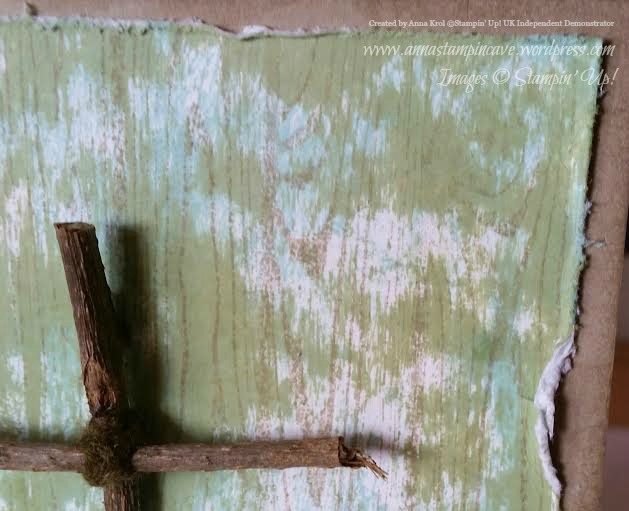
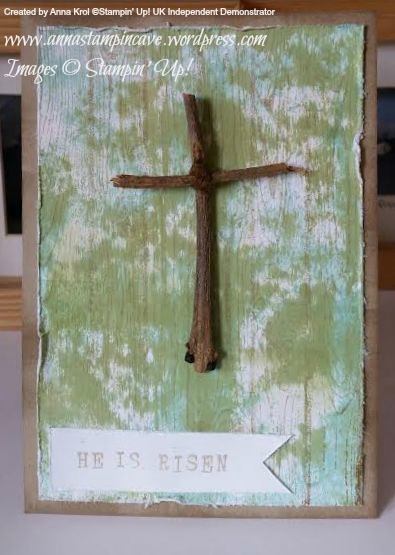
I love that slight rustic feel to my card, even though there’s lots of shimmer on the flowers from Wink of Stella. It may not be your traditional Easter card but I love it! And you can always change a sentiment and make it into the birthday card, get well or congratulations card maybe? Possibilities are endless. If it comes to Easter I personally prefer cards with the strong message like this one I’ve made last year:
Now I would love to hear from you! Do you prefer more traditional Easter cards? Or maybe you’re a fan of fun and cheeky ones (I’ve seen lots of these lately)? Let me know in the comments below.