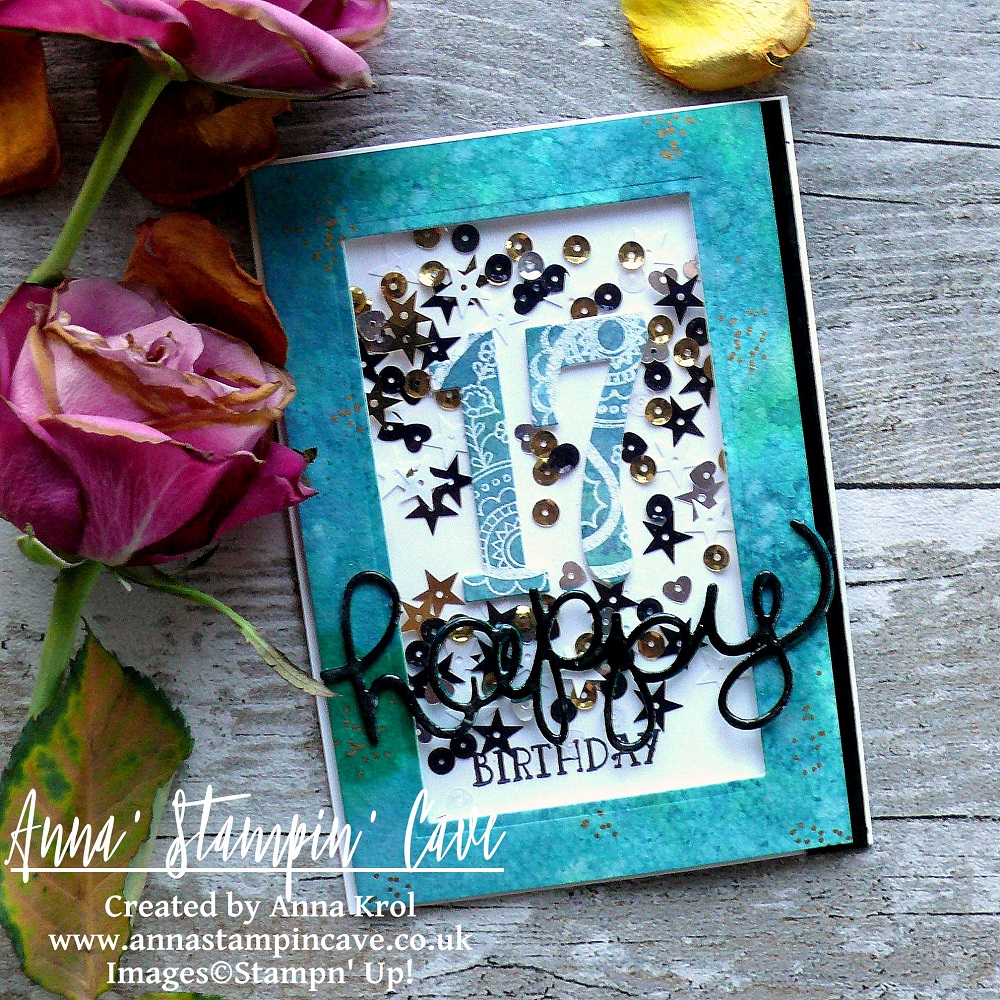
Hello and welcome! Today I want to share with you a card I’ve made for our daughter’s 17th birthday. I don’t know where the time has gone but I could swear she was just 7 not that long ago.
She’s not a girly-girl ( happy mamma here lol). She’s studying fine art in Sixth Form and she loves mixed media. So I had to come up with something little more ‘sophisticated’ than flowers and butterflies if you know what I mean 😉
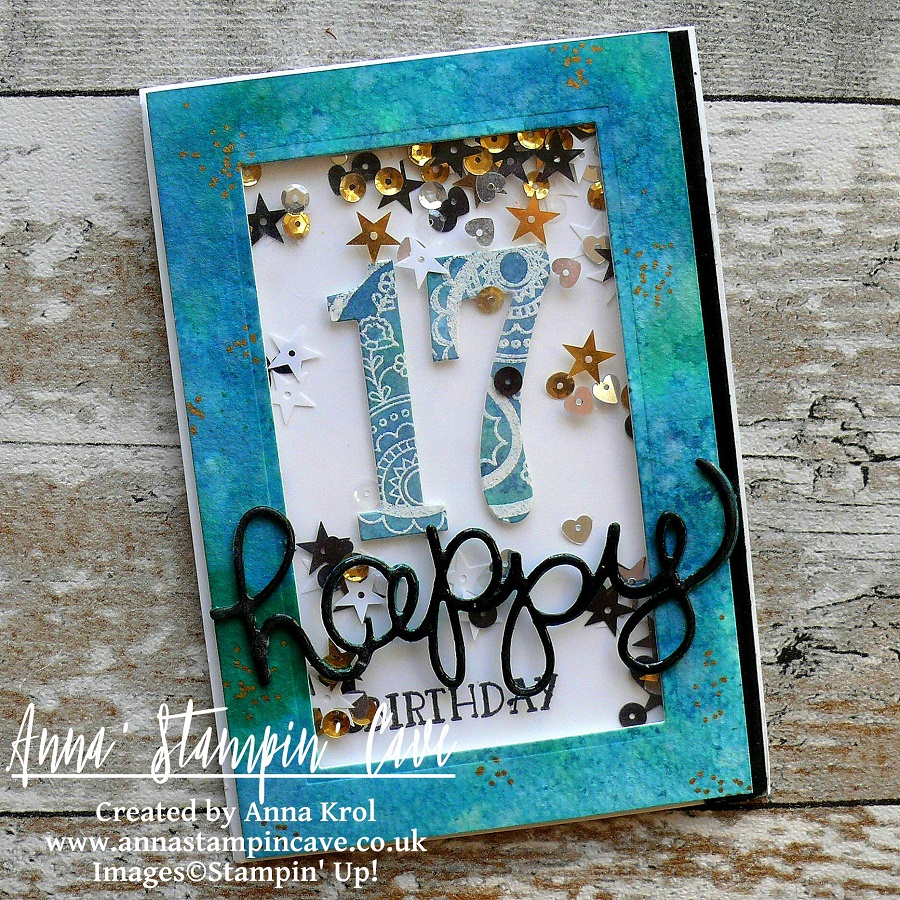
This year I decided to make a shaker card in beautiful teal shades. [You can see her last year’s birthday card here]

Shake It In Teals Card dimensions:
- Thick Whisper White cardstock: 11-6/8″ x 4-1/8″ scored in half at 5-7/8″ (29.7 x 10.5 cm scored in half at 14.8 cm)
- Watercolour Paper: 5-6/8″ x 3-7/8″ (14.5 cm x 9.7 cm)
- Basic Black cardstock: 1/2″ x 5-6/8″ (14.5 cm x 1.2 cm)
- for die-cutting word happy pieces of Basic Black, Island Indigo and Emerald Envy
It’s very simple, a straightforward card so I won’t include a whole step by step instructions, just some hints, and tips.
Frame: To create a teal-like shade for the watercolour panel I’ve mixed Island Indigo ink with Emerald Envy ink in a watercolour wash. When the panel was dry I die cut a rectangle from the middle of the panel, creating a frame.

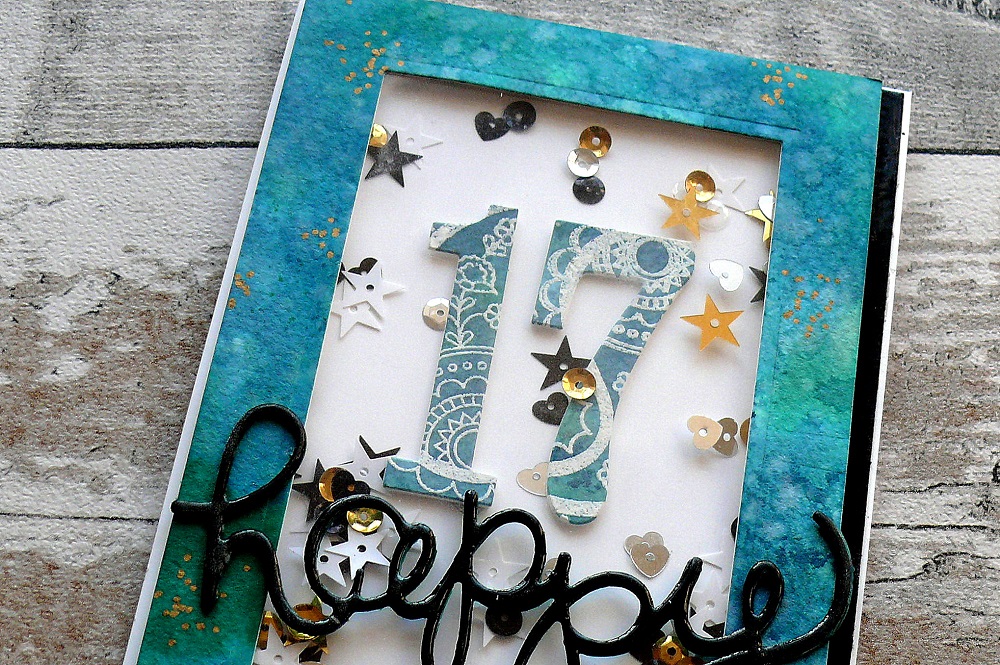
Numbers: I didn’t want the number to look flat and boring, so I took that watercoloured rectangle, stamped two paisley images in Versamark in the middle, heat embossed them in white and die cut numbers 1 and 7 from that piece.
‘Happy’: I die cut it three times: one from Basic Black cardstock, 2nd from Island Indigo and 3rd from Emerald Envy and adhered them together. To add shine to it I cover my word in Versamark and heat embossed in clear. I did the same with the Basic Black strip.

Before I put my shaker card together I adhered few sequins to the base of my card so not all sequins fall down when the card is standing on the shelf. For the final touch, I added some random gold dots to the frame with my gold Sharpie.
There’re few things that didn’t come out as I hoped for, but with my numb hands, I think that overall the card looks nice. The most important is the fact that our girl loved it, so YAY!
If you wish to purchase any of products I have used, simply click the images below to go directly to my online store and don’t forget to enter the hostess code for the month of March G3JKVASG to receive a gift from me.
Thank you for stopping by and have a blessed day


