Anna’ Stampin’ Cave – Faux Watercolour For GDP#072 Case The Designer Challenge
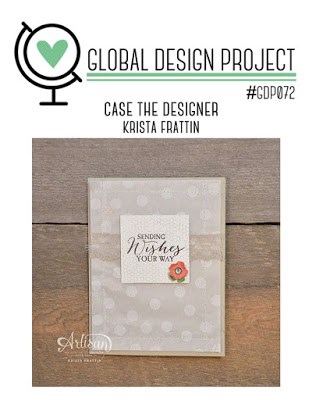
Hello and welcome everyone! Today I’m back with my entry for Global Design Project. This week’s challenge is ‘CASE the Designer’ – we are casing extremely talented Krista Frattin.
If you’re not sure what ‘CASE’ stands for, at least in crafty world, here are few decipherings: Copy And Selectively Edit or Copy And Share Everything. Generally speaking, it means that you take inspiration from someone else’s project, like colours, layout, stamp set used, etc, and add your own twist to it.
I really loved this simple layout and toned palette with a little pop of colour, so this is what I ‘borrowed’ from Krista’s card. But I’ve decided to use a new stamp set from Stampin’ Up! Spring Summer Catalogue called Special Reason.

Faux Watercolour Special Reason card dimensions:
- Very Vanilla cardstock: 11-6/8″ x 4-1/8″ scored in half at 5-7/8″ (29.7 x 10.5 cm scored in half at 14.8 cm)
- Sahara Sand cardstock: 4″x 5-6/8″(10,2 x 14,5 cm)
- Water Colour Paper: 2″ x 3″ (briefly as it will be die-cut later)
- Flirty Flaming Ruched Ribbon: length 6″ approx
- Very Vanilla Lace Trim: length 6″ approx
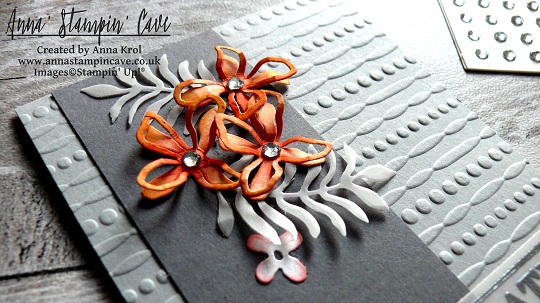
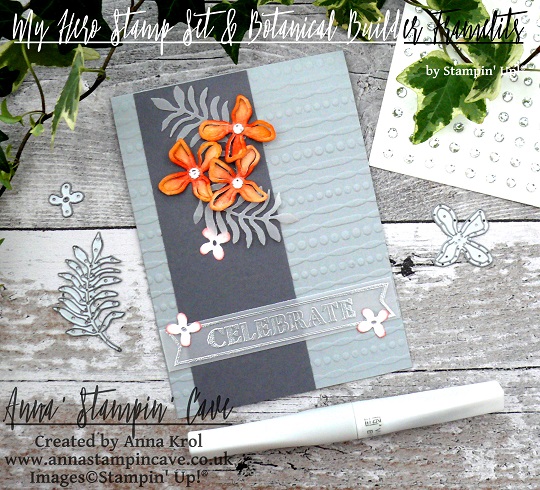
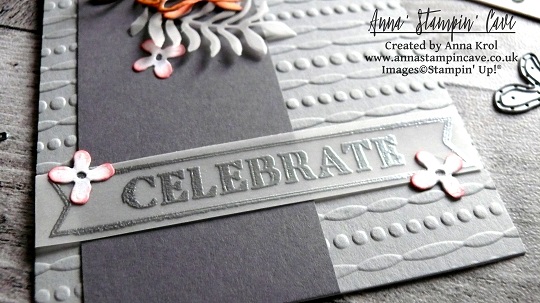
I began with dry embossing Sahara Sand panel with a Festive embossing folder. I love this design as it’s really versatile. For my card, I’ve used de-bossed side. I added Flirty Flamingo Ruched ribbon to the panel, briefly in the middle, and secure it at the back with snail adhesive. Next, I added Very Vanilla Lace Trim on top of it, slightly overlapping both ribbons so Flirty Flamingo was peeking from underneath the lace. I adhered my panel to the card base with liquid adhesive and red-lined tape where the ribbons were for extra security.
To create my focal point I’ve used few great techniques: watercolour, faux watercolour, rock’n’roll, masking and partial die-cutting.
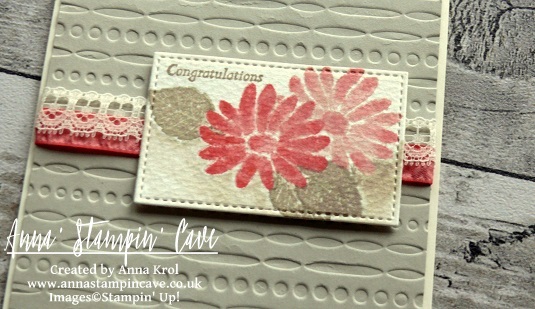
I started with stamping my flower onto watercolour paper. I loaded my stamp with Blushing Bride Ink and then ‘rocking’ my stamp I added Flirty Flamingo only on the edges of the stamp – that’s rock’n’roll technique, super easy hey? Once I stamped the image, I took an aqua painter and started blending both colours on each petal creating a faux watercolour effect. I also added Flirty Flamingo ink to the centre of the flower. I build up the colour (but I let it dry completely between layers) by adding more Flirty Flamingo to the top of each petal and blending it down with an aqua painter.
Next, I created a mask. I stamped the same flower onto a post-it note and fussy cut it. I stuck it to my watercolour flower (first, make sure it’s dry) and using Stamp-a-ma-jig I stamped two leaves in Sahara Sand, one below, and one on the side of my flower. Using same faux watercolour technique I blended the ink on my leaves, being careful not to lose subtle veins detail. I also created a leaf mask and added another leaf at the bottom of the flower.
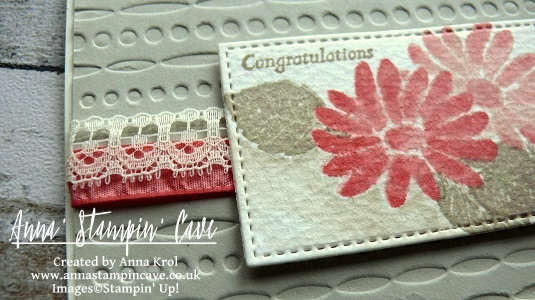
Not taking off the masks, and with help of Stamp-a-ma-jig again, I stamped another flower. This time I only used Blushing Bride ink for a softer shade. But still added a hint of Flirty Flamingo ink to the edges of petals while blending them with water.
Before die-cutting my piece, I decided to add a little bit of shading beneath my composition. Nothing fancy, just a subtle watercolour wash with Sahara Sand ink and aqua painter. I love how it added an extra dimension to my piece.
To die-cut my watercolour panel I’ve used a second smallest square (1-5/8″) from Stitched Shapes Thinlits Dies. But this is a rectangle, you say. Yes, I know, but I extended my die using partial die cutting technique (if you want to know how to do it, please leave me a comment below). The final piece measure 1-5/8″ x 2-5/8″ (4.2 x 6.7 cm).
I assembled my watercolour panel using Stampin’ Dimensionals.
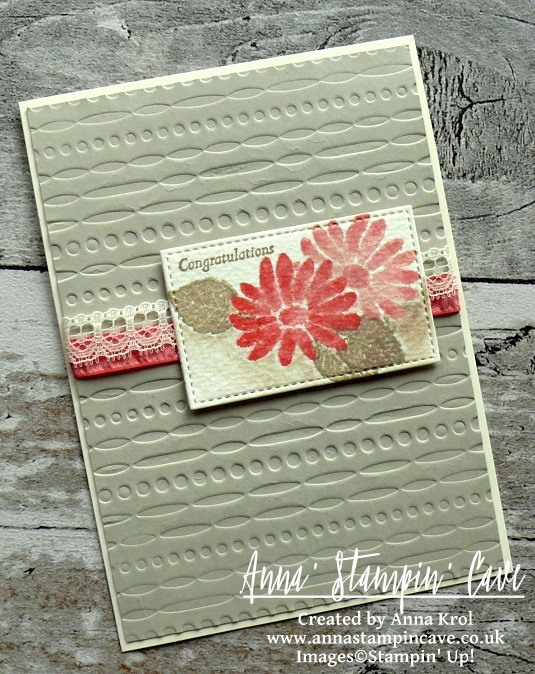
I really like how this card turned out. No need for extra embellishments, it’s beautiful as it is. I hope you like it too, and that I inspired you to try some of the techniques I showed, especially mess-free, faux watercolour.
I really want to encourage you to check the Global Design Project challenge blog. They have a new challenge every week with various themes and extremely talented Design Team – they will simply blow your mind with their creativity! Just click on their logo below to visit the website
As always, if you wish to purchase any of the products I have used, simply click the images below to go directly to my online shop.
Thank you for stopping by and have a blessed day,

