Dragonfly Dreams Clean & Simple For GDP#069 Colour Challenge

Anna’ Stampin’ Cave – Dragonfly Dreams Clean & Simple For GDP#069 Colour Challenge

gdp069

Hello and welcome everyone! Something new from me today as it’s the first time when I bite the bullet and decided to take a part in Colour Challenge over at Global Design Project.

I’ve been following this blog for some time now, just never felt confident enough to join in the fun. But hey! It’s just for fun, right?! And when I saw Delightful Dijon (I really, really love this colour) amongst other colours in this week’s challenge, I just knew: now or never. It’s a great colour combination and as my free choice, I simply used Whisper White.

I didn’t craft much lately due to health issues, but I was eager to use a new stamp set from Stampin’ Up! Spring Summer 2017 Catalogue, called Dragonfly Dreams. It comes with coordinating Detailed Dragonfly Thinlits Dies, as a bundle, and is just beautiful. It seemed perfect for the idea I had in my head.

Just forgive me poor photos. I don’t have any fancy equipment and take my photos in the daylight. But the weather is so miserable since few days down here in Midlands, UK, that it was just impossible to take any decent picture.
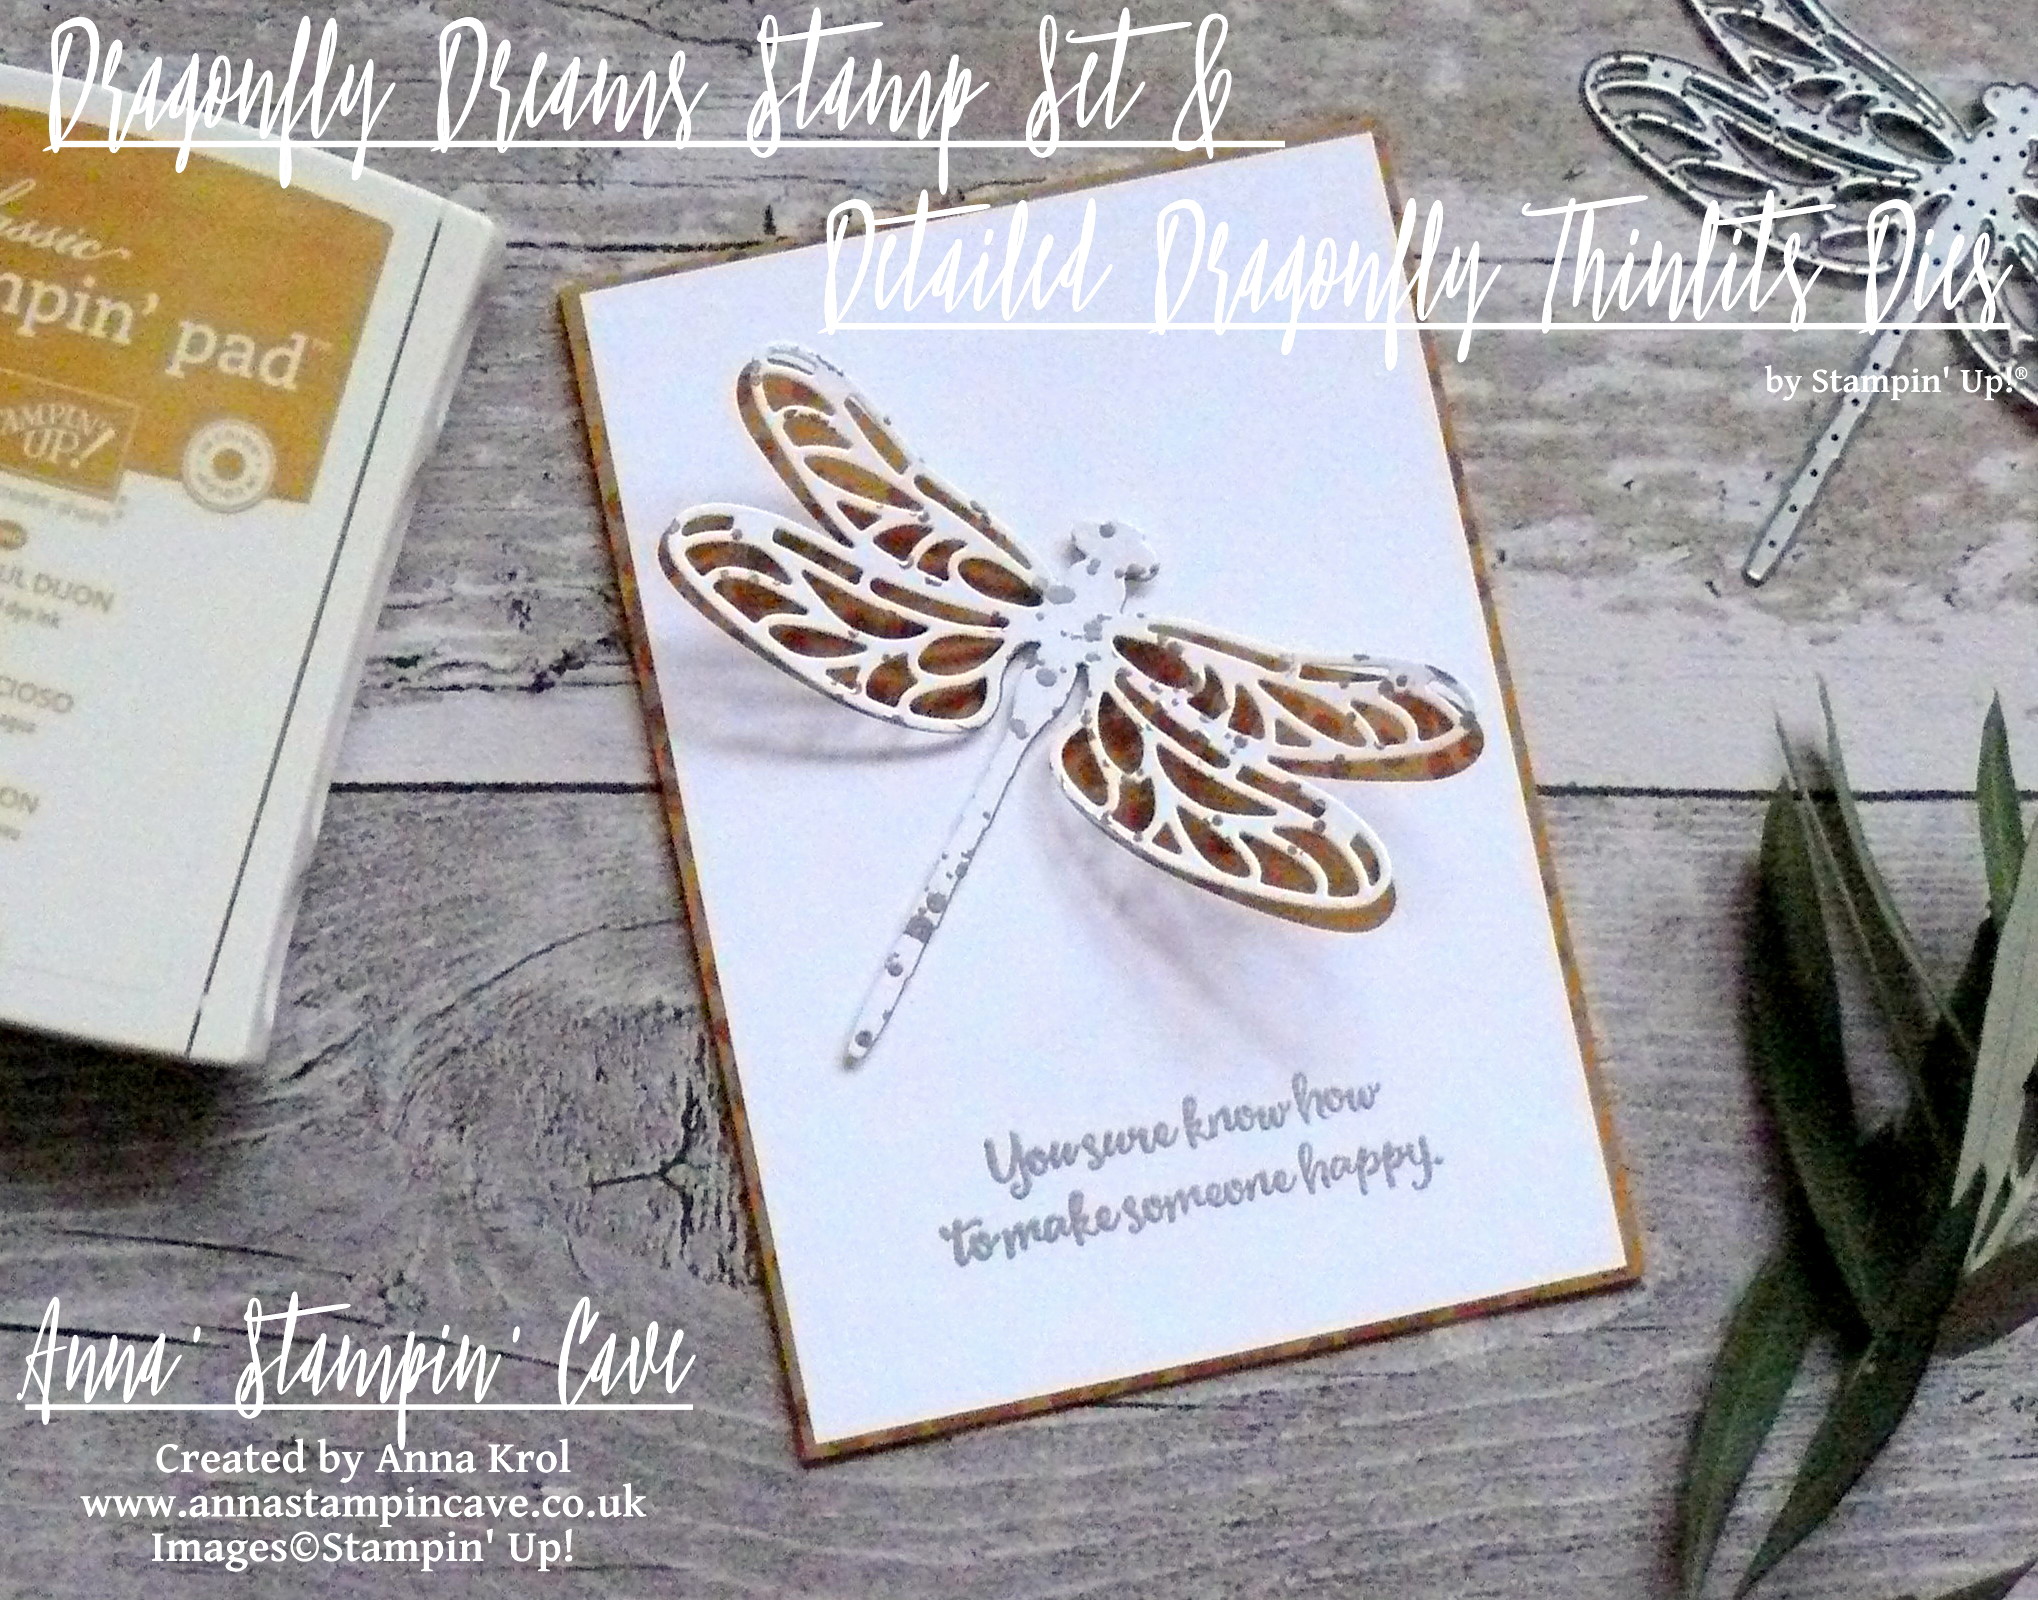
anna-stampin-cave-stampin-up-dragonfly-dreams-stamp-set-and-dies-bundle-clean-and-simple-card

‘Nearly Inlay’ Dragonfly Dreams card dimensions:

  • Delightful Dijon cardstock: 11-6/8″ x 4-1/8″ scored in half at 5-7/8″ (29.7 x 10.5 cm scored in half at 14.8 cm)
  • Whisper White cardstock: 2 panels 4″x 5-5/8″(10,2 x 14,3 cm)

First, I stamped the card base with the polka dot (kinda) background stamp from Dragonfly Dreams Stamp Set until it was all covered. I’ve used Delightful Dijon ink for a tone on tone effect.
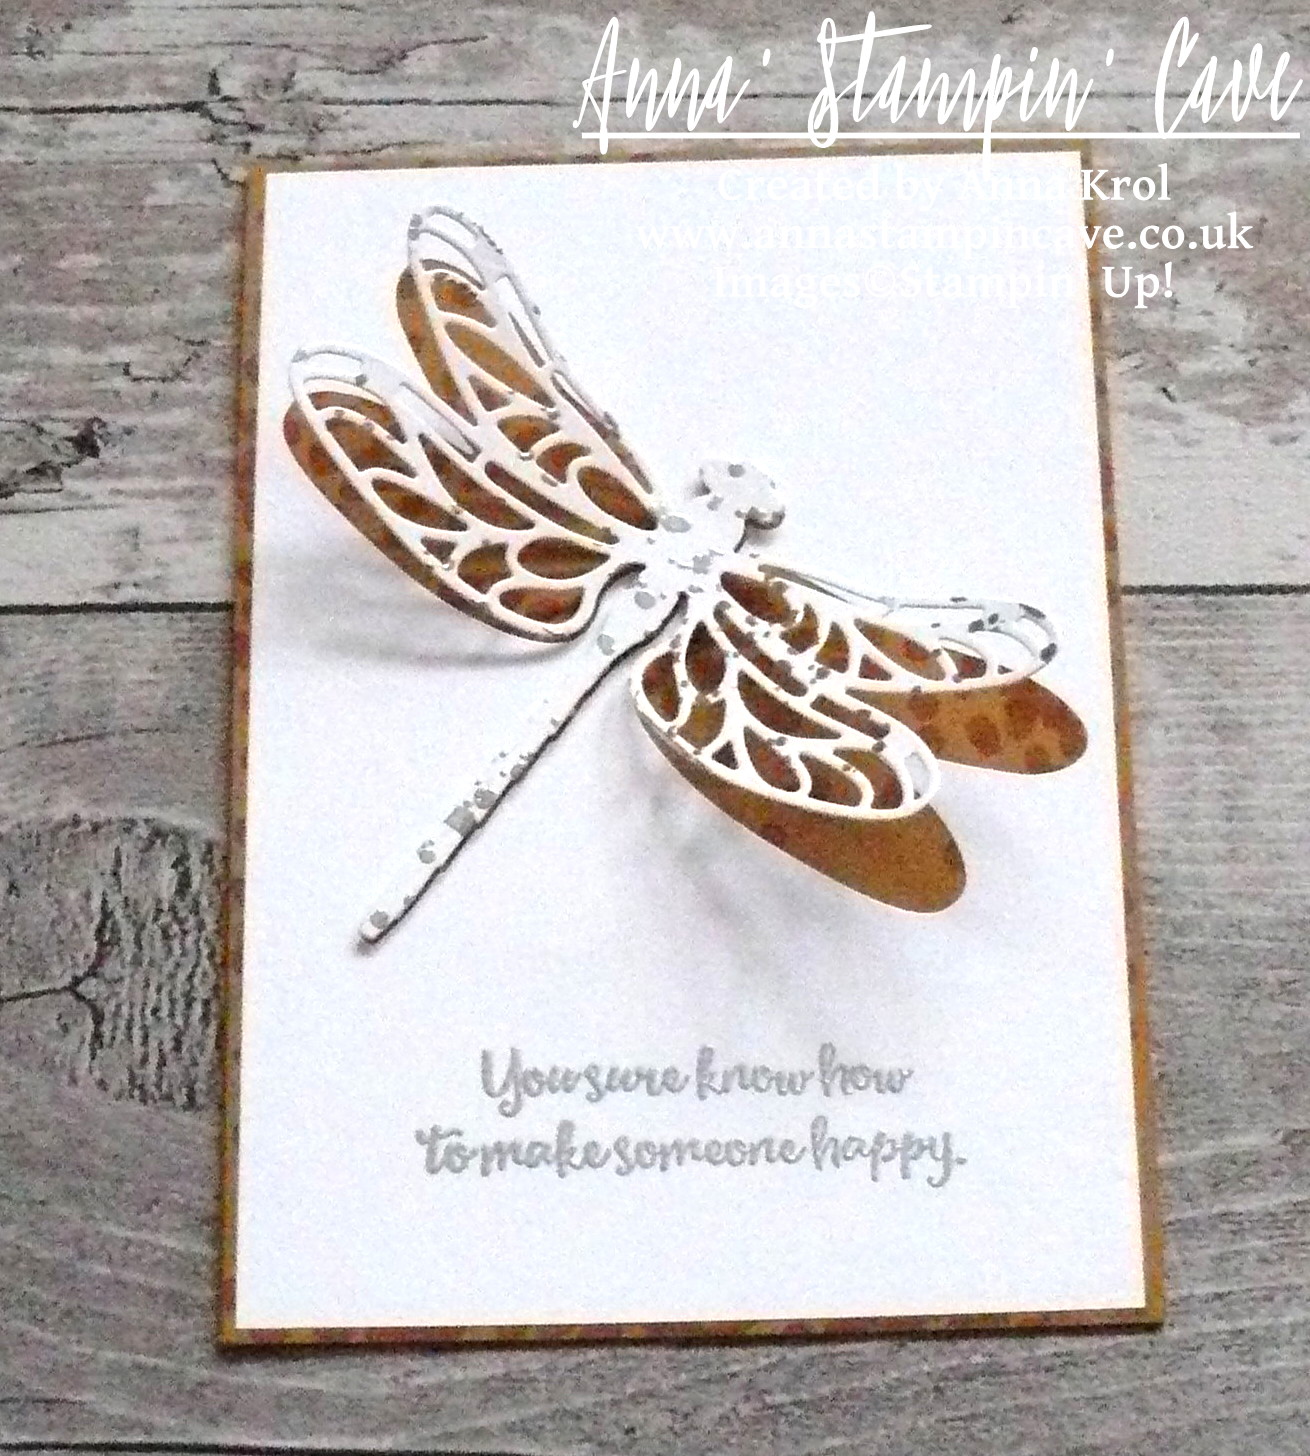
anna-stampin-cave-stampin-up-dragonfly-dreams-bundle-clean-and-simple-card

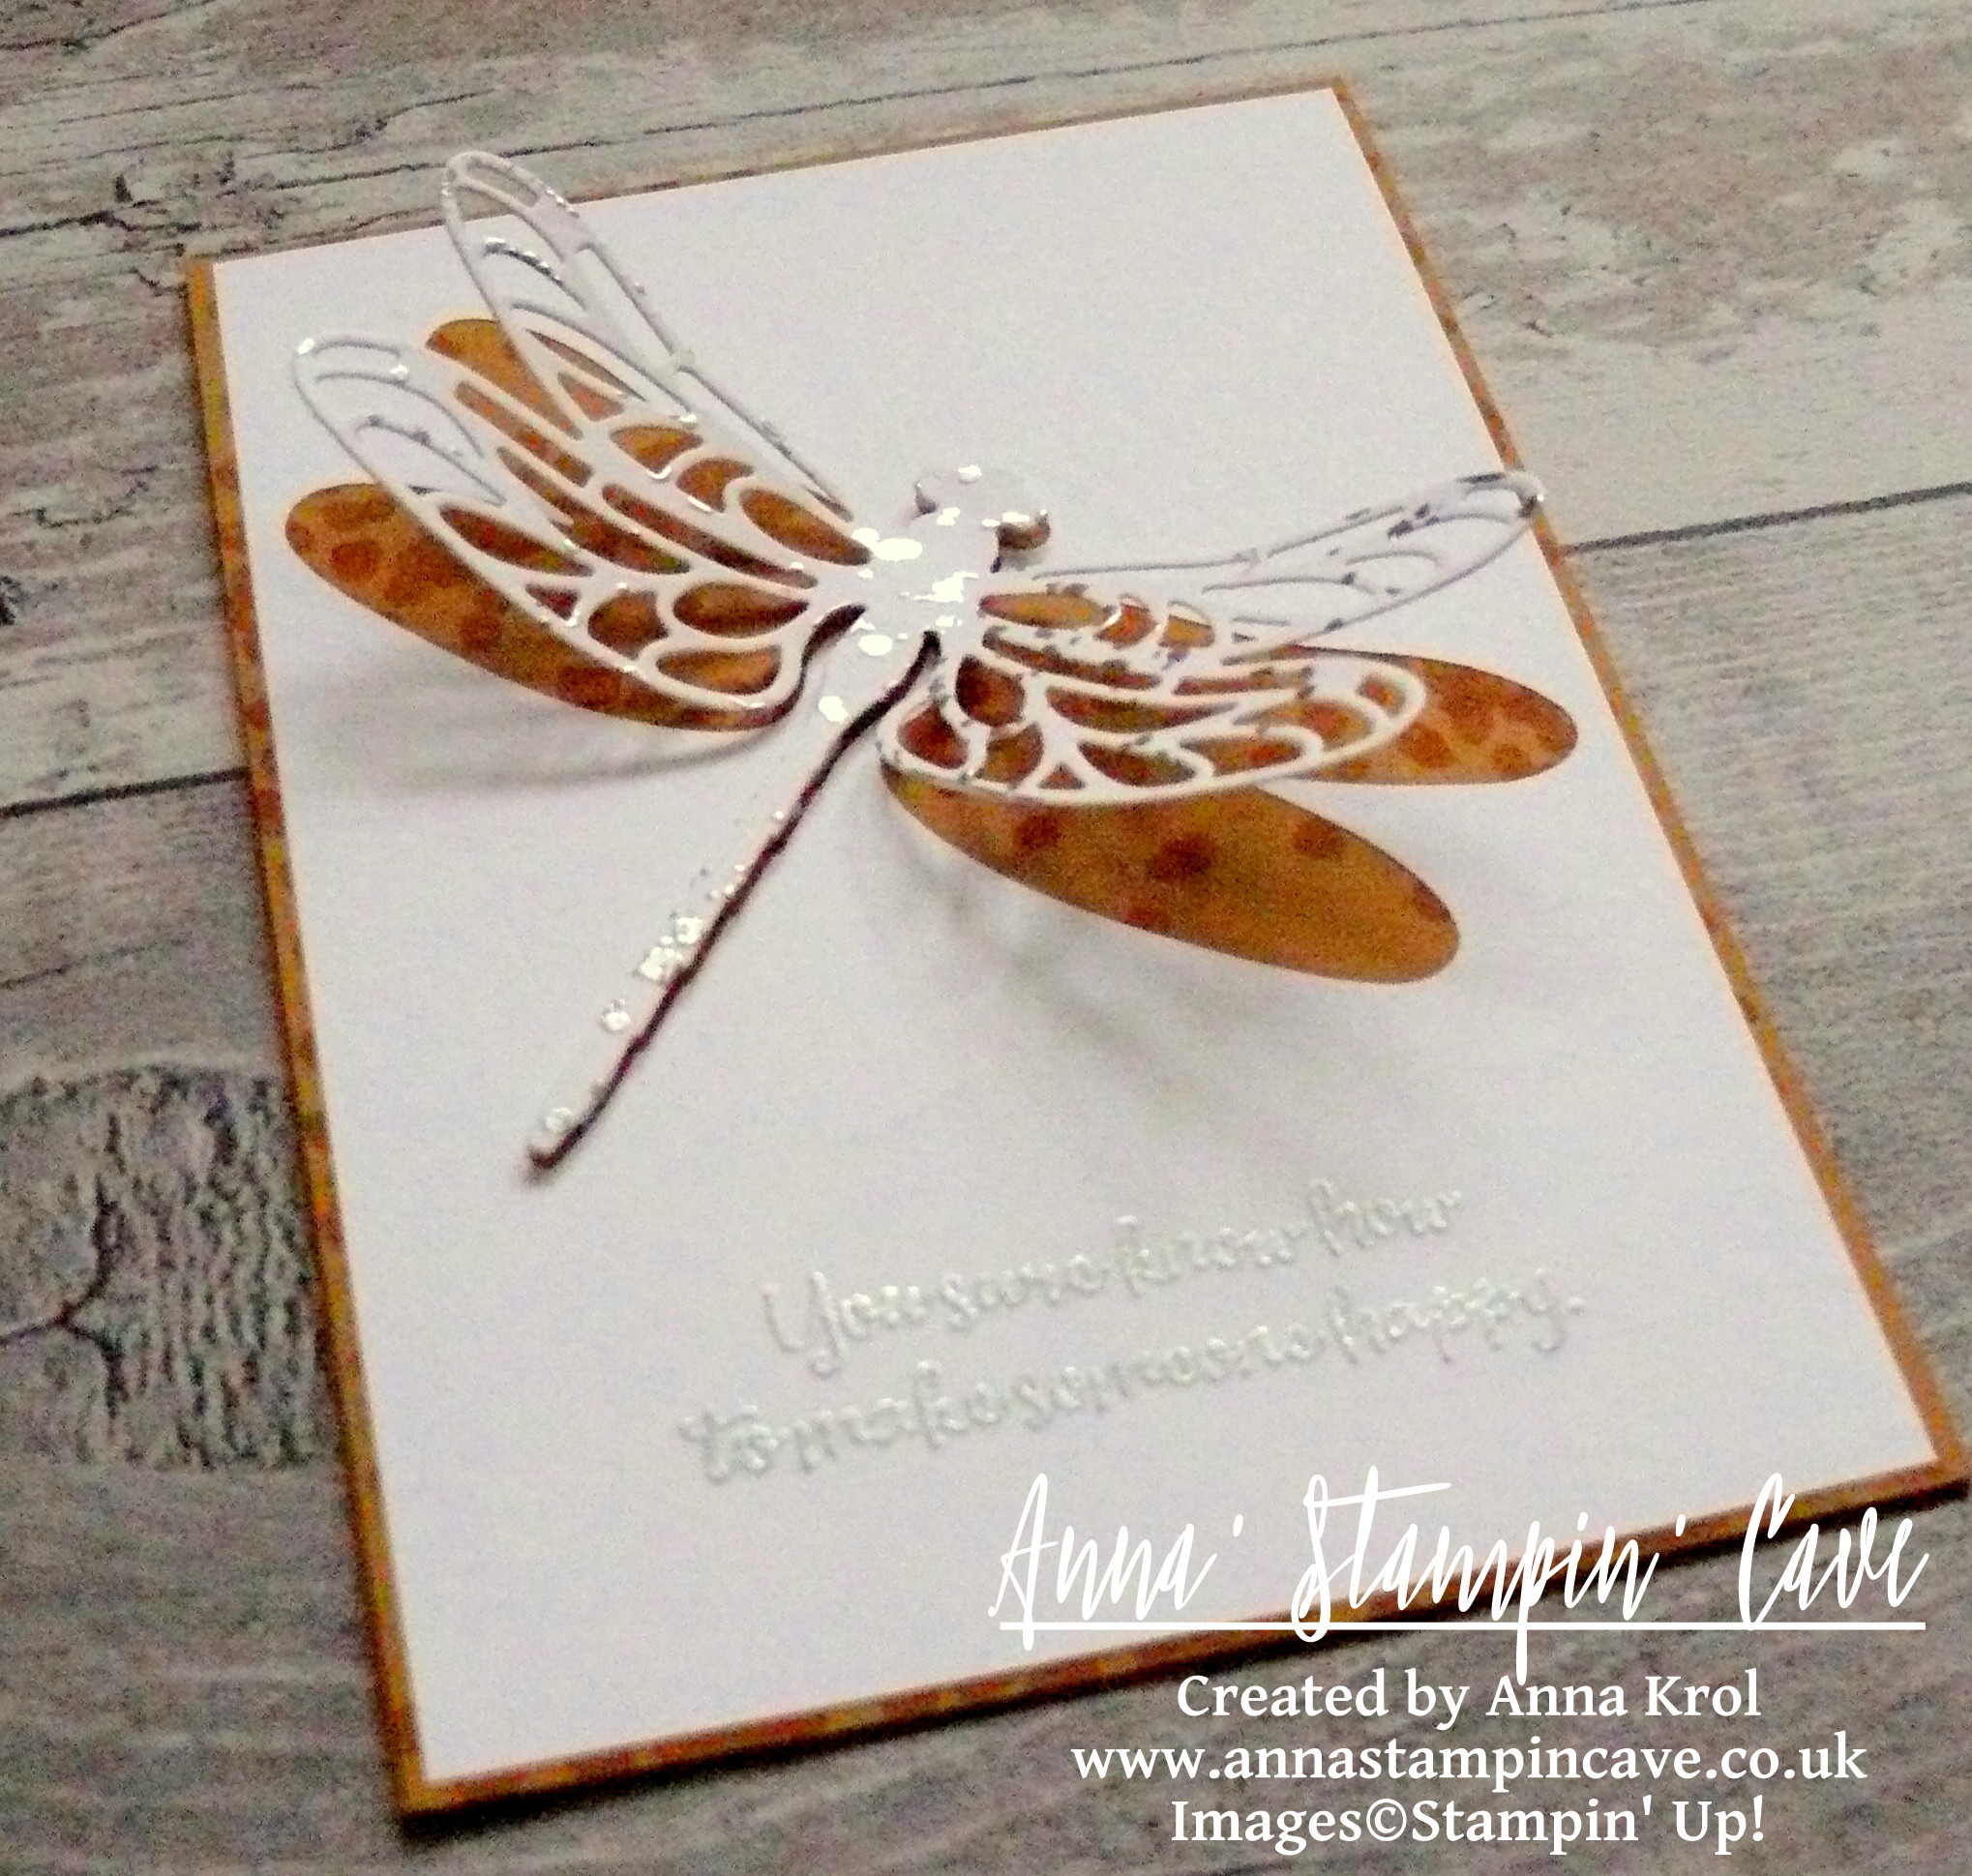
Next, I die-cut the largest detailed dragonfly, using Detailed Dragonfly Thinlits Dies, from one of the  Whisper White panels and adhered that panel (without dragonfly) to the card base. Of course, I forgot to stamp my sentiment before adhering the panel to the card front.  Typical, right?! LOL But nothing was lost yet. I picked the beautiful ‘You sure know how to make someone happy’ sentiment from Dragonfly Dreams Stamp Set (I love sentiments and the fonts in in this set) and heat embossed it on my card base with silver embossing powder. Seemed easy, but while heat embossing it, the base ‘curled up’ a bit. So I run it through my Big Shot to straighten it up. Bear in mind if you’ve got worn out plates they will leave an impression on your cardstock – ask how do I know.

For the inside panel, I stamped few dragonflies in Delightful Dijon in the corners before adhered it with liquid adhesive.
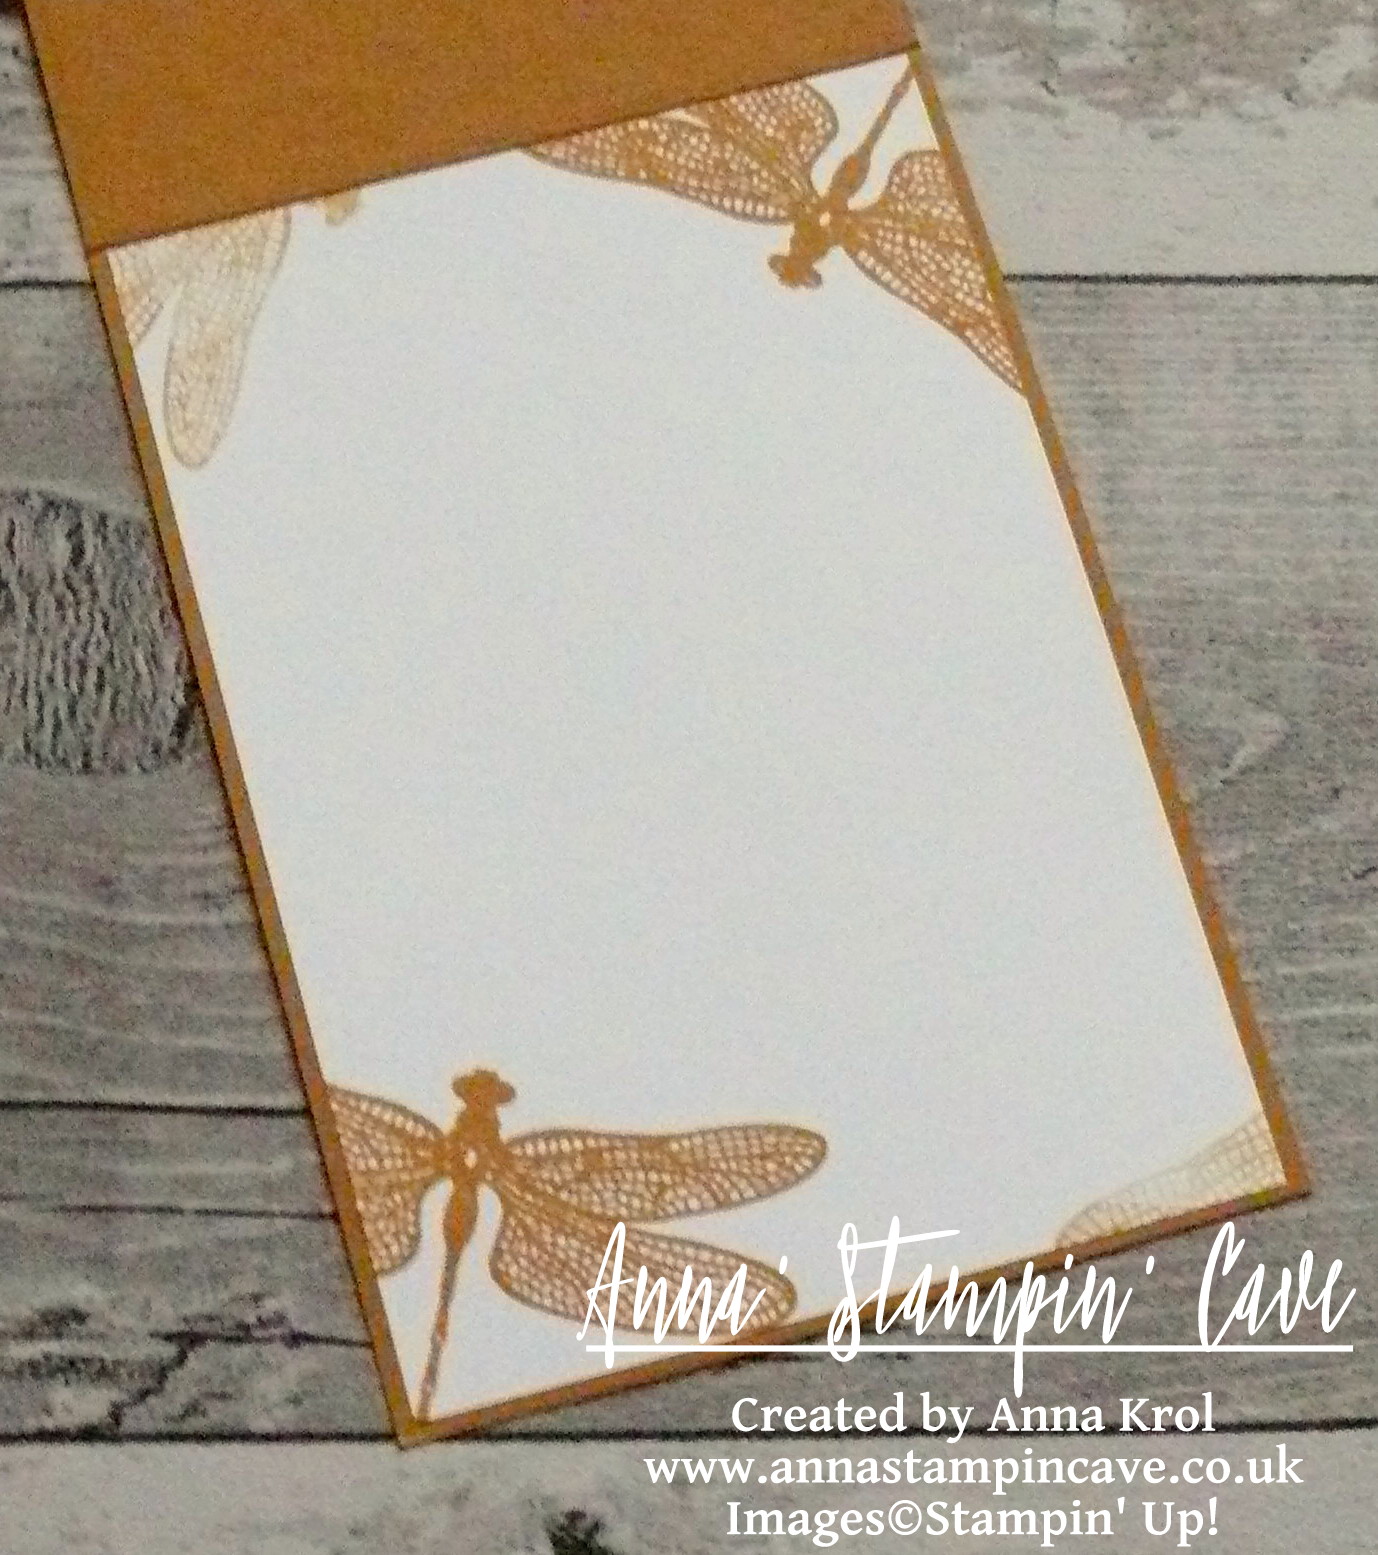
anna-stampin-cave-stampin-up-dragonfly-dreams-bundle-clean-and-simple-card-inside

I wanted for my dragonfly to carry some silver detail too, so I stamped tiny splotches/dots from Gorgeous Grunge Stamp Set all over the die-cut, using Versamark ink, and heat embossed it with silver embossing powder.
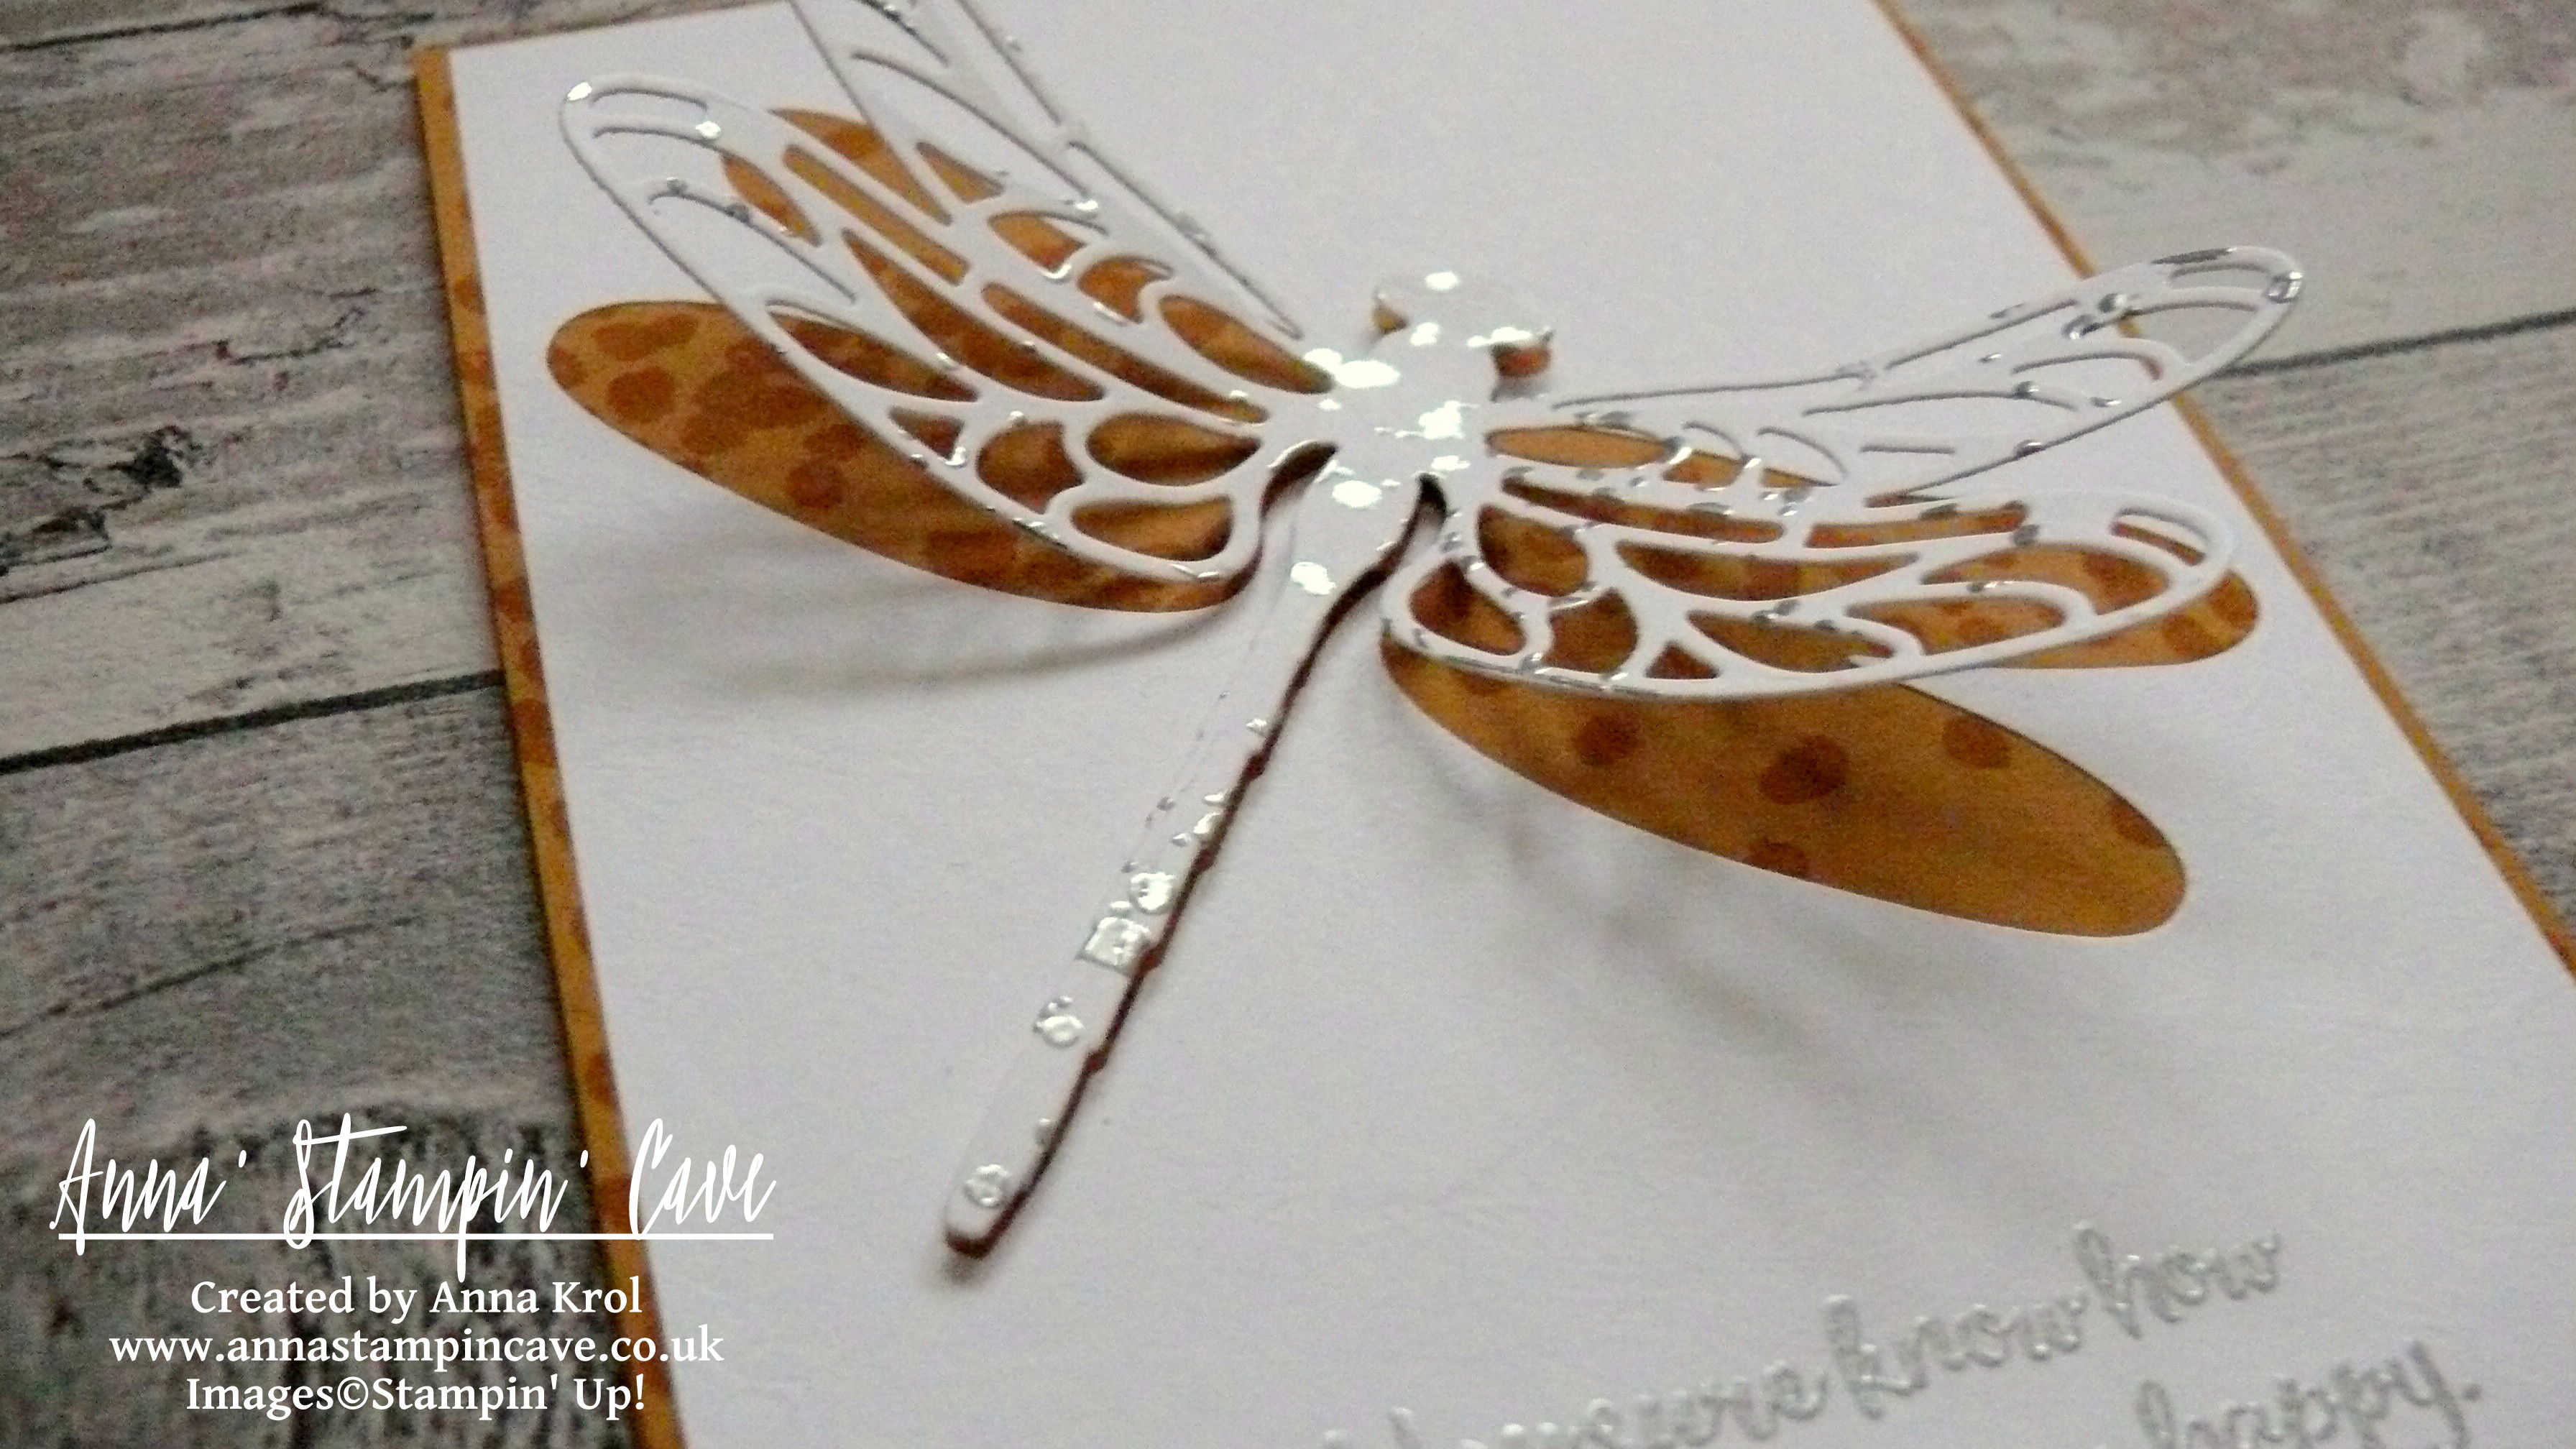
Anna' Stampin' Cave Dragonfly Dreams Bundle Clean and Simple Card.JPG

My original idea was to inlay the dragonfly die-cut back to the negative on the card base. But I’ve changed my mind along the way as the stamped detail on the card base wouldn’t be really visible through the die cut. So I decided to adhere my dragonfly only on the body length but it didn’t look good either. At the end, I’ve used tiny pieces of dimensionals to pop the dragonfly up.
anna-stampin-cave-stampin-up-dragonfly-dreams-bundle-cas

I’m really pleased how this card turned out and I hope you like it too.

I really want to encourage you to check the Global Design Project challenge blog. They have a new challenge every week with various themes and extremely talented Design Team – they will simply blow your mind with their creativity! Just click on their logo below to visit the website

gdp_blog_header

As always, if you wish to purchase any of the products I have used, simply click the images below to go directly to my online shop.

Thank you for stopping by and have a blessed day

Dragonfly Dreams Photopolymer Bundle

Dragonfly Dreams Photopolymer Bundle
[144728]
£42.25

Detailed Dragonfly Thinlits Dies

Detailed Dragonfly Thinlits Dies
[142749]
£28.00

Dragonfly Dreams Photopolymer Stamp Set

Dragonfly Dreams Photopolymer Stamp Set
[142924]
£19.00

Gorgeous Grunge Clear Stamp Set

Gorgeous Grunge Clear Stamp Set
[130517]
£18.00

Delightful Dijon A4 Cardstock

Delightful Dijon A4 Cardstock
[138345]
£7.25

Whisper White A4 Card Stock

Whisper White A4 Card Stock
[106549]
£8.25

Delightful Dijon Classic Stampin' Pad

Delightful Dijon Classic Stampin’ Pad
[138327]
£6.00

Embossing Buddy

Embossing Buddy
[103083]
£5.50

Versamark Pad

Versamark Pad
[102283]
£7.75

Silver Stampin' Emboss Powder

Silver Stampin’ Emboss Powder
[109131]
£4.50

Stampin' Dimensionals

Stampin’ Dimensionals
[104430]
£3.75

Liquid Multipurpose Glue

Liquid Multipurpose Glue
[110755]
£3.75

Stampin' Trimmer

Stampin’ Trimmer
[129722]
£27.00

Big Shot

Big Shot
[143263]
£99.00

Elegant Monochromatic With Pop Of Colour

Anna’ Stampin’ Cave – Elegant Monochromatic With Pop Of Colour

Wow! It’s hard to believe, but today is last day with My Hero Stamp Set from Stampin’ Up! Yep, 5 weeks have passed!

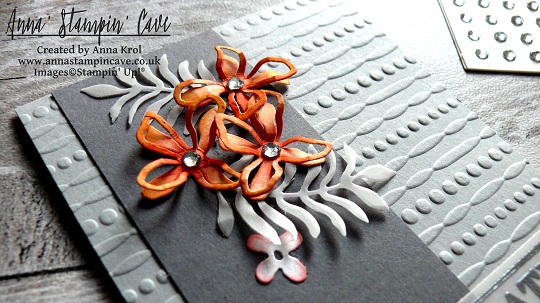
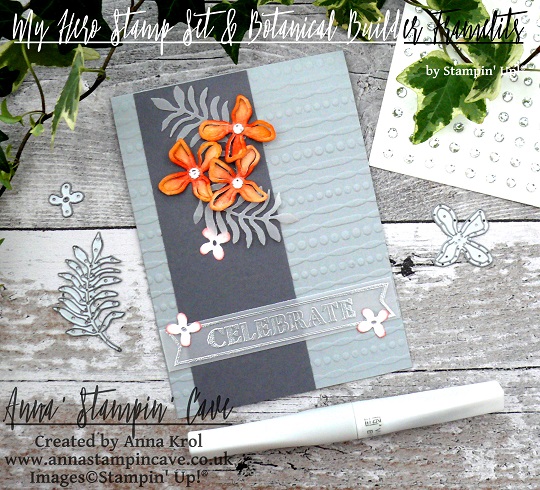
For my final project, I’ve created this striking yet elegant, almost monochromatic card, in shades of grey but with a pop of colour in form of dainty orange flowers.

stampin-up-botanical-builder-framelits-my-hero-stamp-set

For the base of my card I took an A4 sheet of Smoky Slate cardstock, cut it in half at 4-1/8″ and folded in half at 5-7/8″. I run the front of the base through Big Shot with Festive Embossing Folder. The panel is a piece of Basic Grey cardstock that measures 2″ x 5-7/8″. I adhere it to the base with Multipurpose Liquid Adhesive.

Next, I created my floral composition using Botanical Builder Framelits Dies. I die cut a couple of leaves from vellum and six flowers: three tiny flowers and three small 3D flowers from a scrap of Whisper White cardstock.

Savvy Tip: Don’t know what to do with random off cuts that are to small to use on cards or to punch anything out of them? Don’t throw them away! I save all my off cuts and use them up when need to die cut small elements, flowers, etc using framelits dies

To add a little bit of colour to my flowers I sponged the edges of the tiny flowers with Watermelon Wonder. For 3D flowers, I decided for more ‘dramatic’ look I sponged entire flowers using Pumpkin Pie ink pad and a dab of Watermelon Wonder to the centres. I also added a large rhinestone to each centre. You can’t really tell from the photos (blame the awful English weather) but I’ve added a touch of shimmer using Clear Wink Of Stella Glitter Brush to each flower (tiny ones too).

stampin-up-botanical-builder-framelits-my-hero-stamp-set

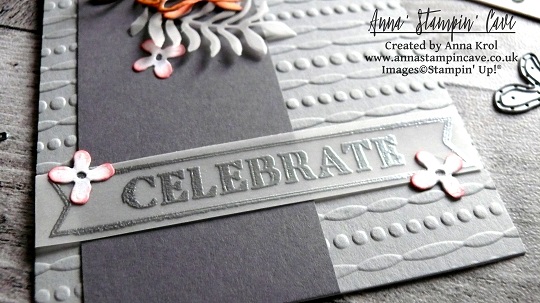
Next, I took a strip of vellum ( 1/2″ x 4-1/8″) and stamped a ‘Celebrate’ from My Hero Stamp Set in Versamark. Of course, I’ve used an Embossing Buddy prior to stamping. I heat embossed the sentiment with Silver Stampin’ Emboss Powder.

Tip: For best results with heat embossing always treat your cardstock, dsp, vellum, etc with embossing buddy. I takes off the statick from the surface of your paper, and makes the powder stick only to the areas you stamped.
Tip 2: If you don’t have an embossing buddy or any other antistatic tool you can use cornflour instead. Just sprinkle a little amount of flour over the surface of your cardstock, spread it with fingers or paint brush, and shake off the excess. Now you can stamp and heat emboss.

I assembled my composition using Glue Dots and liquid adhesive. Two tiny flowers on the vellum banner are hiding adhesive that I’ve used to adhere the banner to the card base.

stampin-up-botanical-builder-framelits-my-hero-stamp-set

I really like how this card turned out. I love the monochromatic, cold look of greys with a pop of bright orange. And what do you think about this colour combination? Do you like it? I would love to hear from you in comments below.

Thank you for stopping by and have a blessed day,

Negative Die-Cutting

Anna’ Stampin’ Cave – Negative Die-Cutting


Hello everyone and welcome! Today I’ve got for you super cool & easy technique to try out: negative die-cutting. Just a reminder: each week we are using Ronald McDonald House stamp set ‘My Hero’.

anna-stampin-cave-my-hero-stamp-set-with-negative-die-cutting

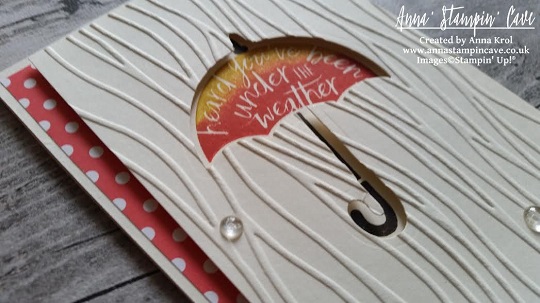
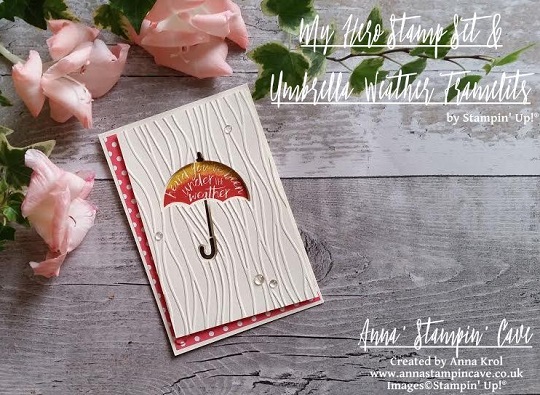
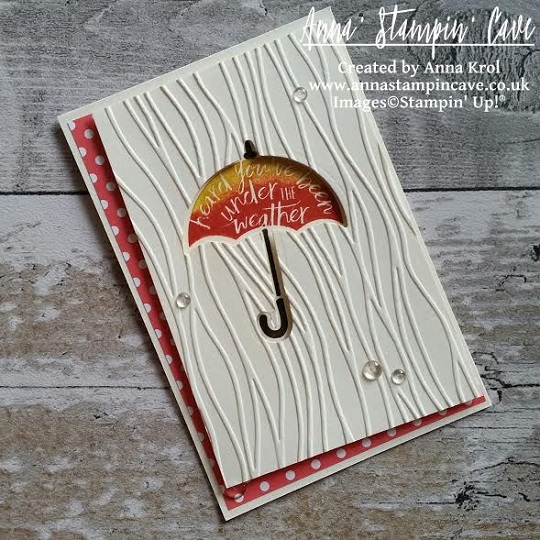
For today’s project, I’ve decided to use this lovely umbrella image. To create my card I started with a Very Vanilla card base and a Very Vanilla panel, slightly smaller than my base. First, I arranged the layout of my card using the Umbrella Weather Framelits. When I was happy with the placing, I die cut the umbrella first and the handle next, from my panel. But instead of using the die-cut piece on the card (as we usually do, don’t we?), I’ve used the negative image. Savvy tip: Don’t throw your die cuts away. You can use them for your next project.

I took my panel, placed it on the card base without adhering it, and I stamped the umbrella and the handle through a die cut holes. Stamp-A-Ma-Jig ( I love this tool!!!) was a big help to position my stamps perfectly. To create an ombre effect on umbrella image, I coloured the stamp with Crushed Curry and Tangerine Tango Stampin’ Markers (Crushed Curry to the top and Tangerine Tango in the middle). And, because I don’t own the 2015-2017 In Colour Stampin’ Markers, I carefully dabbed Watermelon Wonder ink pad to the bottom of the stamp.

my-hero-stamp-set-with-negative-die-cutting-2

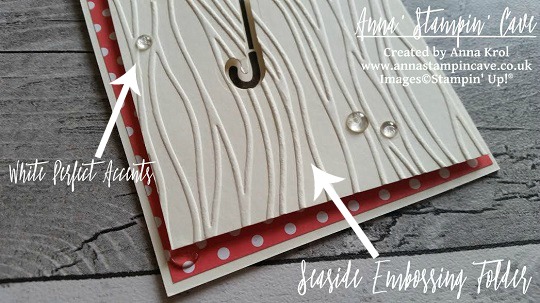
When I was done with the stamping, I trimmed my layer at slightly ‘wonky’ angles, and run it through the Big Shot with a Seaside embossing folder. This folder is intended to imitate the waves, but if you turn it aside, it looks like rain streaks on a window, which is totally cool 🙂

I took a piece of Watermelon Wonder DSP from 2015-2017 In Color Designer Paper Stack (there are four different designs to choose from, but I’ve gone for dots). It was slightly bigger than my top layer, but I  didn’t want to use it all on my card. I only wanted it to peek from underneath my top layer where the ‘wonky’ angles were. So I measured it up, trimmed the piece and adhered it to the base. next, using dimensionals, I’ve added the top layer.

my-hero-stamp-set-with-negative-die-cutting

I decided not to use any additional sentiment on my card, as I think the one on the umbrella says it all. To embellish the card I’ve used White Perfect Accents. But hey, you say, these are clear, right? But did you know that you can peel off the white, sticky backing from your  White Perfect Accents, and you get these super awesome clear, perfectly round embellishments?! It’s cool or what?! But, of course, once you peel the backing off, you need to use glue to adhere them.

pootlers-design-team-week-2

So, did you liked my project?! I hope I inspired you to give this technique a go. It’s really cool and you will be hooked in no time!

Thank you for stopping by and have a blessed day,