
Thank you for joining us for another Simply Sketched Saturday Challenge! We’re so excited to be sharing this hop with you. The products used are all available in the current Annual, or seasonal, Stampin’ Up!® Catalogues*. Simply use the buttons at the bottom of the post to keep hopping!
Welcome to our 4th sketch challenge, and this week it was my turn (and pleasure) to design a sketch. Here it is:
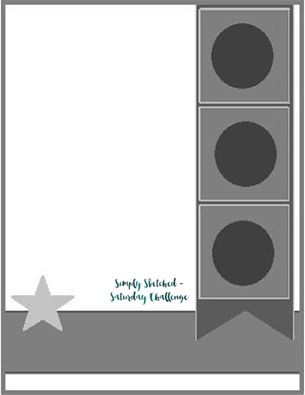
I truly hope this sketch will ignite your creativity.
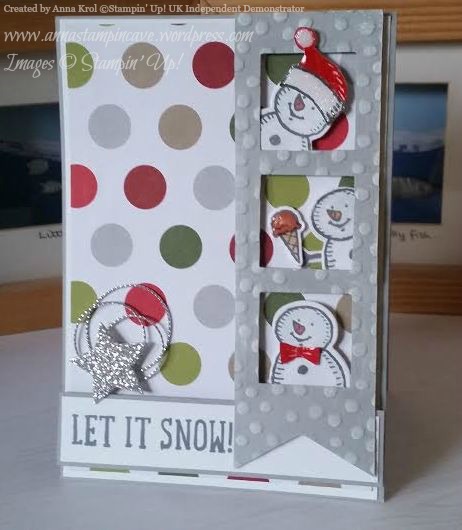
Do you know it’s less than three weeks till Christmas?! It’s crazy how time flies by. And although I had pretty few ideas with this sketch in mind, I decided to go with a winter theme. Well…little crazy & fun winter theme 😉
Finally had a chance to play with Snow Place photopolymer bundle. It was one of those products in Autumn/Winter catalogue that didn’t catch my attention at first. I couldn’t see me using it at all: my daughter will be 16 y.o soon and you know teenagers, she thinks she’s so grown up 😉 But hey, once she knew there’s a snowman to build…yep! She’s a little crazy chicken about Frozen haha.
The base of the card is Smoky Slate. A layer of Whisper White measures 4″ x 5-3/4″ and the top layer of designer paper measures 3-7/8″ x 5-5/8″. I picked big dots design from Merry Moments DSP but it’s also available in 6×6″ paper stack. I chose big dots design as I thought it will go well with this fun card. Banner is cut from a piece of Smoky Slate (5-1/2″ x 1-3/4″) with three “windows” created using the smallest square from Squares Collection Framelits Dies and run it through the big shot with Decorative Dots Embossing Folder. If you don’t have squares framelits you could use punches instead. And it does not have to be square either. You could use circles or stars. To add some interest to the banner I sponged some Whisper White Craft Ink over the embossed area.
And now let’s meet my friends: crazy snowmen 🙂 I stamped snowmen and their accessories in Basic Grey Archival Ink. I was planning to do a little water-colouring, and our new Archival Inks are perfect for this technique. To add some dimension to these guys I coloured them with an aqua painter and Soft Sky. Noses are water-coloured in Calypso Coral and Pumpkin Pie.
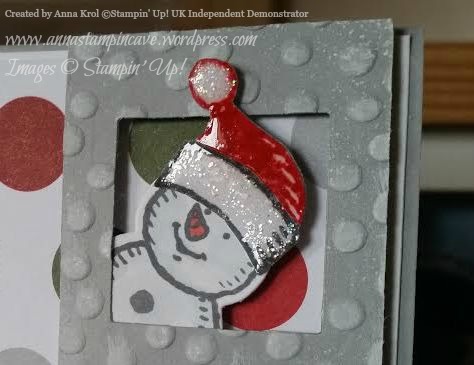
My first little fella wears Santa’s hat. Firstly I die-cut two hats: one in Basic Grey, and the other one in Real Red. Then I cut out just the top from a red hat and glued it on the top of grey one. I didn’t like the white border on my die cuts so I fussy cut it. To add some sparkle to the hat I used Dazzling Details, and once it was dry I add Crystal Effects on top.
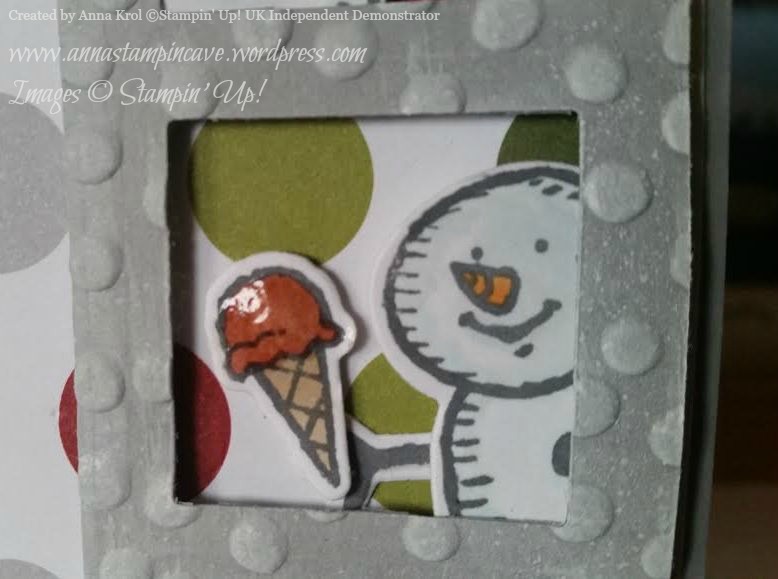
My second little friend looooves ice-creams. He could eat them all day long 🙂 I love how Crystal Effects makes the scoop of ice-cream pops!
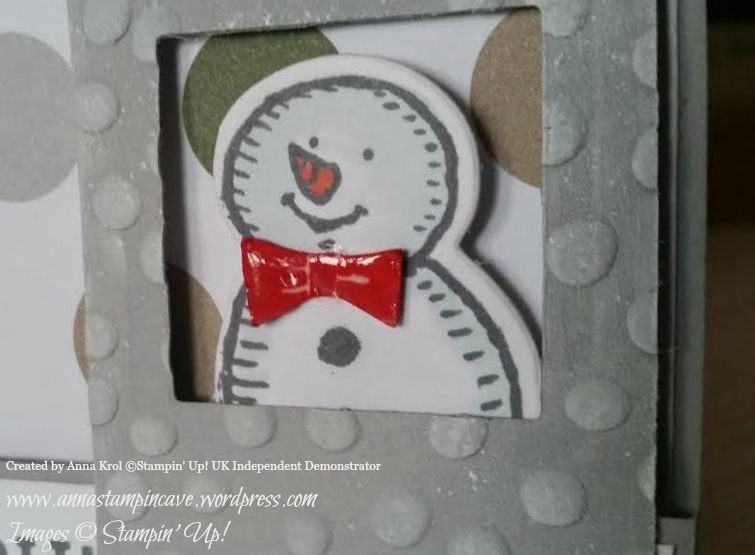
My third guy looks very elegant with this Real Red shiny bow-tie 😉
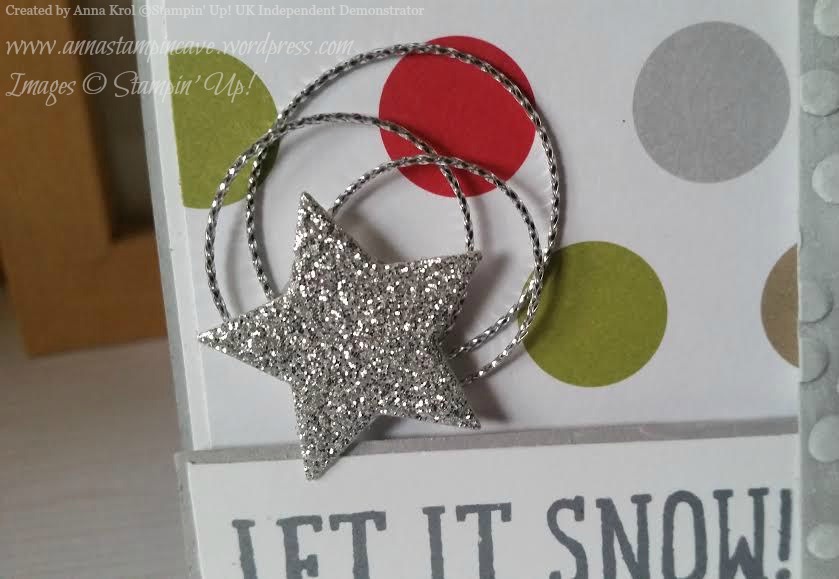
To finish off my card I die-cut a little star from silver glimmer paper. I used silver cording trim to create few fancy loops and glued them to the card with a glue dot, and added glimmer star on top. The sentiment “Let It Snow” comes from the same stamp set.
Now, be sure to hop along and see more inspiring projects. Thank you for stopping by and have a blessed day!