Rustic Best Birds For Global Design Project #084 Challenge

Anna’ Stampin’ Cave – Rustic Best Birds For Global Design Project #084 Challenge

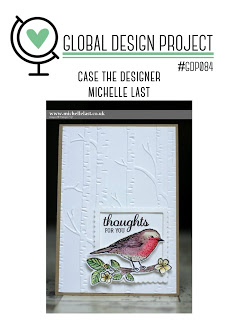
Hello and welcome everyone! Today I’m back with my entry for Global Design Project. This week is Case The Designer Challenge over at GDP and we’re casing wonderful Michelle Last. I have to admit I absolutely love Michelle’s style. She’s an incredible artist and amazing person too (I had the privilege to meet her in person a few years back).

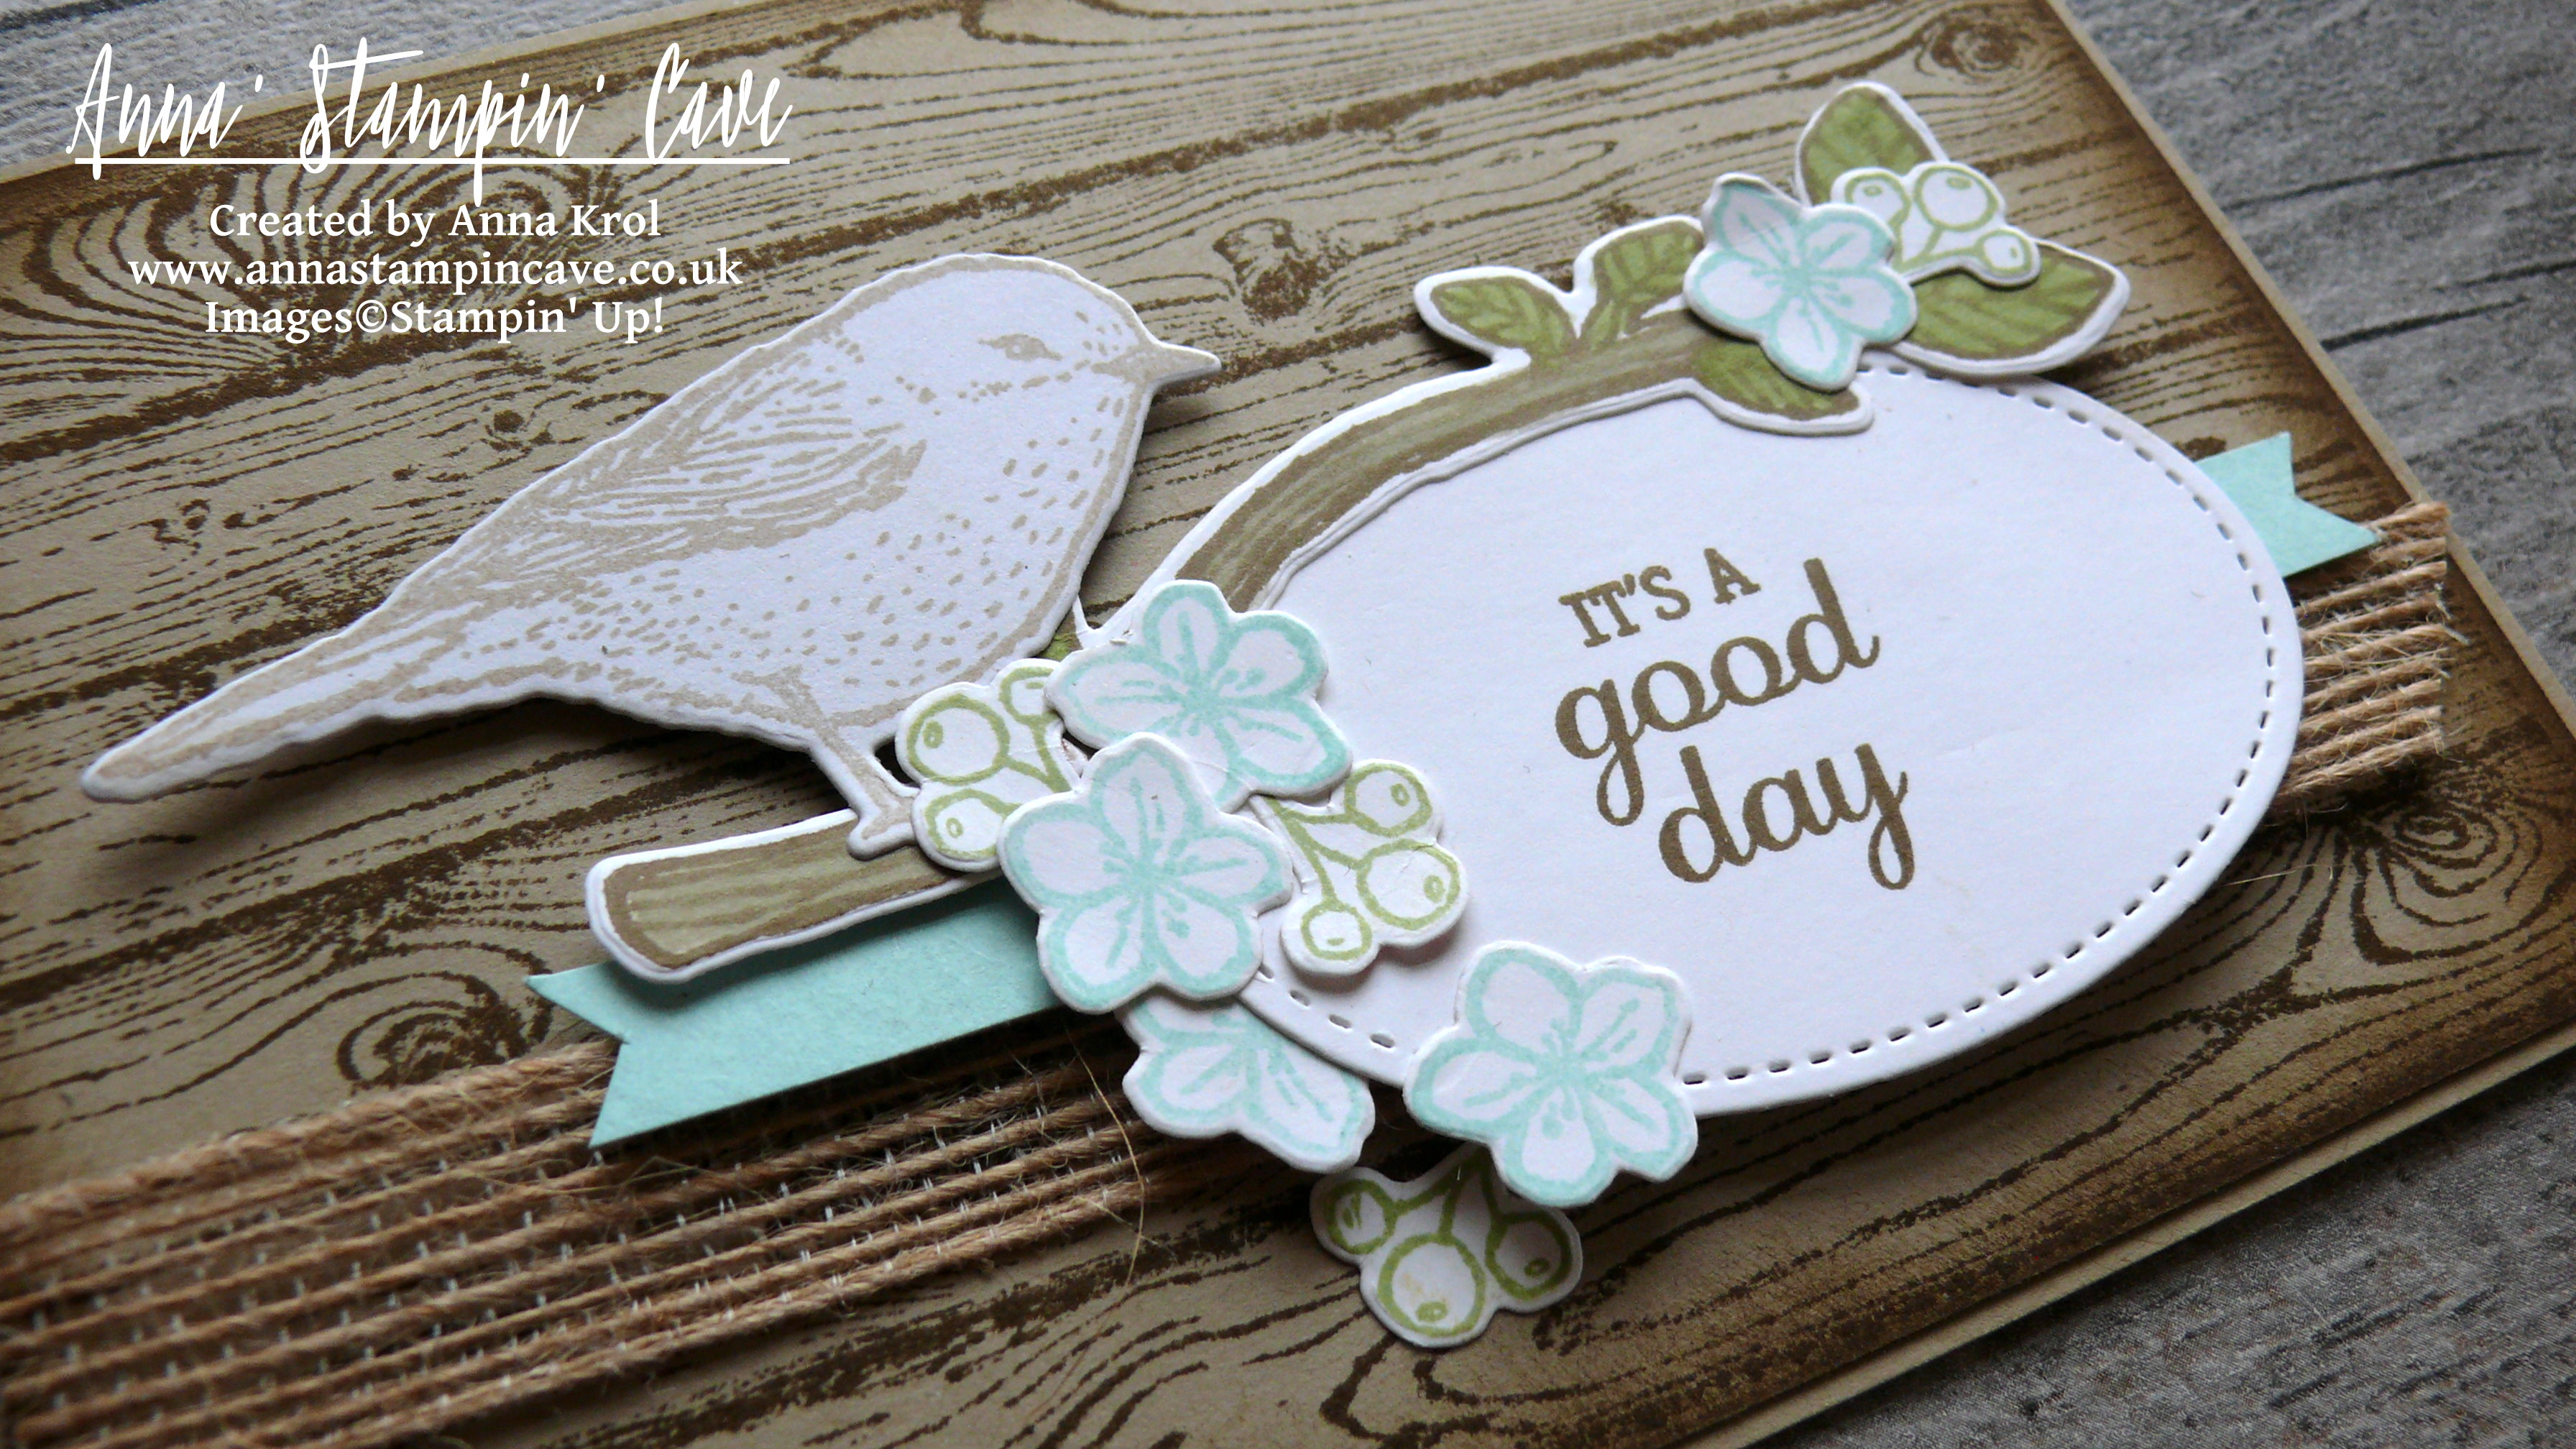
It’s a beautiful card to CASE: clean & simple with lots of yummy texture. But I didn’t really want to follow the colour combination or the layout of Michelle’s card (but as you will see I failed miserably as I ‘accidentally’ cased the layout anyway haha ). For my card, I decided to focus on a couple of products she used instead: Best Birds Stamp Set and coordinating Birds & Blooms Thinlits Dies.
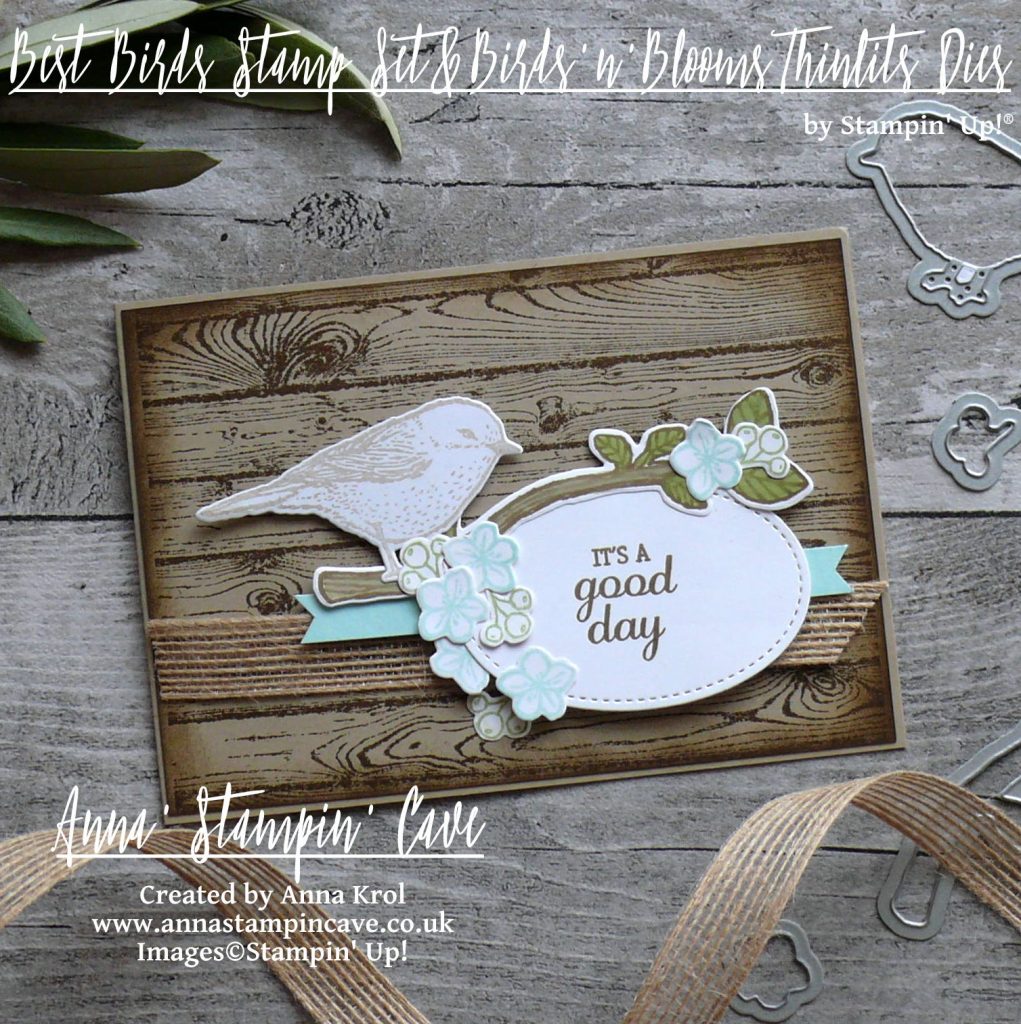
Rustic Best Birds card dimensions:

  • Crumb Cake cardstock: 8-1/4″ x 5-7/8″ scored in half at 4-1/8″ (21cm x 14.8 cm scored in half at 10.5 cm)
  • Crumb Cake cardstock: 4-1/8″ x 5-6/8″ (10.2 cm x 14.6 cm)
  • Whisper White cardstock for stamping & die cutting
  • Pool Party cardstock: 3/8″ x 4-3/8″
  • Burlap Ribbon: approx 5-6/8″ (14.6 cm)

I don’t know about you, but when I first saw this stamp set it has called countryside to me. I only bought this bundle a few weeks ago and was really eager to have a play. So this week’s challenge was perfect for inking up my stamp for the first time.
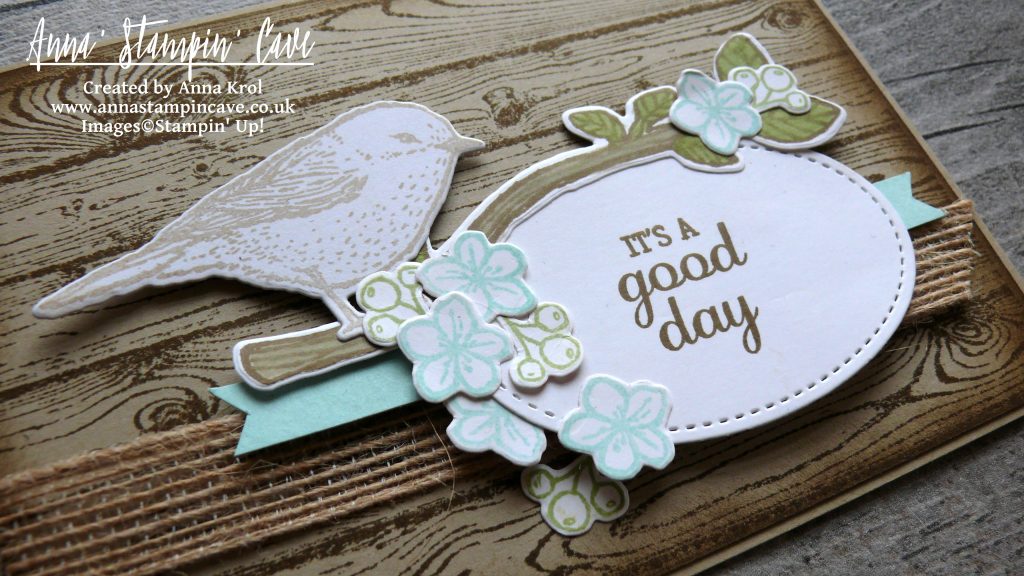
First, I created the background for my ‘idyllic’ scene. I took Crumb Cake panel and stamped it with Hardwood background stamp in Soft Suede. I also sponged the edges of the panel with Soft Suede ink to add to the ‘rustic feel’.

Next, I stamped and die cut all the elements of my scene. The bird is stamped using Crumb Cake ink. Flowers – Pool Party. For little berries/fruits, I’ve used Pear Pizzazz. Branch is stamped in Soft Suede ink and coloured in with markers: Crumb Cake for the branch and Pear Pizzazz for leaves.

I love this sentiment “It’s a good day” from Best Birds Stamp Set. I stamped it in Soft Suede on a piece of Whisper White cardstock and die cut using an oval die from Stitched Shapes Framelits Dies. I think stitched edge suit rustic ‘feel’ of this card just perfectly.
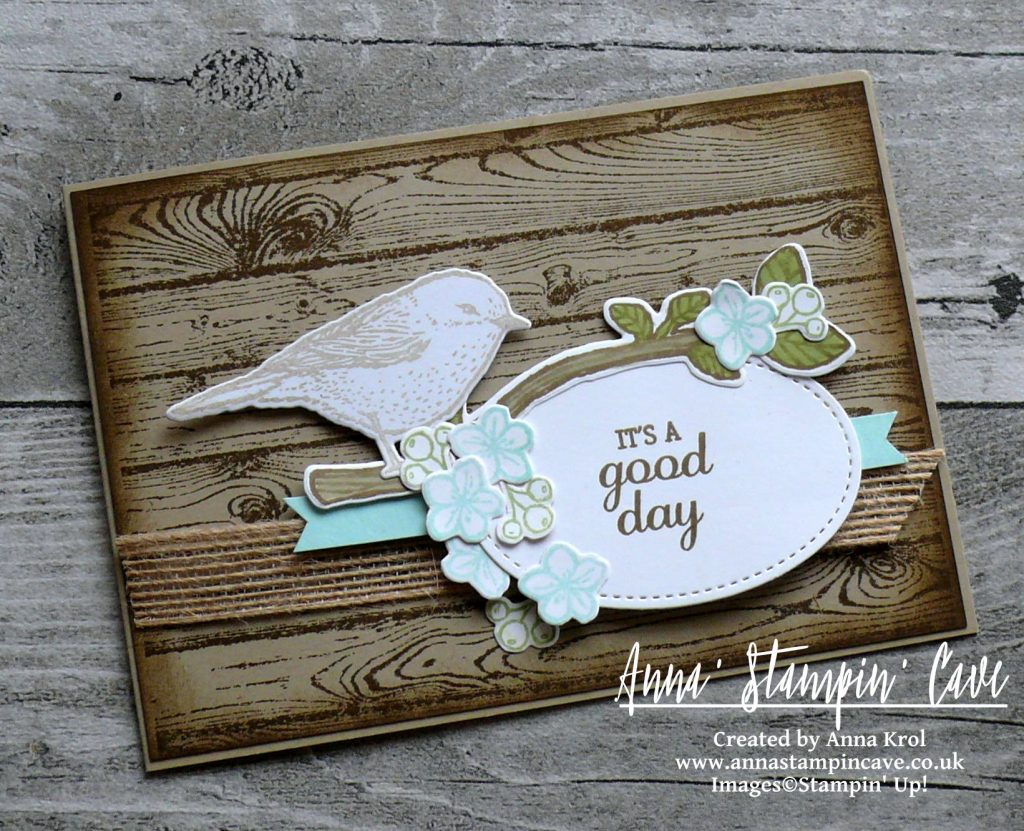
Before I assembled my card I played a little with a placement of all the elements. To add some ‘natural’ texture I decided to use Burlap Ribbon as a banner. I also cut a thin strip of Pool Party cardstock to ‘break’ all the browns. When I was happy with the placement, I took a photo and started the assembly.

Tip: If you have a layout, either a card or a scrapbook page, that consist of lots of small elements, play with the placement first, before glueing things down. Once you’re happy, take a photo of your test layout with your phone ( we all have it on hand, don’t we?). Next, assemble your card/scrapbook page piece by piece by piece with a help of your reference photo. No more guessing ‘where was this or that element supposed to go.

I truly hope you like my little, rustic card. It reminds me of my childhood in Poland and summer holidays we spent in the countryside with our great-grandmother. Wonderful memories.

As always, I really want to encourage you to visit the Global Design Project challenge blog to see other beautiful projects from all around the world. Just click on their logo below to visit the website

Thank you for stopping by and have a blessed day,

Simply Sketched Saturday Challenge #13 – Birthday In Marina Mist Blues

Anna’ Stampin’ Cave – Birthday In Marina Mist Blues

SSSC Header

Thank you for joining us for another Simply Sketched Saturday Challenge!  We are so excited to be sharing this hop with you. The products used are all available in the current Annual, or seasonal, Stampin’ Up!®  Catalogues*. Simply use the buttons at the bottom of the post to keep hopping!

Welcome welcome! We are back with our monthly challenge after a long summer break. Did you miss us?

This week sketch was designed by our lovely Mandy and it is…anything goes. I know! A nice little warm-up for us – thank you, Mandy.

I know you see more and more holidays related projects lately. But I decided to keep the warm summer days for a little bit longer. And what says ‘summer’ more than blue skies and butterflies?

stampin-up-butterfly-basics-meets-number-of-years-bundles

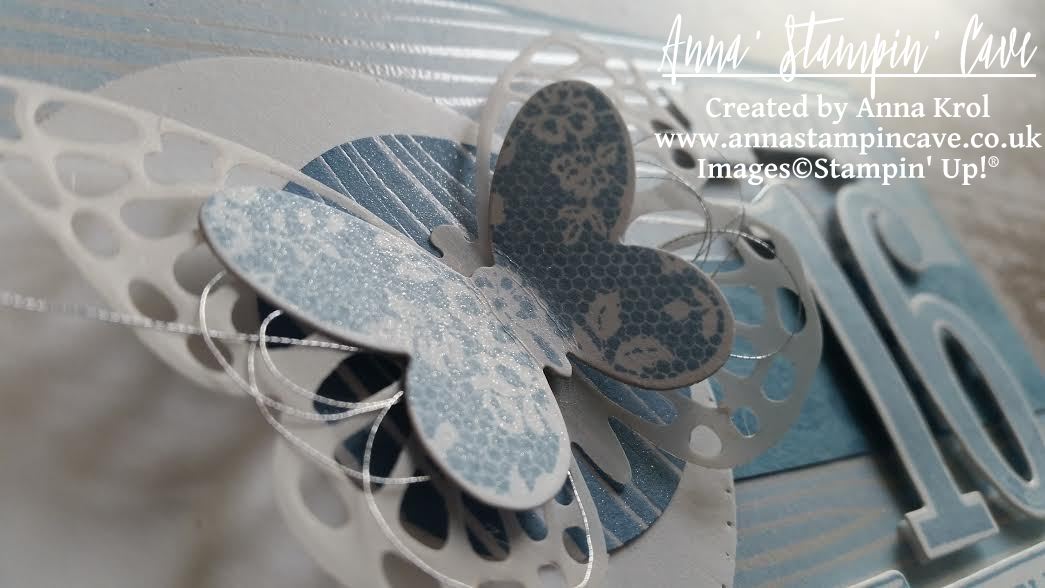
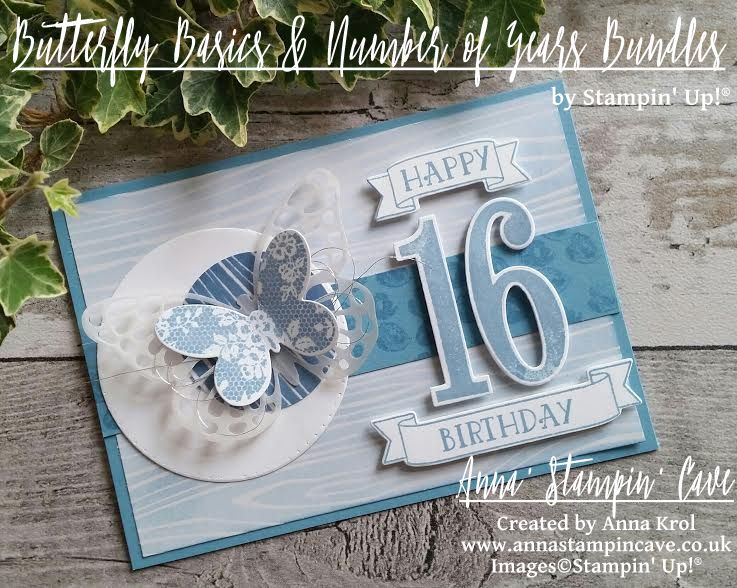
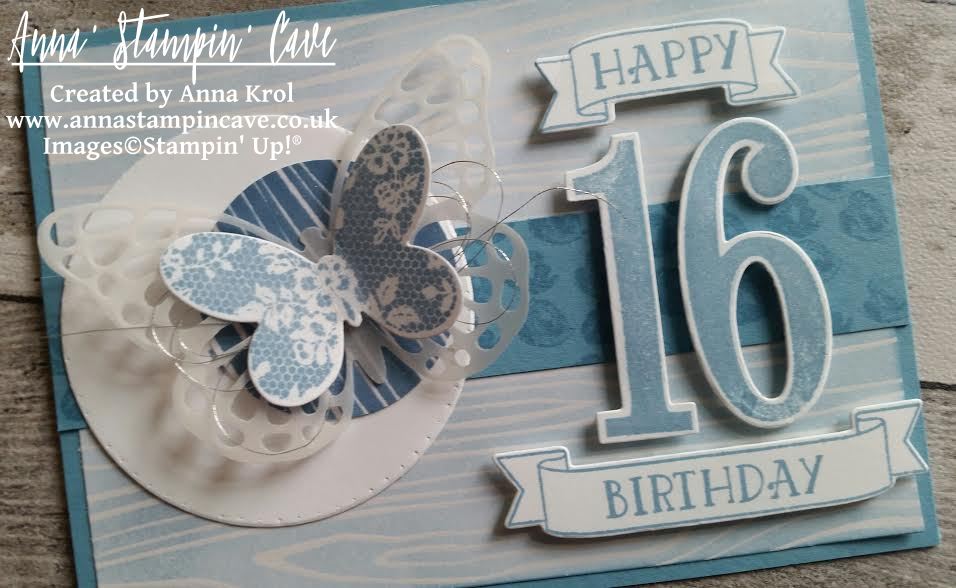
This is a birthday card for sweet ‘sixteen’ who loves blue. The base of my card is Marina Mist cardstock, standard A6 size. The first panel is a piece of Color Me Irresistible Specialty DSP that measures 5-5/8″x 3-7/8″. I chose to use white, embossed woodgrain pattern and gently sponged Marina Mist over my piece and adhere it to the base. Next, I cut a strip of Marina Mist cardstock, 1″ wide, and stamped little roses from Number Of Years Stamp Set all over the piece and adhere it across the sponged panel.

stampin-up-butterfly-basics-meets-number-of-years-with-wink-of-stella

I die-cut two circles: large one from Whisper White ( I pierced it around the edge) and smaller one again from Color Me Irresistible Specialty DSP. I sponged this smaller one with Marina Mist. But this time, I’ve added lots of ink for really deep shade. I adhered smaller circle on top of the large one, off-setting it.

I stamped butterfly from Butterfly Basics on a piece of Whisper White in Marina Mist and die cut it using coordinating die. I also die cut larger, detailed butterfly from vellum, using the same die set. Next, I attached small butterfly on top of detailed one, with Silver Metallic Thread in between. I adhered them both to the circles using glue dots and attached the whole piece to the card base, off-setting it to the left.

stampin-up-butterfly-basics-meets-number-of-years

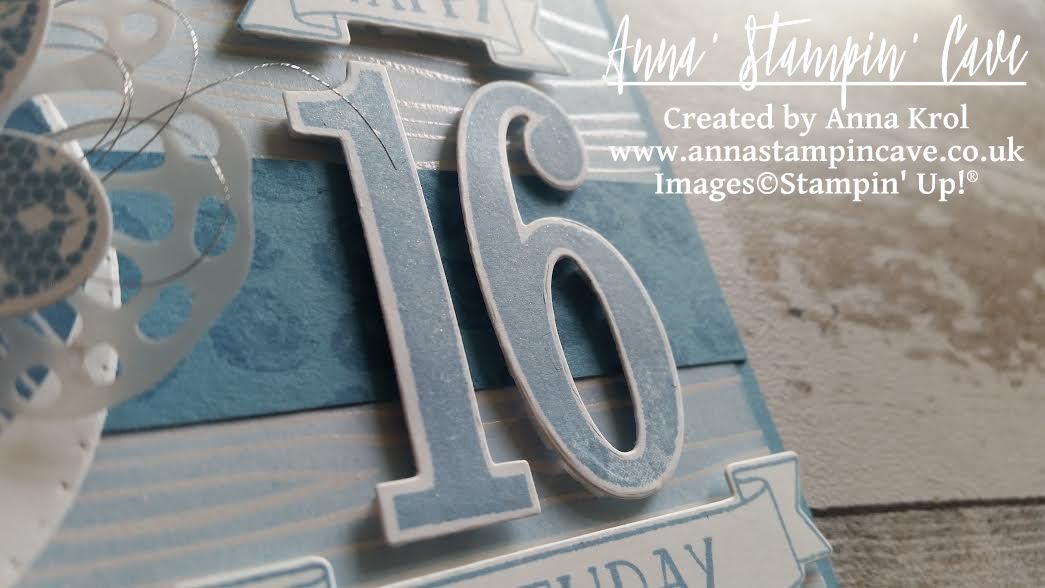
I stamped numbers 1 and 6, from Number of Years Stamp Set, in Marina Mist of course, and die-cut it with coordinating dies (I love this set!!!). Next, I stamped banner and word ‘birthday’ inside of the banner and die-cut it. For the word ‘happy’ I had to adjust it a little bit, and with help of masking, and partial die-cutting, I was able to create matching smaller banner. I attached the numbers and banners to the card base using dimensionals.

stampin-up-butterfly-basics-meets-number-of-years

There’s no such a thing as bling-free teenage girl card, right? So my finish touch was to add a gentle shimmer to the butterfly, circle, and numbers with Clear Wink of Stella Glitter Brush. I think it’s my first card ever where I’ve used one ink pad colour only. And to be honest I really like this monochromatic look.

And what do you think? Do you like monochromatic? Please let me know in comments below.

As always, if you wish to purchase any of the products I have used, simply click the images below to go directly to my online shop and don’t forget to enter the hostess code for the month of September RKW34AHD, to receive a gift from me.

Now, be sure to hop along and see more inspiring projects. Your next stop is Mandy’s blog  go and see what she has made for you.

Thank you for stopping by and have a blessed day

SSSC Previous   SSSC Next Blog

Product List

Glue Dots

£4.75

Big Shot

£99.00