Anna’ Stampin’ Cave – With A Little Delay…
As you may know, I’ve been really sick, you can ready about it here, and couldn’t get to update my blog for a long time. You can read about it here. But today I feel well enough to hop in and catch up.
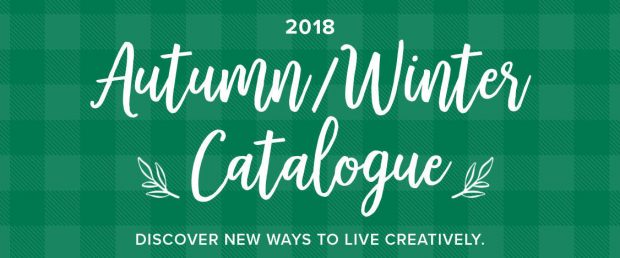
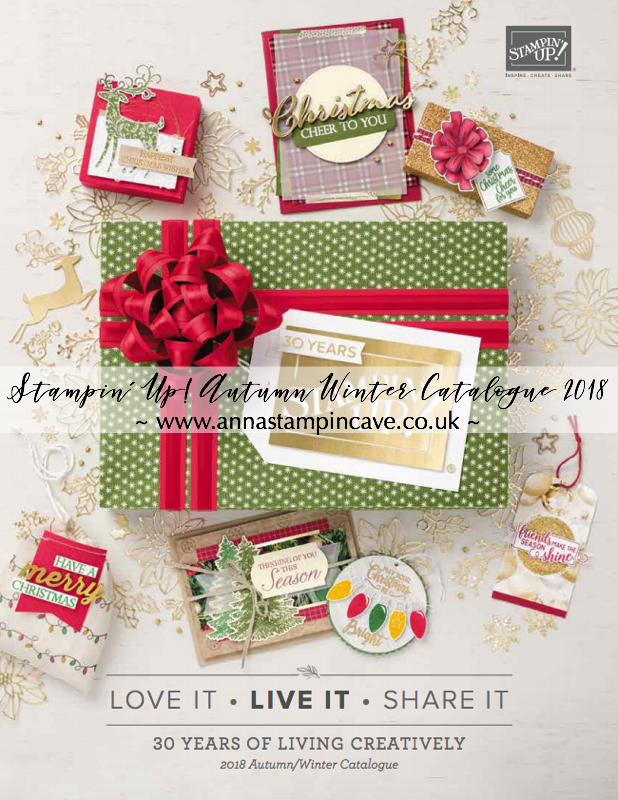
Autumn-Winter Catalogue launched on 5th September so it’s in a full swing right now. If you’re one of my regular customers you’ve received your paper copy of a catalogue a month ago.
If you’ve never shopped with me, below you can find a link to a digital copy. You can still request a copy of Winter-Autumn Catalogue – there’s nothing like flicking through the pages of paper copy.
Click HERE to download your FREE copy
Here are my “must-have” resources for placing your order and updating your supplies:
- Autumn-Winter Catalogue 10% Off Bundles
- Holiday Kits
- Autumn-Winter Catalogue Stamp Sets
- Everything Else
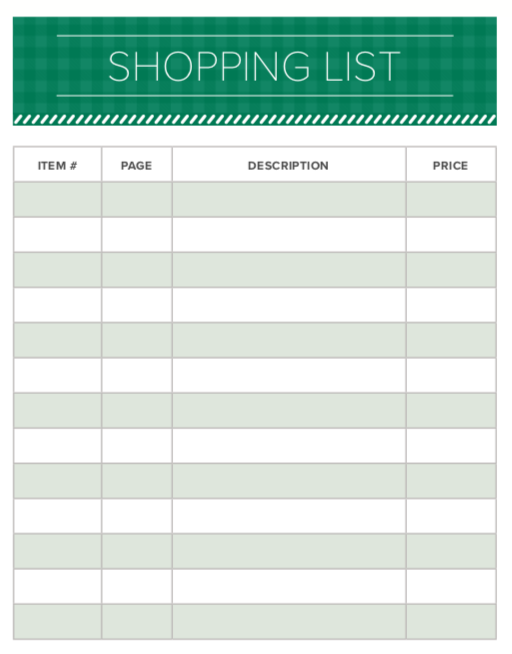
- Downloadable Shopping List
Below you can find a few video tutorials using some of the products from the Autumn-Winter Catalogue. Enjoy watching!
VIDEO TUTORIALS
Peaceful Noel Bundle by Stampin’ Up!
Falling for Leaves Bundle by Stampin’ Up!
Merry Christmas to All Bundle by Stampin’ Up!
Thank you for stopping by and have a blessed day,

Don’t forget to check:
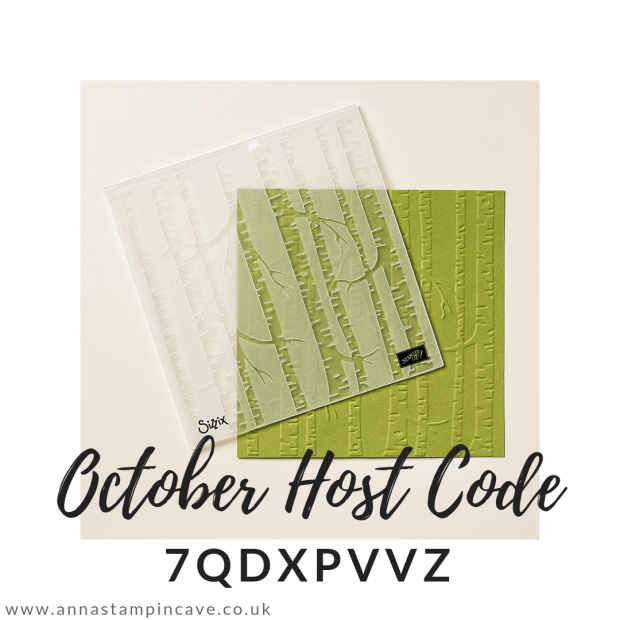
October Special and Exclusive PDF Tutorials – read more about it here