Bloomin’ Love Valentine’s Day Gift Set

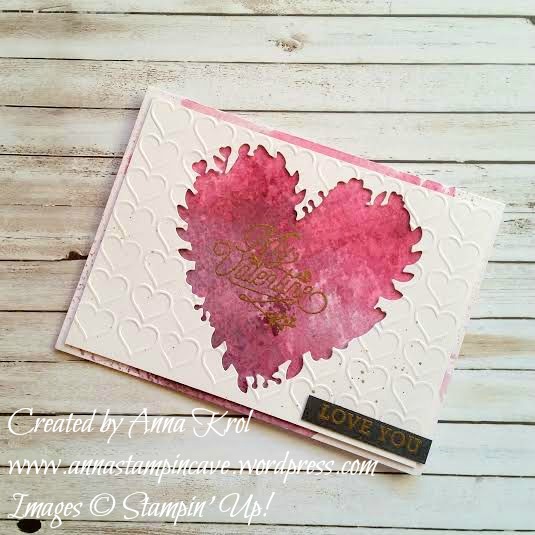
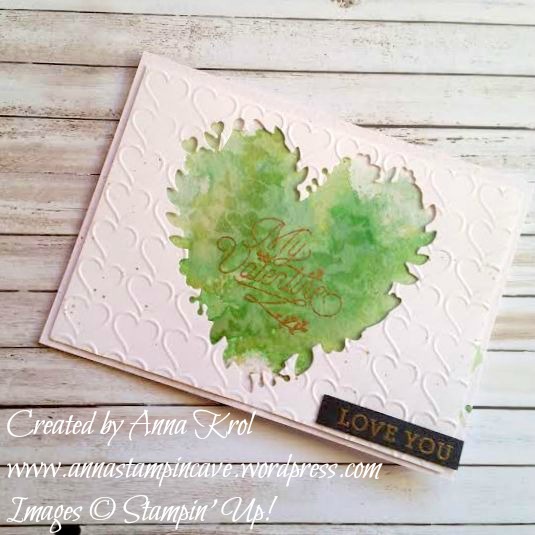
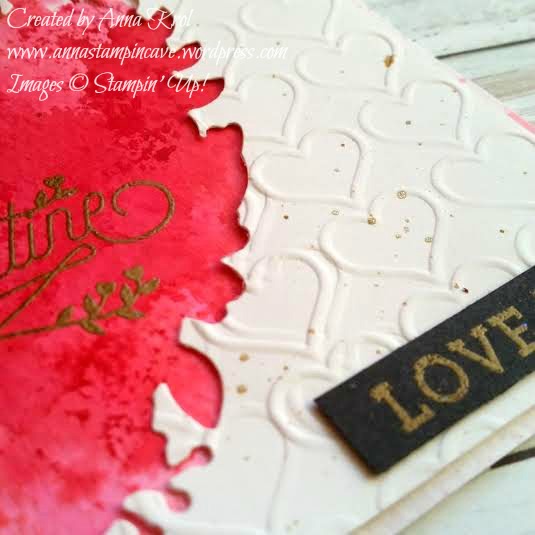
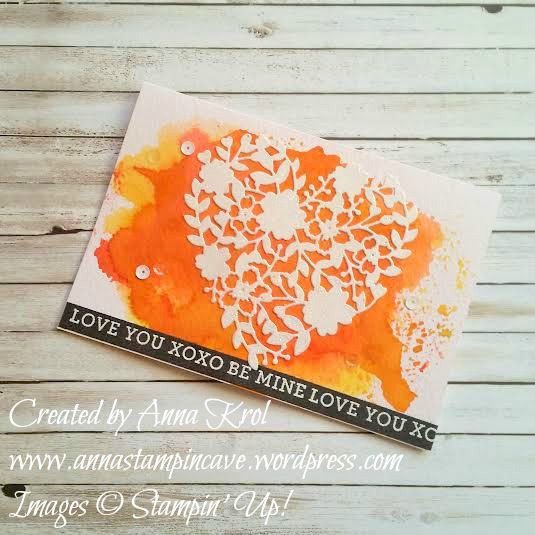
Today I’ve got for you beautiful Valentine’s Day card I’ve made to match cute Valentine’s Day gift box I posted two weeks ago. Again I’ve used Bloomin’ Love stamp set and Real Red Stampin’ Pad. This time I also used matching Bloomin’ Heart Thinlit Dies.

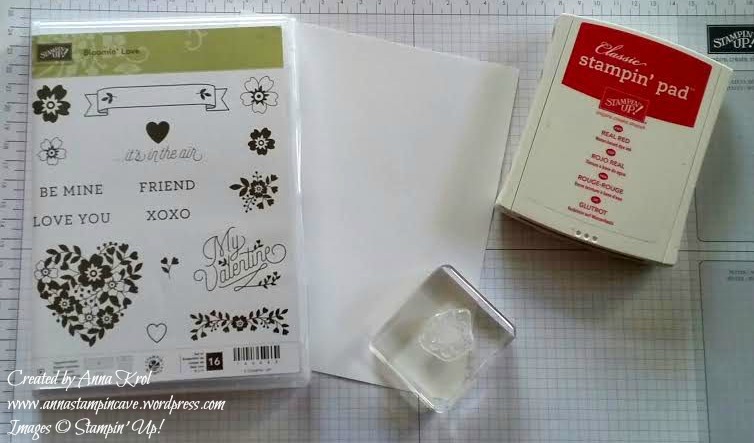
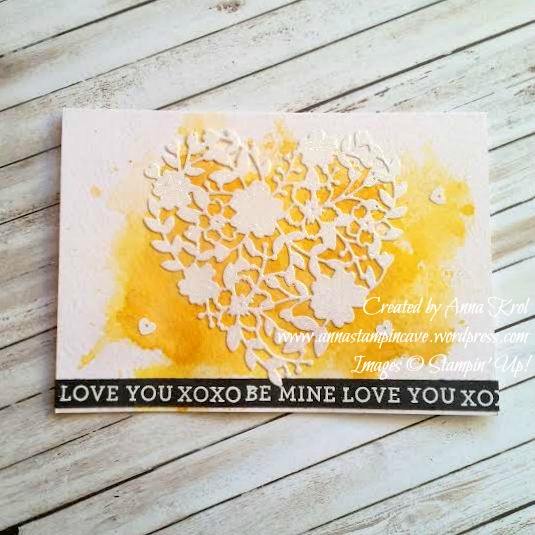
The card is a standard A6 top folded card. Because I didn’t want the stamping underneath the heart, I die-cut my heart first and used it as a stencil to lightly mark where the heart will be. I also masked around 1-1/2″ of the bottom of the card base using post-it notes. I wanted to keep it clean for the sentiment.

Valentines Day card 8

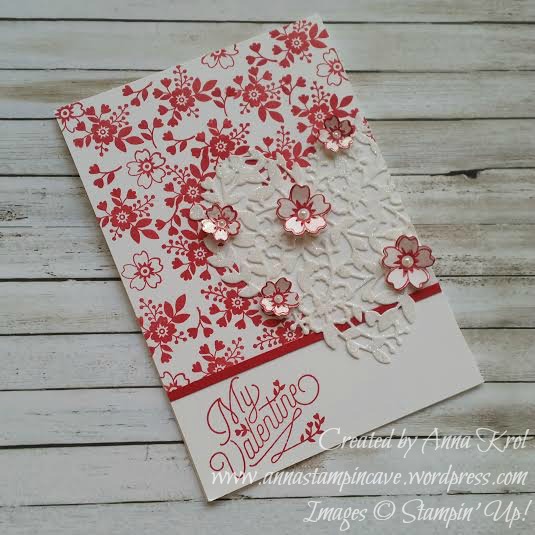
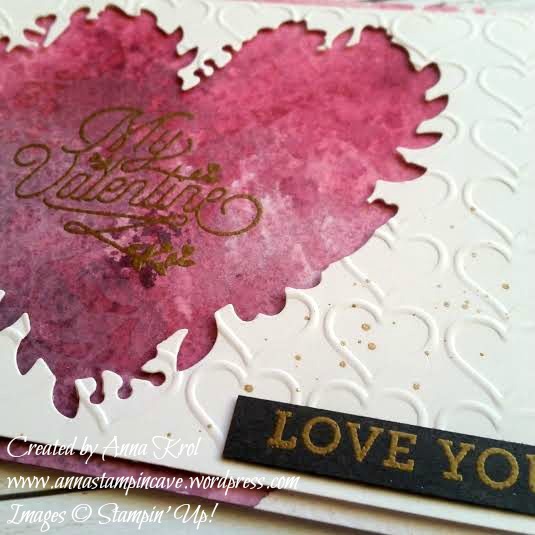
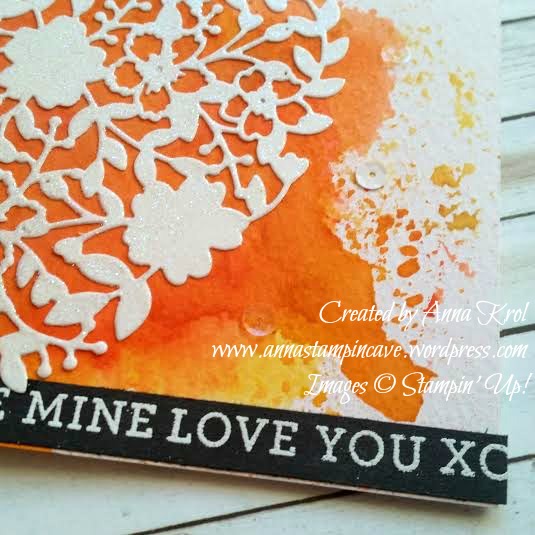
I stamped the base carefully around the marked line first, and then just filled in the rest of the space. Next, I stamped the sentiment. I cut a tiny strip of Real Red cardstock and adhered it just above the sentiment to hide where the stamping ends.

Valentines Day card 2

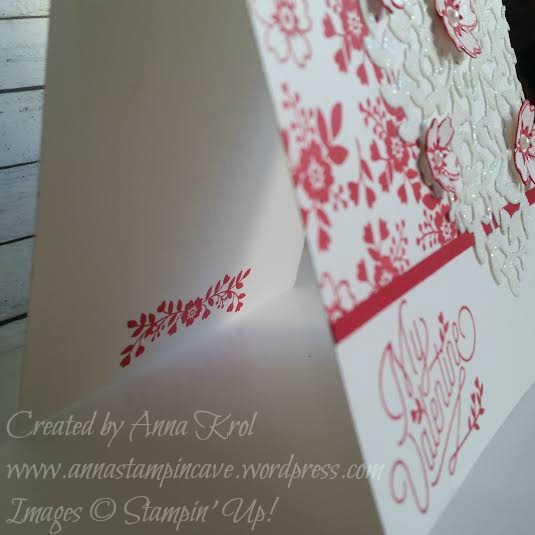
I also stamped the inside of the card using this cute floral stamp.

Valentines Day card 6

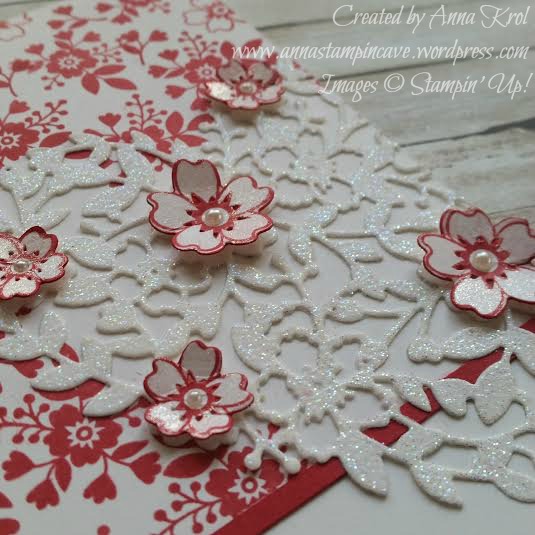
When I put my card together I decided to add some pop to it.

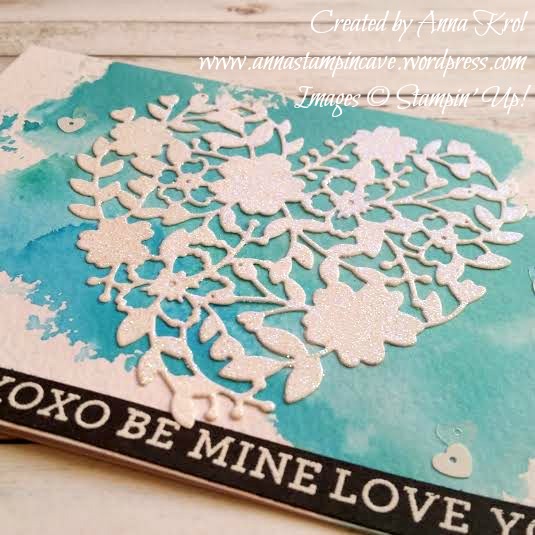
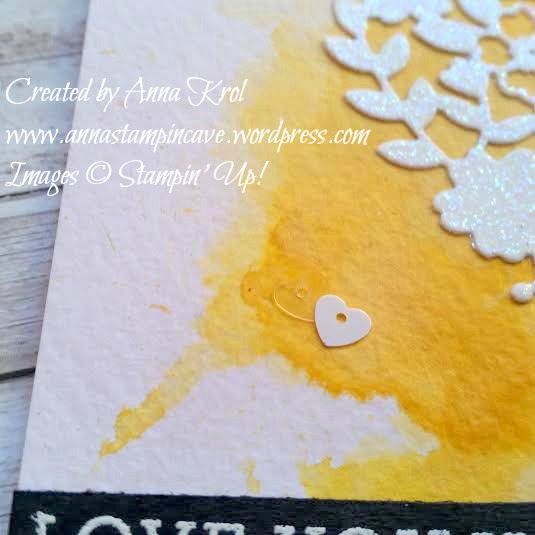
I stamped 3 small and 2 large flower outlines on the piece of Whisper White and die-cut them. I sponged their edges and attached them to the heart with glue dots. Just a little touch of Clear Wink of Stella glitter pen and few mini pearls and the card was ready.

Valentines Day card 3

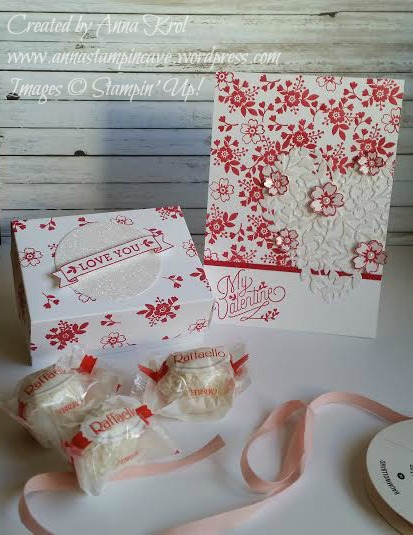
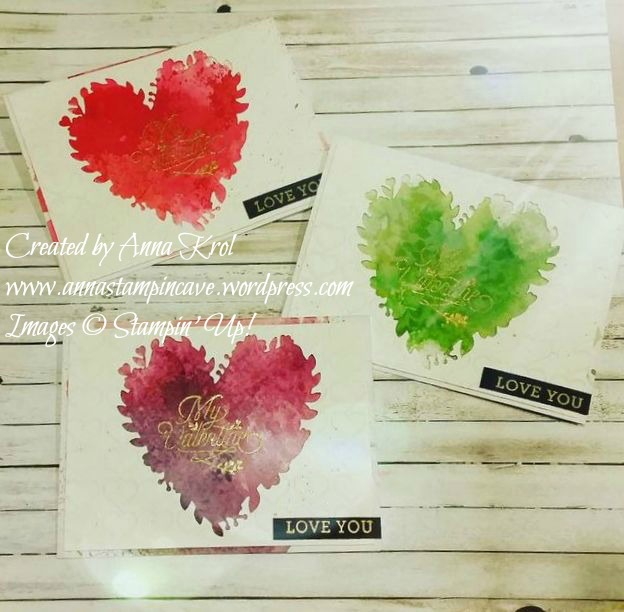
I love how this card turned out and how it matches the box. Perfect little gift for Valentine’s Day.

Thank you for stopping by and have a blessed day,

Ink Smooshing With Bloomin’ Hearts Thinlits Dies – Using Die-cut Negatives

Hello guys! I’m back today with ink smooshing technique again. But this time I’ve used die-cut negatives I’ve saved from my previous project.

bloomin love

For these cards, I decided to choose different colours: shades of red, green and purple. The base of my cards is again a watercolour paper as it’s perfect for watercolour techniques. I explained ink smooshing technique in my post here.

To add some more detail to the die-cut pieces I run them through my big shot with Happy Heart Embossing Folder. I love how they stand out from busy backgrounds.

bloomin love green

To stamp main sentiments I have used my die-cut as a guide to make sure I stamp it exactly in the middle of my card. I stamped it in Versamark and heat embossed in gold. Before adhering the panels I’ve made few “splotches” using Gold Wink Of Stella Glitter Brush.

To finish off my cards I took a strip of black cardstock and heat embossed “love you” sentiment in gold. My husband’s friend came over at the weekend and “nicked” one card for his girlfriend straight away haha Hope she will like it.

If you like my project or got any questions please let me know in the comments below.

Thank you for stopping by. Have a blessed day,

Ink Smooshing With Bloomin’ Hearts Thinlits Dies

I have to say when I first saw Bloomin’ Hearts Thinlits Dies in new Stampin’ Up! Spring Summer Catalogue I couldn’t wait to put my hands on them and try ink smooshing technique.

bloomin love 2

Aren’t these awesome?! And ink smooshing is childishly easy. All you need is a piece of acetate or craft mat, you can use a plastic packaging too (any sleek surface works really).

bloomin love yellow 2

Then you choose the colours you want to use on your card and you simply smoosh them onto your surface. Spritz it with water and dip your card into the ink droplets. Let your card dry completely before you add more colour.

bloomin love yellow

For my cards, I decided for really bright, intense colours. But you can make it as soft as you wish just add less ink and more water. And I have to say here I highly recommend using watercolour paper with this technique.

bloomin love orange 2

I’ve used the same design for all my cards. I die-cut hearts from a piece of Whisper White cardstock using Precision Base Plate. Trust me you need this plate! It’s perfect for more detailed thinlits dies to give you extra fine cuts. I saved the negatives (not tiny bits just “frames”) for another project.

bloomin love orange

I then dabbed my die-cuts in Versamark and heat-embossed it with Iridescent Ice embossing powder. I love the gentle bling/shimmer it gives.

bloomin love blue 2

I wanted the sentiment to really stand out so I took a strip of Basic Black c/s and stamped my sentiments in Versamark and heat embossed them in white.

bloomin love blue

To finish off my cards I added few white and clear sequins from Metallics Sequin Assortment.

I love how these turned out,  really pleased! I know these are not typical cards you would think off for Valentine’s Day, but I love the unusual.

Thank you for stopping by,