Thank you for joining us for another Simply Sketched Saturday Challenge! We’re so excited to be sharing this hop with you. The products used are all available in the current Annual, or seasonal, Stampin’ Up!® Catalogues*. Simply use the buttons at the bottom of the post to keep hopping!
Wow! It’s been long since we’ve played with our challenge last time. Did you missed us?! But we’re back with a new sketch and lots of fabby projects to bring you endless ideas and inspirations. So welcome to our 5th sketch challenge! And today’s sketch has been created for us by lovely Cat.
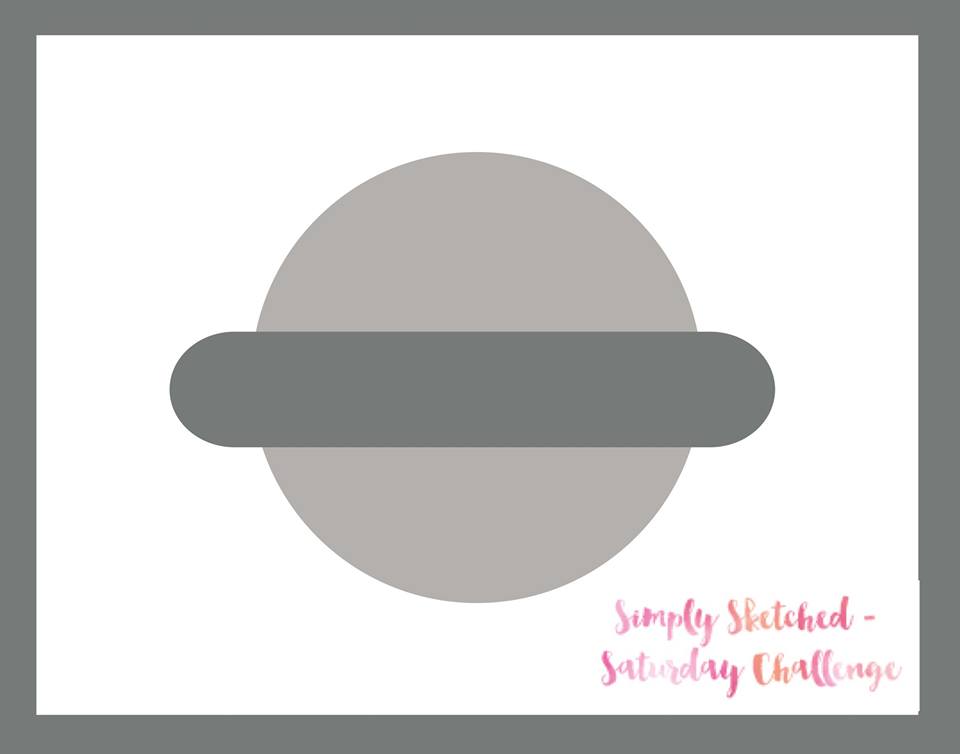
I love this sketch! And the moment I saw it I had this idea popped into my head. It’s a little bit out of my comfort zone because I don’t do boxes usually. But I was just dying to make my idea into a project. So here it is:

Isn’t it cute?! This box measures 4 x 3″ and make perfect “home” for Raffaello chocolates
To create my box I took 2 pieces of whisper white that measured: for the lid 7 x 6″ (I trimmed it later slightly) and for the base 6-7/8 x 5-7/8″. I stamped the top piece randomly using a Real Red ink pad and flowery stamps from Bloomin’ Love stamp set. When it was done I scored both pieces at 1-1/2″ on each side. After I assembled the base I’ve decided I want my lid to be slightly shorter than the base so I trimmed it 1/2″ on each side.
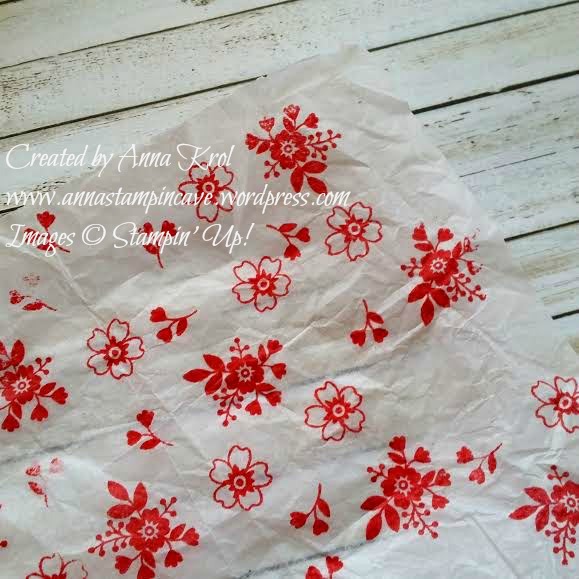
I also stamped same design on a piece of white tissue paper, to put it inside of my box. As for the sentiment, I’ve stamped it in Real Red again and fussy cut it. But because it would disappear in a “busy” background I die cut a circle from Dazzling Diamonds Glimmer Paper. I attached it to my box with Tombow adhesive and added my sentiment on top using dimensionals.
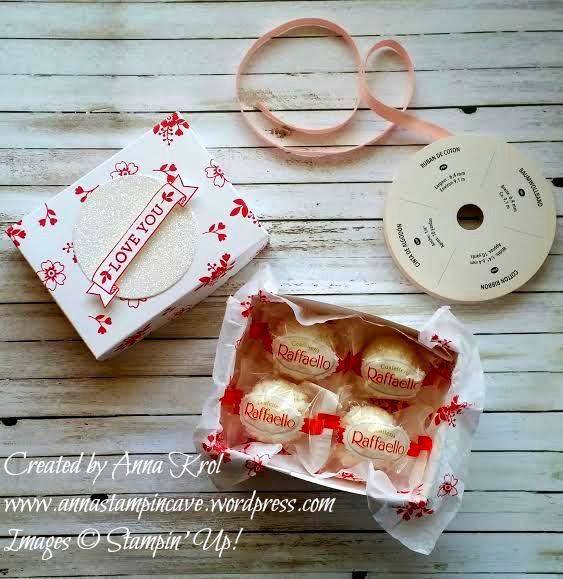
Taa-daah! The box is done! And it’s perfect little box for delicious chocolates. Or maybe for a piece of jewellery? What do you think?
I hope you enjoyed my little project today. I would love hearing from you.
Now, be sure to hop along and see more inspiring projects. Your next stop is lovely Karen – go and see what she has made using our cute sketch. Thank you for stopping by and have a blessed day!


