Simply Sketched Saturday Challenge #16 – I’m Here For You

Anna’ Stampin’ Cave – Simply Sketched Saturday Challenge #16 – I’m Here For You

SSSC Header

Thank you for joining us for another Simply Sketched Saturday Challenge!  We are so excited to be sharing this hop with you. The products used are all available in the current Annual, or seasonal, Stampin’ Up!®  Catalogues*. Simply use the buttons at the bottom of the post to keep hopping!

Welcome to our 16th sketch challenge blog hop! Today’s sketch has been designed by Amanda Charlesworth.
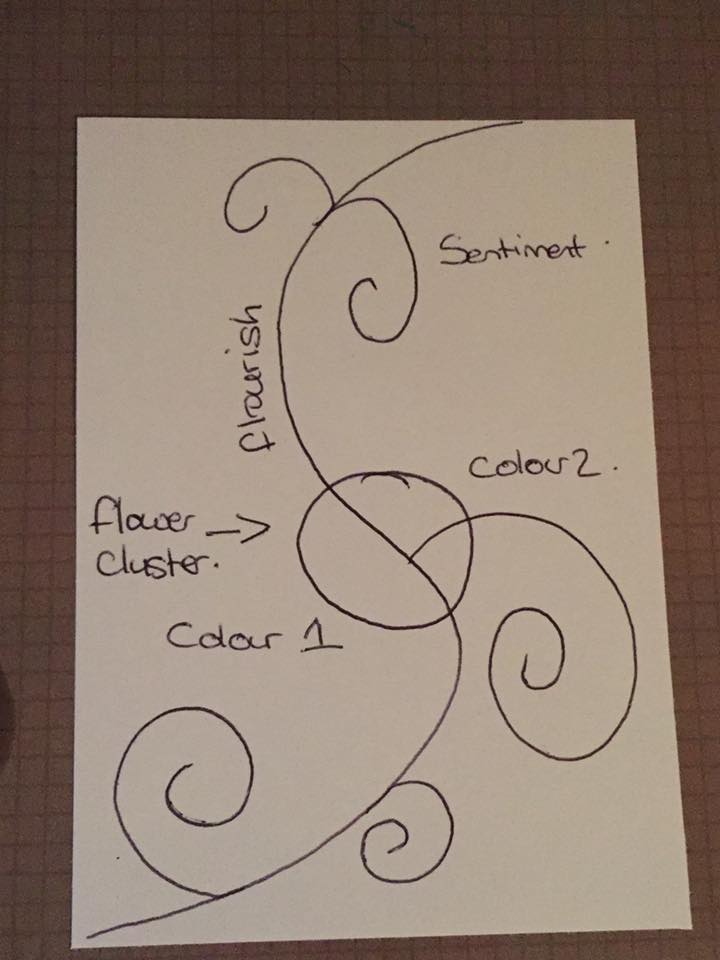
sssc16

For a long time, I couldn’t decide if I wanted to create a 3D project or a card for this sketch. But because I definitely feel more confident as a card maker, I saved myself some stress and decided to make a card.
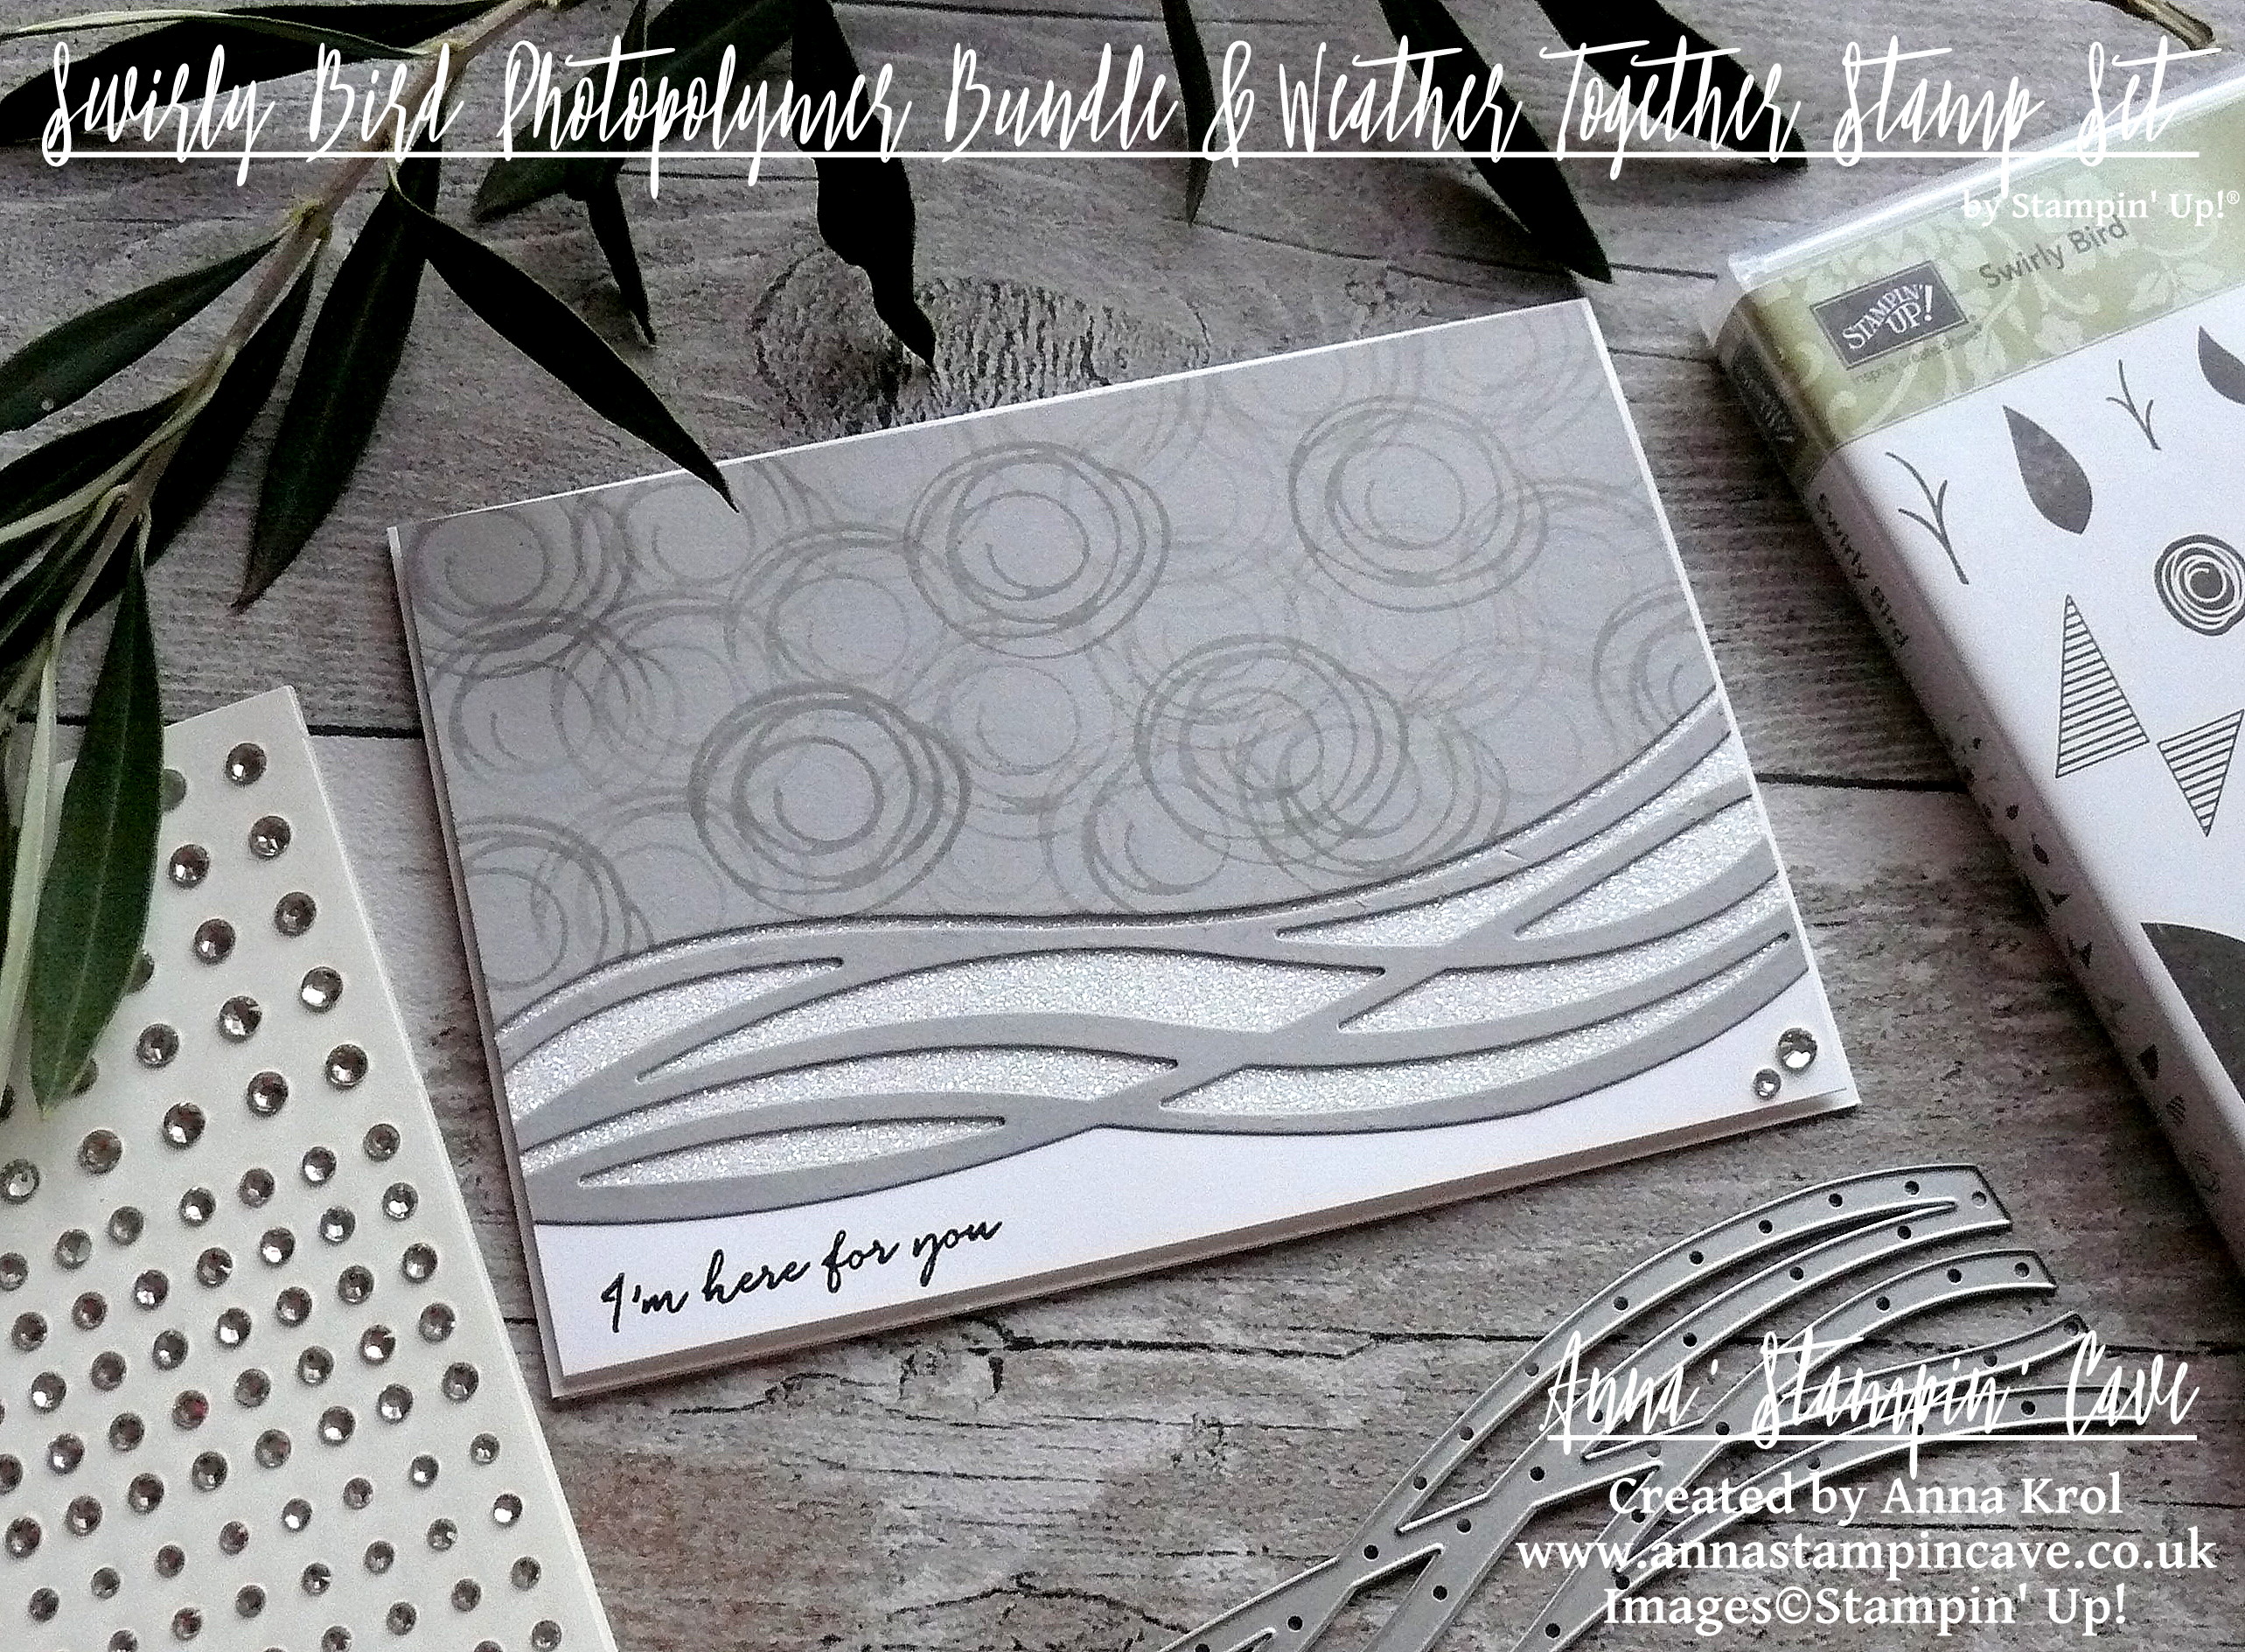
stampin-up-swirly-bird-photopolymer-bundle-monochromatic-im-here-for-you-card

I altered the sketch a little bit and added my own twist to it. The base of my card is Whisper White Thick A4 cardstock that measures 8-1/4″x 5-7/8″, and folded in half at 4-1/8″. Next, I cut two panels: one from regular Whisper White and one Smoky Slate. Both measured 4″x 5-6/8″. I took the Smoky Slate panel and using a multi-wave die from Swirly Scribbles Thinlits Dies, I die cut one piece of ‘waves’.

Savvy Tip: Save the bottom scrap piece for some masking later on.

I took scribble circle stamp from Swirly Bird Stamp Set and stamp it repeatedly in Smoky Slate over the Smoky Slate panel, overlapping and stamping off until the whole piece was covered.
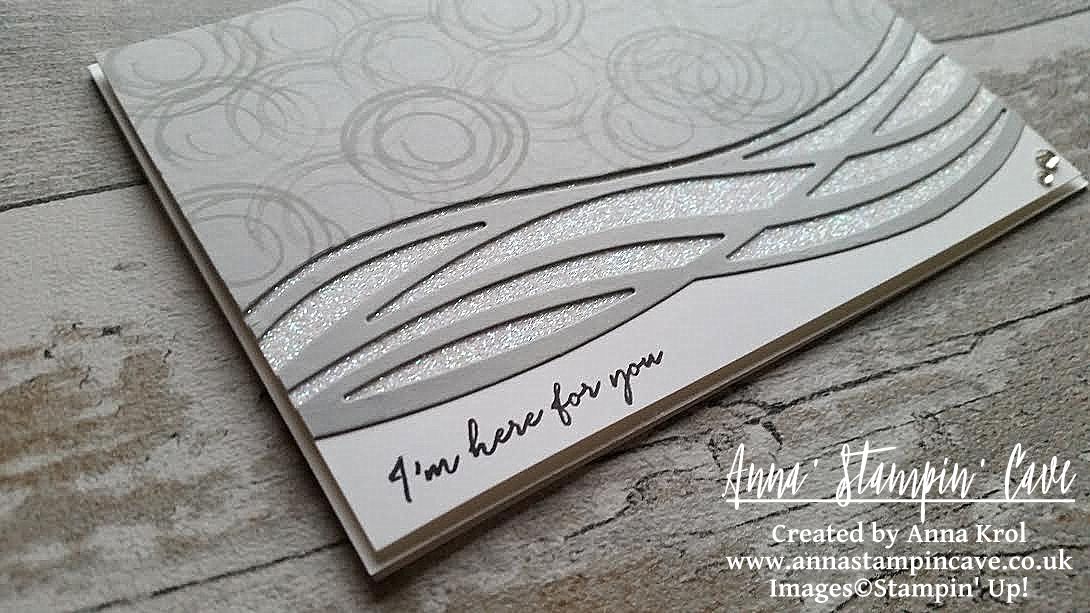
stampin-up-swirly-bird-photopolymer-bundle-monochromatic-card

Now I took Whisper White panel and that Smoky Slate scrap piece I saved earlier to create glimmer bottom layer for my wavy die-cut. I lined up the straight edge of my scrap with a bottom edge of Whisper White and squished Versamark pad over the bottom piece of that Whisper White panel. I didn’t want to cover entire panel, only the part that will be peaking through the ‘wavy’ piece. I sprinkled Heat & Stick Powder over it and heat embossed until melted. Next, I added Dazzling Diamond Glitter over it and heat embossed again to secure glitter in place. But why I used that leftover scrap of Smoky Slate, you may wonder? I’ve used it to make sure the very bottom of my WW panel won’t be covered in glitter, so I had a nice spot for my sentiment.
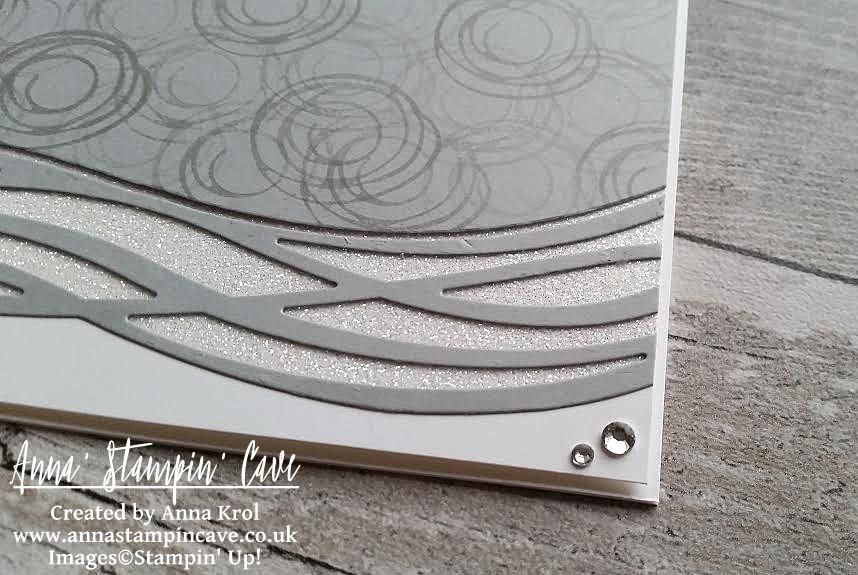
stampin-up-swirly-bird-photopolymer-bundle-monochromatic-card

I adhered Smoky Slate panel and ‘waves’ to the Whisper White panel. To finish off my card, I took a beautiful ‘I’m here for you’ sentiment from Weather Together Stamp Set and stamped it in Basic Black at the bottom left corner of my panel. I also added a couple of rhinestones at bottom right corner for a good measure. I’ve mounted the whole piece to the card base using dimensionals.
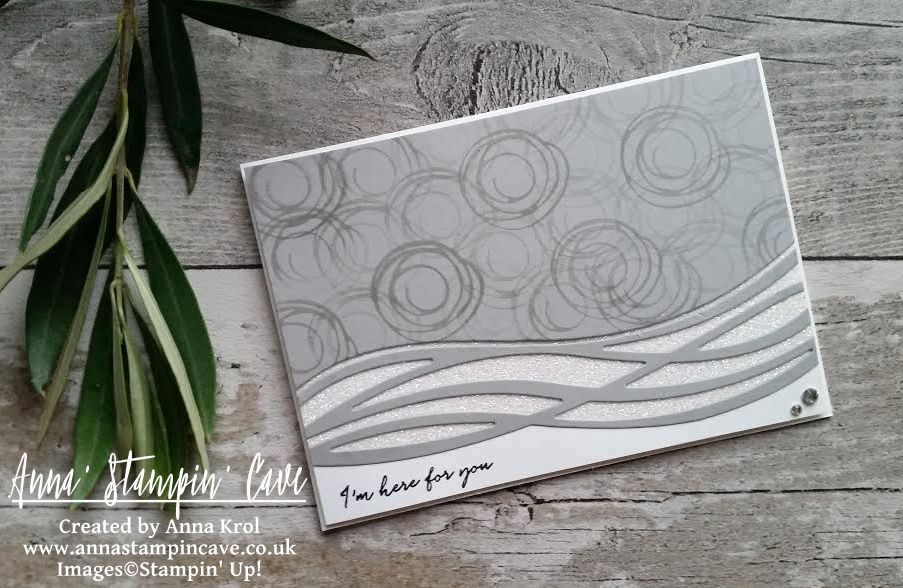
stampin-up-swirly-bird-photopolymer-bundle-monochromatic-card

I really like how this card turned out. Clean and simple. I hope you like my take on the sketch too.

As always, if you wish to purchase any of the products I have used, simply click the images below to go directly to my online shop.

Now, be sure to hop along and see more inspiring projects. Your next stop is lovely Jillian.

Thank you for stopping by and have a blessed day,

SSSC Previous   SSSC Next Blog

Swirly Bird Photopolymer Bundle

Swirly Bird Photopolymer Bundle
[142353]
£42.25

Swirly Scribbles Thinlits Dies

Swirly Scribbles Thinlits Dies
[141497]
£24.00

Swirly Bird Photopolymer Stamp Set

Swirly Bird Photopolymer Stamp Set
[141749]
£23.00

Weather Together Photopolymer Stamp Set

Weather Together Photopolymer Stamp Set
[141543]
£19.00

Whisper White A4 Thick Cardstock

Whisper White A4 Thick Cardstock
[140490]
£6.50

Whisper White A4 Card Stock

Whisper White A4 Card Stock
[106549]
£8.25

Card Stock A4 Smoky Slate

Card Stock A4 Smoky Slate
[131291]
£7.25

Smoky Slate Classic Stampin' Pad

Smoky Slate Classic Stampin’ Pad
[131179]
£6.00

Basic Black Archival Stampin’ Pad

Basic Black Archival Stampin’ Pad
[140931]
£6.50

Versamark Pad

Versamark Pad
[102283]
£7.75

Heat & Stick Powder

Heat & Stick Powder
[100625]
£4.00

Dazzling Diamonds Stampin' Glitter

Dazzling Diamonds Stampin’ Glitter
[133751]
£4.50

Rhinestone Basic Jewels Embellishments

Rhinestone Basic Jewels Embellishments
[119246]
£4.50

Liquid Multipurpose Glue

Liquid Multipurpose Glue
[110755]
£3.75

Stampin' Dimensionals

Stampin’ Dimensionals
[104430]
£3.75

Heat Tool - Uk Plug

Heat Tool – Uk Plug
[129054]
£27.00

Big Shot

Big Shot
[143263]
£99.00


Swirly Scribbles See-Through Window Shaker Card

Anna’ Stampin’ Cave – Simply Sketched Saturday Challenge – Swirly Scribbles See-Through Shaker Card

SSSC Header

Thank you for joining us for another Simply Sketched Saturday Challenge!  We’re so excited to be sharing this hop with you. The products used are all available in the current Annual, or seasonal, Stampin’ Up!®  Catalogues*. Simply use the buttons at the bottom of the post to keep hopping!

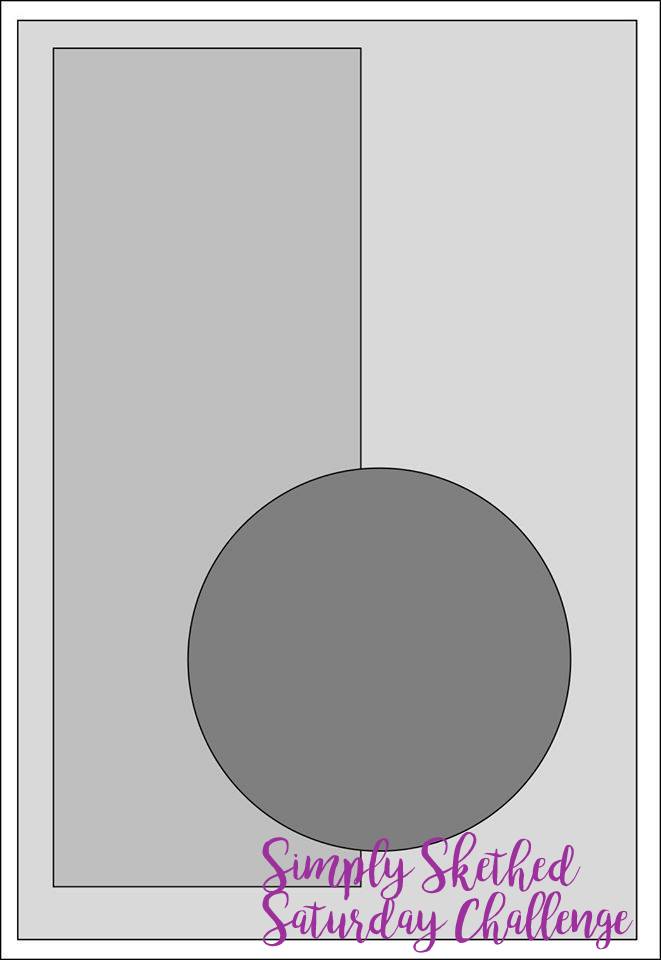
The sketch we’re working today with was designed by talented Keren Howell.

SSSC 11

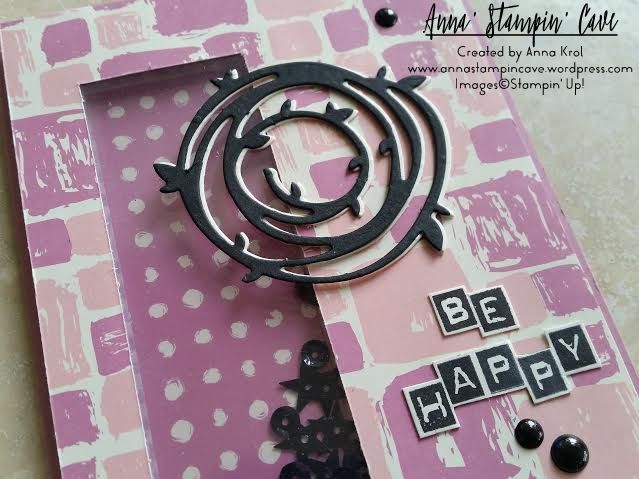
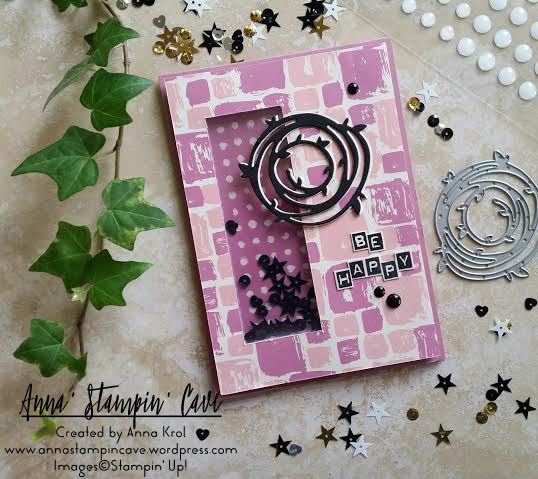
I really like this sketch. And funny how many cards I created recently could fit this sketch perfectly. But today I wanted to make something slightly different: a see-through window shaker card.

Swirly Ccribbles See-Through Window Shaker Card

Don’t you just love Playful Palette Designer Series Paper Stack?! 48 sheets of such fun designs! I couldn’t decide which one to choose. But because I wanted to use Sweet Sugarplum cardstock for my base, these fun, wonky squares were perfect.

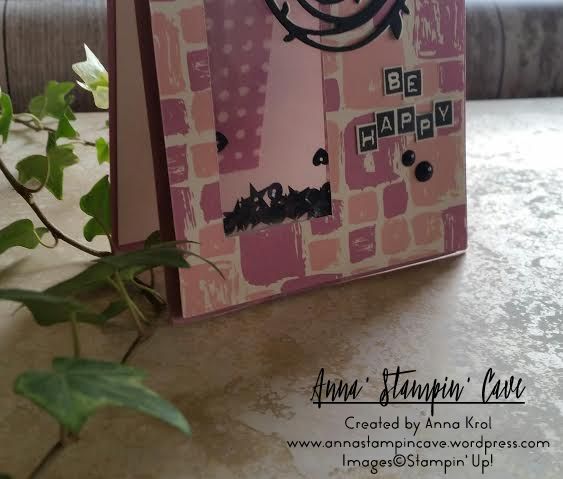
I cut out the window in my base first. Next, I traced the “window” on my DSP and cut it out too. Save that piece as you will need it later. I’ve used our new Foam Adhesive Strips to create the shaker. I added them around the window on the base and adhered a piece of acetate. I’ve used more foam strips around the base to adhere my piece of DSP. To finish my shaker window, I added black sequins and adhered another piece of acetate on the inside of the card.

Swirly Ccribbles See-Through Window Shaker Card 2

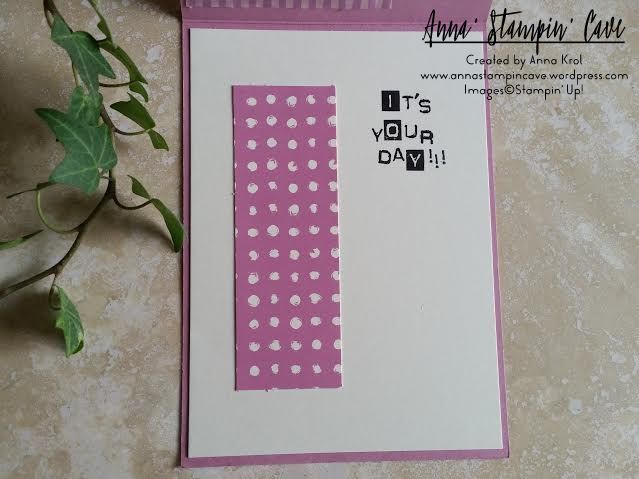
For the inside, I’ve used a Very Vanilla panel and a piece of DSP that I cut out when creating the window. But this time I’ve used the reverse side of that DSP. The placing is the key, so when the card is closed, you can see that piece through the window. The sentiment “It’s Your Day” was stamped in Basic Black Archival Ink, using Labeler Alphabet Stamp Set (which I truly love). And yes, I stamped it wonky on purpose 😉

Swirly Ccribbles See-Through Window Shaker Card inside

When the shaker bit and the inside of the card were done I could concentrate on the front. I die-cut two wreaths using Swirly Scribbles Thinlits Dies. One in Basic Black, and one in Very Vanilla. I glued them together slightly off-setting, so the Very Vanilla is peeking from underneath. I adhered it to the base with Multipurpose Liquid Glue. My sentiment, again, was stamped using Labeler Alphabet Stamp Set. I stamped it on a piece of Very Vanilla, and hand-cut it leaving a little border around the letters. Adhered it with liquid glue.

For embellishments, I’ve used White Perfect Accents, which I coloured black using a permanent marker. And that finish off my card.

Do you like my project?! If so please leave me a comment. I would love to hear from you!

Now, be sure to hop along and see more inspiring projects. Your next stop is Helen’s blog  go and see what she has made for you.

Thank you for stopping by and have a blessed day,
 

SSSC Previous   SSSC Next Blog