Shake It In Teals – Birthday Card For Sweet 17

Hello and welcome! Today I want to share with you a card I’ve made for our daughter’s 17th birthday. I don’t know where the time has gone but I could swear she was just 7 not that long ago.

She’s not a girly-girl ( happy mamma here lol). She’s studying fine art in Sixth Form and she loves mixed media. So I had to come up with something little more ‘sophisticated’ than flowers and butterflies if you know what I mean 😉

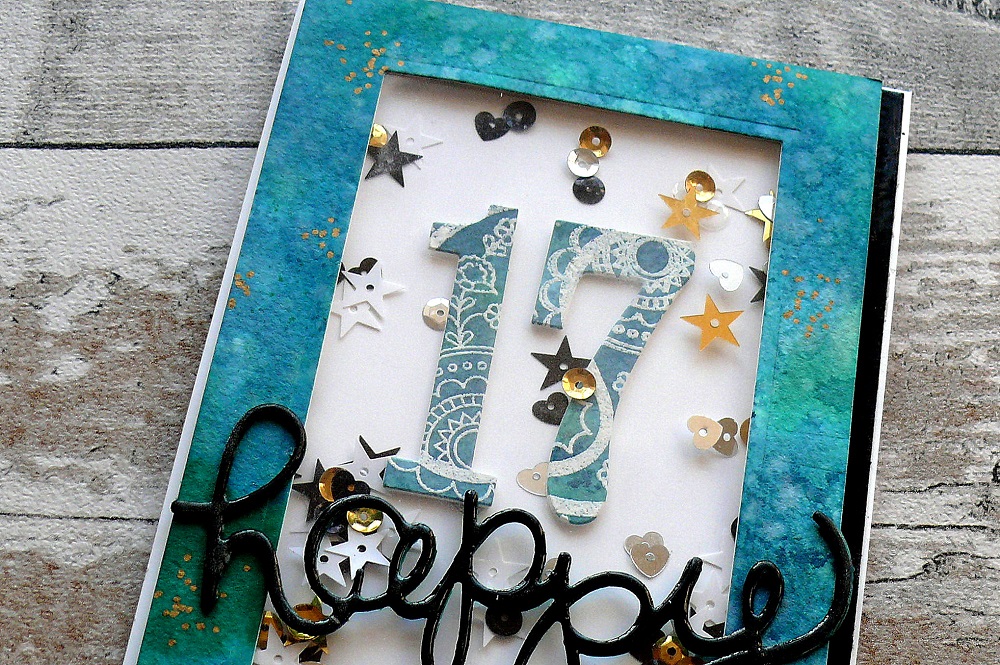
This year I decided to make a shaker card in beautiful teal shades. [You can see her last year’s birthday card here]
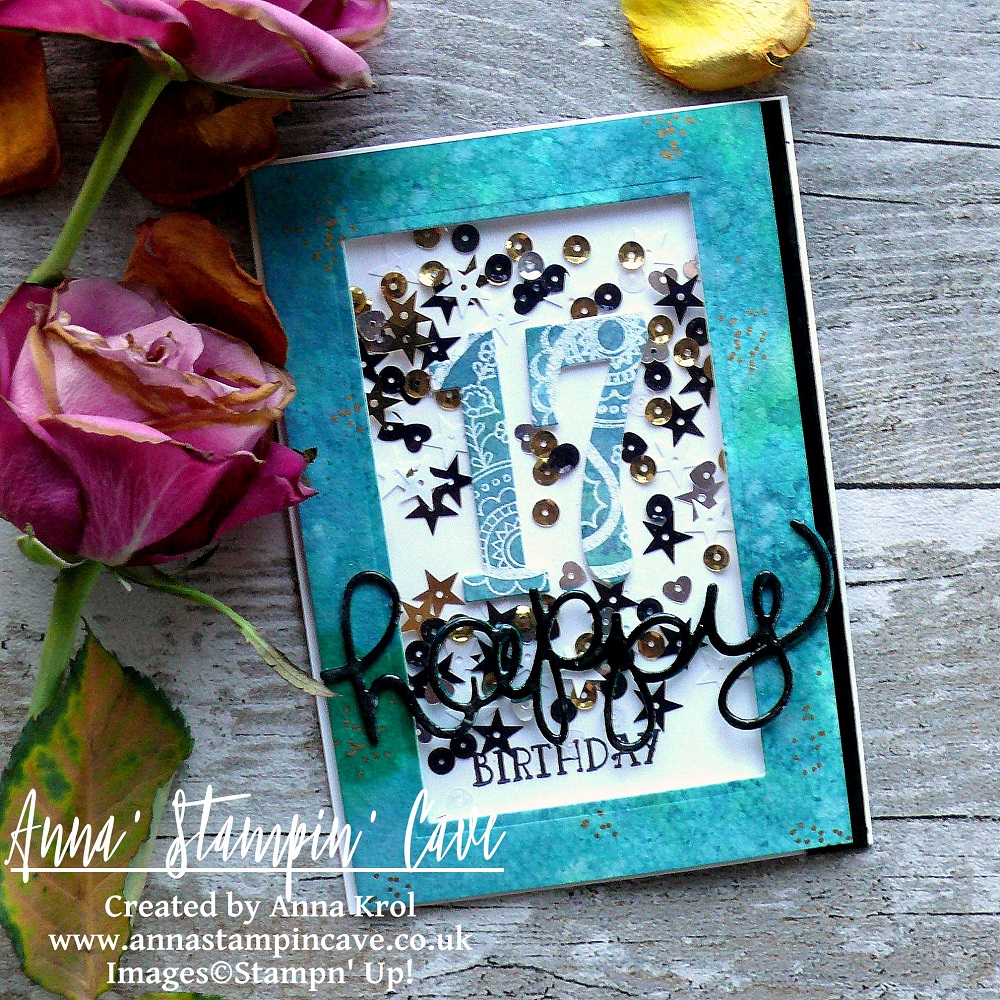
P1130276

Shake It In Teals Card dimensions:

  • Thick Whisper White cardstock: 11-6/8″ x 4-1/8″ scored in half at 5-7/8″ (29.7 x 10.5 cm scored in half at 14.8 cm)
  • Watercolour Paper: 5-6/8″ x 3-7/8″ (14.5 cm x 9.7 cm)
  • Basic Black cardstock: 1/2″ x 5-6/8″ (14.5 cm x 1.2 cm)
  • for die-cutting word happy pieces of Basic Black, Island Indigo and Emerald Envy

It’s very simple, a straightforward card so I won’t include a whole step by step instructions, just some hints, and tips.

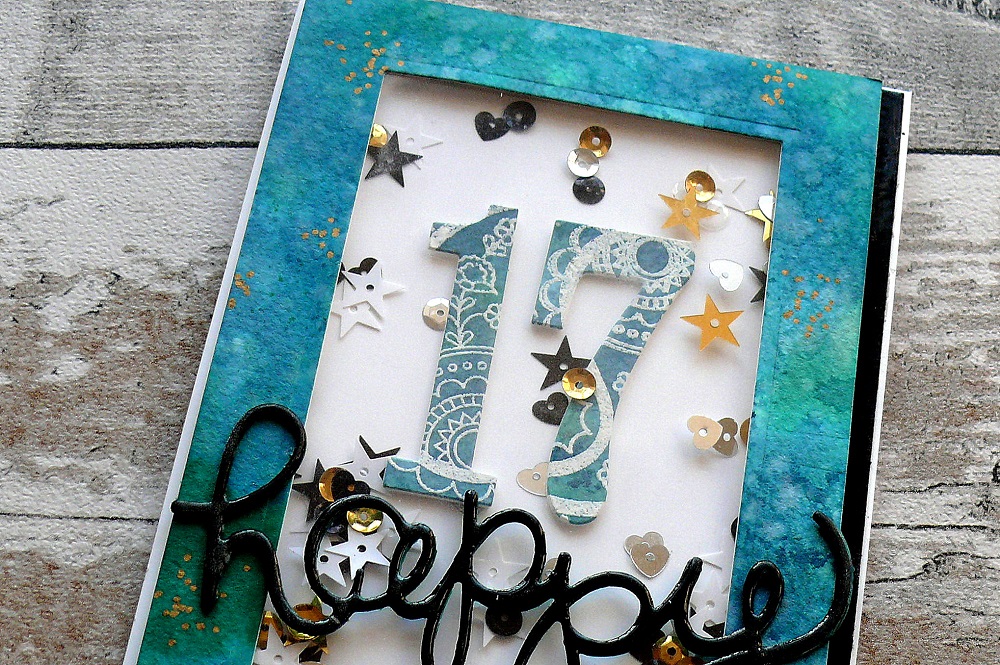
Frame: To create a teal-like shade for the watercolour panel I’ve mixed Island Indigo ink with Emerald Envy ink in a watercolour wash. When the panel was dry I die cut a rectangle from the middle of the panel, creating a frame.
P1130298

Numbers: I didn’t want the number to look flat and boring, so I took that watercoloured rectangle, stamped two paisley images in Versamark in the middle, heat embossed them in white and die cut numbers 1 and 7 from that piece.

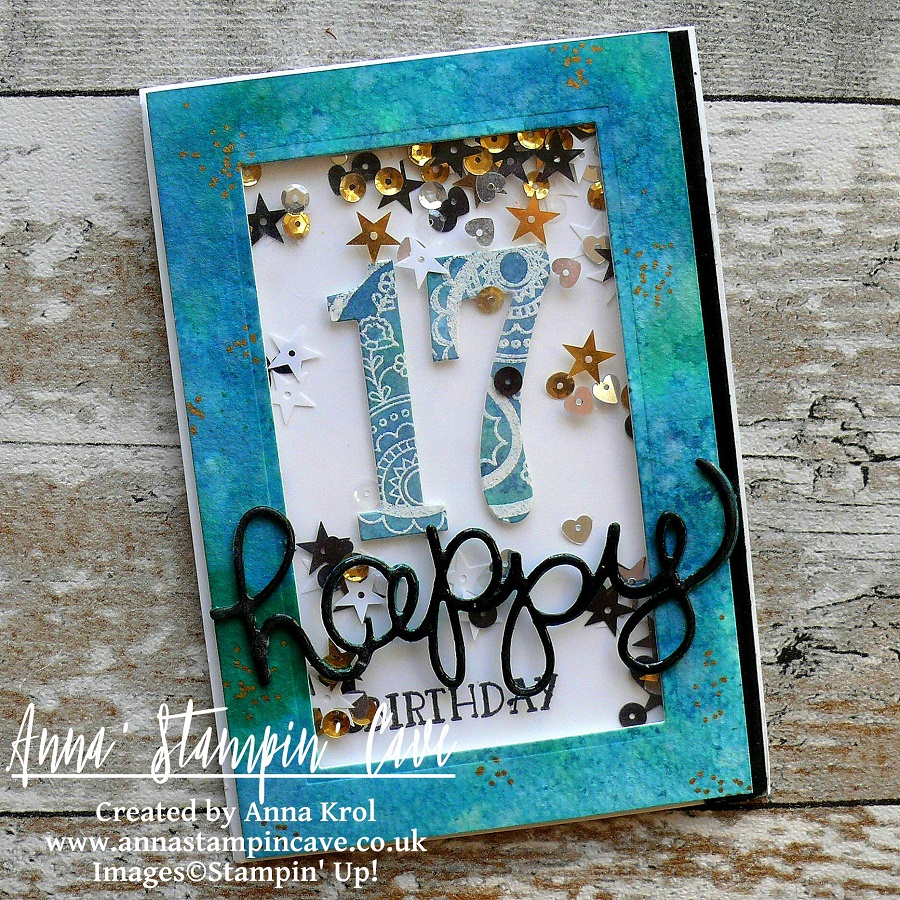
‘Happy’: I die cut it three times: one from Basic Black cardstock, 2nd from Island Indigo and 3rd from Emerald Envy and adhered them together. To add shine to it I cover my word in Versamark and heat embossed in clear. I did the same with the Basic Black strip.
P1130289

Before I put my shaker card together I adhered few sequins to the base of my card so not all sequins fall down when the card is standing on the shelf. For the final touch, I added some random gold dots to the frame with my gold Sharpie.

There’re few things that didn’t come out as I hoped for, but with my numb hands, I think that overall the card looks nice. The most important is the fact that our girl loved it, so YAY!

If you wish to purchase any of products I have used, simply click the images below to go directly to my online store and don’t forget to enter the hostess code for the month of March G3JKVASG to receive a gift from me.

Thank you for stopping by and have a blessed day

Swirly Scribbles See-Through Window Shaker Card

Anna’ Stampin’ Cave – Simply Sketched Saturday Challenge – Swirly Scribbles See-Through Shaker Card

SSSC Header

Thank you for joining us for another Simply Sketched Saturday Challenge!  We’re so excited to be sharing this hop with you. The products used are all available in the current Annual, or seasonal, Stampin’ Up!®  Catalogues*. Simply use the buttons at the bottom of the post to keep hopping!

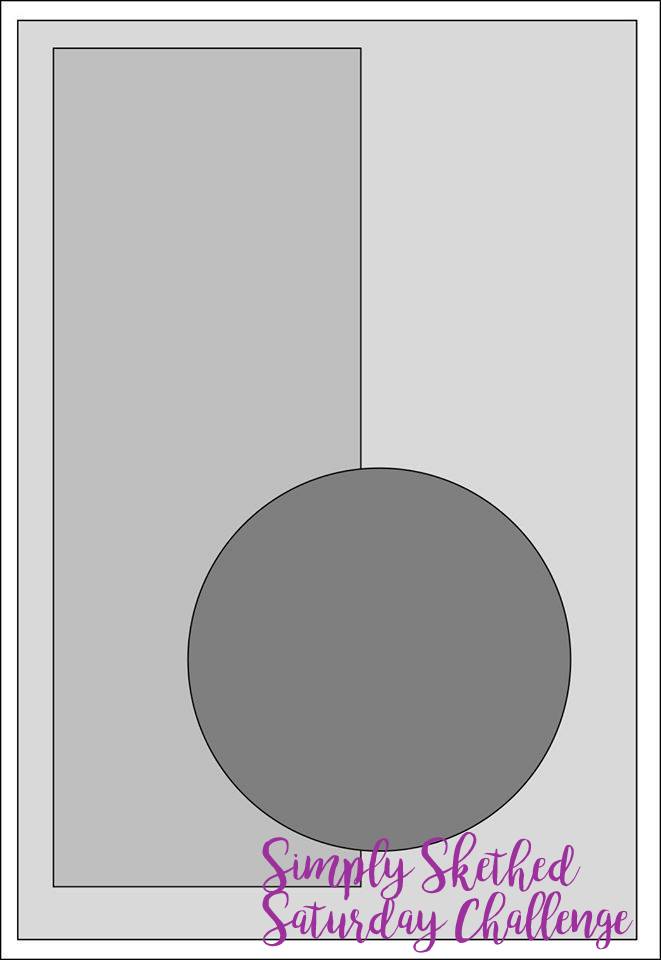
The sketch we’re working today with was designed by talented Keren Howell.

SSSC 11

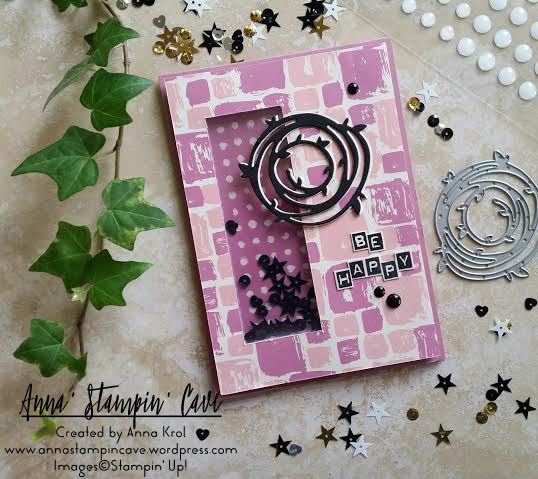
I really like this sketch. And funny how many cards I created recently could fit this sketch perfectly. But today I wanted to make something slightly different: a see-through window shaker card.

Swirly Ccribbles See-Through Window Shaker Card

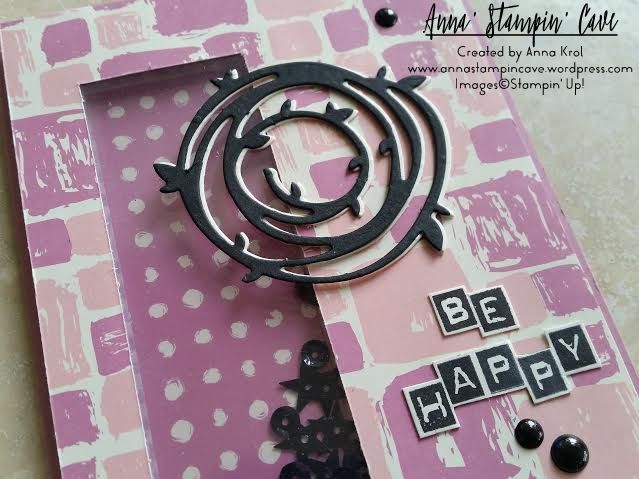
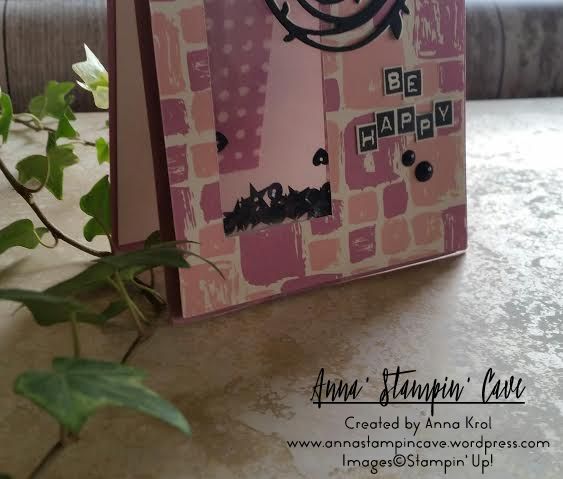
Don’t you just love Playful Palette Designer Series Paper Stack?! 48 sheets of such fun designs! I couldn’t decide which one to choose. But because I wanted to use Sweet Sugarplum cardstock for my base, these fun, wonky squares were perfect.

I cut out the window in my base first. Next, I traced the “window” on my DSP and cut it out too. Save that piece as you will need it later. I’ve used our new Foam Adhesive Strips to create the shaker. I added them around the window on the base and adhered a piece of acetate. I’ve used more foam strips around the base to adhere my piece of DSP. To finish my shaker window, I added black sequins and adhered another piece of acetate on the inside of the card.

Swirly Ccribbles See-Through Window Shaker Card 2

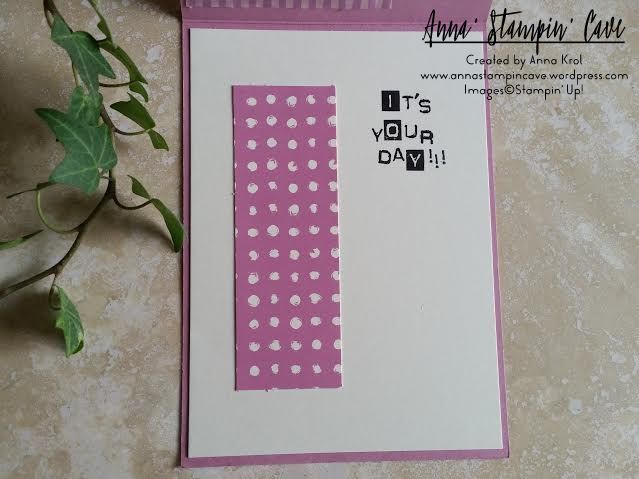
For the inside, I’ve used a Very Vanilla panel and a piece of DSP that I cut out when creating the window. But this time I’ve used the reverse side of that DSP. The placing is the key, so when the card is closed, you can see that piece through the window. The sentiment “It’s Your Day” was stamped in Basic Black Archival Ink, using Labeler Alphabet Stamp Set (which I truly love). And yes, I stamped it wonky on purpose 😉

Swirly Ccribbles See-Through Window Shaker Card inside

When the shaker bit and the inside of the card were done I could concentrate on the front. I die-cut two wreaths using Swirly Scribbles Thinlits Dies. One in Basic Black, and one in Very Vanilla. I glued them together slightly off-setting, so the Very Vanilla is peeking from underneath. I adhered it to the base with Multipurpose Liquid Glue. My sentiment, again, was stamped using Labeler Alphabet Stamp Set. I stamped it on a piece of Very Vanilla, and hand-cut it leaving a little border around the letters. Adhered it with liquid glue.

For embellishments, I’ve used White Perfect Accents, which I coloured black using a permanent marker. And that finish off my card.

Do you like my project?! If so please leave me a comment. I would love to hear from you!

Now, be sure to hop along and see more inspiring projects. Your next stop is Helen’s blog  go and see what she has made for you.

Thank you for stopping by and have a blessed day,


SSSC Previous   SSSC Next Blog

Pootler’s Autumn-Winter Catalogue Blog Hop – Christmas Bauble Shaker Card!

pootler's blog hop

Thank you for joining us again on Pootler’s Blog Hop! This is our team Blog Hop to showcase products from new Stampin’ Up!® Autumn-Winter Catalogue. So prepare yourself for lots of beautiful projects and tonnes of inspiration. Simply use the buttons at the end of each post to keep hopping!

If you have arrived here from Lea’s blog thank you for stopping by. I hope you enjoy seeing the inspiration from our team and continue to hop through to see what everyone has made.

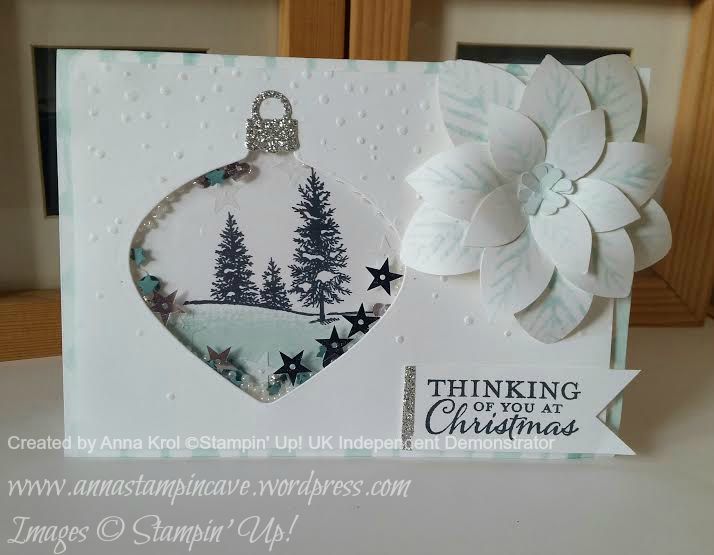
My little project features pretty few of new products from our seasonal catalogue, but I just simply couldn’t decide which one to choose 🙂

Does it happen to you that when you see a new product, it “talk to you”? haha. No, I’m not crazy! Just the moment I saw Delicate Ornaments Thinlits Dies it screamed to me: shaker card!

Christmas Bauble Shaker Card 2.1

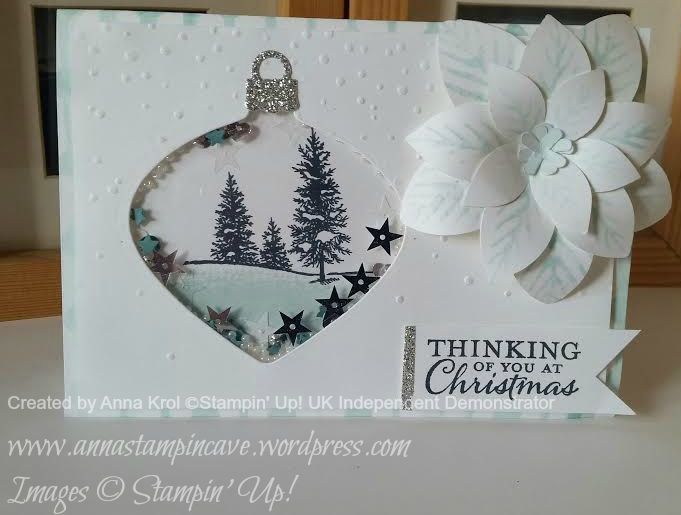
I wanted to keep my card in soft, washed colours. The base of the card, as well as the top layer, is Whisper White. To break a little bit all the whiteness I added pattern to my base. I took one of the stencils (fancy dots) from Happy Patterns set and sponged over the stencil with Soft Sky. But I only sponged on the edges, leaving the centre white for stamping.

For the layer, I took a piece that measures 5-3/8 x 3-6/8″ so my sponged base could slightly peek around the edges. I run it through Big Shot with new Softly Falling 6×6″ Embossing Folder. I love how it adds gentle texture to the card. Next, I run it through the Big Shot with a bauble die from Delicate Ornament Thinlits Dies, to create a “window” for my shaker.

Christmas Bauble Shaker Card 4

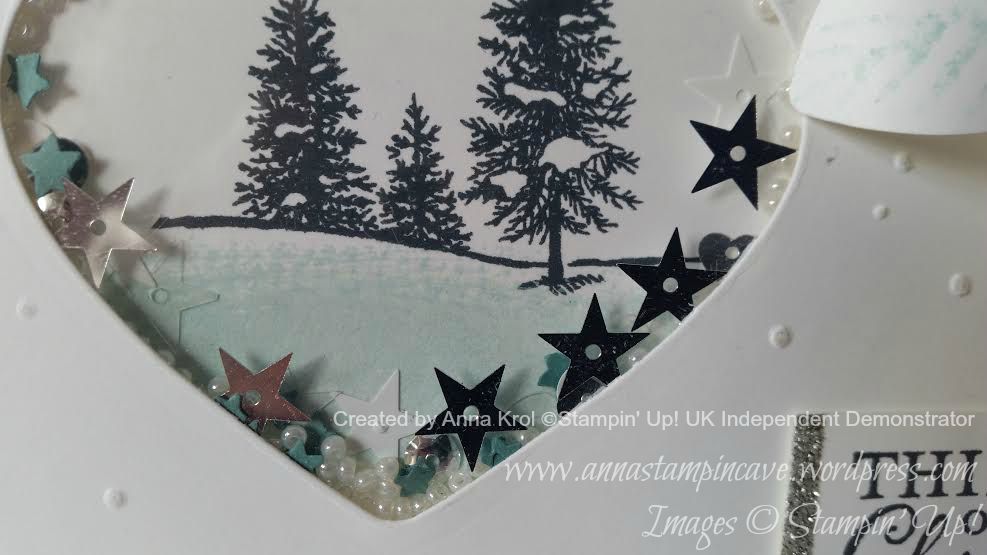
Winter scene comes from Happy Scenes stamp set. Snow on the ground is “swoosh” stamp from Work Of Art. For my shakers I used Metallics Sequin Assortment, Lost Lagoon stars punched with Confetti Stars Border punch and seed beads from my stash. To create shaker I used edges from dimensionals and a piece of acetate. If you don’t have dimensionals you could use foam tape.

Christmas Bauble Shaker Card 3

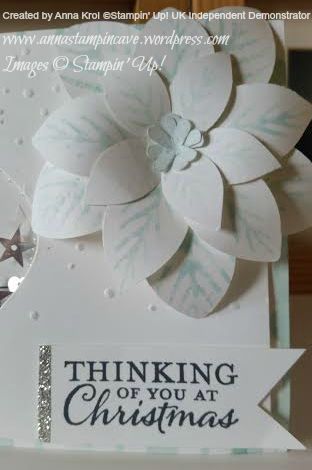
To keep rest of the card simple the only “embellishment” on my card is Poinsettia flower. I was so excited to use Festive Flower Builder Punch together with Reason for the Season stamp set. I punched poinsettia leaves from Whisper White cardstock. I used five large leaves, five medium, five small ones (I cut them in half) and three centres to build my poinsettia. Each leaf was stamped in Sky Blue but I stamp it off first so the colour was even softer. I curl each leaf with a bone folder and assembled it using Tombow glue.

Christmas Bauble Shaker Card 2.2

This gorgeous sentiment comes from Embellished Ornaments stamp set. I cut it into a banner and backed it with a piece of silver glimmer paper. As I had it out I also die-cut a little fixing for my bauble from glimmer paper too.

Now that you’ve seen my project please use the buttons below to keep “hopping”. Next in our hop is Sarah, and I know she has a lovely project to share with you. Once again thank you for stopping by.

Have a blessed day,

previous pootler blog 

Endless Wishes And Sequins Shaker Card

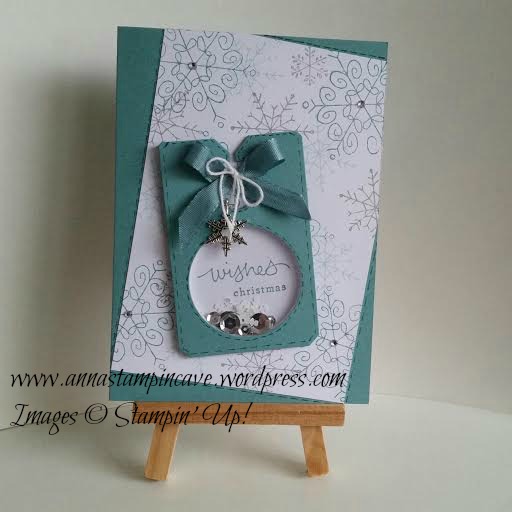
Yep. It’s just about a time for me to try something I haven’t tried before 🙂 A shaker card! If I can be honest the idea for this card poped out to me while surfing the internet. I’ve seen so many beautiful shaker cards. And one day it happened I came across gorgeous card by Amy White. I’ve changed some colours used plus instead of punched stars I’ve used silver sequins and white snowflakes by Stampin’ Up.

shaker 1

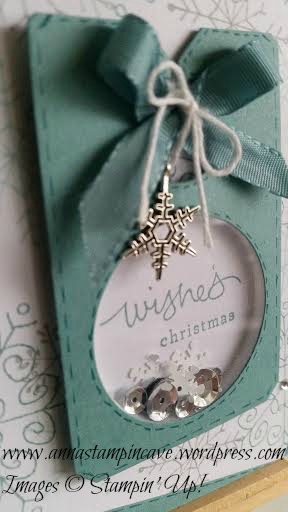
For the background, same as Amy, I’ve used Endless Wishes. But I chosed Lost Lagoon, Smoky Slate and Soft Sky ink pads. The shaker bit is made from Chalk Talk framelit, piece of window sheet, 1 3/4″ circle punch and the largest of shaker frames. It’s attached to the card with piece of Lost Lagoon Ribbon, Whisper White Bakers Twine and beautiful Snowflake Embellishment which is available in our Autumn/Winter Catalogue.

shaker 2

The background is slightly “kicked” 😉 and attached to the Lost Lagoon base. The fake stiching around the background and shaker is made using Pool Party Stampin’ Marker.

Really hope you like my shaker card with sequins. Thank you for stopping by