DistINKtive – A New Kind Of Stamps From Stampin’ Up!

Anna’ Stampin’ Cave – A new kind of stamp

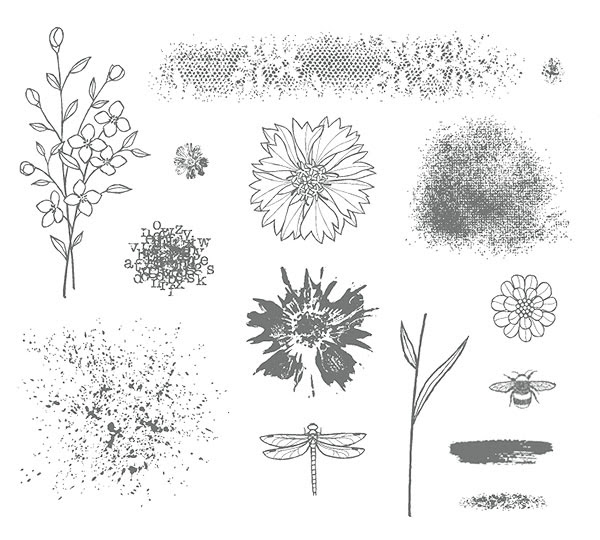
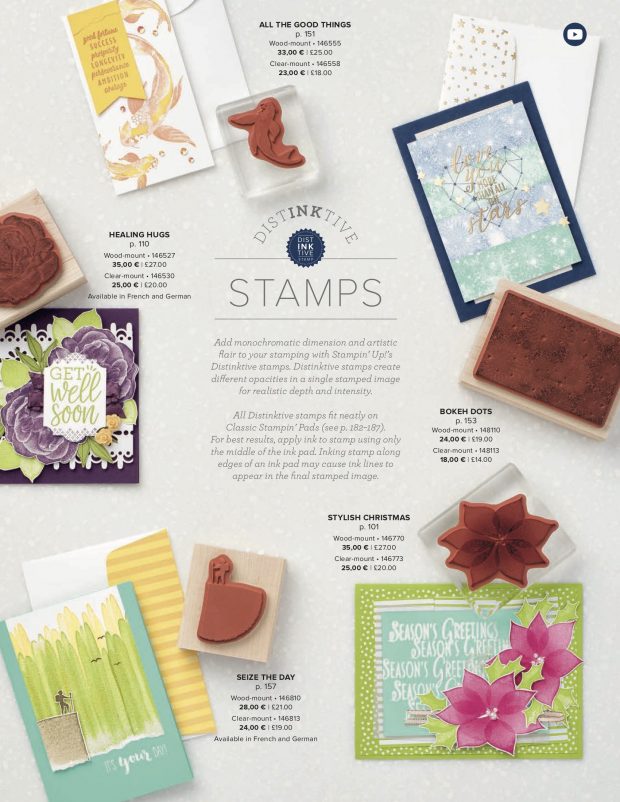
Stampin’ Up! knows there is always room for innovation, which is why we’ve trademarked a new style of the red rubber stamp. Named DistINKtive, these stamps start with a photograph, which an amazing Stampin’ Up! manufacturing team in Kanab, Utah then turns into a photorealistic red rubber stamp!

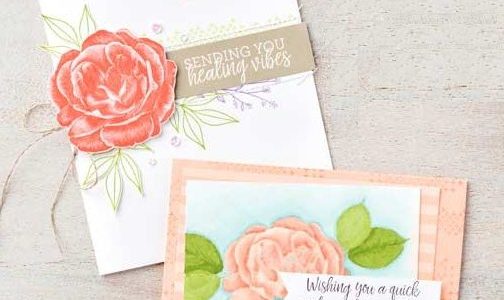
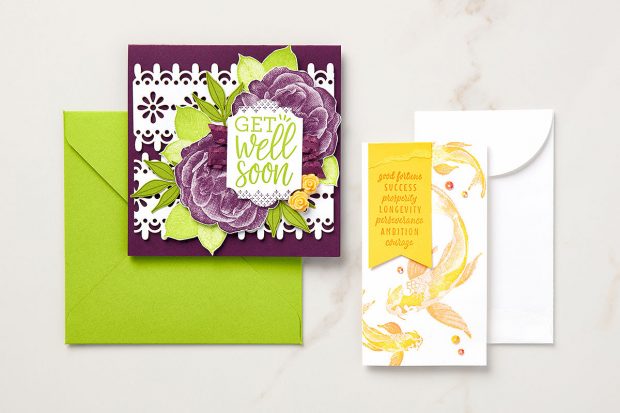
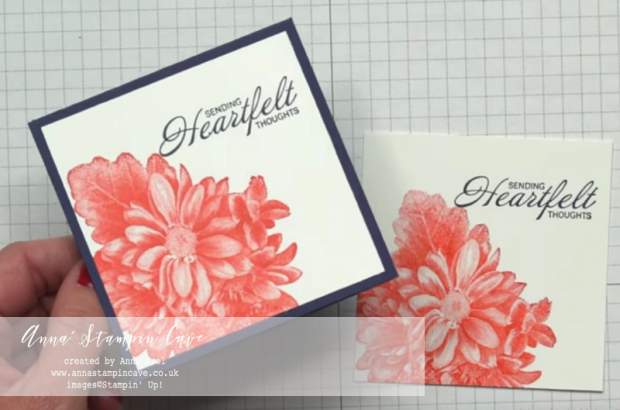
You probably remember the first of the distINKtive stamp set that was introduced during Sale-a-bration called Heartfelt Blooms.

Well, with this new catalogue Stampin’ Up! decided to bring some more of these incredible distINKtive stamp sets.

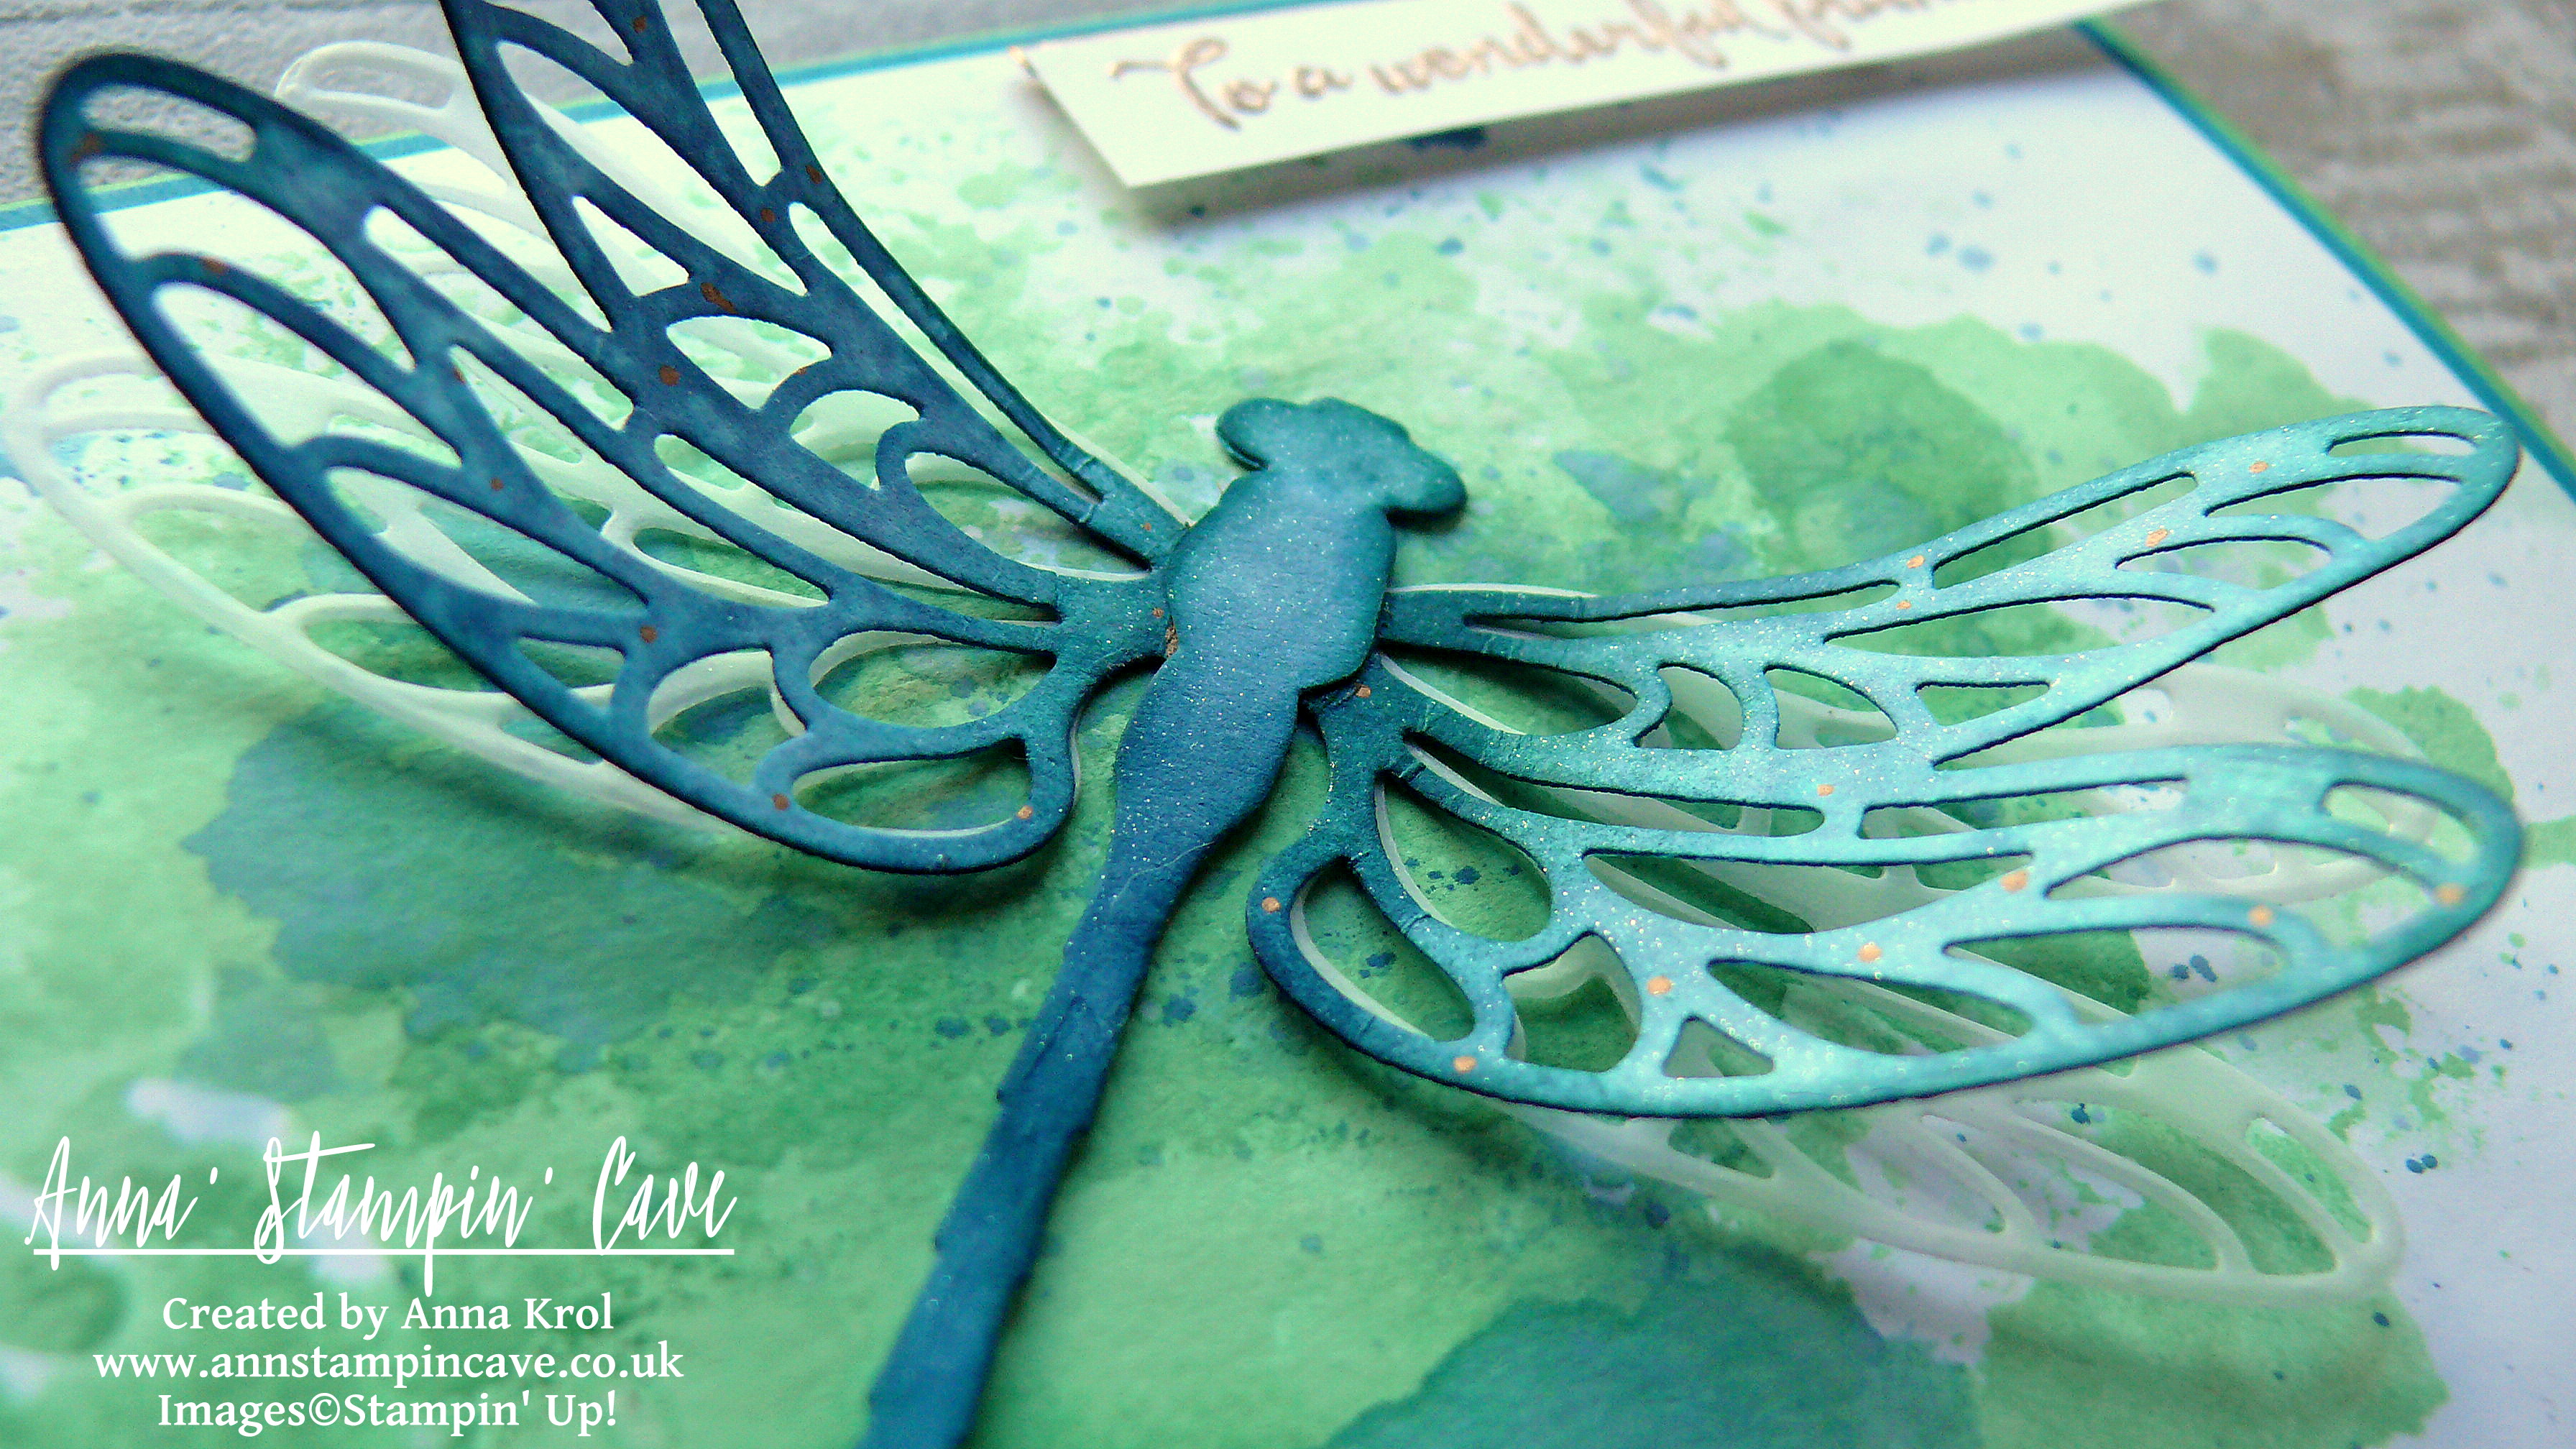
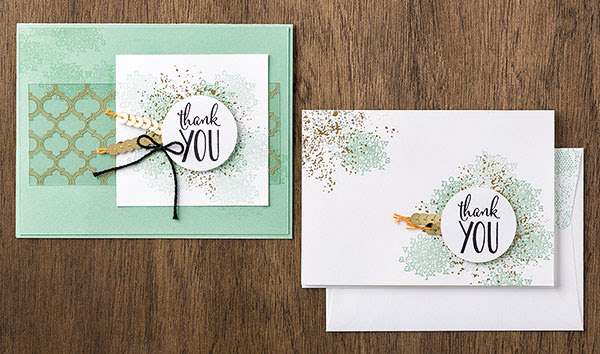
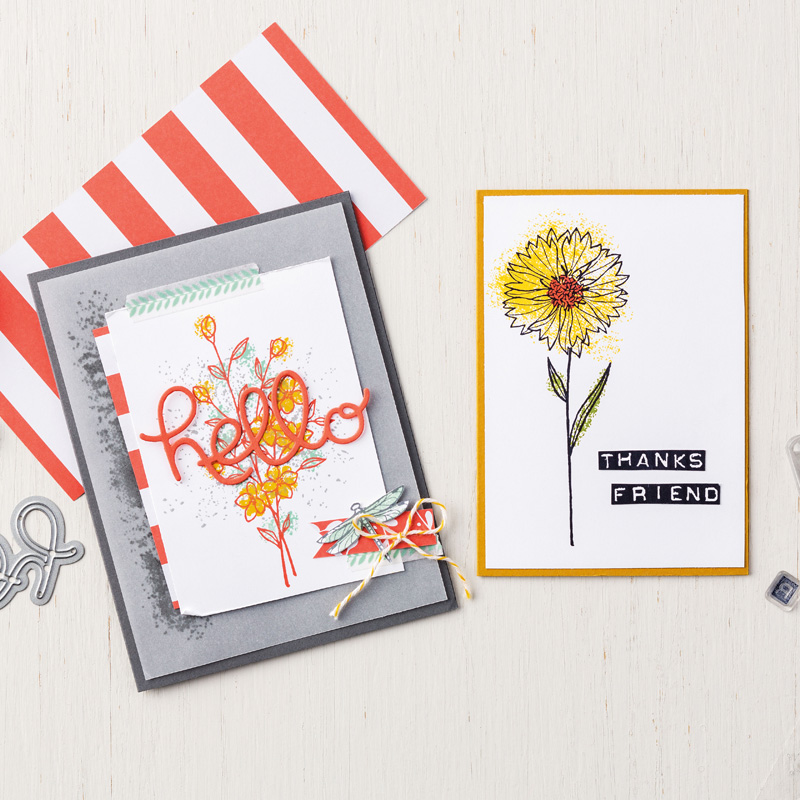
Distinktive stamps create different opacities in a single stamped image for a realistic depth and intensity.

With distinktive stamps, you can add monochromatic dimension and artistic flair to your stamping.

This innovative stamp style allows you to create images with depth by simply inking and stamping once. How cool is that!

Stampin’ Up! has a very informative video about how these amazing stamps work here.


UPDATE

There was a number of products that due to unexpected shipping delays weren’t available when the catalogue went live. But last night Stampin’ Up! announced that some of them are available now:

So I’m happy to announce that the following products are now in stock and available for purchase.

As for Stampin’ Blends, only current colours are back in stock. Thank you for your patience. I will let you know as soon as I have more information about the availability of the new Stampin’ Blends colours.

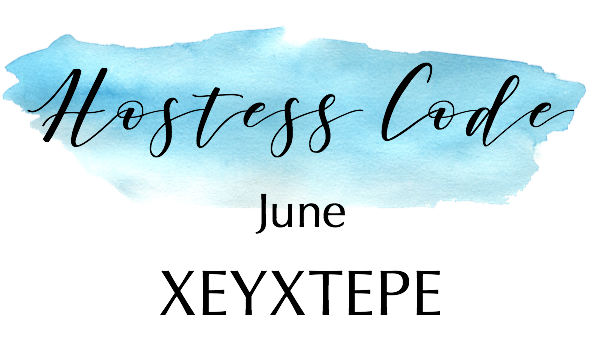
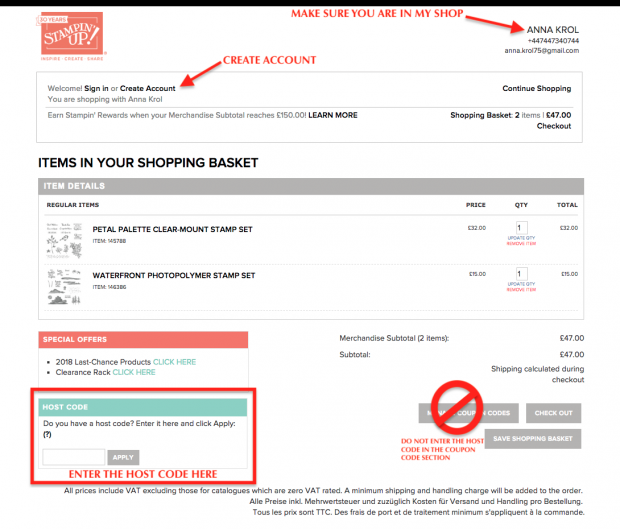
Host Code for the month of June is XEYXTEPE. Orders of £50+ (excl. p&p) will receive a Surprise Thank You Gift from me. You won’t be disappointed!

Thank You Gifts will be shipped in the first 2 weeks of the following month they were earned (mid-July).


HOW TO USE HOSTESS CODE


I would also love to invite you to join my team. I have a small team which is called Serendipity Crew. We are little but growing. And we are part of one of the biggest teams in the UK – a really wonderful group of women, of whom many have become dear friends of mine. We all support and inspire each other. So when you join my crew, you don’t get just me to help and support you, we all are a big friendly group! And we would love to welcome you.

Thank you for stopping by and have a blessed day,

Dragonfly Dreams Stamp Set & Coordinating Dies

Anna’ Stampin’ Cave – Dragonfly Dreams Stamp Set & coordinating dies

anna-stampin-cave-ink-smooshing-technique-with-dragonfly-dreams-stamp-set-coordinating-dies

For today’s project, I have used once again Dragonfly Dreams Stamp Set and Detailed Dragonfly Thinlits Dies. I love this bundle and either together or separate, I just can’t get enough of it. This time though I decided to revisit two of my favourite techniques: watercolour and ink smooching. Bright colours, Cucumber Crush and Island Indigo, seemed perfect combination for a dragonfly card.

anna-stampin-cave-ink-smooshing-technique-with-dragonfly-dreams-stamp-set-detailed-dragonfly-thinlits-dies

Watercolour Dragonfly card dimensions:

  • Cucumber Crush cardstock: 8-1/4″ x 5-7/8″ scored in half at 4-1/8″ (21 x 14.8 cm scored in half at 10.5 cm)
  • Island Indigo cardstock: 4″x 5-6/8″(10,2 x 14,5 cm)
  • Whisper White cardstock: 3-7/8″ x 5-5/8″ (9.8 x 14.2 cm) and 2-7/8″ x 1/2″(7.4 x 1.3 cm) for a sentiment
  • Scraps of Whisper White, Shimmery White and White Vellum cardstock for die-cutting

First thing first I had to prepare my watercolour panel. And to be honest I risked a bit using regular Whisper White cardstock here.

If you are not confident with water colouring and don’t want to risk, please always use watercolour paper with ink smooshing technique.

I pressed Cucumber Crush ink pad on a craft mat, spritz it with water (not too much) and took a piece of acetate to lift some of this puddle of colour. I smooshed it on my panel and dried it with a heat gun. I repeat this process couple of times, every time drying my panel in-between until I was happy with layers of colour. Next, I switched to Island Indigo but I only added one layer of colour. The last touch was to add few splotches of ink to my panel with help of aqua painter.

anna-stampin-cave-ink-smooshing-technique-with-dragonfly-dreams-stamp-set-detailed-dragonfly-dies

I die cut two dragonflies, one from Whisper White cardstock and one from vellum (without the head) for 3D effect. To colour in cardstock dragonfly I used a very similar technique as previously. I pressed some more of Island Indigo ink on the craft mat, spritz it with water and dabbed the dragonfly straight in the puddle, dried and repeat until I was happy with the colour.

I wanted to add more depth and ‘life’ to my dragonfly, so I sponged the edges of wings and the body with Island Indigo ink. I also added few speckles with bronze metallic Sharpie marker.

While sponging I’ve noticed that the dragonfly was bit ‘flimsy’ (note to myself: if you plan to dab your intricate die-cuts in the puddles of coloured water, use paper with the higher grammage, like watercolour perhaps(!?) lol. So I die-cut just the body of a dragonfly from Shimmery White cardstock, watercolour it, sponged the edges and adhered on top of the dragonfly with liquid adhesive. Next, I adhered the vellum dragonfly underneath, offsetting slightly.

anna-stampin-cave-ink-smooshing-technique-with-dragonfly-dreams-stamp-set-detailed-dragonfly-thinlits

The sentiment I chose comes from the same Dragonfly Dreams stamp set. I stamped it in Versamark on the strip of Whisper White, heat embossed it using Copper Embossing Powder and trimmed it diagonally. The sentiment alone seemed a bit dull so I took a very narrow strip of Whisper White (around 1/8″), dabbed it in Versamark and heat embossed in copper as well. Next, I trimmed it and adhered it to the sentiment, underneath the top edge, so it peeks out slightly.

anna-stampin-cave-ink-smooshing-technique-with-dragonfly-dreams-bundle

To assemble the card I’ve used my favourite Tombow liquid adhesive. I love it because it gives you some wiggle room before it sets. Also, it’s the best for those slightly warped watercolour panels. Next, I’ve added my sentiment in the top right corner using dimensionals. For dragonfly, I’ve used Tombow again. The last touch was to add some extra shimmer to the dragonfly with Clear Wink of Stella Glitter Brush. You can’t go wrong with this stuff right?!

I hope you’ve enjoyed my project and that it will give some extra ideas of how to use this beautiful Dragonfly Dreams Bundle. I would love to hear what you think in comments below. As always, if you wish to purchase any of products I have used, simply click the images below to go directly to my online shop.

Thank you for stopping by and have a blessed day

Dragonfly Dreams Photopolymer Bundle

Dragonfly Dreams Photopolymer Bundle
[144728]
£42.25

Detailed Dragonfly Thinlits Dies

Detailed Dragonfly Thinlits Dies
[142749]
£28.00

Dragonfly Dreams Photopolymer Stamp Set

Dragonfly Dreams Photopolymer Stamp Set
[142924]
£19.00

Cucumber Crush A4 Cardstock

Cucumber Crush A4 Cardstock
[138342]
£7.25

Island Indigo A4 Card Stock

Island Indigo A4 Card Stock
[124390]
£7.25

Whisper White A4 Card Stock

Whisper White A4 Card Stock
[106549]
£8.25

White Vellum A4 Card Stock

White Vellum A4 Card Stock
[106584]
£6.00

Shimmery White A4 Card Stock

Shimmery White A4 Card Stock
[121717]
£7.25

Cucumber Crush Classic Stampin' Pad

Cucumber Crush Classic Stampin’ Pad
[138324]
£6.00

Island Indigo Classic Stampin' Pad

Island Indigo Classic Stampin’ Pad
[126986]
£6.00

Versamark Pad

Versamark Pad
[102283]
£7.75

Embossing Buddy

Embossing Buddy
[103083]
£5.50

Copper Stampin' Emboss Powder

Copper Stampin’ Emboss Powder
[141636]
£4.50

Aqua Painters

Aqua Painters
[103954]
£15.50

Clear Wink Of Stella Glitter Brush

Clear Wink Of Stella Glitter Brush
[141897]
£7.25

Liquid Multipurpose Glue

Liquid Multipurpose Glue
[110755]
£3.75

Stampin' Dimensionals

Stampin’ Dimensionals
[104430]
£3.75

Paper Snips Scissors

Paper Snips Scissors
[103579]
£9.00

Stampin' Trimmer

Stampin’ Trimmer
[129722]
£27.00

Big Shot

Big Shot
[143263]
£99.00

Touches of Texture – More Than Flowers

Anna’ Stampin’ Cave – Touches of Texture – More Than Flowers

Touches Of Texture Stamp Set project.jpg

Have you played with the Touches of Texture Stamp Set yet? You’ll have fun mixing and matching the floral images with layers of texture.

The textured images in the set work well for all kinds of styles, as shown in the projects above and below.

Touches Of Texture

I’m in awe by all the possible techniques and designs that can be created with this set!

Touches Of Texture Stamp Set

Order your Touches of Texture in clear mount here or if you are a fan of wood mount you will find it here.
Thank you for stopping by and have a blessed day,