Thank you for joining us for another Simply Sketched Saturday Challenge! We’re so excited to be sharing this hop with you. The products used are all available in the current Annual, or seasonal, Stampin’ Up!® Catalogues*. Simply use the buttons at the bottom of the post to keep hopping!
If you have arrived here from Mandy’s blog thank you for stopping by. If you just start here please keep “hopping” to see the inspiration from our little group. I’m sure you will enjoy what everyone prepared for you this time.
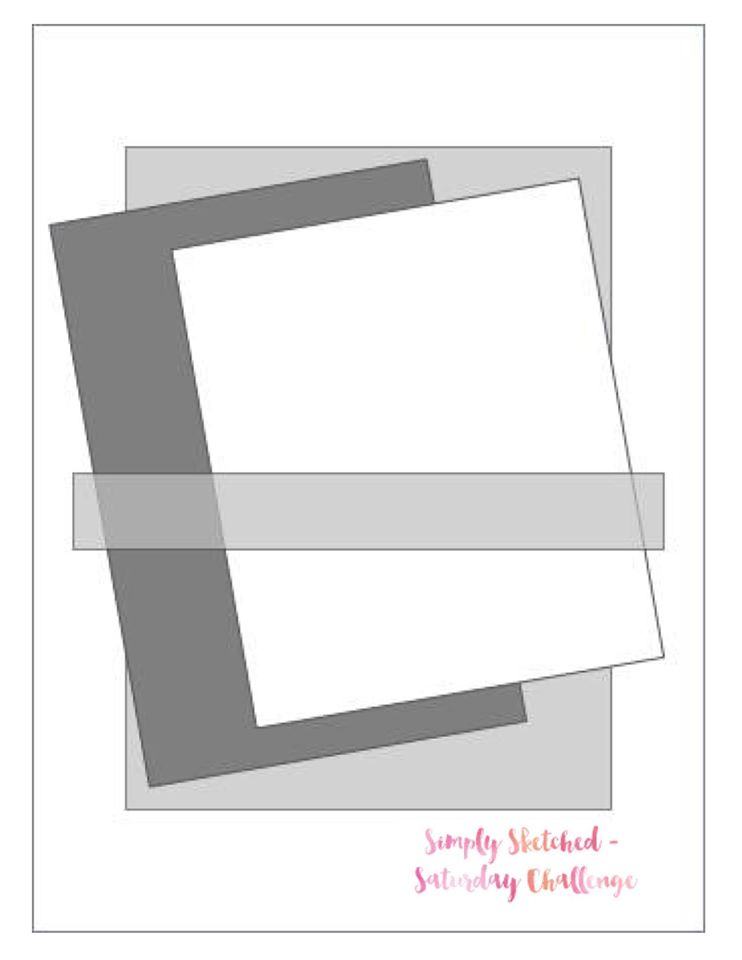
I was really excited about this week’s sketch designed by Amy from blog Engineering Home. Not that it’s an easy one. Oh, and it was her BIRTHDAY yesterday!!! Happy Birthday, Amy! ??????
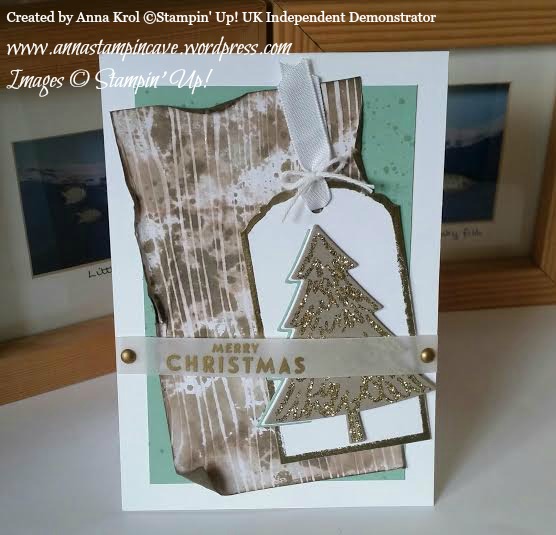
This time I decided to go with Christmas theme. And yes I know there’s still a time for Christmas cards, but hey, you’ve got to start somewhere 🙂 So here’s my interpretation of this week’s brilliant sketch:
I know that many cardmakers prefer ever-so-popular clean and simple style, but I’m a big fan of distressing. And in my card today I tried to incorporate both styles.
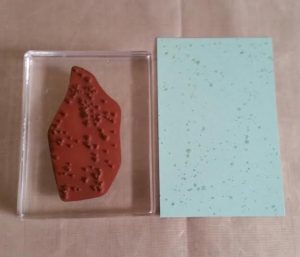
The base of my card is Whisper White card stock. A slightly smaller panel of Mint Macaron measures 5″ x 3-3/8″. I knew this panel will be mostly covered but I wanted to add some interest to it. First I thought about dry embossing but it would be too busy for an idea I had in my head. Instead, I stamped some splotches with Gorgeous Grunge in Mint Macaron for a subtle tone-on-tone look.
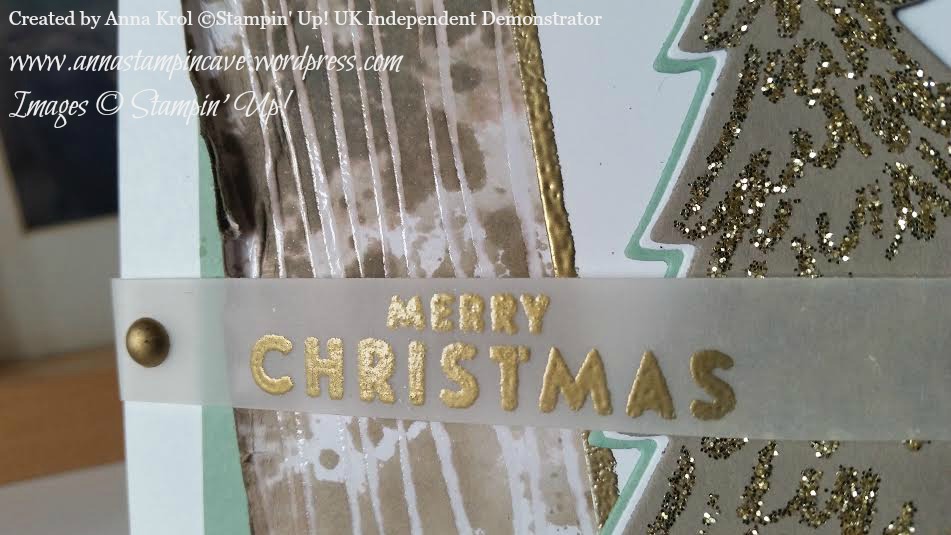
A distressed panel is a piece of white woodgrain patterned paper from Color Me Irresistible Specialty DSP. This paper is amazing, as each sheet is clear embossed, ready for inking, sponging, spritzing – getting messy in short 🙂
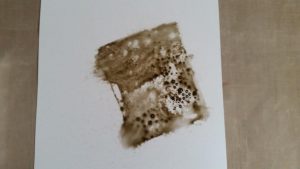
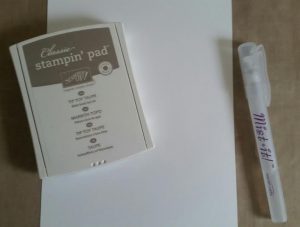
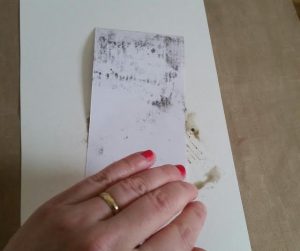
I squeezed Tip Top Taupe ink pad on the sleek surface (you can use acetate or craft sheet), spritz it with water and swooshed my paper into this puddle of colour. I added ink and water until achieved the look I wanted. I love how embossing resists the colour. When the paper was dry I stamped few splotches from Gorgeous Grunge and distressed and sponged the edges. Just a warning, this technique will warp your paper so you have to be careful, or use watercolour paper.
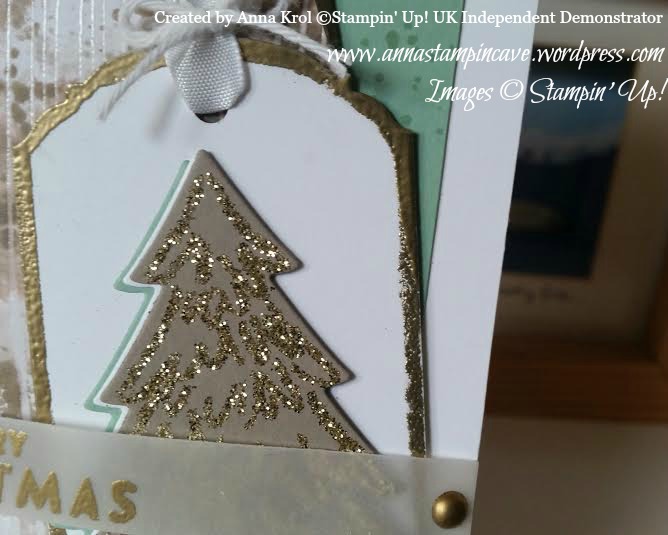
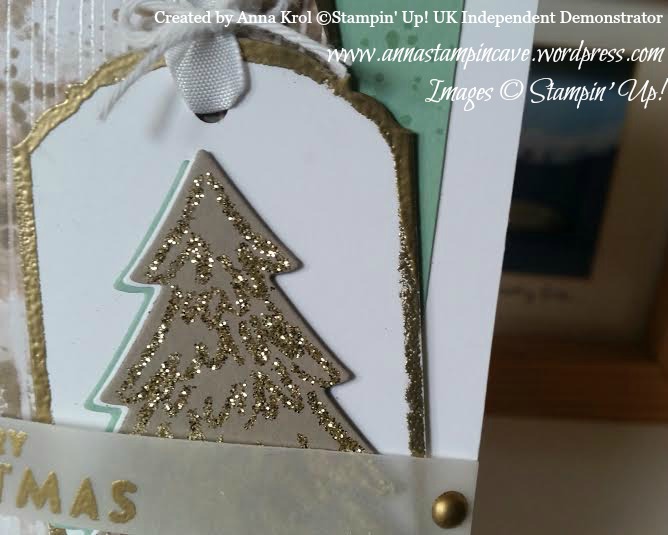
To create my tag I cut a piece of Whisper White card that measures 2″ x 4″ and punch it with Ornate Tag Topper punch. Then I dabbed the edges in Versamark and heat emboss it with gold embossing powder.
I stamped Christmas tree from Peaceful Pines stamp set in Versamark on a piece of Tip Top Taupe card stock. I heat embossed it with Heat & Stick powder and when it got sticky I sprinkled gold glitter over it (I must say that I’m in love with Gold Stampin’ Glitter). Then I die cut it using coordinating framelits. I also die cut half of the tree from Whisper White and Mint Macaron to layer them together. When the tree was ready I assemble my tag and finish it with a piece of ribbon and bakers twine. Finally, I could assemble my card. Now just sentiment left.
The sentiment comes from Flurry of Wishes stamp set. I embossed it in gold on a strip of vellum and attached to my card with edges of dimensionals (folded in half). To finish it off I coloured two White Perfect Accents using gold Sharpie and added them where the adhesive was. Taa-daah!
Now, be sure to hop along and see more inspiring projects. Your next stop is Suzanne at Hullahbaloo. Thank you for stopping by and have a blessed day

