The Creative Flow Blog Hop – Hello Spring

Anna’ Stampin’ Cave – The Creative Flow Blog Hop – Hello Spring

Thank you for joining us on our Creative Flow Blog Hop. Each month we are set a challenge to creatively stretch our imaginations. The products we have used are all available in the current Annual and/or seasonal Stampin’ Up!® catalogues. To hop along, please use the buttons at the bottom of the post to keep hopping. And this month’s theme is ‘Spring is sprung’.

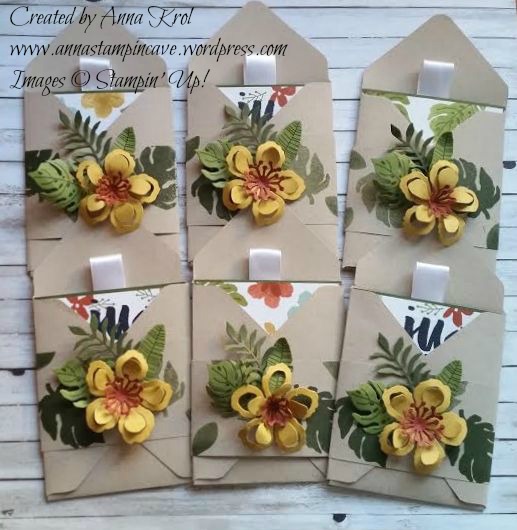
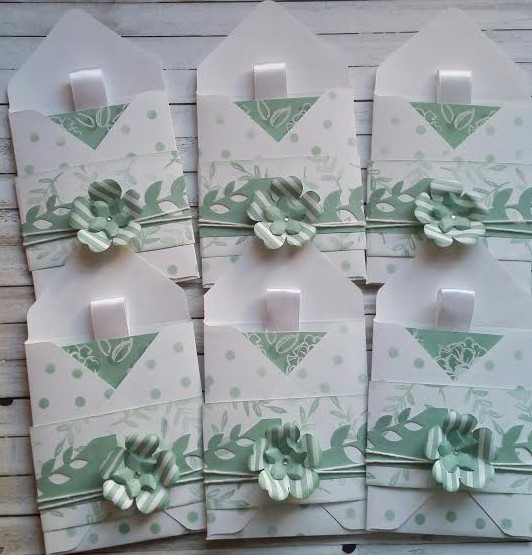
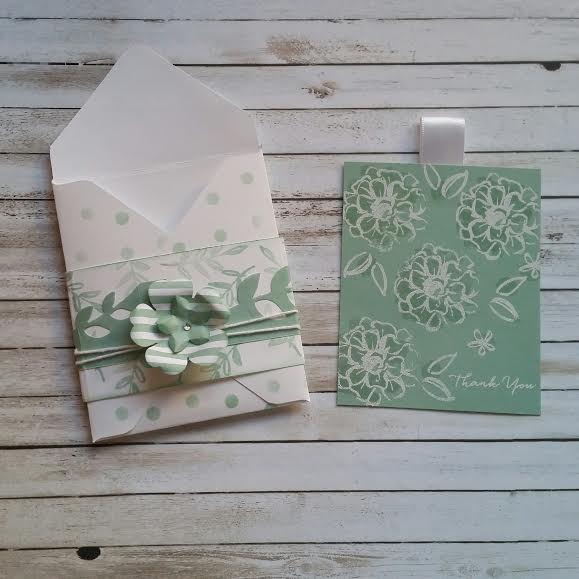
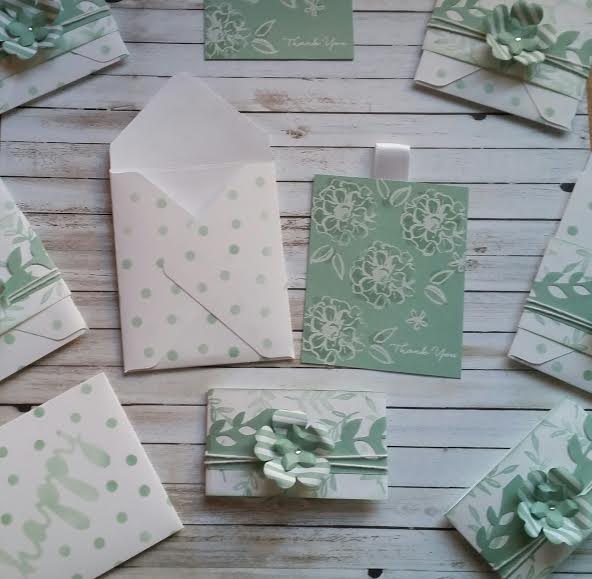
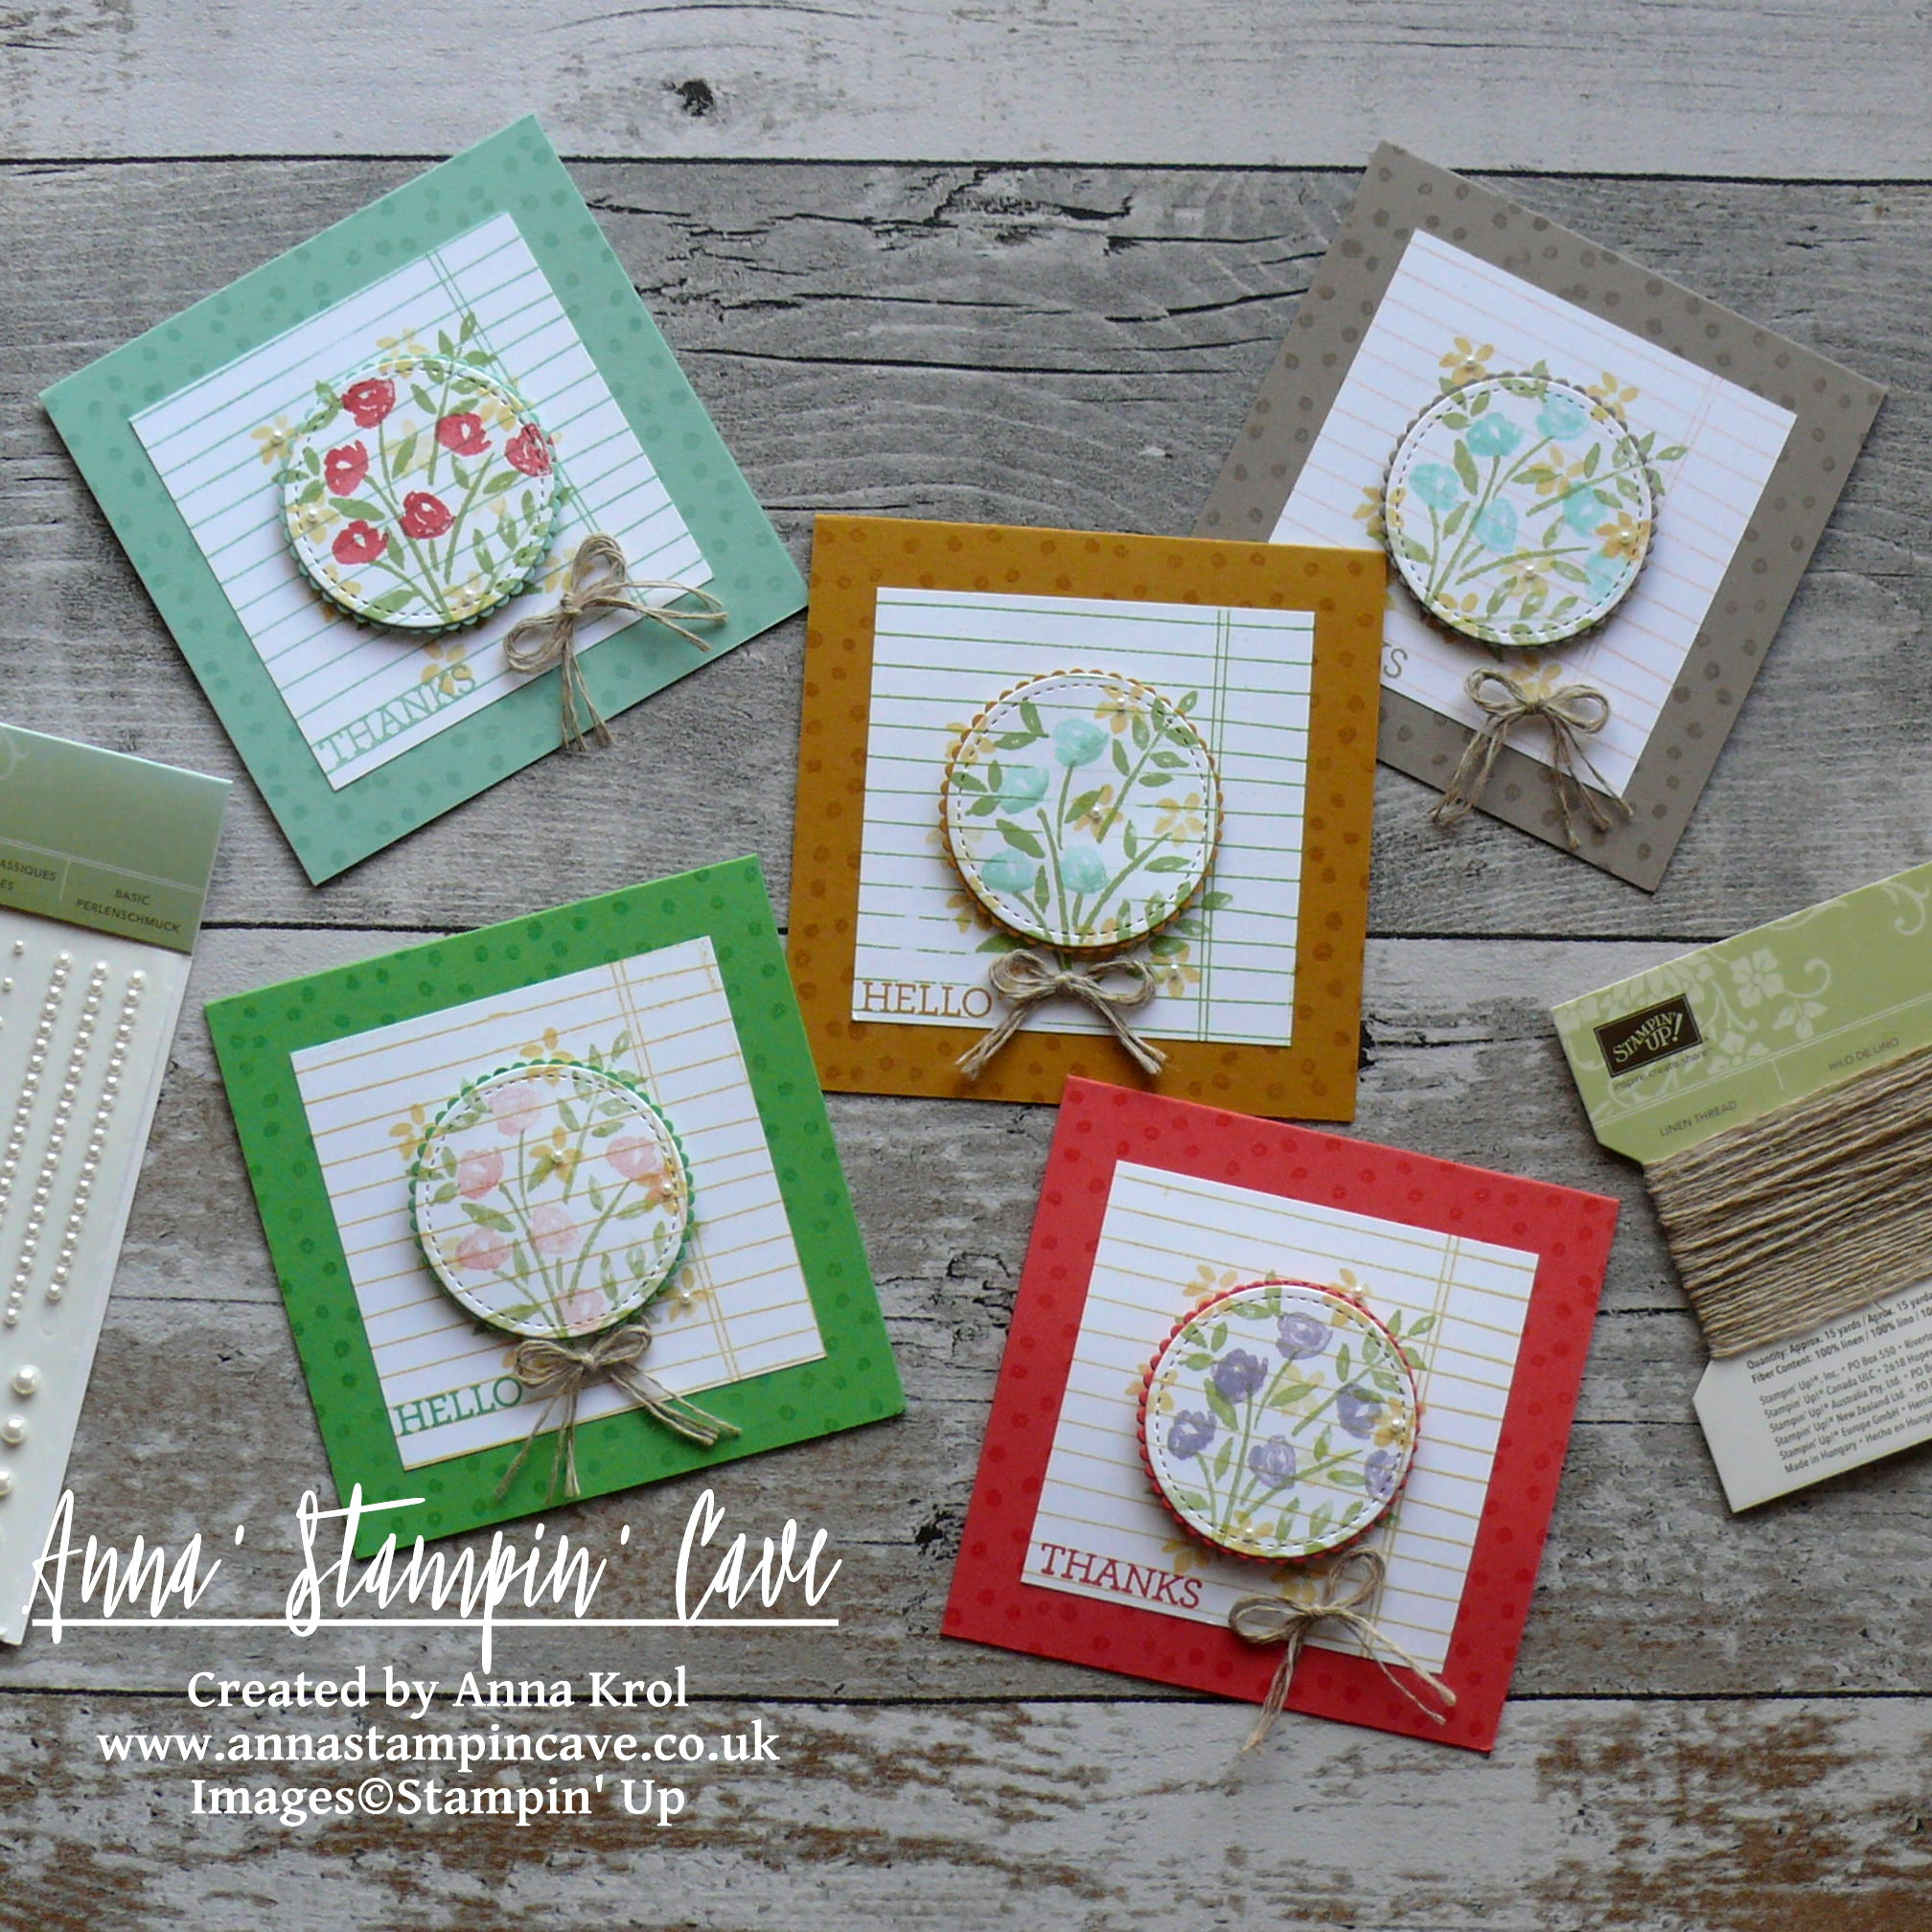
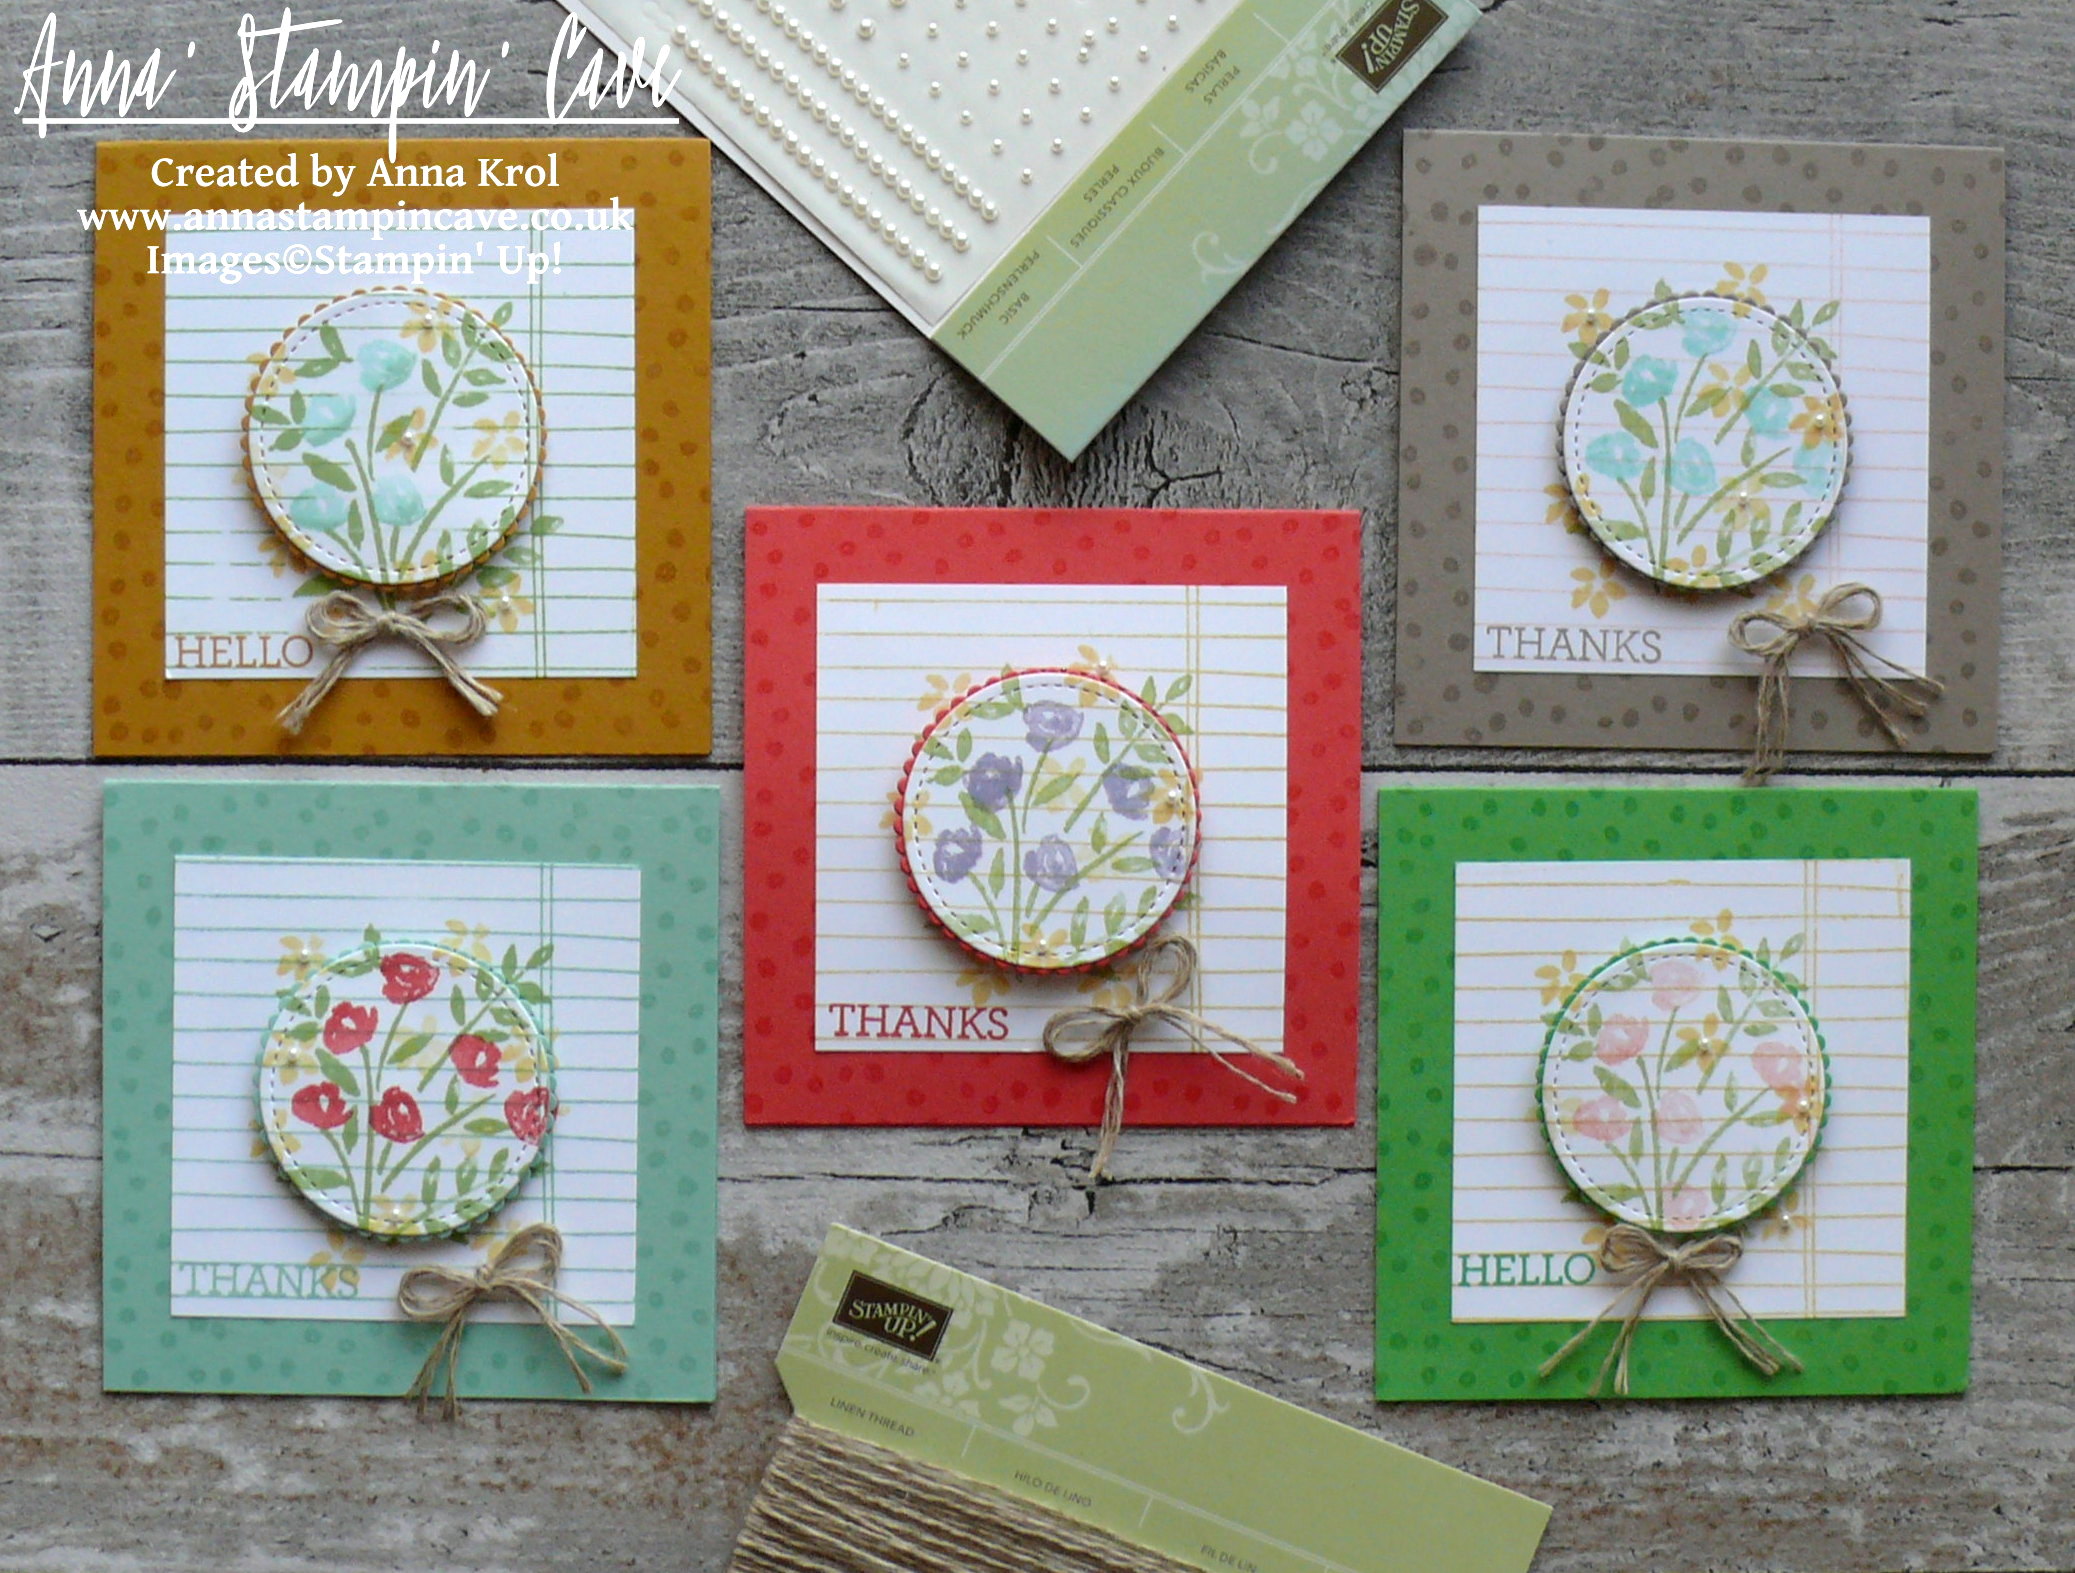
I don’t know about you, but for me, nothing says ‘spring’ more than flowers. So today I’ve got for you a set of super cute, 4 x 4″ notecards.

Anna' Stampin' Cave - Stampin' Up! Number Of Years Stamp Set - Hello Spring Set of Notecards 2.JPG

Spring notecards dimensions:

  • In Colour cardstock: five pieces, one of each colour, 4″ x 8 ” scored in half at 4″ (20,3cm x 10,1cm scored in half at 10,1cm) + scraps for die cutting
  • Whisper White cardstock: five panels 3″ x 3″ (7cm x 7cm)
  • Linen Thread five pieces, 20″ length each
  • Pearls: 15 mini pearls, 3 for each notecard

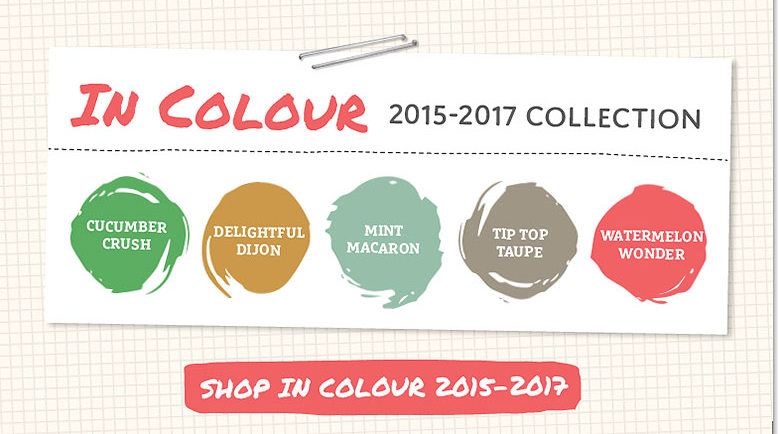
For the base of my little notecards I decided to use, soon retiring, 2015-2017 In Colours. I stamped each card base with a ‘dotty’ stamp from Number Of Years Stamp Set in Versamark.

Anna' Stampin' Cave - Stampin' Up! Number Of Years Stamp Set - Hello Spring Tip Top Taupe Notecard

Anna' Stampin' Cave - Stampin' Up! Number Of Years Stamp Set - Hello Spring Cucumber Crush Notecard

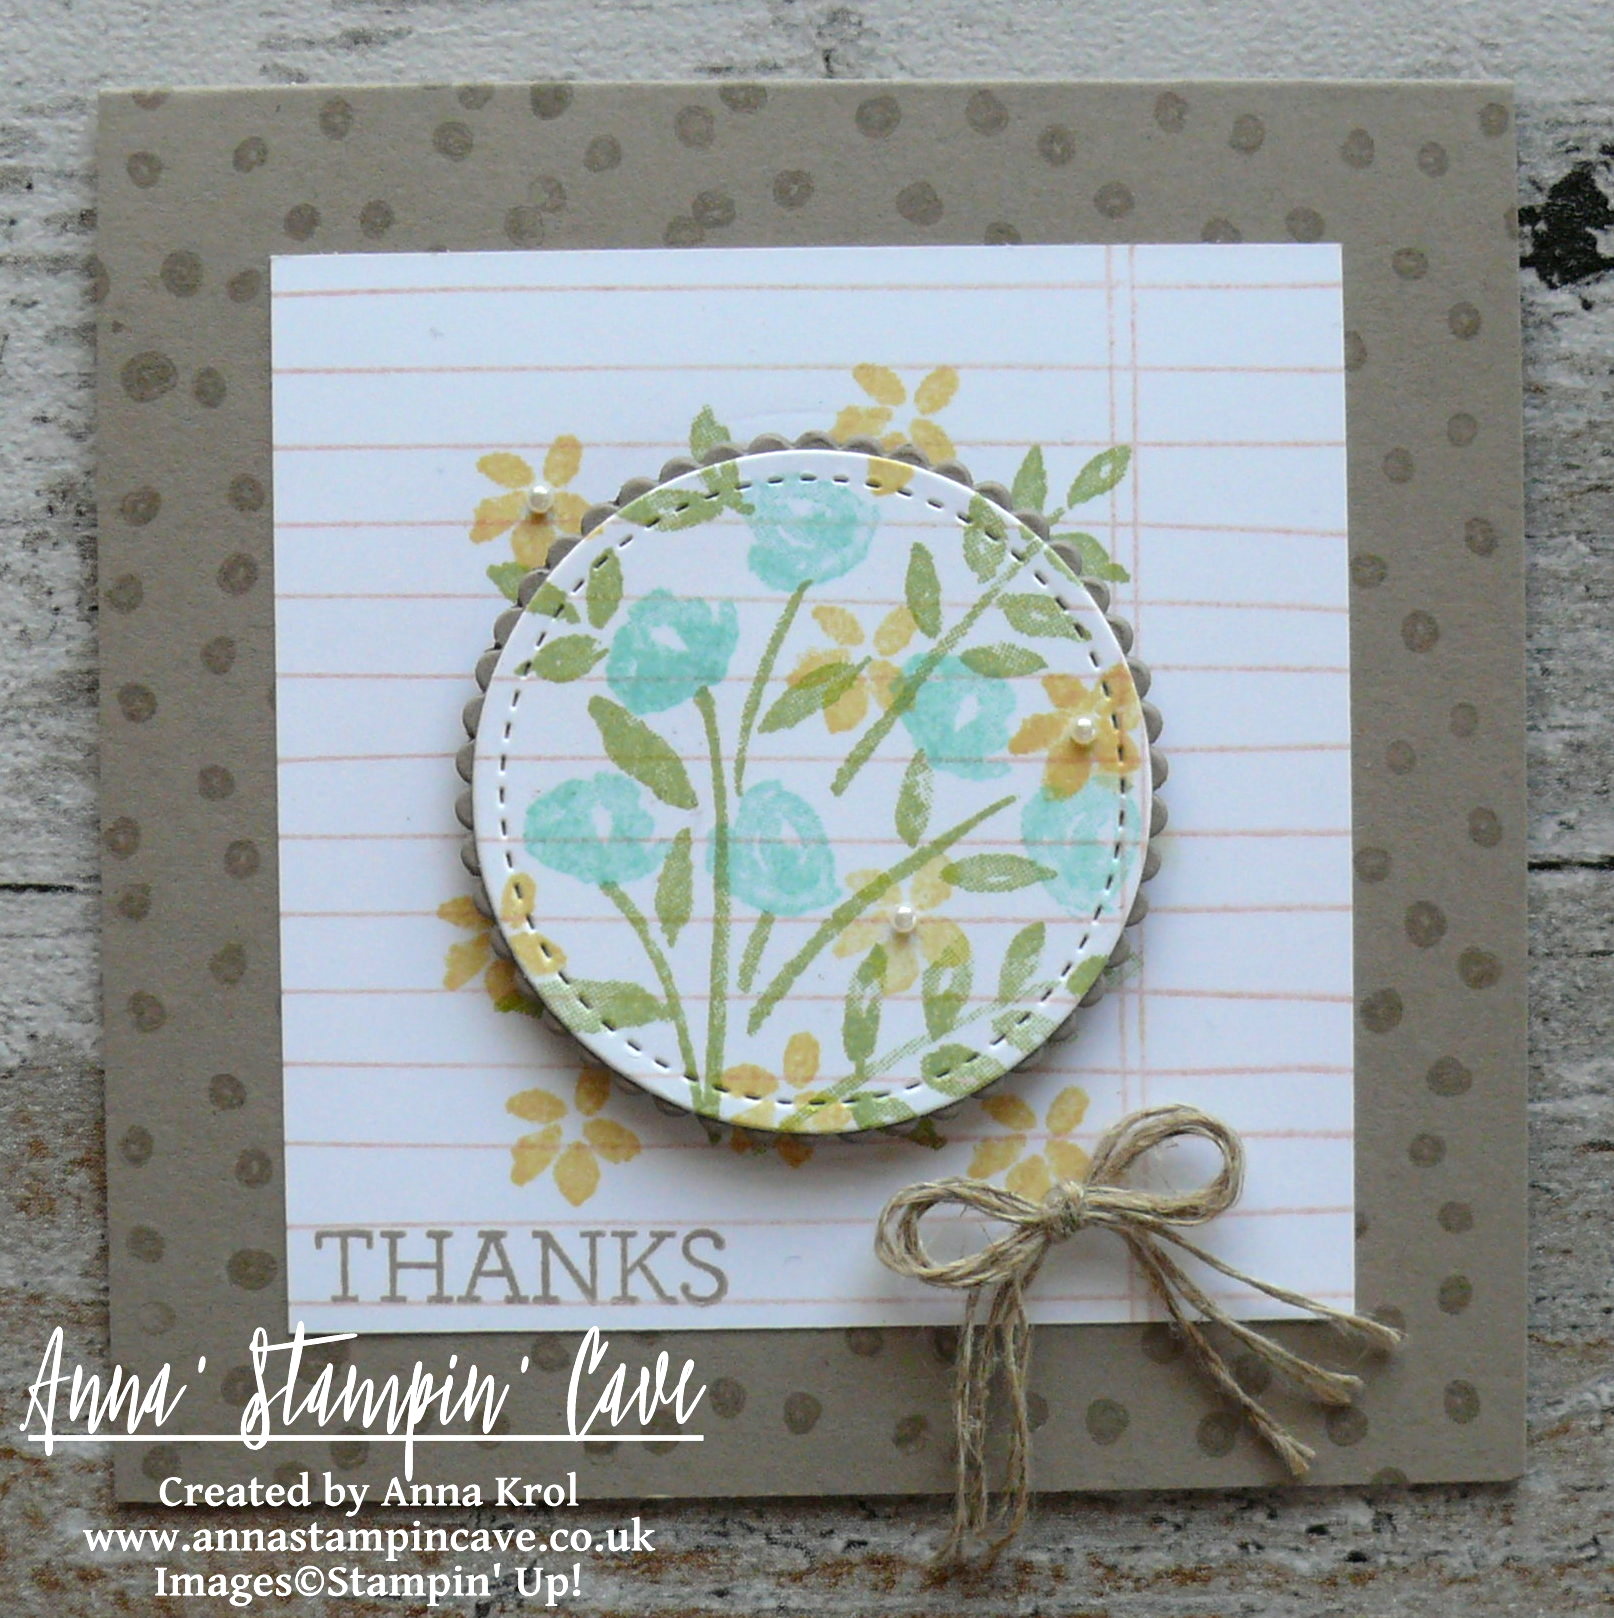
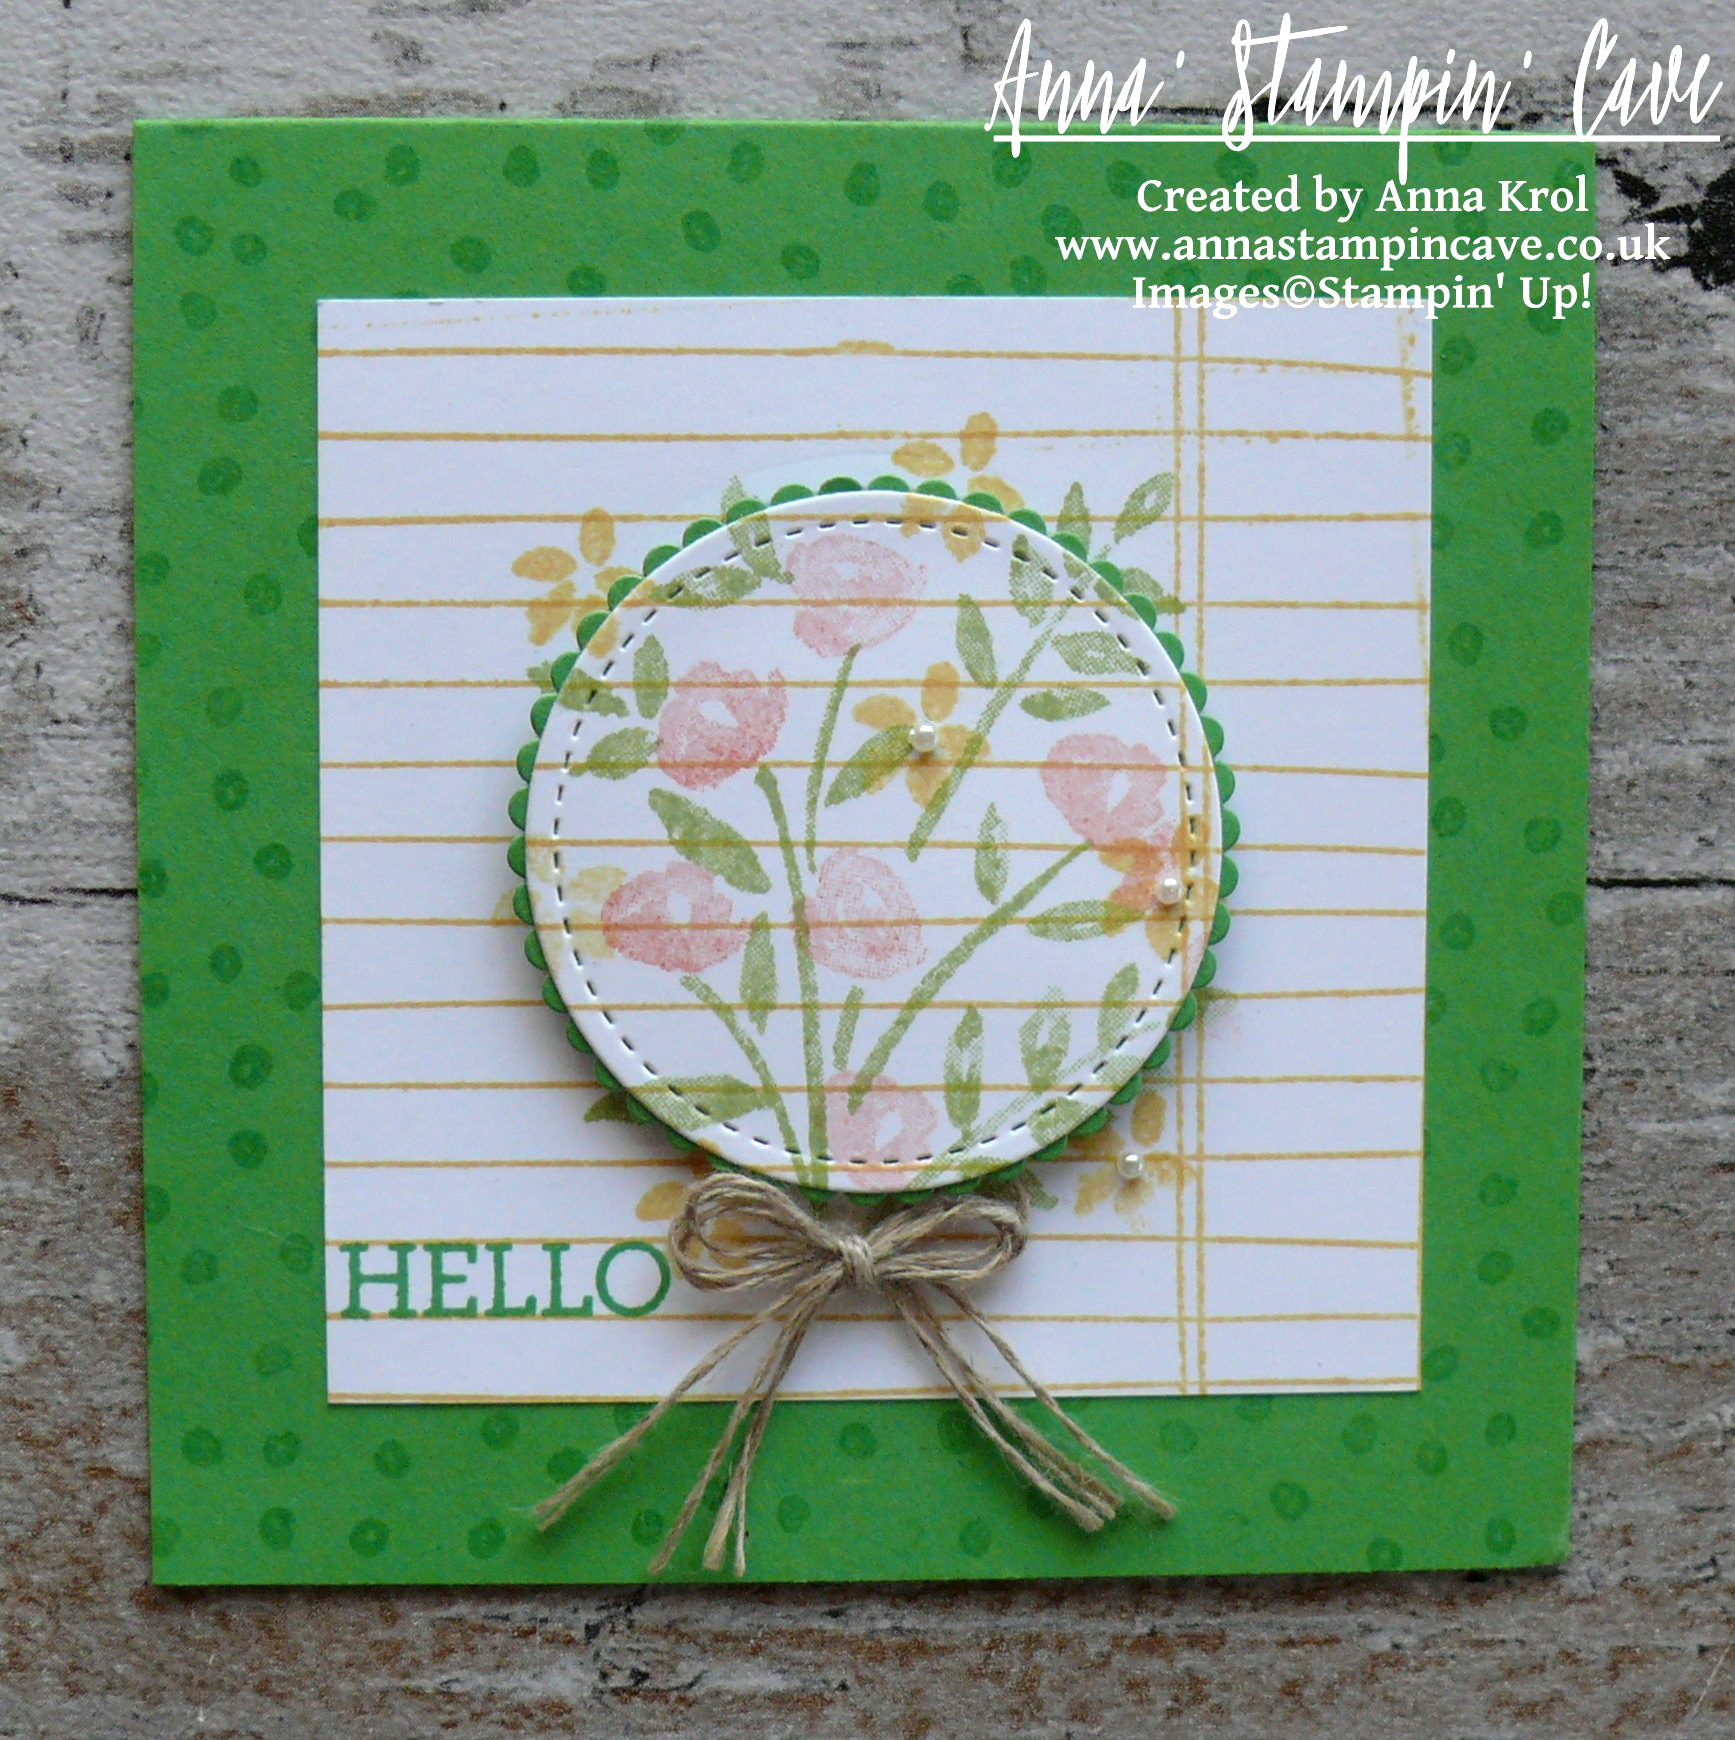
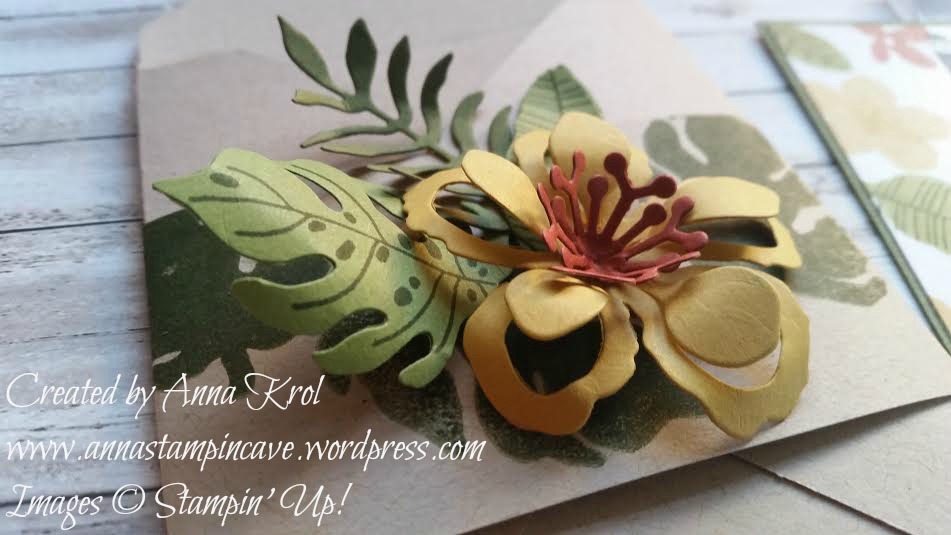
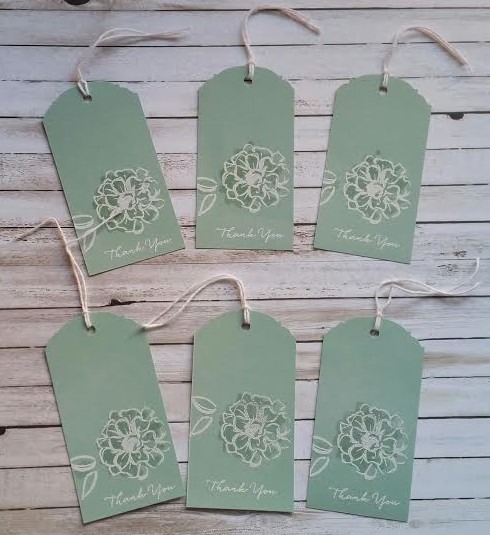
I stamped each 3 x3″ Whisper White panel using Writing Notes background stamp. I’ve used Cucumber Crush, Mint Macaron, Blushing Bride and So Saffron x2. Next, in the middle of each panel, I stamped a little bouquet of flowers, from Number Of Years Stamp Set. This is a two-step stamping set, so I first stamped the foliage using Pear Pizzazz and Wild Wasabi ink pads, and next I added the flowers in So Saffron, Pool Party, Watermelon Wonder, Blushing Bride and Wisteria Wonder.

Anna' Stampin' Cave - Stampin' Up! Number Of Years Stamp Set - Hello Spring Watermelon Wonder Notecard

Anna' Stampin' Cave - Stampin' Up! Number Of Years Stamp Set - Hello Spring Delightful Dijon Notecard.JPG

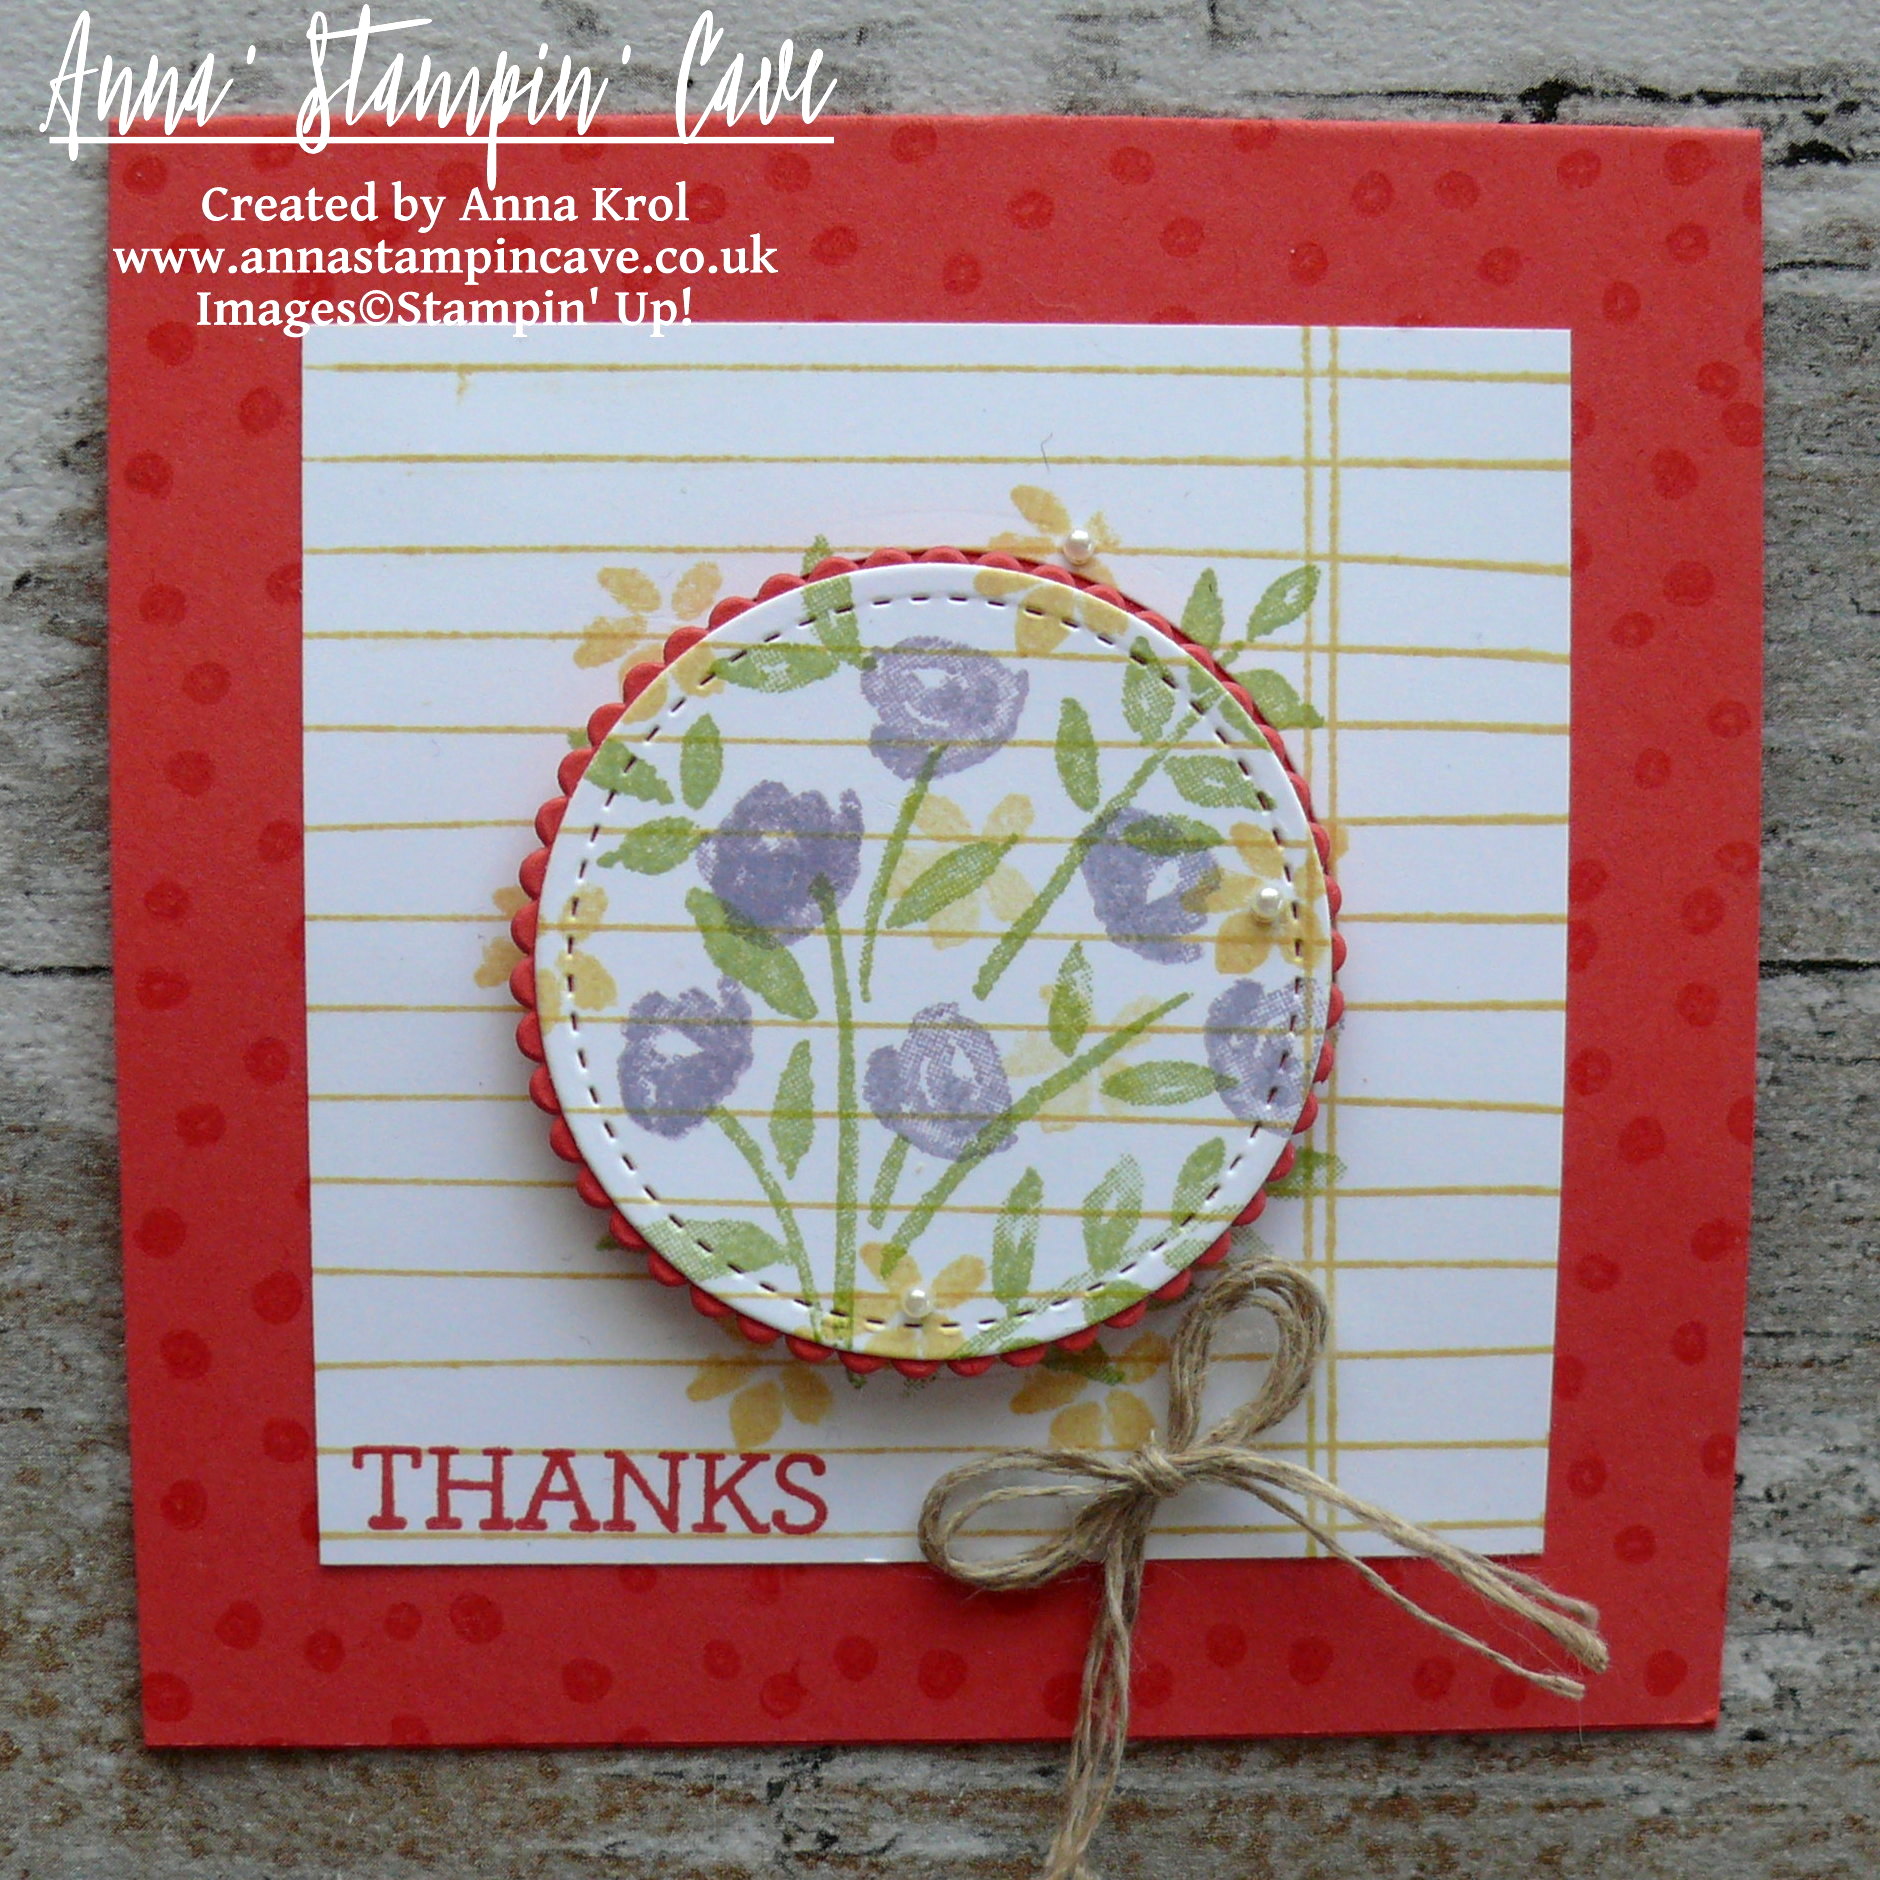
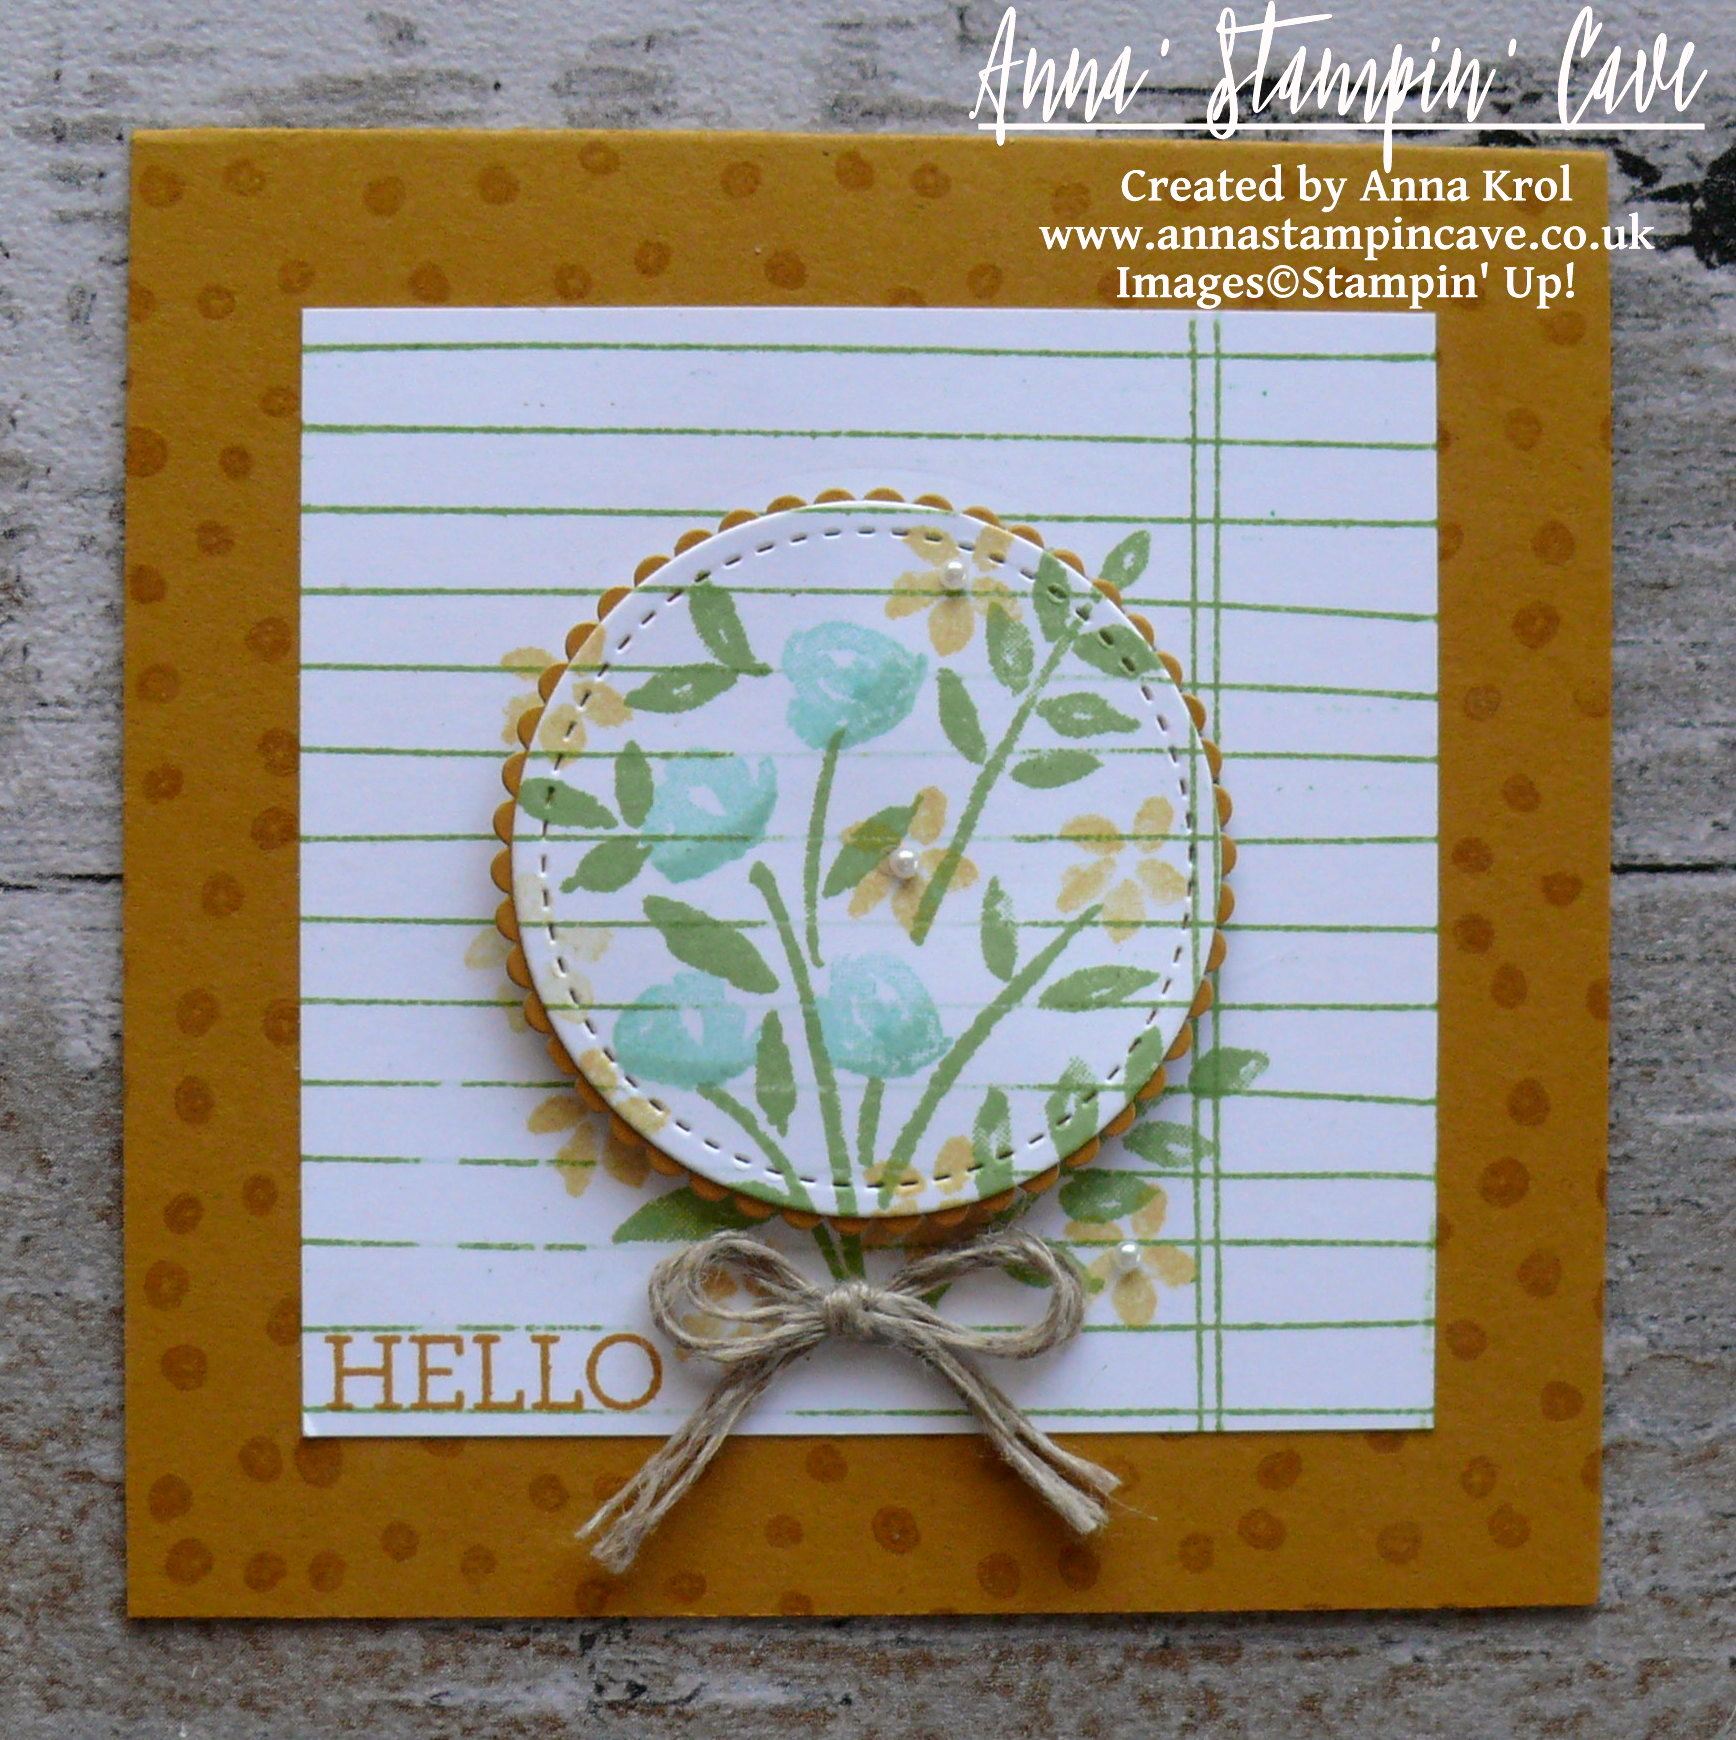
I die-cut my bouquets with stitched circle die and adhered a leftover piece to the card base. I also die-cut five scalloped circles: one in each In Colour. Next, I layered each bouquet with a scalloped circle and adhered them to the card base with dimensionals.

Anna' Stampin' Cave - Stampin' Up! Number Of Years Stamp Set - Hello Spring Mint Macaron Notecard

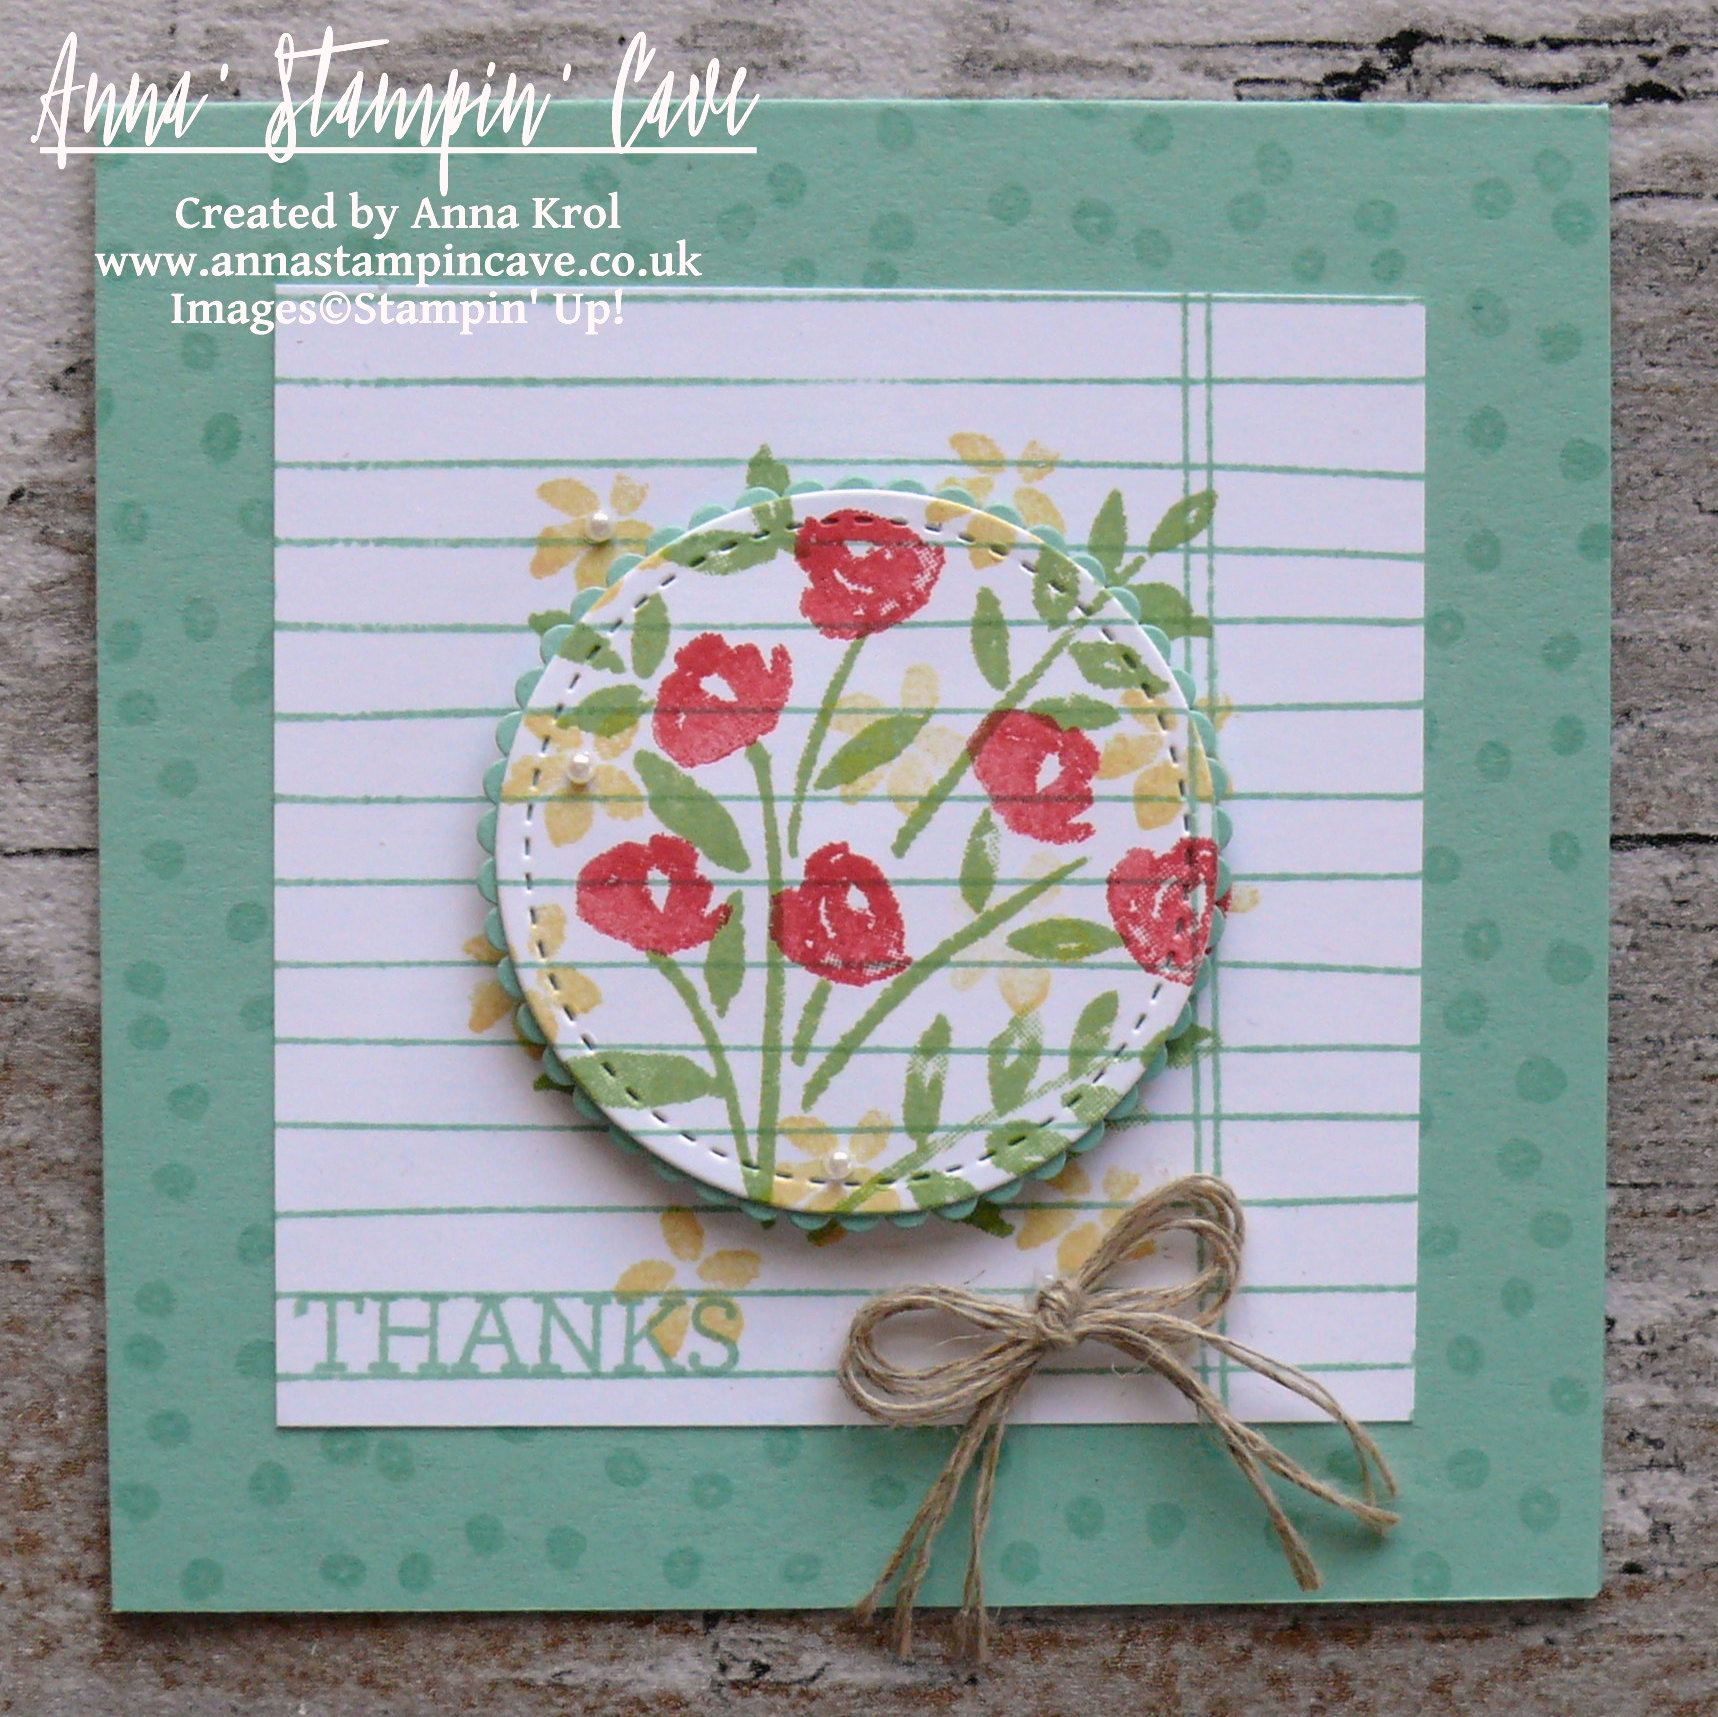
Sentiments come from Crazy About You Stamp Set and I stamped them in coordinating colours once my cards were assembled. For the final touch, I added mini pearls to some of the flowers. I also created cute little bows using Linen Thread and added them to the cards using glue dots.

Anna' Stampin' Cave - Stampin' Up! Number Of Years Stamp Set - Hello Spring Set of Notecards 3.JPG

I’m really pleased with my little notecards and I think they fit the theme perfectly. But just a little reminder that In Colours 2015-2017 will retire soon (end of May) so if you love them I would really advise you to stock up on cardstock, Designer Series Paper, and ink refills as they surely will be sold out way before the end of May. Click the picture below to check the entire collection.

In Colours 2015-2017

Now be sure to hop along to see more inspiring projects. Your next stop is lovely and talented Jerim.

Thank you for stopping by and have a blessed day

Thank You Notes Using Botanical Blooms & What I Love Stamp Sets

Today I decided to show you some thank you notes I’ve made using Botanical Blooms Stamp Set and coordinating Botanical Builder Framelits Dies.

customer gifts botanicals 5

I just love how these turned out! 

The idea behind these note cards was pretty simple. I wanted to create a panel card with floral design on one side and plain on the back, where you could leave a private message. Sentiments come from two different stamp sets: on the left from Rose Wonder Stamp Set and the other one is from Botanicals For You Stamp Set.

customer gifts botanicals 3

As my note cards aren’t typical size, they measure 3×4″, I created little holders for them using envelope punch board.

customer gifts botanicals 4

Now just a belly band to wrap it up together. Aren’t these A W E S O M E!!! I love love love these dies so much!

For a second lot, I have used the same idea just different stamp set and colours.

customers thank you notes 3

To create these I’ve used What I Love stamp set.

customers thank you notes 2

I love this three-step stamp set. It’s got a WOW factor without much effort. All I have done is to stamp step nr 3 & 2 in Mint Macaron, and nr 1 heat embossed in white. And voila!

customers thank you notes

To “break” all that white I decorated the holder using sponges and one of Happy Patterns stencils. To decorate belly band I’ve used a border die from Botanical Builder and few punches: Petite Petals and Pansy punch. Super easy! As I was on the roll 😉 I also made these super lovely tags.

tags

Hope you like my note cards. They are super easy and what fun to make! And you?

Have a blessed day,

Who said….

So who said that “Zoo Babies” is a stamp set for babies? 😉 I’m telling you: absolutely not! And here’s the proof 🙂

love ya 1

This is super cute 3×3 note card. You can give your friend, daughter or mum – truly you can give it to anyone who’s got that special spot in your heart – justso they know they’re important for you! 🙂

love ya 2

The base of thi card is 3×3 Basic Black cardstock. I’ve also used a piece of Whisper White cardstock. The sentiment is from “Just Sayin” stamp. I’ve stamped it with Whisper White Pigment Ink. Make sure that ink is completely dry or you will smudge it…just like I did – patience is not my virtue 😉 But you can always use heat gun to speed it up. I’ve used coordinating Word Bubbles framelits to cut out the sentiment.

love ya 3

From “Zoo Babies” I’ve picked the elephant and little rhino and stamped them using Wisteria Wonder, Crumb Cake and one of new in-colours Lost Lagoon. Envelope Punch Board helped me to round the corners of white pieces, then I sponged the edge and taa daaah!  🙂

And at the very end just to add bit of interest I’ve used little stamps from “Something To Say” with coordinating Itty Bitty Accents punch pack and stick them using dimensionals. Oh and bubbles with sentiments are attached using dimensionals too.

Hope you like my little project. Please leave the comments below.

Thank you for stopping by and happy crafting