There is SO much to want in this new catalogue! I don’t know about you, but this catalogue could nearly bankrupt me. Thank goodness that I get a discount.
And if your Wish List is close or over £100, consider the Starter Kit! You’ll get £130 in product for just £99 (and free shipping!). And you will then get 20% off on all your future orders. Full details here!
If you wish to purchase any of the products from our new Stampin’ Up! Annual Catalogue 2019-2020, go directly to my online store!
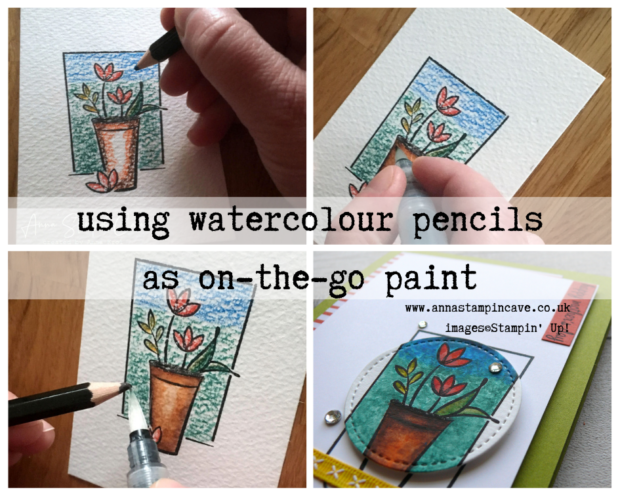
Anna’ Stampin’ Cave – Mother’s Day Card plus using watercolour pencils as on-the-go paint
Hello everyone! Thank you for stopping by my blog today!
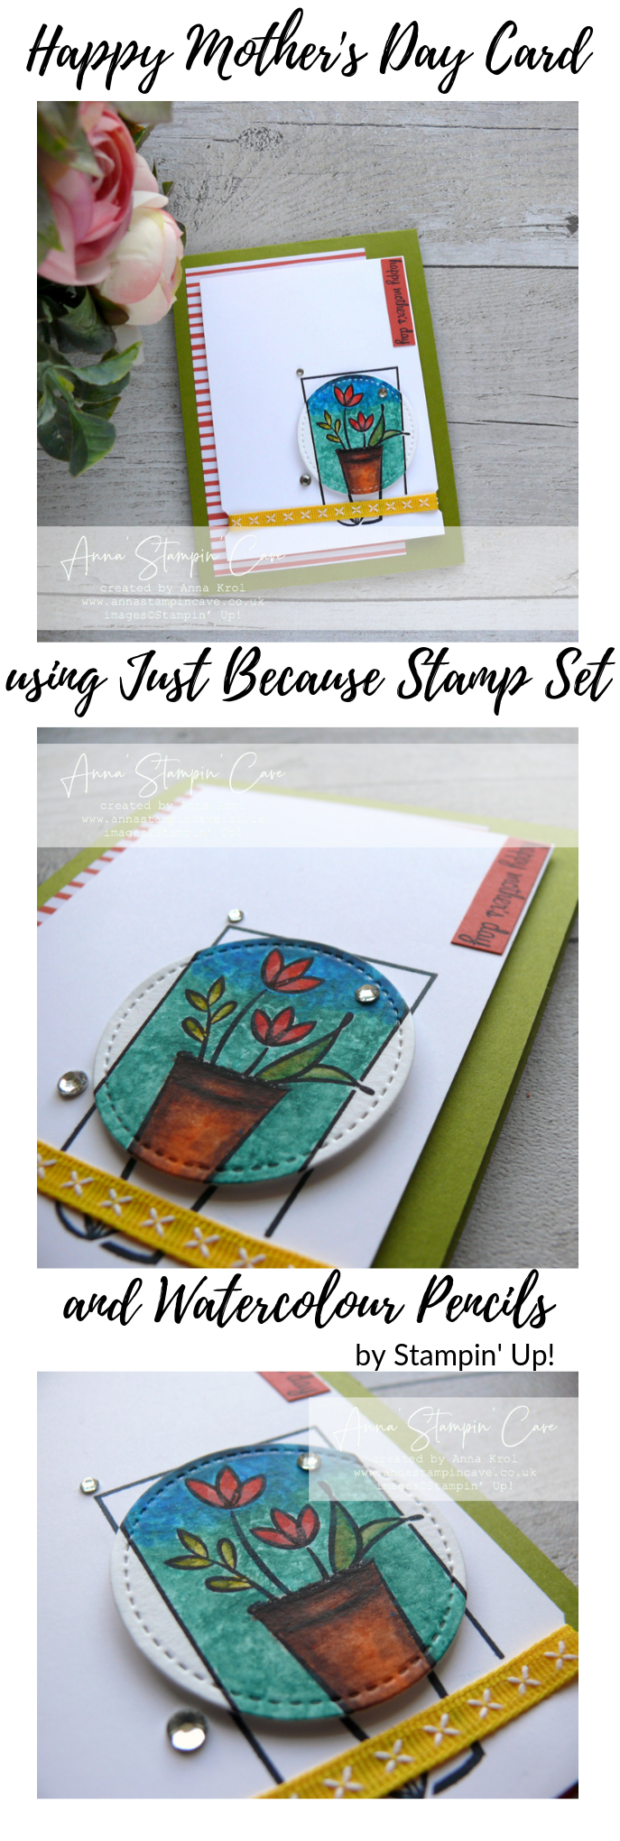
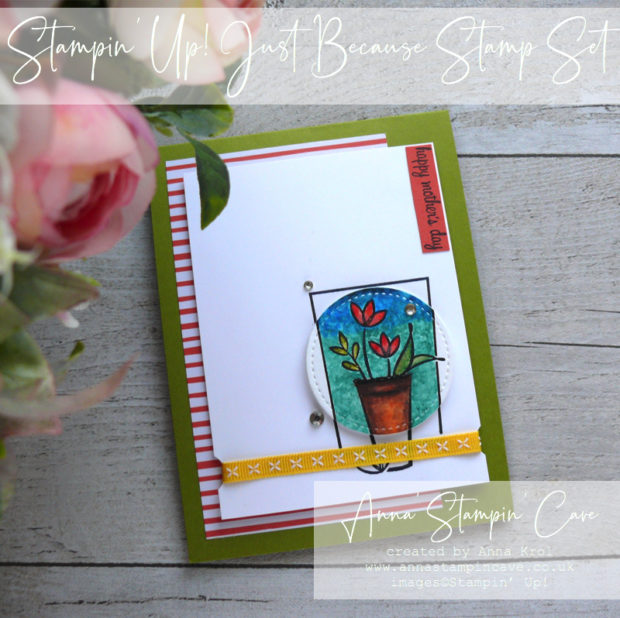
I wanted to share with you this super cute and cheerful card I created for my husband to give to his mum for Mother’s Day (polish Mother’s Day is on 26 May). She’s visiting the UK (my hubby’s sister and us) and has been here nearly a month. But she is heading back home tomorrow afternoon so it was like perfect timing.
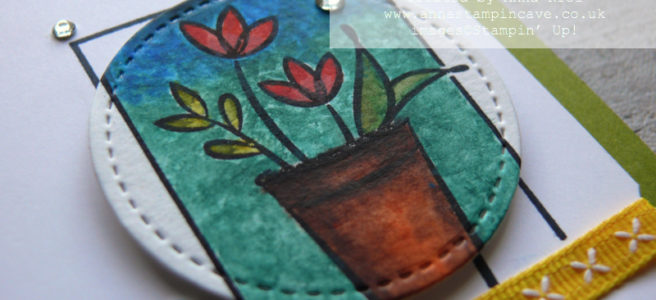
What’s special about this card is the technique I’ve used to colour in my focal point image. But first thing first, here’s my card:
Mother’s Day card dimensions:
Granny Apple Green cardstock: 11″ x 4-1/8″ scored at 5-1/2″ (28 x 10.5 cm scored at 14 cm)
Whisper White cardstock: 3-3/8″ x 4-1/2″ (8.5 cm x 11.6 cm)
Whisper White cardstock for the inside: 4″ x 5-1/8″ (9.6 cm x 13 cm)
Subtles Designer Series Paper in Calypso Coral: 3″ x 5″ (7.6 cm x 12.7 cm)
First thing I did I masked off the original sentiment and stamped the image onto Whisper White panel. Next, I stamped this very same image onto a watercolour paper and coloured it roughly with Watercolour Pencils.
First, I coloured my image, very roughly, with watercolour pencils, leaving some empty space on the flower pot for highlights.
Next, using an aqua painter I brush it with water. I did it slowly, with a brush that was hardly wet, one area at a time, making sure I don’t over-mix all of the colours used.
To intensify some colours, I rubbed my aqua painter’s brush directly against the tip of the pencil, before adding the pigment to a designated area.
It was time-consuming but well worth the effort.
Under construction
This card, even if for some looks complicated, was very straightforward to make.
I started by adding a Whisper White panel to the inside of my card so hubby could later jolt in some heartfelt Mother’s Day wishes.
Next, I adhered a piece of DSP to the card front, slightly to the left. I took my stamped Whisper White panel and punched out two semi-circles at the very bottom of the panel, to add the ribbon. Once the ribbon was secured, I popped it to the card front with dimensionals.
Creating Focal Point
Using a second smallest circle die from Stitched Shapes Framelits Dies, I die cut a circle from my watercolour piece and add it with dimensionals to the card front where it “belonged”.
On a scrap of Calypso Coral cardstock, I stamped the “happy mother’s day” sentiment from Itty Bitty Greetings. I trimmed it into a narrow strip and added it flush to the top right corner of the front Whisper White panel.
Few, more or less randomly added rhinestones finish off the look.
I am delighted how this card turned out: such a happy and cheerful little make!! And I really hope my mother-in-law will love it too.
I’ve been MIA due to multiple sclerosis (that’s a surprise, right hahaha). I had a major MS relapse two months ago when I lost control over my body, or I should rather say over the right-hand side of my body. I couldn’t walk, write (I am right-handed) or brush my teeth. Thank God for hubby and electric toothbrushes! I didn’t even feel my right cheek, seriously.
After a few series of steroids (5 days) and time, time and more time, I can finally do most of the things on my own. Maybe except walking outside – still need hubby’s hand in that matter. But I can finally create! Woohoo! I so missed my inks and stamps. And I have some serious delays in sending customers ‘thank yous’. In sorting ATM!
There’s one thing that MS has thought me for sure: PATIENCE!
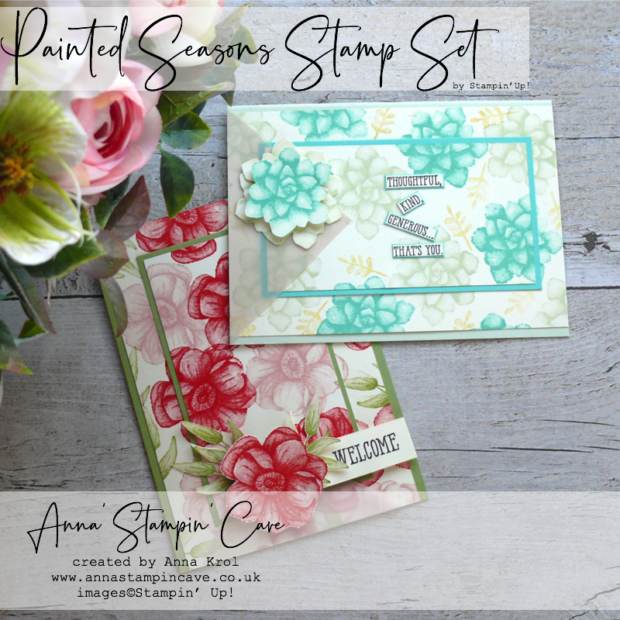
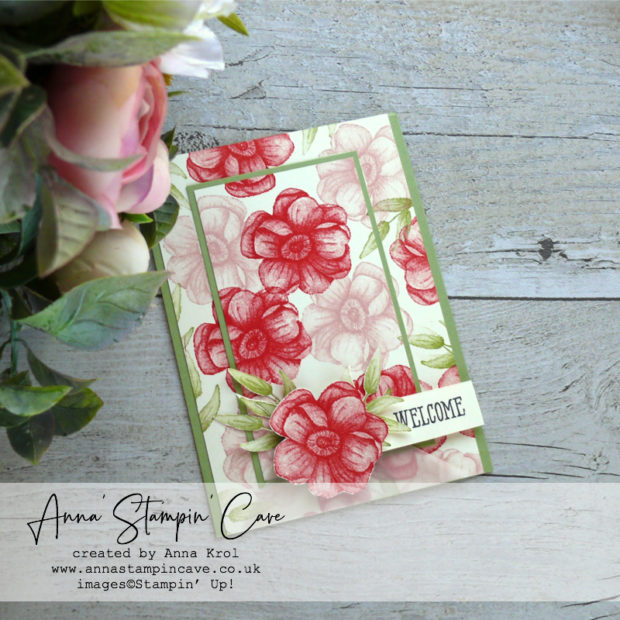
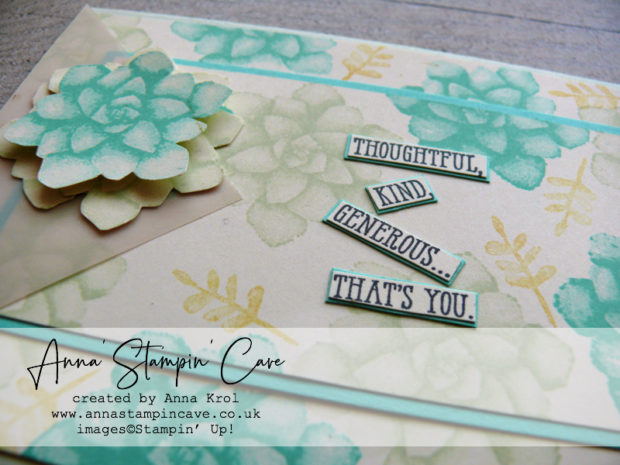
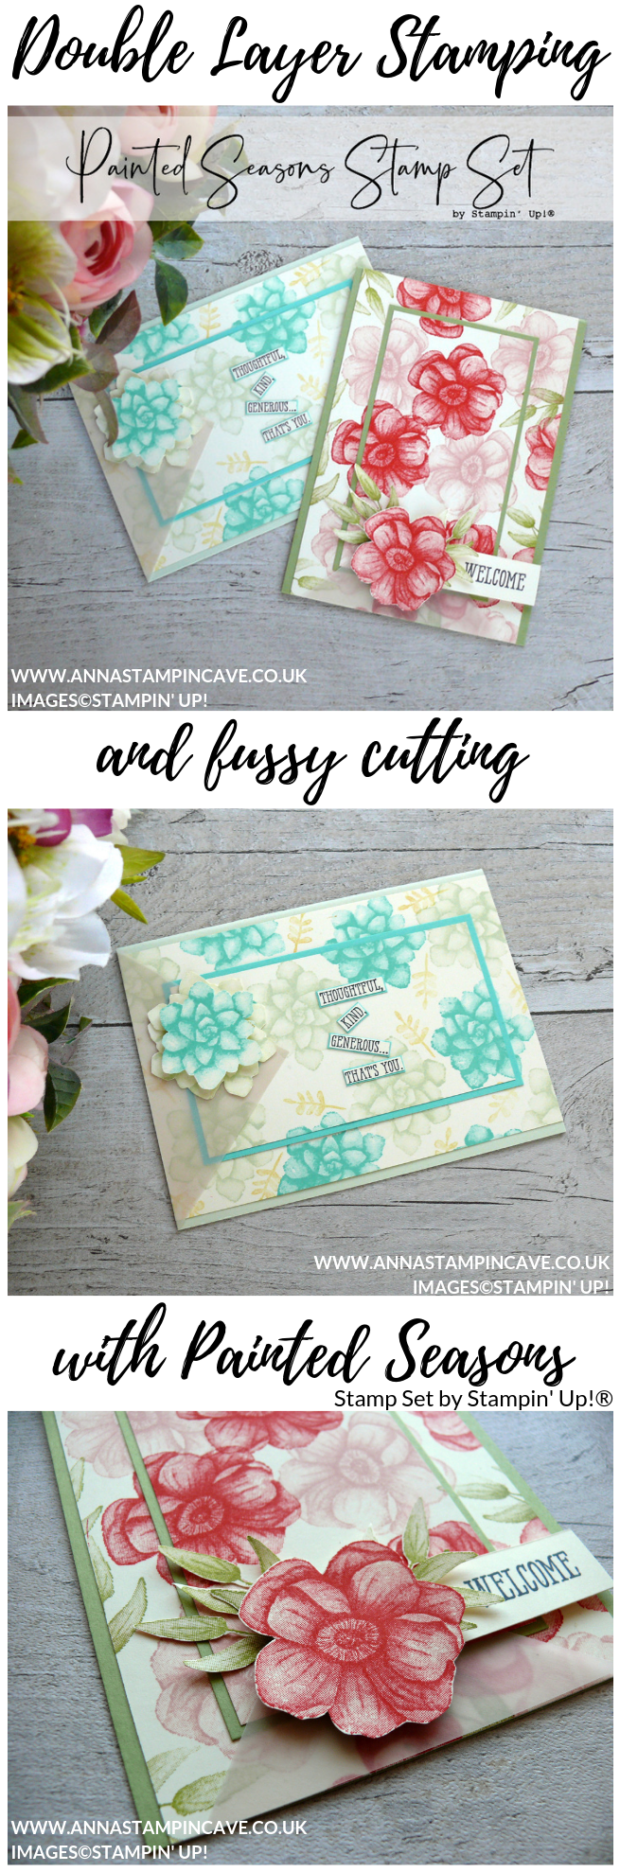
I know it’s with a slight delay, as Sale-a-bration just ended. But I really wanted to share with you these two beauties I created using a free stamp set from SAB exclusive Painted Seasons Bundle.
How cute are these, right? And so easy to make. Both are created with a double layer stamping technique and involved some fussy-cutting.
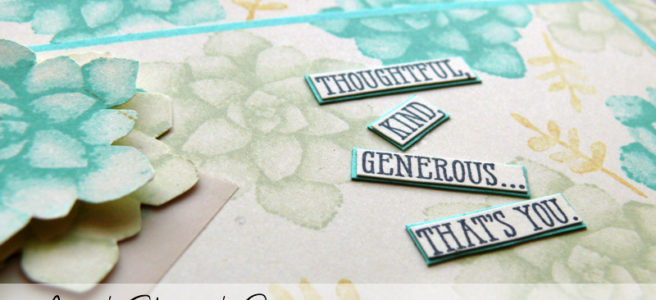
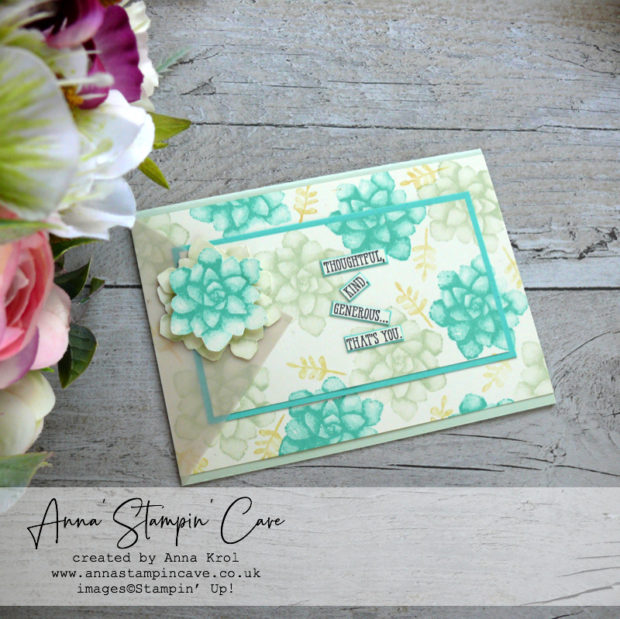
First, I prepared my Very Vanilla double layers and stamped them with my chosen ink pads: Poppy Parade with Pear Pizzazz for a floral card, and Coastal Cabana, Soft Sea Foam and So Saffron ink pads for a succulent one.
Once my double layers were stamped I mount them on to coordinating cardstock panels: Pear Pizzazz and Coastal Cabana.
Next, I adhered them to the card bases. For the floral card, I’ve used the same cardstock for a card base: Pear Pizzazz.
But for a succulent card, I decided to use Soft Sea Foam cardstock for a base instead of Coastal Cabana.
Vellum to the rescue
Because I’ve made some ‘booboos’ while stamping my panels, as my hands are not fully working yet, I needed to ‘hide’ these. So I cut a square from vellum, briefly 4″ x 4″, cut it in half, and when assembling both cards, I adhered these vellum triangles where needed. Mistakes? What mistakes?! haha
Adding more details
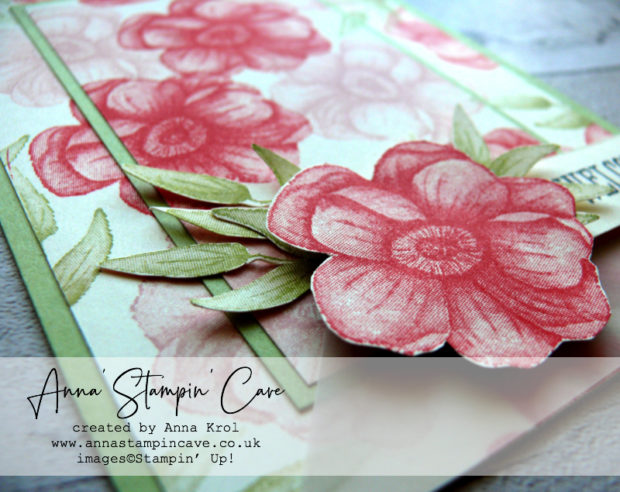
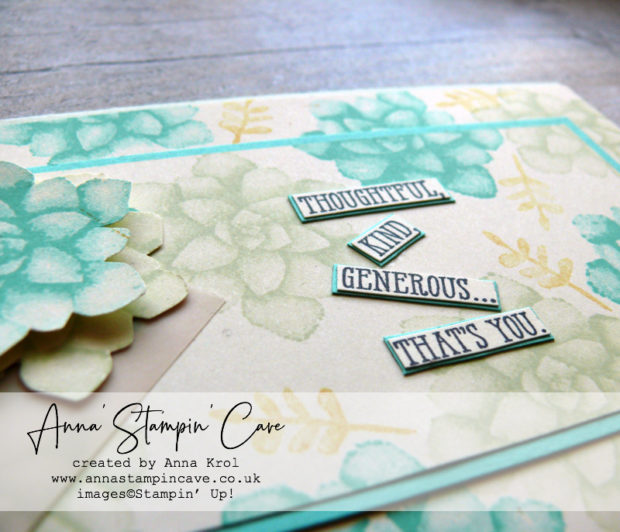
I took a scrap of Very Vanilla cardstock stamped few flowers, leaves and succulents in corresponding colours and fussy-cut all my florals and foliage with paper snips. Quite easy and fun, and great exercise for my hands too.
Because the Painted Seasons Stamp Set comes with images only it opens up endless possibilities as to what sentiment stamps to use.
For my cards, I decided to use Well Said Cling Stamp Set.
Assembling the cards
First, I took my vellum triangles and my fussy-cut florals and tried few arrangments before I decided where to stuck things down permanently.
I adhered vellum pieces, flush to the edges of my cards, and placed the adhesive strategically where I knew it will be covered by my fussy-cut elements.
Next, I adhered each of the elements and my sentiments, and I call it done. I have to admit, I’m quite pleased with these cards.
As always, if you wish to purchase any of the products I have used (except for Painted Seasons bundle), simply click the images below to go directly to my online store.
HOST CODE for the month of April is CD6WHE36. Use this code to receive special rewards from me.
Anna’ Stampin’ Cave – Save BIG! 2019 Spring Summer Catalogue & Sale-a-bration Launched Today!
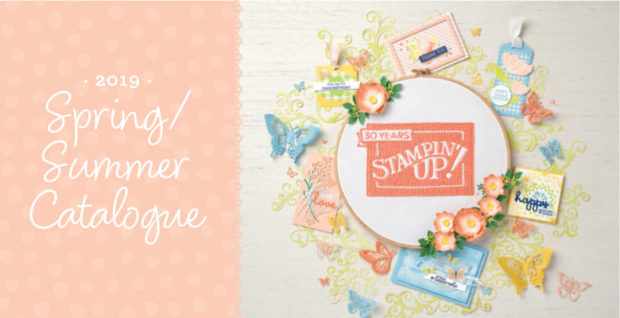
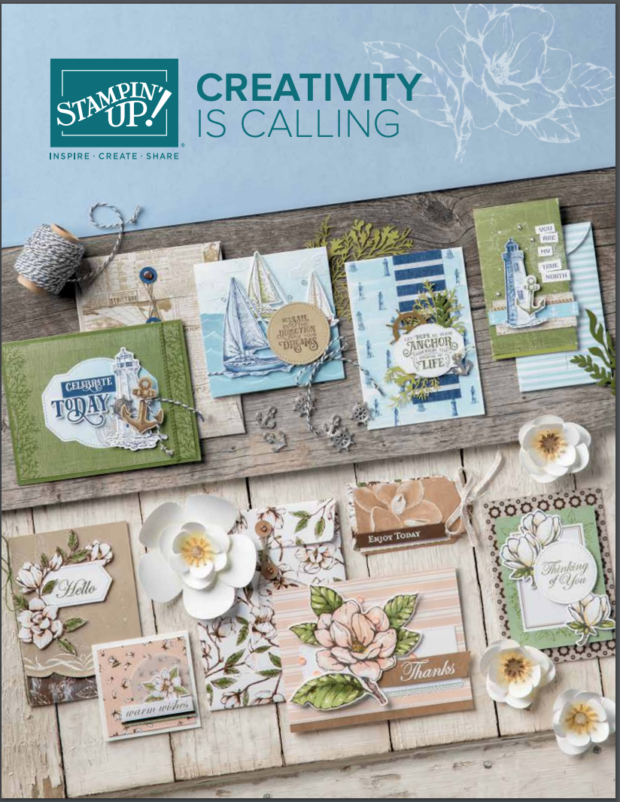
It’s the most fun time of a year in Stampin’ Up! The brand new Spring Summer Catalogue launched today, with oodles of amazing new products! Valentine’s Day, Mother’s Day, Father’s Day, Easter, weddings, birthdays, florals, we’ve got you covered!
click HERE to download your FREE copy
I have been blown away with the new offering and I’m positive you’re gonna LOVE it too.
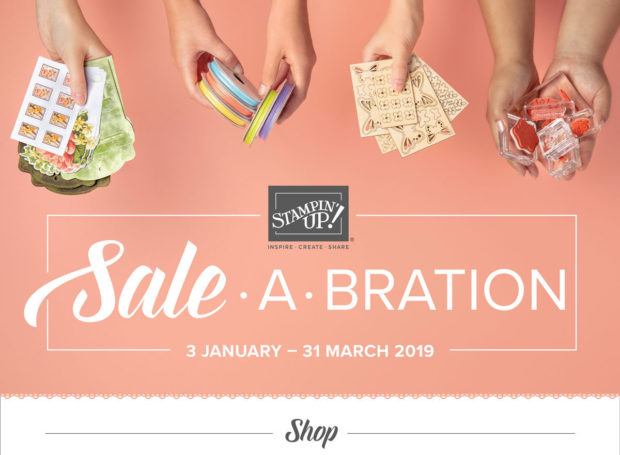
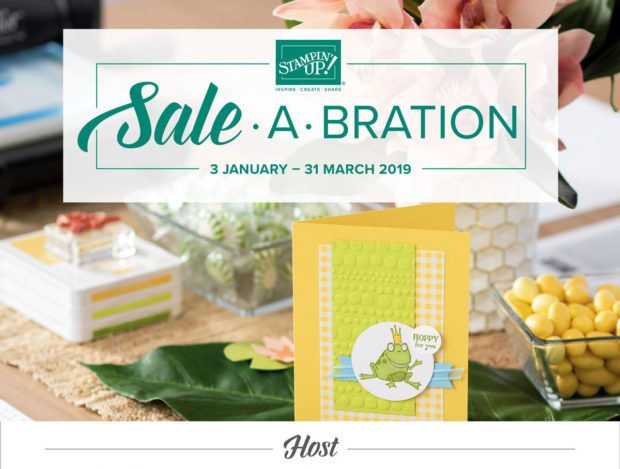
Sale-a-bration, Jan 3 – March 31
click HERE to download your FREE copy
Want to make the most of the Sale-a-bration offering?! Keep on reading.
For every £45 you spend in my Stampin’ Up! store, you will earn one product from Sale-a-bration brochure. For FREE!! How cool is that?!
But wait a minute! Announced last year, two reward levels are back and it allows everyone to create a personalised Sale-A-Bration experience.
When you spend £45 you earn one free level 1 product. Spend £90 and earn one free level 2 product or two level 1 items. But spend £135 and earn either three free level 1 products or one free level 1 product and one free level 2 product. And so on…
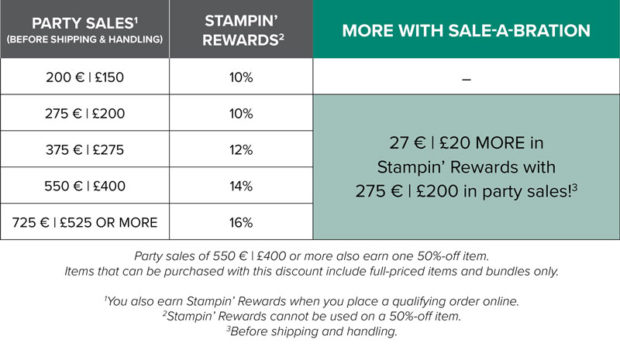
Shop BIG or host a party and earn additional Stampin’ Rewards. For example: place an order for £200 and receive £40 in Stampin’ Rewards!
Sale-a-bration is no doubt, the best time to join Stampin’ Up!’s family of demonstrators. And this year there are two ways to purchase the Starter Kit and join Stampin’ Up!
Option 1: Get £170 worth of Stampin’ Up! products for just £99. That’s a whopping £71 of FREE product
Option 2: Get £170 worth of Stampin’ Up! products + the exclusive Craft & Carry Tote (valued at £47) for just £125! You will love this bag.
Why not test-drive demonstrator discounts and benefits?
There’s no risk to join, there’s no penalty to drop and you get to keep all of the products:
build your Starter Kit your way: choose your favourite products: stamp sets, tools, bundles, etc up to £170 (that’s £71 of free product)
starter kit ships FREE
enjoy a discount of 20% or more until at least 31 July 2019
there’s no obligation to sell, run classes or workshops, and you can be your own best customer
there’s no obligation to purchase anything beyond the starter kit
I welcome demonstrators from Austria, France, Germany, Netherlands and United Kingdom. Either you want to build a business or just want to be a hobby demonstrator, I would love to have you to our team.
Thank you for stopping by and have a blessed day,
Don’t forget to check
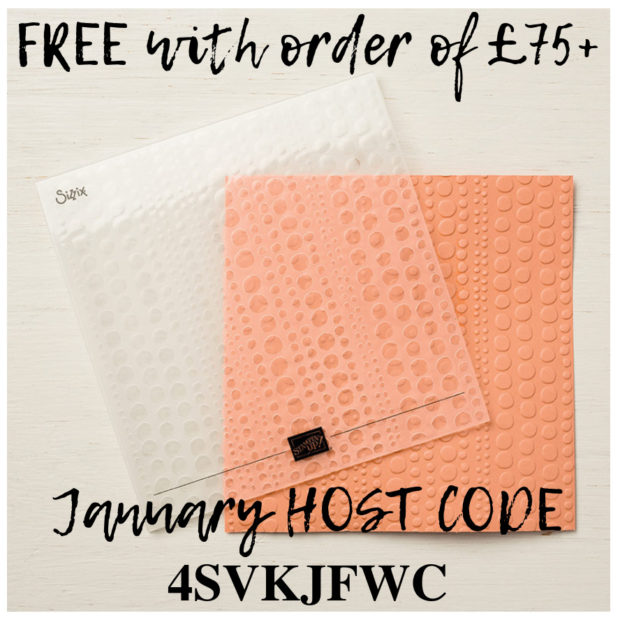
HOST CODE for the month of January is 4SVKJFWC
All orders of £75+ (excl.p&p) will receive from me:
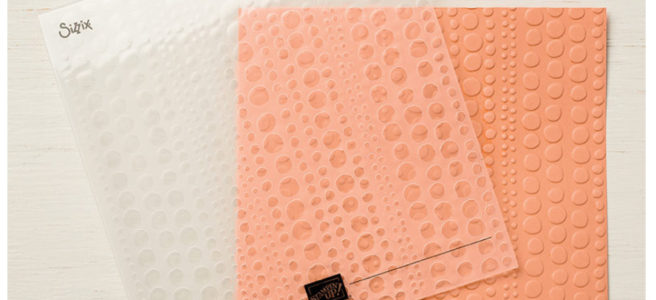
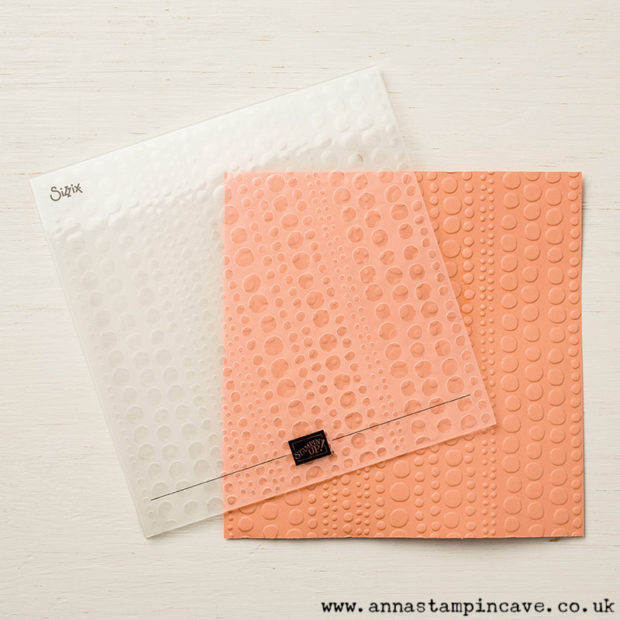
A brand new Dot To Dot Textured Impressions Embossing Folder
Exclusive PDF Tutorials – bundle for the month of January
A beautiful handcrafted card with envelope
How it works –
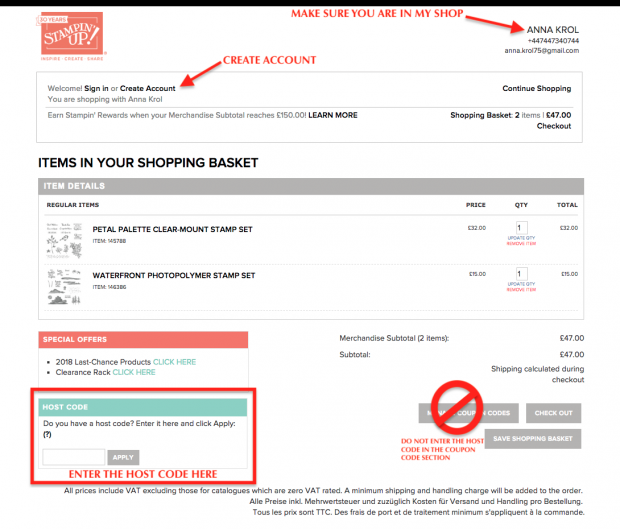
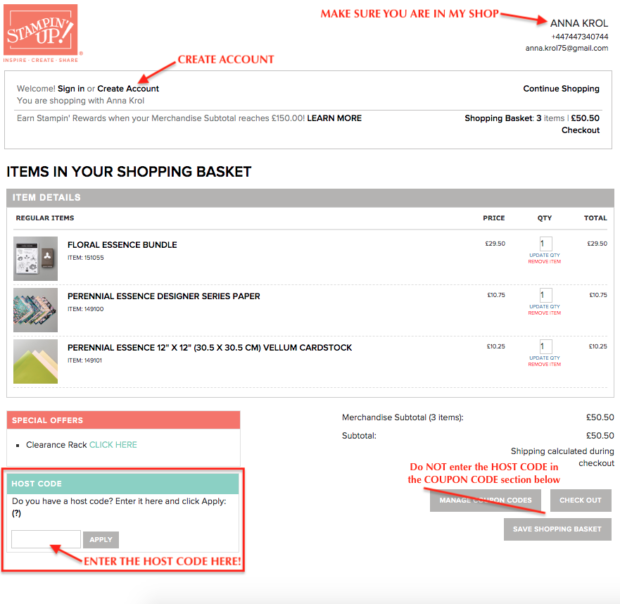
Place a product order of £75 or more (excl. shipping) in my online storein the month of January.
Add Host Code 4SVKJFWC –To claim your reward you must include this code in your ordering process.
This January Special will be applied to all qualifying orders placed through my shop using Host Code 4SVKJFWCbetween 1 – 31 January.
If your order is £150 or more pleasedo not use Host Code. You will earn your own Host Rewards to spend.
IMPORTANT: My FREE Monthly Special Host Gift is mailed separately from any order and will arrive mid-February
PDF’s will include the photos of the finished cards, a list of products used and step by step instructions.


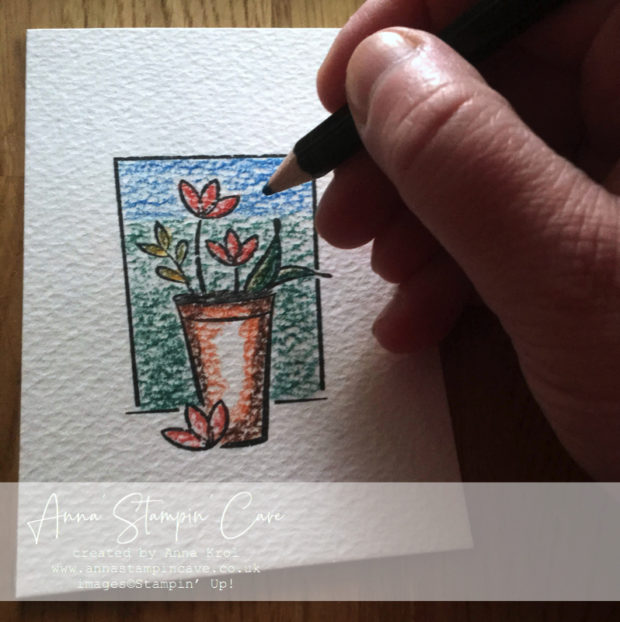 First, I coloured my image, very roughly, with watercolour pencils, leaving some empty space on the flower pot for highlights.
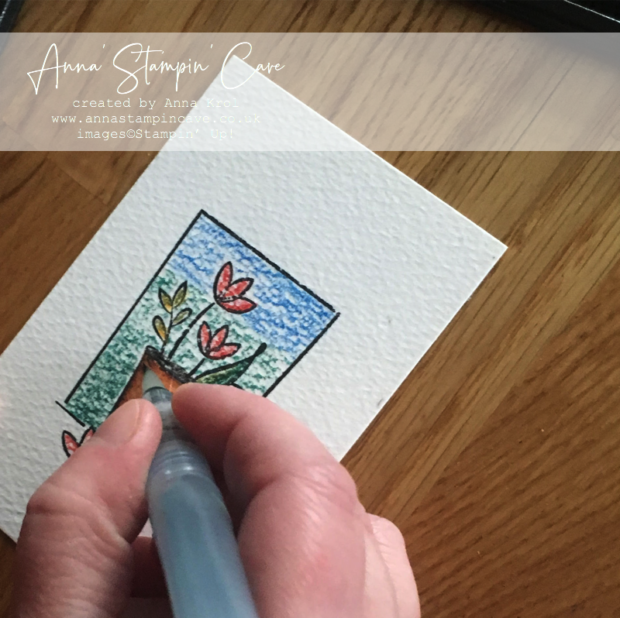 Next, using an aqua painter I brush it with water. I did it slowly, with a brush that was hardly wet, one area at a time, making sure I don’t over-mix all of the colours used.
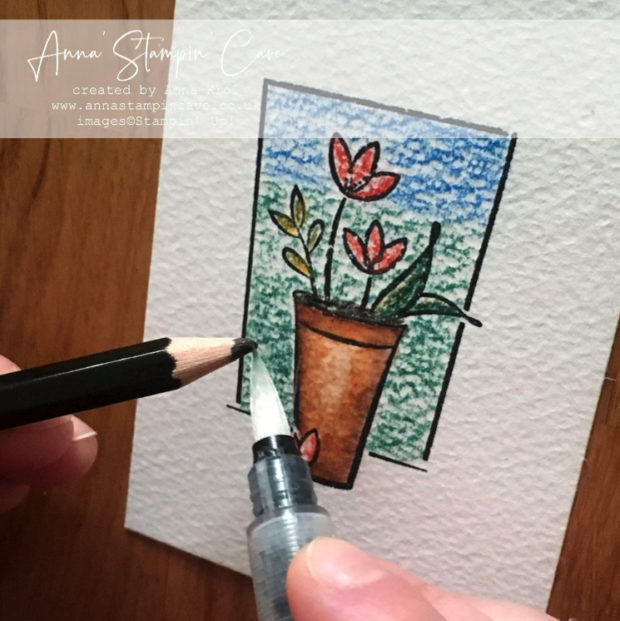 To intensify some colours, I rubbed my aqua painter’s brush directly against the tip of the pencil, before adding the pigment to a designated area.
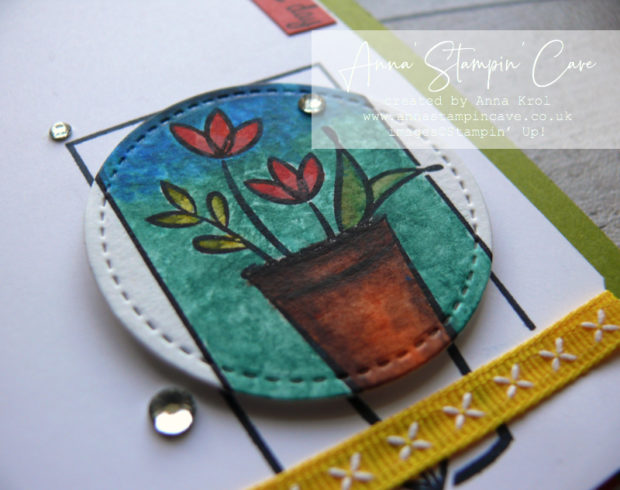 Creating Focal Point
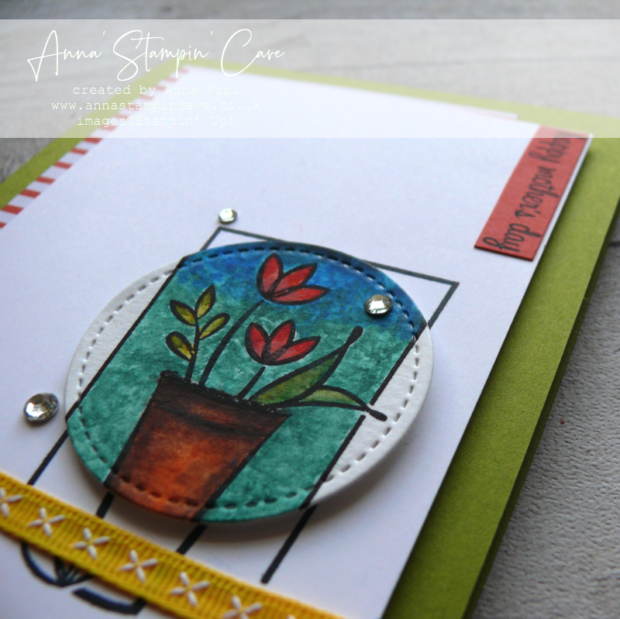


 Designer Series Paper")