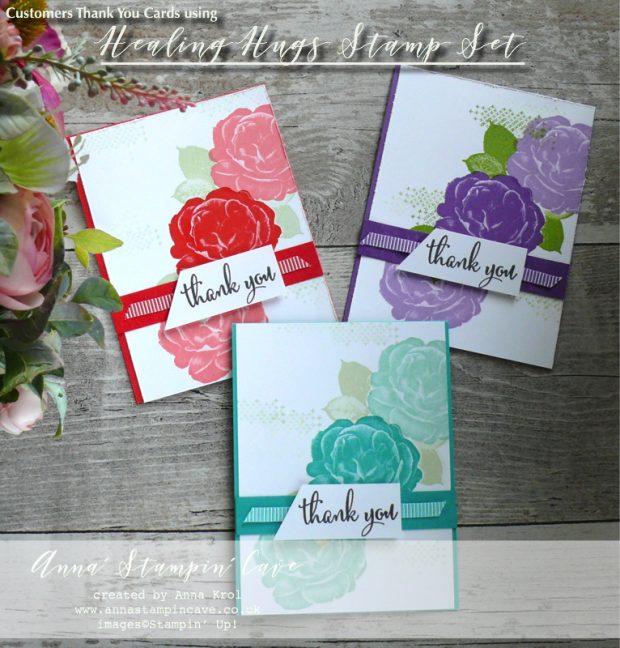
Customers Thank You Cards Using Healing Hugs Stamp Set

Anna' Stampin' Cave - Customers Thank You Cards using DistINKtive Healing Hugs Stamp Set by Stampin' Up! in Poppy Parade, Gorgeous Grunge & Bermuda Bay Colours

Anna’ Stampin’ Cave – Customers Thank You Cards Using Beautiful Healing Hugs Stamp Set
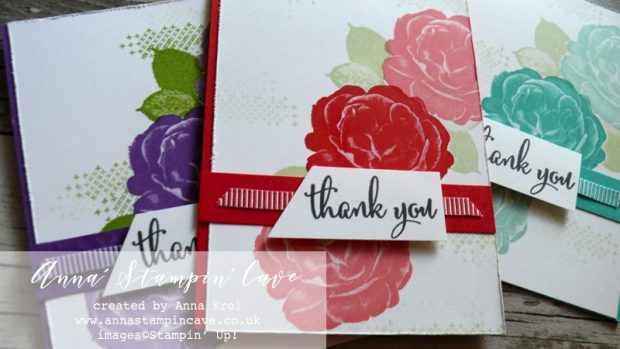
Anna' Stampin' Cave - Customers Thank You Cards using DistINKtive Healing Hugs Stamp Set by Stampin' Up! in Poppy Parade, Gorgeous Grunge, Bermuda Bay Colours

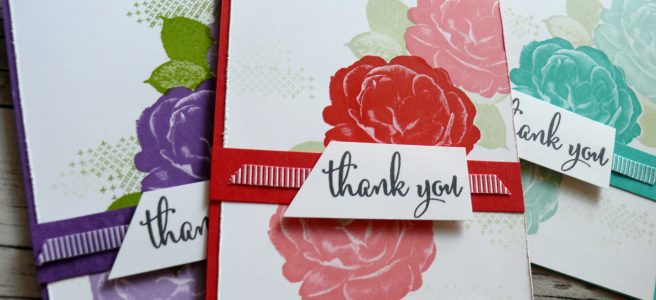
Today I’ve got for you really beautiful Thank You cards I’ve made using Healing Hugs Stamp Set by Stampin’ Up!

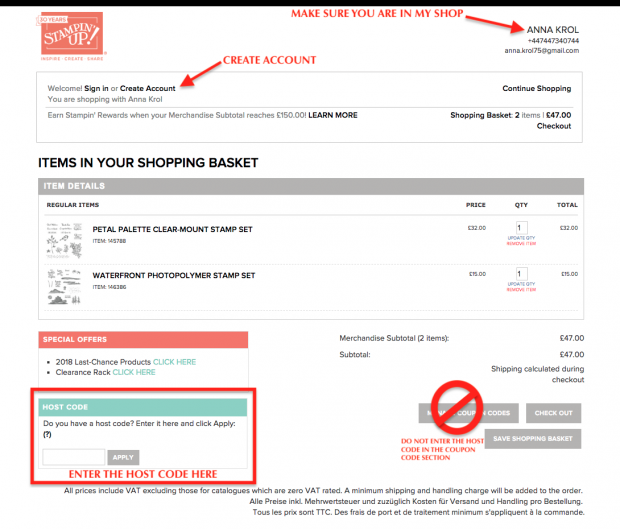
These were the cards for my customers who shopped with me in the month of June and used Host Code. I have sent them out with rhinestones and some treats!

I had a little delay this month because of MS giving me hard time again, but my ladies were very understanding and loved their parcels. I even received a couple of messages back to say how much they loved them!

Healing Hugs ‘thank you’ cards

For my cards I’ve used a gorgeous distINKtive stamp set called Healing Hugs and a sentiment from Love What You Do stamp set.
Anna' Stampin' Cave - Customers Thank You Cards using DistINKtive Healing Hugs Stamp Set by Stampin' Up! in Poppy Parade Gorgeous Grunge Bermuda BayHealing Hugs Thank You Cards dimensions:

  • Poppy Parade/Gorgeous Grunge/Bermuda Bay cardstock: 11-6/8″ x 4-1/8″ scored at 5-1/2″ (29.7 x 10.5 cm scored at 13.9 cm)
  • Whisper White cardstock: 4″ x 5-1/2″ (10.3 cm x 13.9 cm)
  • Whisper White cardstock for inside: 4-1/8″ x 4″ (10.5 cm x 10.3 cm)
  • Whisper White cardstock for the sentiments
  • Mini Striped Ribbon in Poppy Parade/Gorgeous Grape/Bermuda Bay: approx. 4″ (10.3 cm)

How to:

I started by preparing the bases for three cards. Once I scored each card base at 5-1/2″, I had 6/8″ of cardstock hanging off the base. I trimmed it off and saved it, as I will need it later in the design.
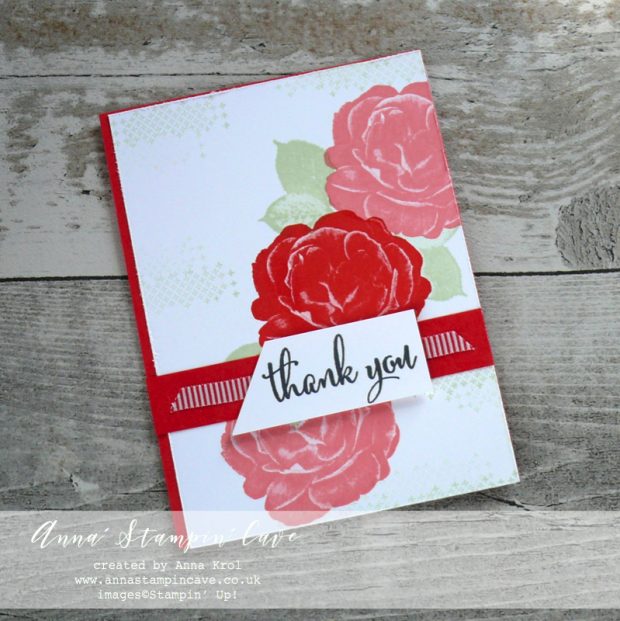
Anna' Stampin' Cave - Customers Thank You Cards using DistINKtive Healing Hugs Stamp Set by Stampin' Up! in Poppy Parade Ink

Usually, I make individual cards, but for customers, I really like to make cards in batches. Once I have a design I choose colours, and then I start making the cards, each step at a time.

For these cards, I chose to use three different colours: returning Poppy Parade, new Gorgeous Grape and current Bermuda Bay (the bases and stamping). To help me with accurate stamps placings I have used a Stamparatus.
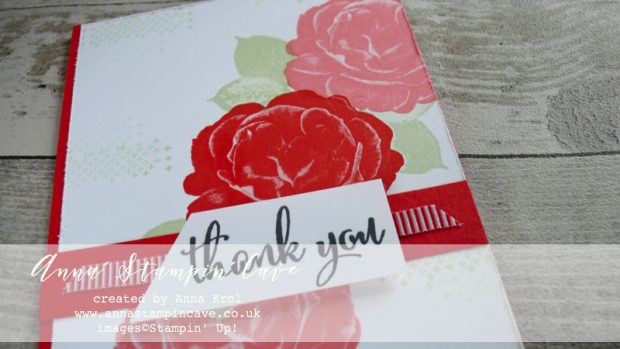
Anna' Stampin' Cave - Customers Thank You Cards using DistINKtive Healing Hugs Stamp Set by Stampin' Up! in Poppy Parade Ink

Colour Choices, stamping & masking

My first colour choice was Poppy Parade for the base and flowers, followed by Gorgeous Grape and Bermuda Bay. For leaves and background accents I’ve used accordingly either Soft Sea Foam and Granny Apple Green.

I stamped the main flower first on each Whisper White panel and next onto some masking paper and fussy cut it.
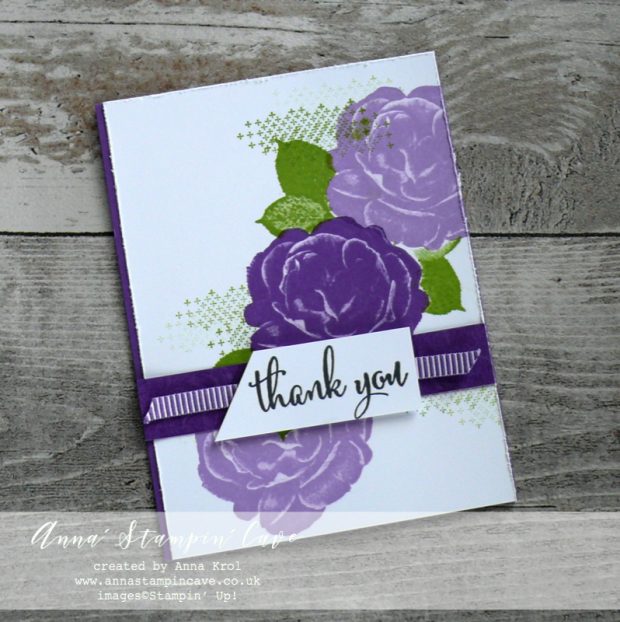
Anna' Stampin' Cave - Customers Thank You Cards using DistINKtive Healing Hugs Stamp Set by Stampin' Up! in Gorgeous Grunge

I placed the mask over the flower and stamped two more flowers, one above and one below, first stamping them off for a lighter shade.

Next, using the same mask I stamped the leaves. For the Gorgeous Grape card, I’ve used Granny Apple Green for the leaves. On other cards, the foliage was stamped in Soft Sea Foam.
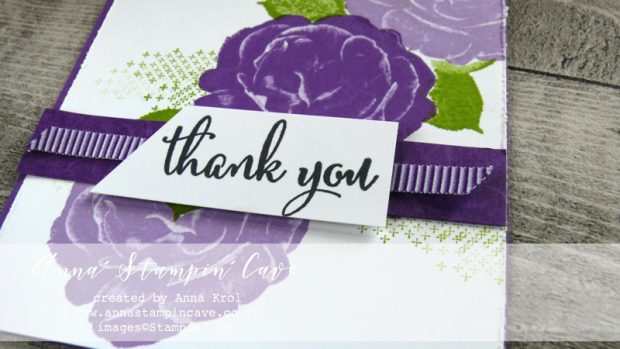
Anna' Stampin' Cave - Customers Thank You Cards using DistINKtive Healing Hugs Stamp Set by Stampin' Up! in Gorgeous Grunge

Once all the flowers and leaves on all of the cards were stamped I decided to use small ‘plus’ stamp from the same stamp set to add some detail to the background.

I didn’t use a Stampratus for this, just a regular acrylic block, size ‘D’. Added details as I went along using same greens as before.

Before I mount all the panels to the card bases I distressed the edges using paper snips and adhered them either centred or to the right.
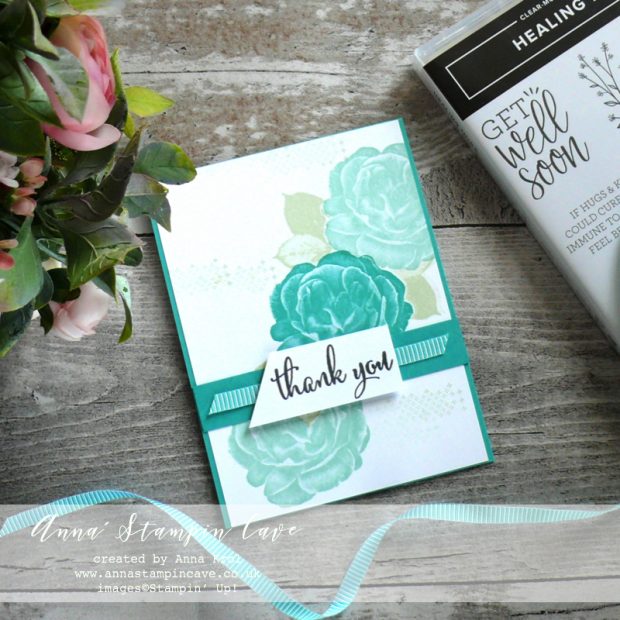
Anna' Stampin' Cave - Customers Thank You Cards using DistINKtive Healing Hugs Stamp Set by Stampin' Up! in Bermuda Bay

Finishing off the cards

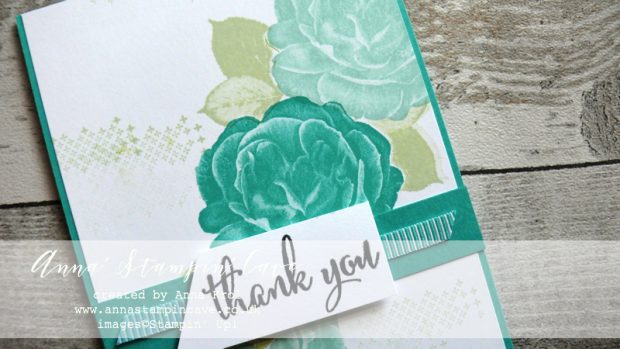
I took the 6/8″ pieces of cardstock that I have trimmed from bases earlier and stamped them using the flower stamp and Versamark ink pad, to create a subtle background. I adhered them to the cards using snail adhesive.

I have added those strips to my cards and also adhered around  3-1/2″ length of Mini Striped ribbons to each (according to the colour of the base).
Anna' Stampin' Cave - Customers Thank You Cards using DistINKtive Healing Hugs Stamp Set by Stampin' Up! in Bermuda Bay

For the sentiment, I have used the ‘Thank You’ stamp from Love What You Do stamp set. I stamped it on a strip of Whisper White cardstock, in Memento Black, using Stamparatus.

I trimmed each sentiment to measure 1″ x 2-1/2″ and pop them up on the cards using dimensionals.
Anna' Stampin' Cave - Customers Thank You Cards using DistINKtive Healing Hugs Stamp Set by Stampin' Up! in Poppy Parade, Gorgeous Grunge, Bermuda Bay Colours

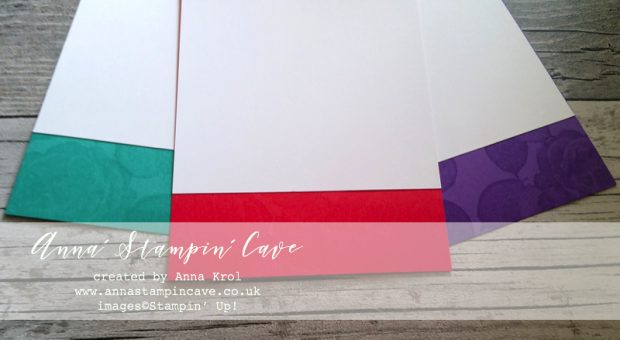
Inside the cards, I stamped the flowers and leaves in Versamark for tone on tone look. Next, I adhered smaller Whisper White panels inside those cards.

And here’s the last peak on all colours/designs together –
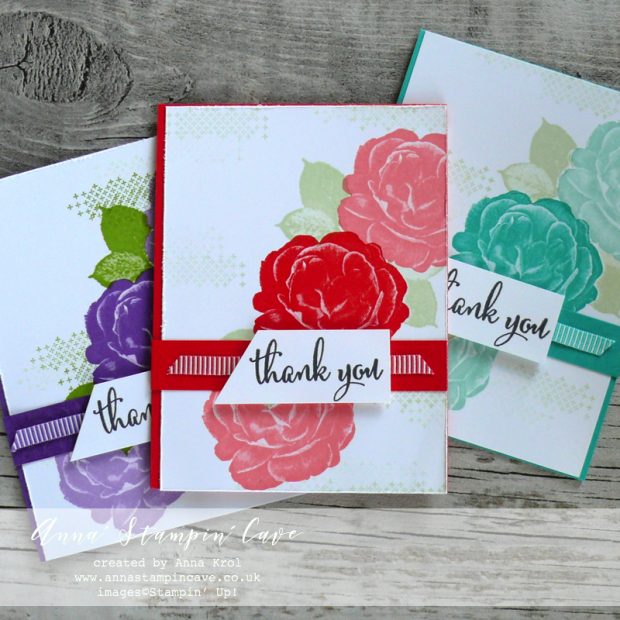
Anna' Stampin' Cave - Customers Thank You Cards using DistINKtive Healing Hugs Stamp Set by Stampin' Up! in Poppy Parade, Gorgeous Grunge, Bermuda Bay Colours

I truly hope you like my cards and enjoyed coming to my blog today.

As always, if you wish to purchase any of the products I have used, simply click the images below to go directly to my online store.


HOST CODE for the month of JULY is D369YGBB. Orders of £50+ (excl. p&p) will receive a SPECIAL GIFT from me: a sampler of In Color® Grosgrain Ribbons (2 yards of each).Anna' Stampin' Cave JULY HOST GIFT 2018-2020 IN COLOR® Grosgrain Ribbon Sampler
Thank You Gifts will be shipped mid-August.

Stamparatus

£46.00

Bermuda Bay Classic Stampin' Pad

Bermuda Bay Classic Stampin’ Pad
[131171]
£6.00

Pin me

Summary of the project which gives all the views of the card in one photo. I’d love if you pinned and called by on Pinterest xx

Anna' Stampin' Cave - Customers Thank You Cards using DistINKtive Healing Hugs Stamp Set by Stampin' Up! in Poppy Parade Gorgeous Grunge Bermuda Bay


How to use HOST CODE


DON’T FORGET TO CHECK

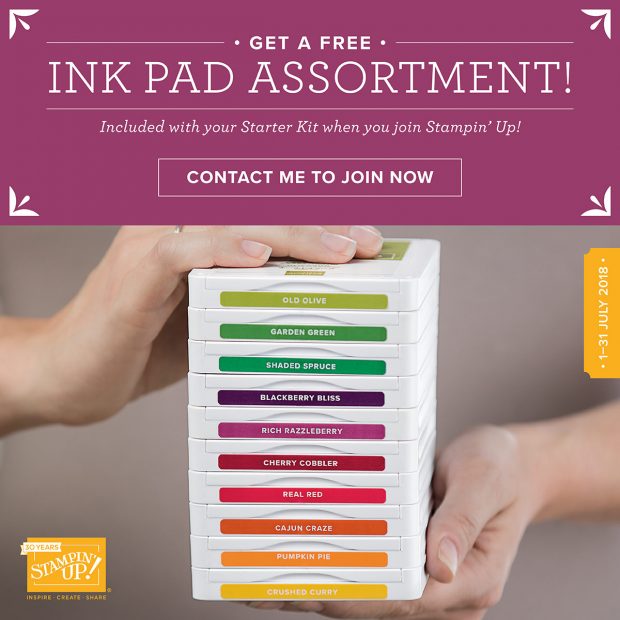
1-31 July – GET 10 FREE INK PADS (up to a £63 added value) with the £99 Starter Kit.  Choose one of the five colour collections (In Color, Brights, Neutrals, Regals or Subtles). For the full details on the Stampin’ Up! July Special Joining Offer –> click here
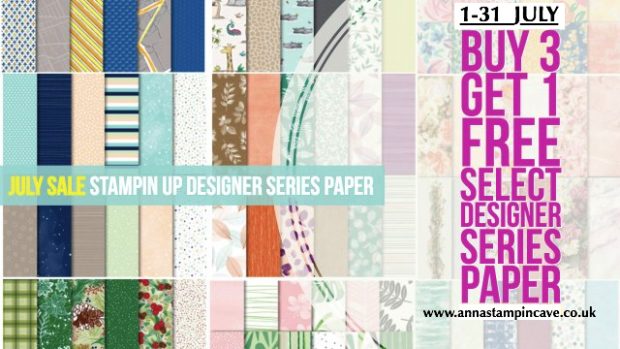
1-31 July Stampin’ Up! BUY 3 GET 1 FREE on select Designer Series Paper –> click here
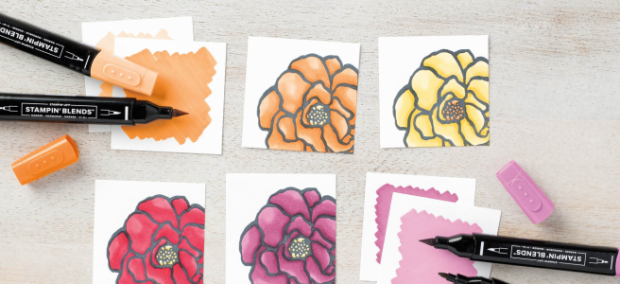
The New Stampin’ Blends Marker Colours Are Now Available –> click here

Faux Watercolour For GDP#072 Case The Designer Challenge

Anna’ Stampin’ Cave – Faux Watercolour For GDP#072 Case The Designer Challenge

gdp072

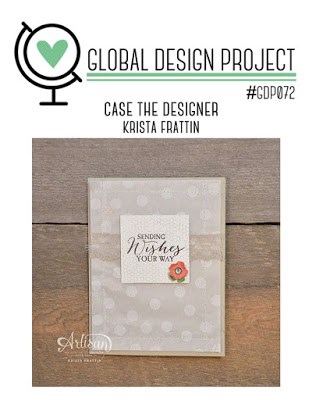
Hello and welcome everyone! Today I’m back with my entry for Global Design Project. This week’s challenge is ‘CASE the Designer’ – we are casing extremely talented Krista Frattin.

If you’re not sure what ‘CASE’ stands for, at least in crafty world, here are few decipherings: Copy And Selectively Edit or Copy And Share Everything. Generally speaking, it means that you take inspiration from someone else’s project, like colours, layout, stamp set used, etc, and add your own twist to it.

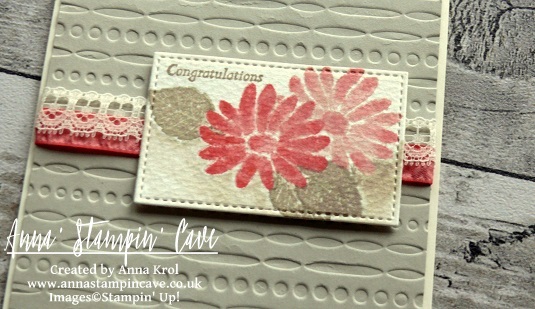
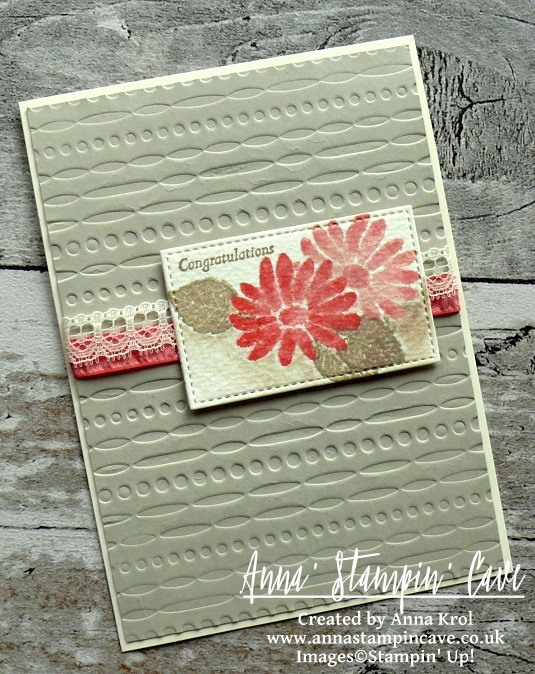
I really loved this simple layout and toned palette with a little pop of colour, so this is what I ‘borrowed’ from Krista’s card. But I’ve decided to use a new stamp set from Stampin’ Up! Spring Summer Catalogue called Special Reason.

anna-stampin-cave-stampin-up-special-reason-stamp-set-watercolour-with-masking

Faux Watercolour Special Reason card dimensions:

  • Very Vanilla cardstock: 11-6/8″ x 4-1/8″ scored in half at 5-7/8″ (29.7 x 10.5 cm scored in half at 14.8 cm)
  • Sahara Sand cardstock: 4″x 5-6/8″(10,2 x 14,5 cm)
  • Water Colour Paper: 2″ x 3″ (briefly as it will be die-cut later)
  • Flirty Flaming Ruched Ribbon: length 6″ approx
  • Very Vanilla Lace Trim: length 6″ approx

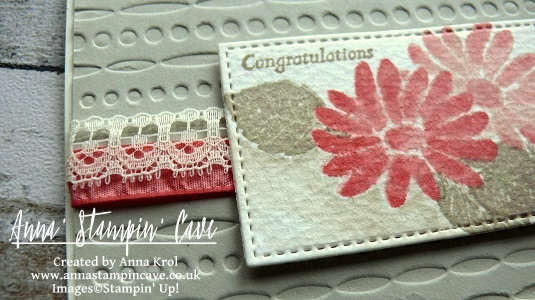
I began with dry embossing Sahara Sand panel with a Festive embossing folder. I love this design as it’s really versatile. For my card, I’ve used de-bossed side. I added Flirty Flamingo Ruched ribbon to the panel, briefly in the middle, and secure it at the back with snail adhesive. Next, I added Very Vanilla Lace Trim on top of it, slightly overlapping both ribbons so Flirty Flamingo was peeking from underneath the lace. I adhered my panel to the card base with liquid adhesive and red-lined tape where the ribbons were for extra security.

To create my focal point I’ve used few great techniques: watercolour, faux watercolour, rock’n’roll, masking and partial die-cutting.

anna-stampin-cave-special-reason-stamp-set-by-stampin-up

I started with stamping my flower onto watercolour paper. I loaded my stamp with Blushing Bride Ink and then ‘rocking’ my stamp I added Flirty Flamingo only on the edges of the stamp – that’s rock’n’roll technique, super easy hey? Once I stamped the image, I took an aqua painter and started blending both colours on each petal creating a faux watercolour effect. I also added Flirty Flamingo ink to the centre of the flower. I build up the colour (but I let it dry completely between layers) by adding more Flirty Flamingo to the top of each petal and blending it down with an aqua painter.

Next, I created a mask. I stamped the same flower onto a post-it note and fussy cut it. I stuck it to my watercolour flower (first, make sure it’s dry) and using Stamp-a-ma-jig I stamped two leaves in Sahara Sand, one below, and one on the side of my flower. Using same faux watercolour technique I blended the ink on my leaves, being careful not to lose subtle veins detail. I also created a leaf mask and added another leaf at the bottom of the flower.

anna-stampin-cave-stampin-up-special-reason-stamp-set-watercolour

Not taking off the masks, and with help of Stamp-a-ma-jig again, I stamped another flower. This time I only used Blushing Bride ink for a softer shade. But still added a hint of Flirty Flamingo ink to the edges of petals while blending them with water.

Before die-cutting my piece, I decided to add a little bit of shading beneath my composition. Nothing fancy, just a subtle watercolour wash with Sahara Sand ink and aqua painter. I love how it added an extra dimension to my piece.

To die-cut my watercolour panel I’ve used a second smallest square (1-5/8″) from Stitched Shapes Thinlits Dies. But this is a rectangle, you say. Yes, I know, but I extended my die using partial die cutting technique (if you want to know how to do it, please leave me a comment below). The final piece measure 1-5/8″ x 2-5/8″ (4.2 x 6.7 cm).

I assembled my watercolour panel using Stampin’ Dimensionals.

anna-stampin-cave-stampin-up-special-reason-stamp-set

I really like how this card turned out. No need for extra embellishments, it’s beautiful as it is. I hope you like it too, and that I inspired you to try some of the techniques I showed, especially mess-free, faux watercolour.

I really want to encourage you to check the Global Design Project challenge blog. They have a new challenge every week with various themes and extremely talented Design Team – they will simply blow your mind with their creativity! Just click on their logo below to visit the website

gdp_blog_header

As always, if you wish to purchase any of the products I have used, simply click the images below to go directly to my online shop.

Thank you for stopping by and have a blessed day,


Special Reason Wood-Mount Stamp Set

Special Reason Wood-Mount Stamp Set
[142899]
£25.00

Special Reason Clear-Mount Stamp Set

Special Reason Clear-Mount Stamp Set
[142902]
£18.00

Stitched Shapes Framelits Dies

Stitched Shapes Framelits Dies
[145372]
£27.00

Festive Textured Impressions Embossing Folder

Festive Textured Impressions Embossing Folder
[141471]
£7.75

Very Vanilla A4 Card Stock

Very Vanilla A4 Card Stock
[106550]
£8.25

Sahara Sand A4 Card Stock

Sahara Sand A4 Card Stock
[121695]
£7.25

Watercolor Paper

Watercolor Paper
[122959]
£4.50

Flirty Flamingo Classic Stampin' Pad

Flirty Flamingo Classic Stampin’ Pad
[141397]
£6.00

Blushing Bride Classic Stampin' Pad

Blushing Bride Classic Stampin’ Pad
[131172]
£6.00

Sahara Sand Classic Stampin' Pad

Sahara Sand Classic Stampin’ Pad
[126976]
£6.00

Aqua Painters

Aqua Painters
[103954]
£15.50

Stamp-A-Ma-Jig

Stamp-A-Ma-Jig
[101049]
£11.00

Very Vanilla 1/2" (1.3 Cm) Lace Trim

Very Vanilla 1/2″ (1.3 Cm) Lace Trim
[141672]
£6.50

Flirty Flamingo 3/8" (1 Cm) Ruched Ribbon

Flirty Flamingo 3/8″ (1 Cm) Ruched Ribbon
[141426]
£7.25

Liquid Multipurpose Glue

Liquid Multipurpose Glue
[110755]
£3.75

SNAIL Permanent Adhesive

SNAIL Permanent Adhesive
[104332]
£6.25

Stampin' Dimensionals

Stampin’ Dimensionals
[104430]
£3.75

Stampin' Trimmer

Stampin’ Trimmer
[129722]
£27.00

Big Shot

Big Shot
[143263]
£99.00

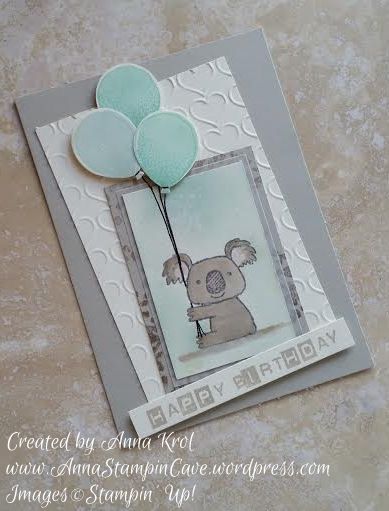
Something Old, Something New…Kind Koala Birthday Card

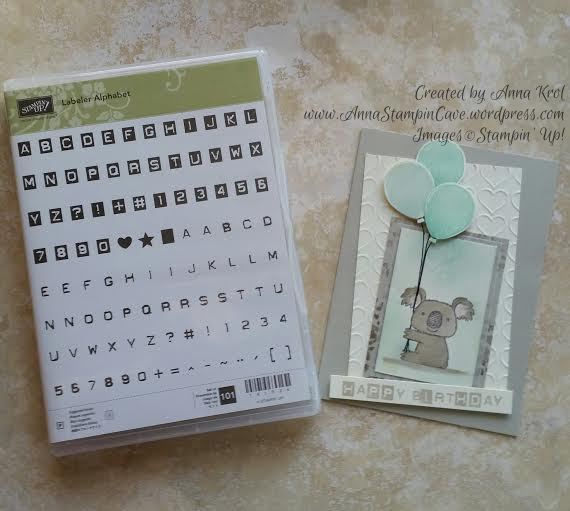
Hello, everyone! Something old, something new…Today I’ve got for you really adorable birthday card using sadly retiring Kind Koala stamp, and also a sneak peek at new Labeler Alphabet stamp set.


Kind koala

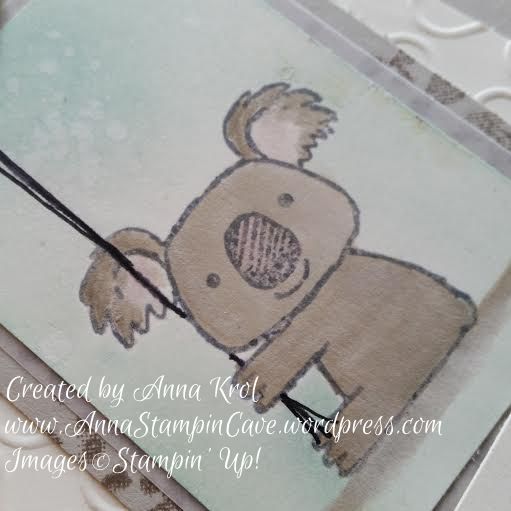
Isn’t this little koala cutest ever!? The base of my card is standard, top folded A6 in Sahara Sand. For the background, I’ve used Very Vanilla and dry embossed it with Happy Heart embossing folder.

Because I wanted this card to be a birthday card I used washi tape to cover the flower and a sentiment on my stamp before I inked it up in Basic Grey Archival Ink. Next, I stamped my cute koala on a piece of Very Vanilla. Just remember to take off the washi tape first or you will have a disaster. Guess how I know lol I also stamped him on a scrap of paper to create a mask I will need later.

Kind koala 4

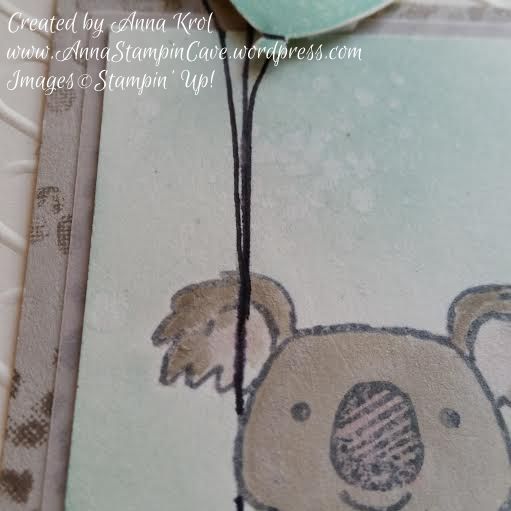
I watercolour my little fella in Sahara Sand and added some shadow underneath him. I also added a touch of Blushing Bride to his nose and inside of his ears. When I was happy with the results I masked my koala and sponged the background with Soft Sky and Pool Party. Then I used the aqua painter to add few droplets of water to the background and took off a little bit of the colour.

Kind koala 2

Next, I matted my koala panel with a piece of vellum and a slightly bigger piece of Sahara Sand. But to add some more interest to this panel I stamped it with Tip Top Taupe using the foliage stamp from Sheltering Tree. I assembled all my panels.Now was time for balloons!

Kind koala 5

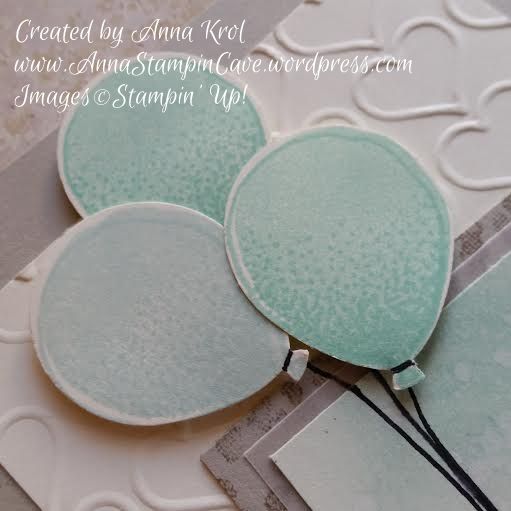
I stamped three smaller balloons from Balloon Celebration, two in Pool Party and one in Soft Sky, punch them with Balloon Bouquet punch and arrange them on the card using dimensionals. I also hand-drew balloon strings with Project Life pen (and yes, I know, I probably should have used a lighter colour, maybe Basic Grey or Smoky Slate marker) so it looks like koala is holding them in his paw.

kind koala 3

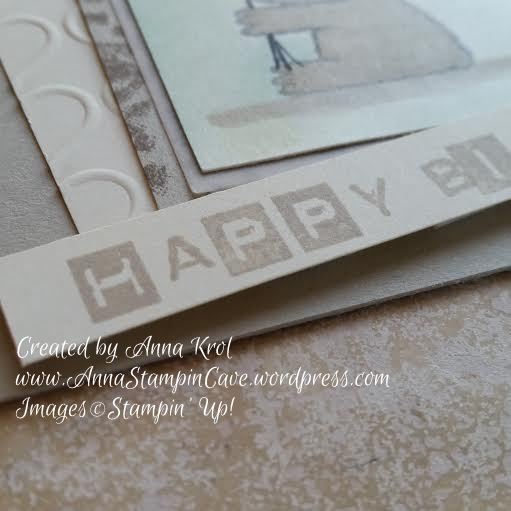
The card was busy enough so I kept the sentiment simple. I cut a strip of Very Vanilla and stamped my sentiment in Sahara Sand, using Labeler Alphabet stamp set. To keep it fun I mixed both types of letters and add it at wonky angle to my card.

Kind koala 6

Dimensions:

Very Vanilla:

  • 3-1/8 x 4-6/8″
  •  2 x 3-2/8″
  • 1/2 x 3-5/8″

Sahara Sand:

  • 2-2/8 x 3-4/8″

Vellum:

  • 2-1/8 x 3-3/8″

I’m adding my card to

Do you like my little card? I truly hope you do. Please let me know in the comments below.

Thank you for stopping by and have a blessed day,