Thank you for joining us on another Pootlers Blog Hop! We’re showcasing lots of gorgeous projects using products from the new Stampin’ Up!® Spring/Summer Catalogue. Simply use the buttons at the end of each post to keep hopping!
If you have arrived here from Jerim Dickins, a big welcome to you. To continue your journey simply use the buttons at the end of each post to keep hopping!
I hope you had a chance to look through our Spring/Summer catalogue and you’ve got your favourites already. I have chosen to use Rose Wonder Bundle from page 18.
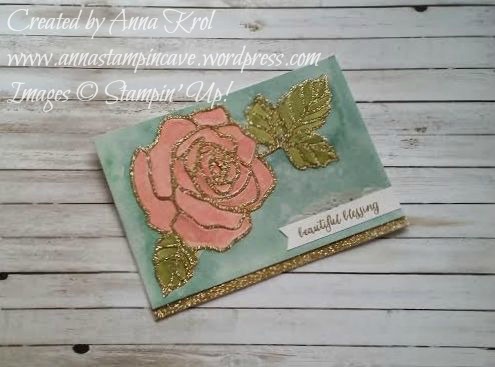
I know I said that many times but I will say it again: I love everything about this bundle. I’ve played with this stamp set many times, but in today’s project, I incorporated watercolour with inlaid die-cutting. And yes, I’ve used these two techniques with this bundle already in this project.
This time I stamped my image straight onto watercolour paper with Versamark and heat embossed it in white. I’ve added water to the rose petals first and used Calypso Coral and Blushing Bride as my watercolours.
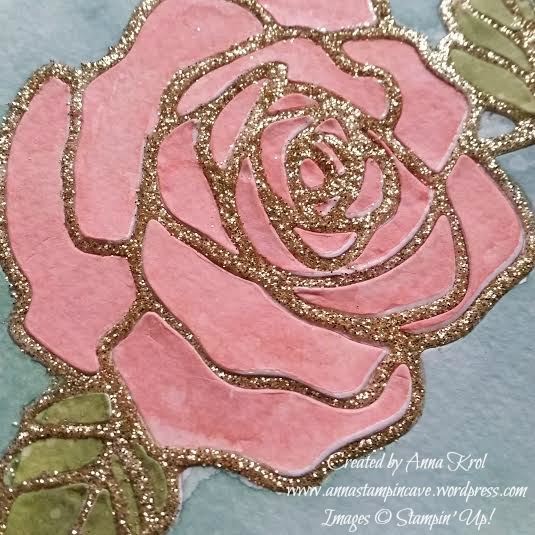
I let the flower dry completely before I moved to the leaves. And again I added water first. For the leaves, I choose Pear Pizzazz, Wild Wasabi and just a hint of Old Olive.
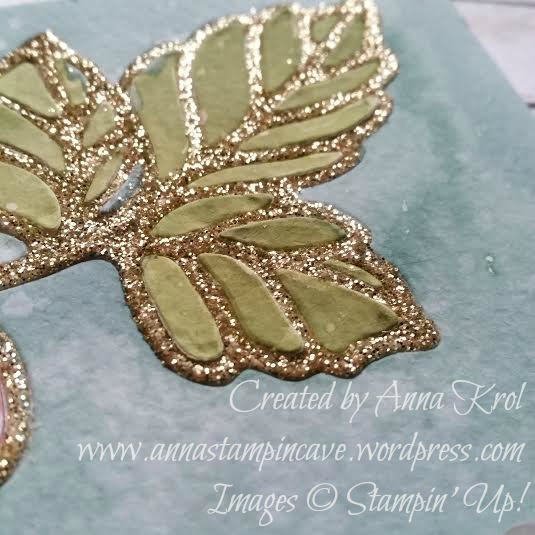
When my rose and leaves were dry I added water to the background. I didn’t want it to be as intense as last time so I mixed Lost Lagoon with Mint Macaron. I love how these two colours complement each other.
When my background was dry I gave it a little spray with water, and “lifted” those water droplets with a paper towel. As you can see it lifted some colour from background too – beautiful effect.
When my card was dry I’ve used Rose Garden Thinlits Dies to die-cut rose straight from my watercolour piece.
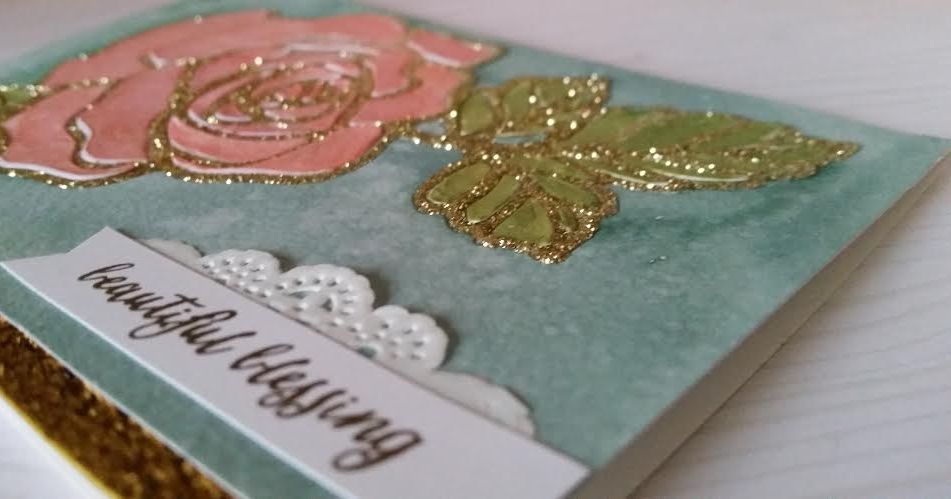
I separated the “frame” and put all these “inside” tiny pieces aside. I dabbed the frame in Versamark, added Heat & Stick powder and heat embossed it for a second. Enough to melt the powder. When it was nice and sticky I cover it with Gold Stampin’ Glitter and heat set it again.
My base is Whisper White. I trimmed the watercolour piece to be slightly smaller than the base. I added Gold Glitter to the bottom of my WW base so this gold will peek a little from underneath the panel.
Now I could assemble the card. I added background panel first, then the frame and all the little die-cuts at the end. I have to say it was really time-consuming but well worth the effect.
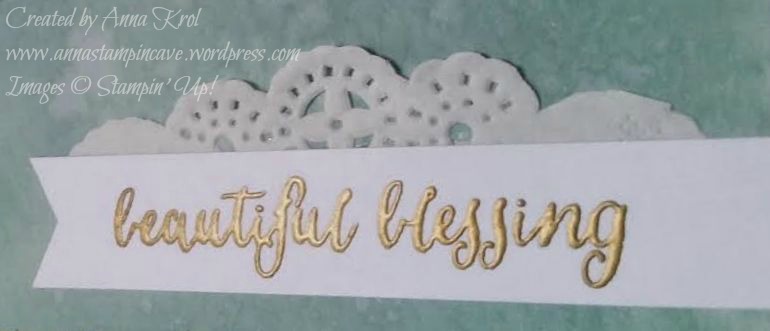
For the sentiment, I choose “What a beautiful blessing you are to me” but decided to use only part of the sentiment. I heat embossed it in gold on a strip of Whisper White and finish it with a piece of a doily.
I truly hope you enjoyed coming to my blog and see my card. Now, be sure to hop along and see more inspiring projects. Below is the list of all the participants but you can also use the buttons to keep hopping. Your next stop is lovely Kathleen Rintoul-Waite – go and see what she has made using the new products.
Thank you for stopping by and have a blessed day!
Full blog line up:
Anna Krol –> you are here

