Anna’ Stampin’ Cave – Year-End Closeout & Carryover Lists

Stampin’ Up!’s Year-End Closeout sale is here! Some products are leaving for good, some will come back in future catalogues next year, and some are discontinued. So, if you have a list of things you’ve been wanting to order, now is the time! Some products will sell out before the end of the Autumn/Winter Catalogue sale period!
Retiring Favourites

Click the banner above to check all of the amazing products that are going away. Grab your favourites while you can.
But just to clarify. Each bundle from the Autumn/Winter catalogue is being retired. Or I should rather say their item numbers are retiring at the end of the catalogue period. It means that the bundled pricing is going away, not the components of the bundle themselves (like Harvest Hellos Bundle or Still Scenes Bundle).
Discounted Products

Click the banner above and save big on a selection of surplus items from Autumn/Winter catalogue: stamp sets, punches, ribbons etc. But remember: they are available while supplies last!
Download the retiring and surplus items from the Autumn/Winter catalogue below:
Carryover Items

Click the banner above to check (most of) the items that are carrying over to the next catalogue. One thing to notice is that if products that are part of a bundle are carrying over, the bundle price will NOT. So if there is a bundle you’ve been wanting, it would make sense to buy it at the discounted bundle price now instead of the full price later.
Download the carryover list so you know which items will be carrying over into future publications, below:
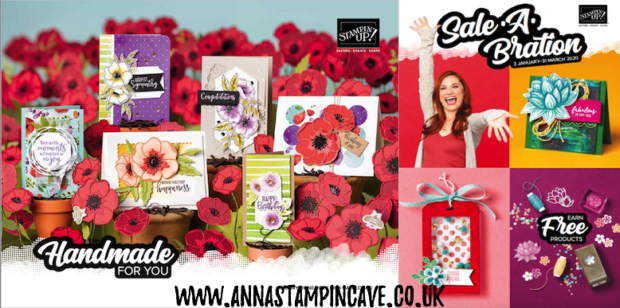
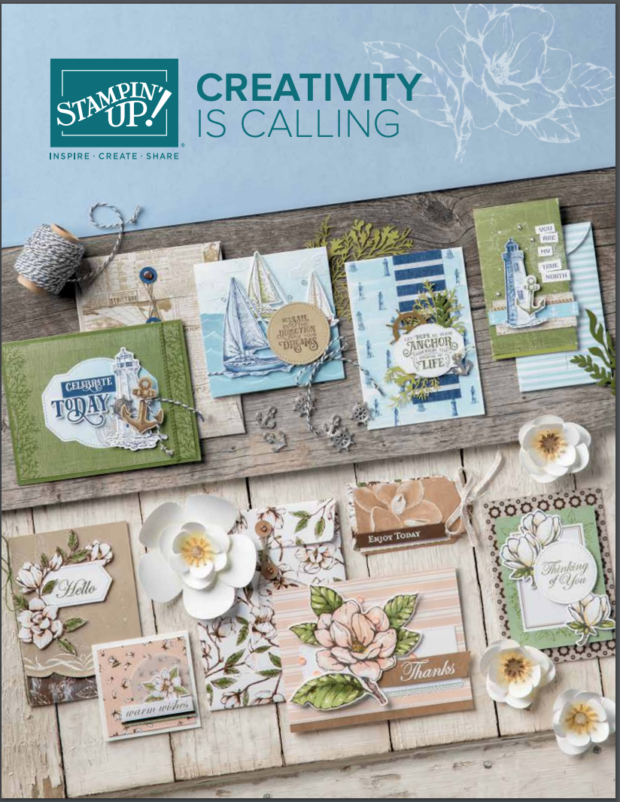
New Catalogues are Coming!
Stampin’ Up! demonstrators can pre-order from the upcoming January – June 2020 Mini Catalogue and start earning Sale-a-Bration items from yesterday.
I’ll be ordering catalogues and Sale-a-Bration brochures this week, for all of my current customers. If you would like to receive a copy of the new catalogue (and aren’t a current customer), please place an order today.
Thank you for stopping by and have a blessed day,

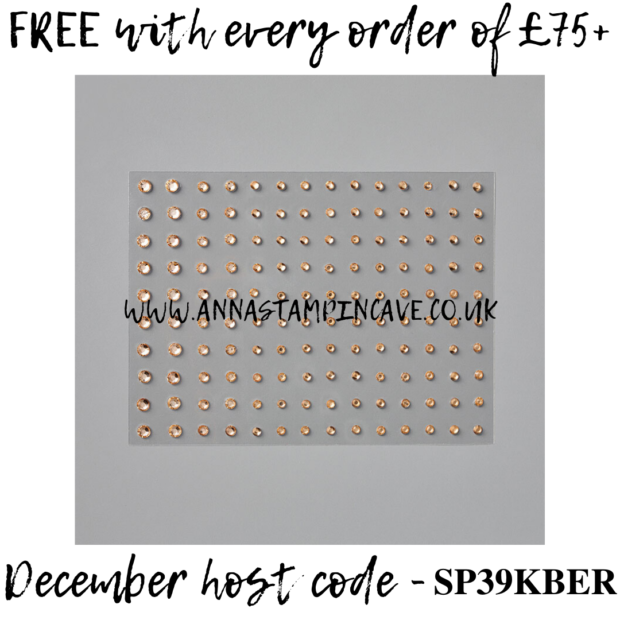
It’s a new month and it means new tutorials and gifts. But first thing first: the code.
 Use this code while shopping to receive my special gifts!
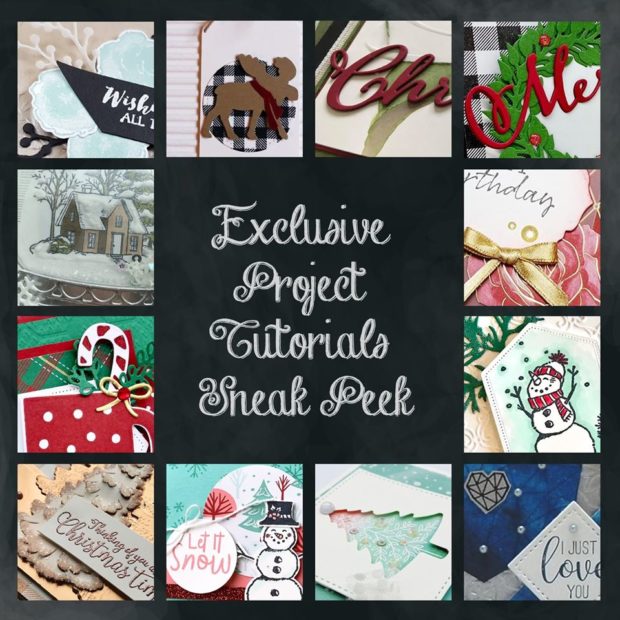
- For every order of minimum £25 (before shipping) you will receive from me these amazing Exclusive PDF Tutorials
- For every order of £75 + (before shipping) you will receive from me, for free, Exclusive PDF Tutorials Bundle and a pack of Champagne Rhinestone Basic Jewels!
These are a BRAND NEW product from the upcoming January-June 2020 Mini Catalogue (the former Spring-Summer catalogue).
How it works –
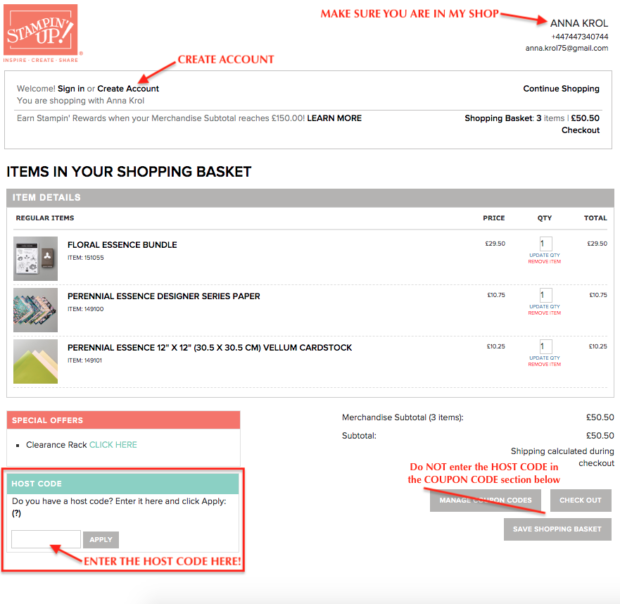
- Place a product order of £25 or more (excl.shipping) in my online store in the month of December.
- Add Host Code SP39KBER – To claim your reward – either just the Exclusive PDF Tutorials or FREE products – you must include this code in your ordering process.
- This December’s Special will be applied to all qualifying orders placed through my shop using Host Code SP39KBER between 1 – 31 December.
- If your order is £150 or more please do not use Host Code. You will earn your own Host Rewards to spend.
- IMPORTANT: My FREE Monthly Special Host Gift will be mailed separately from any order and will arrive mid-January.
- PDF’s will include the photos of the finished projects, a list of products used and step by step instructions.


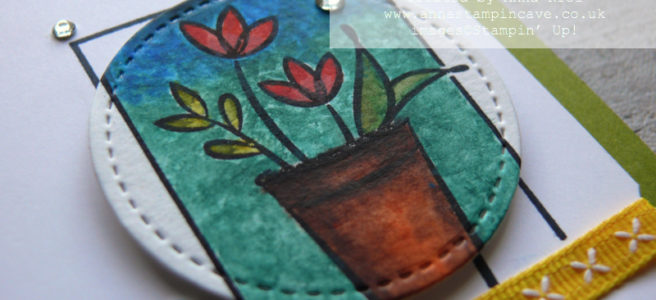
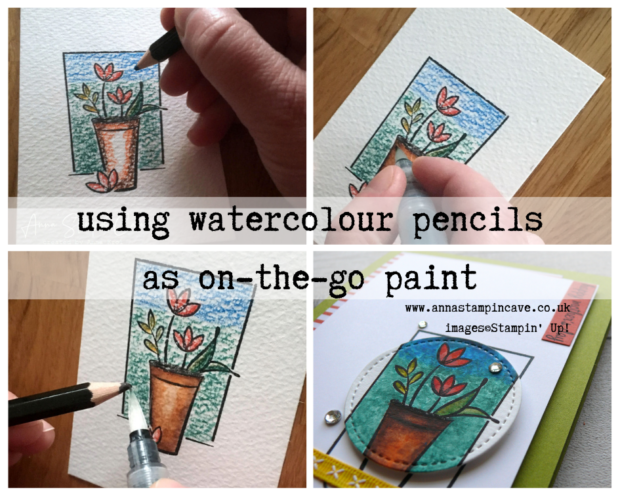
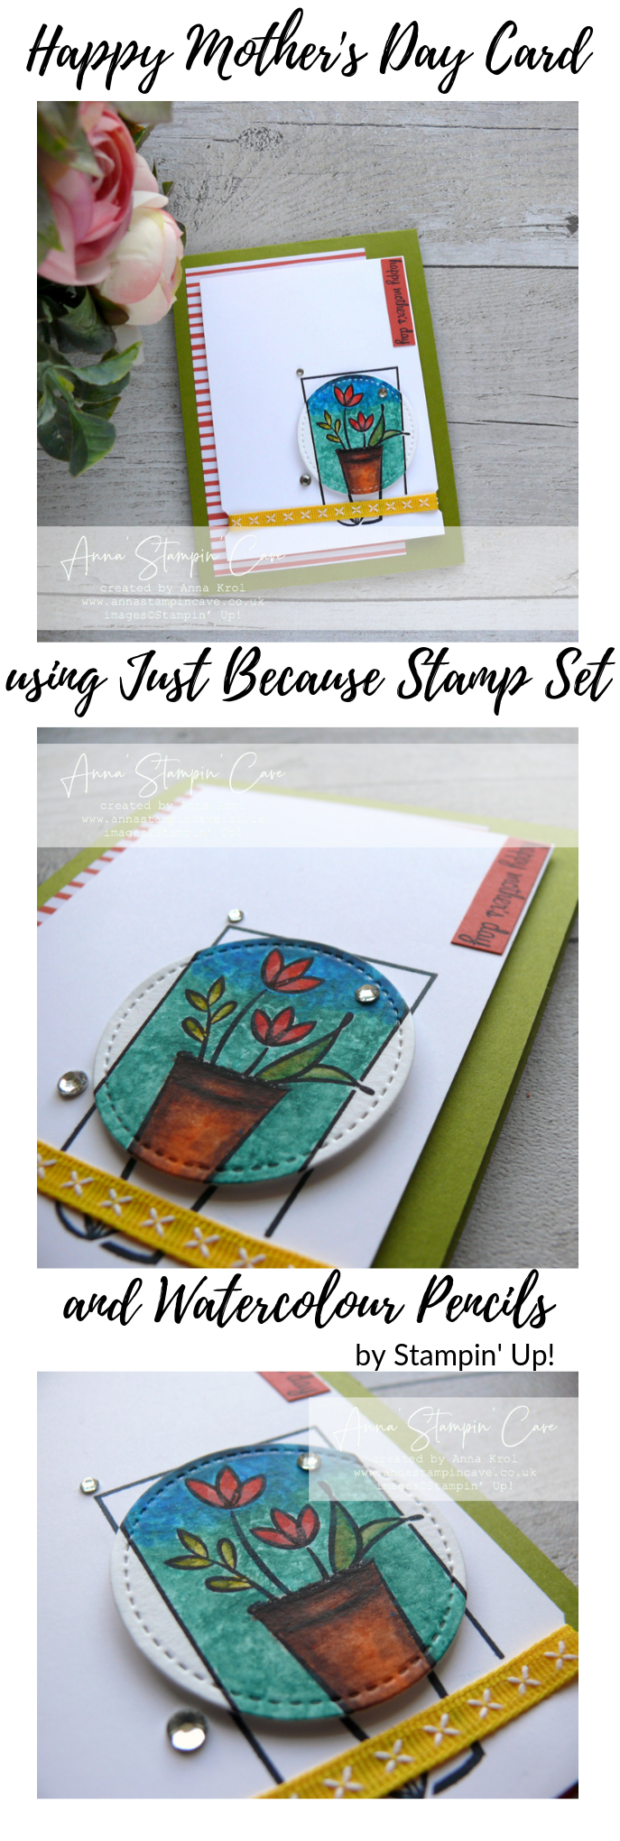
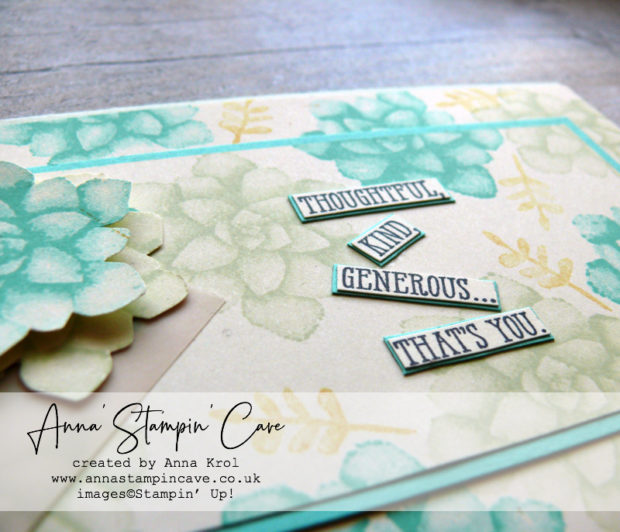
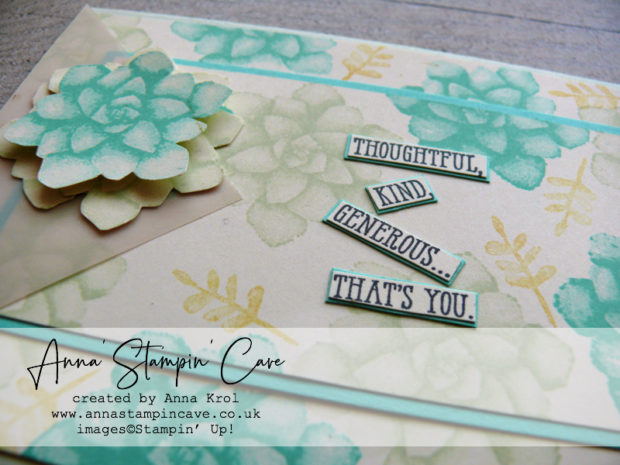
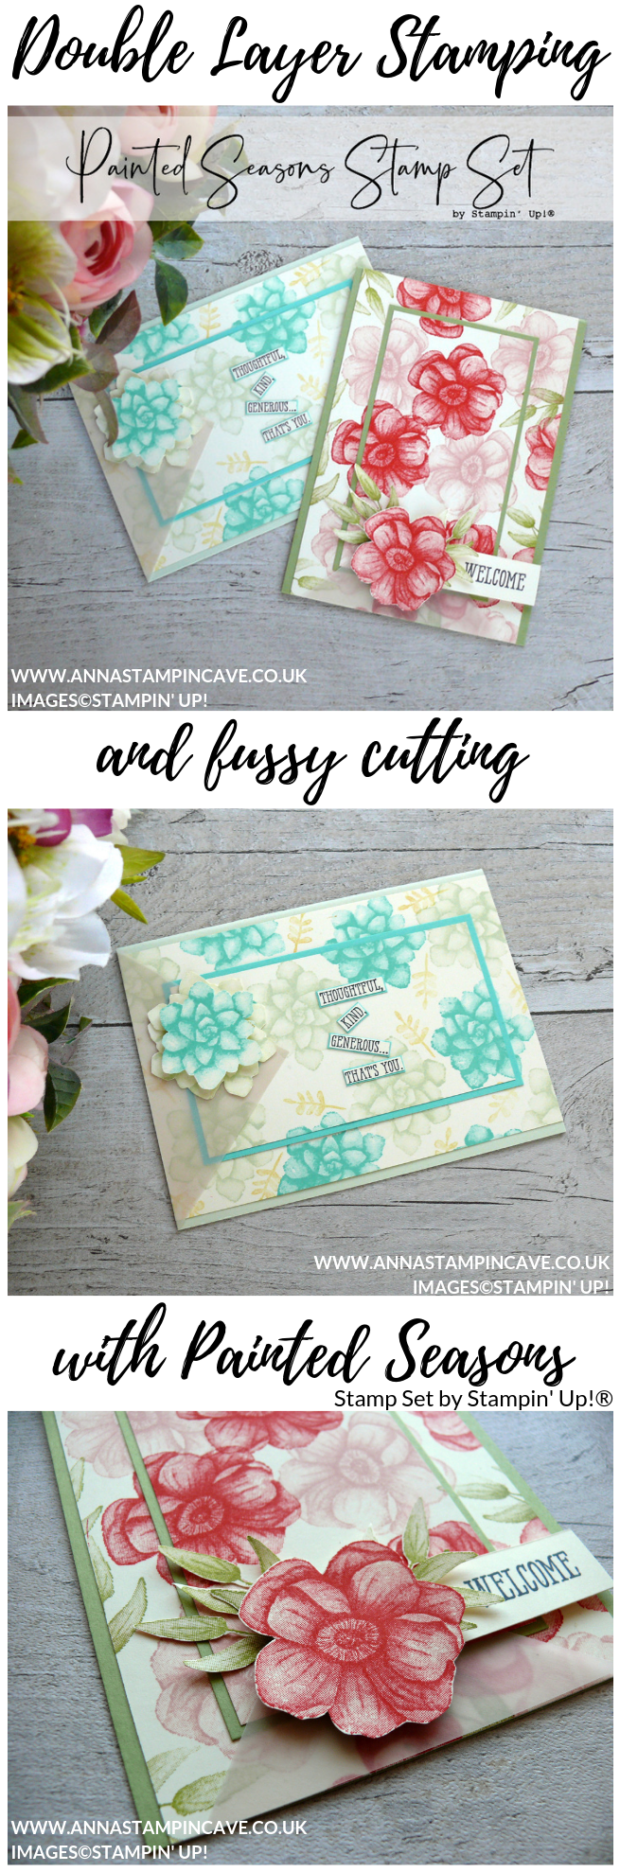
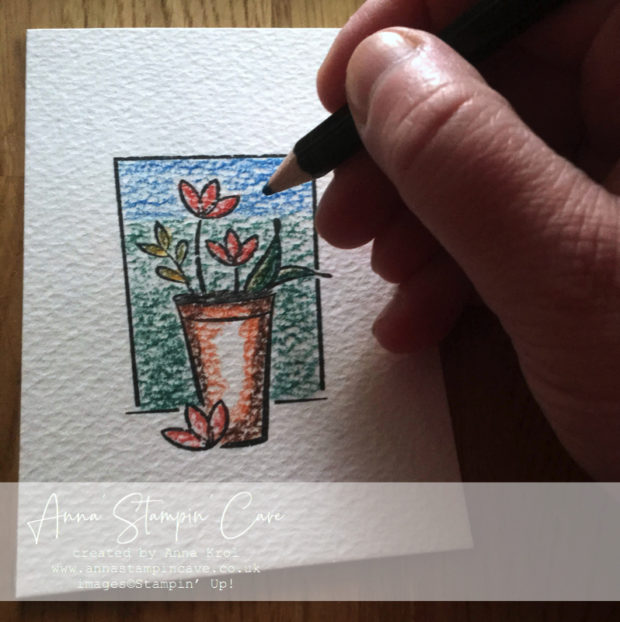 First, I coloured my image, very roughly, with watercolour pencils, leaving some empty space on the flower pot for highlights.
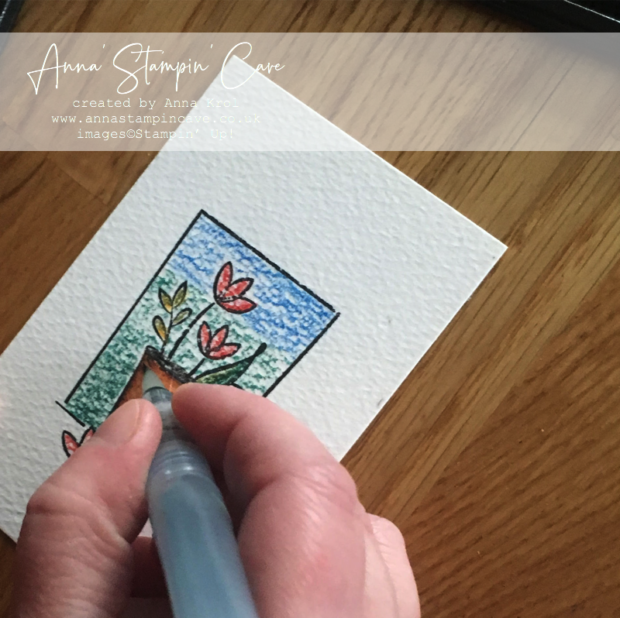 Next, using an aqua painter I brush it with water. I did it slowly, with a brush that was hardly wet, one area at a time, making sure I don’t over-mix all of the colours used.
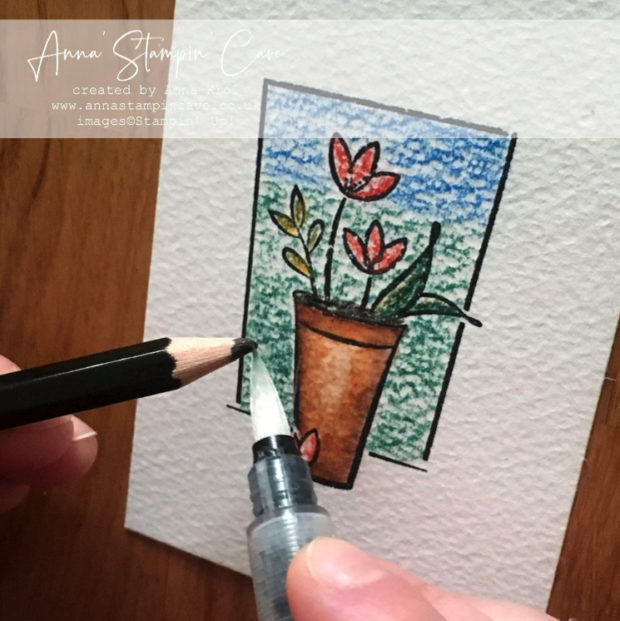 To intensify some colours, I rubbed my aqua painter’s brush directly against the tip of the pencil, before adding the pigment to a designated area.
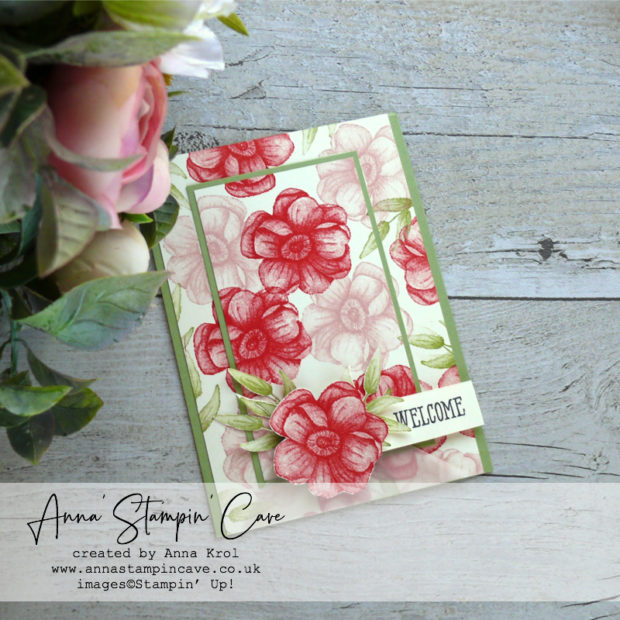
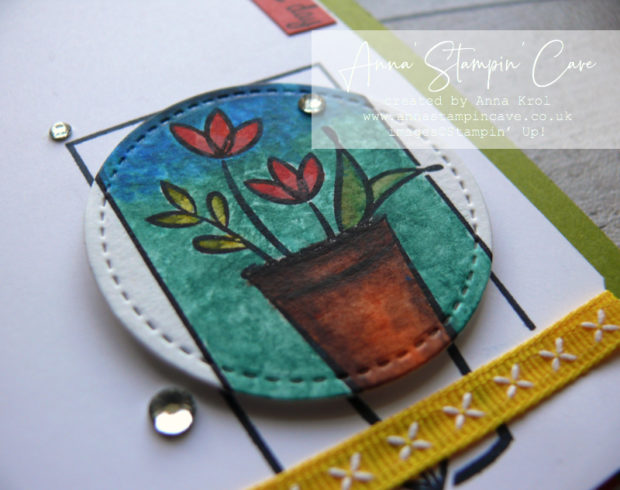 Creating Focal Point
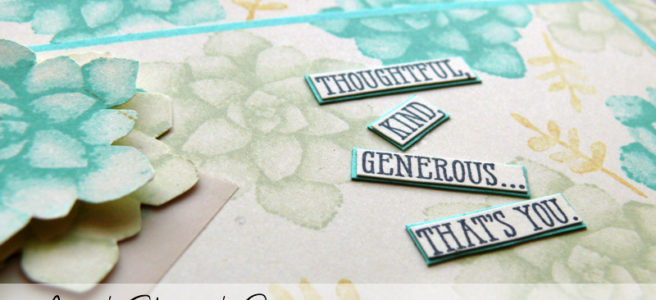
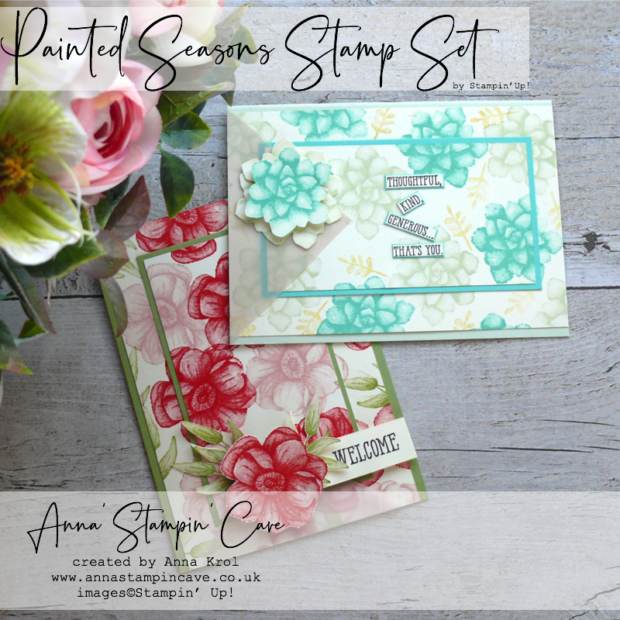
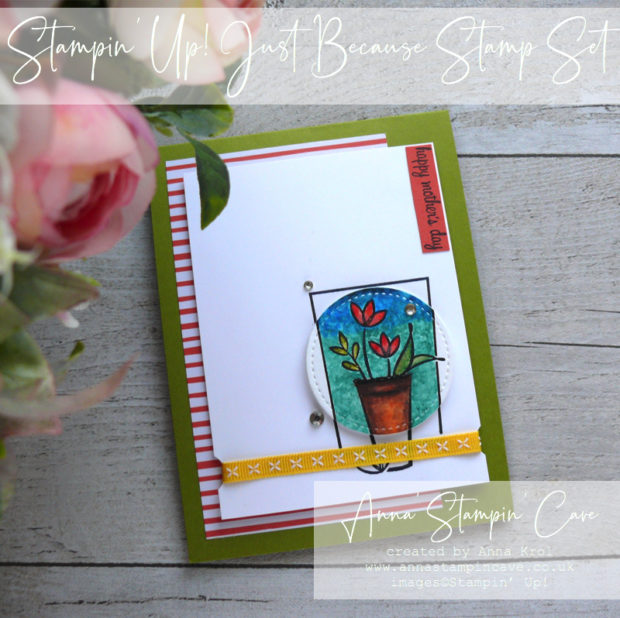
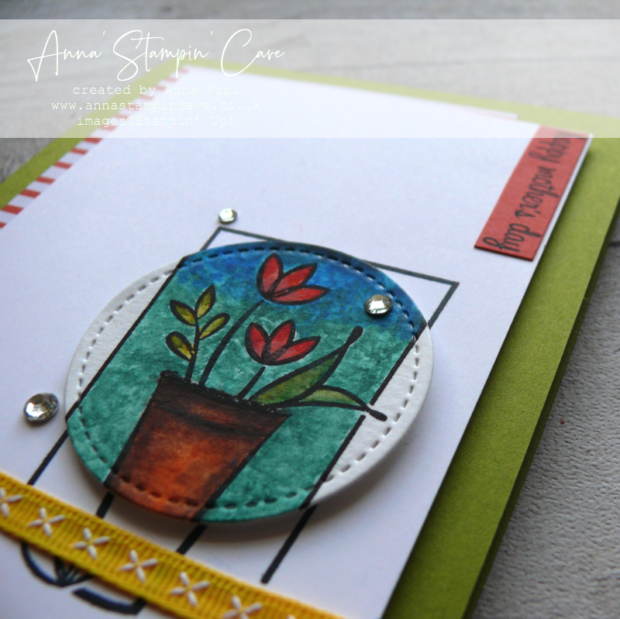


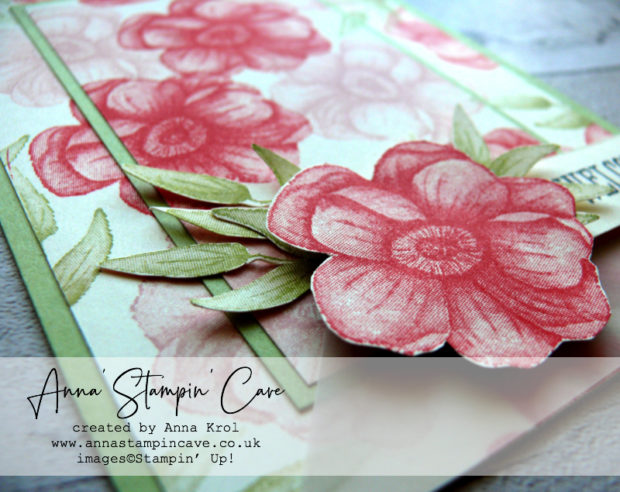
 Designer Series Paper")