Shake It In Teals – Birthday Card For Sweet 17

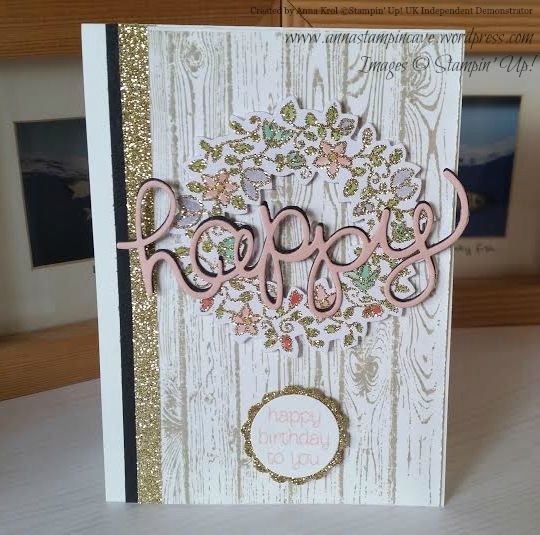
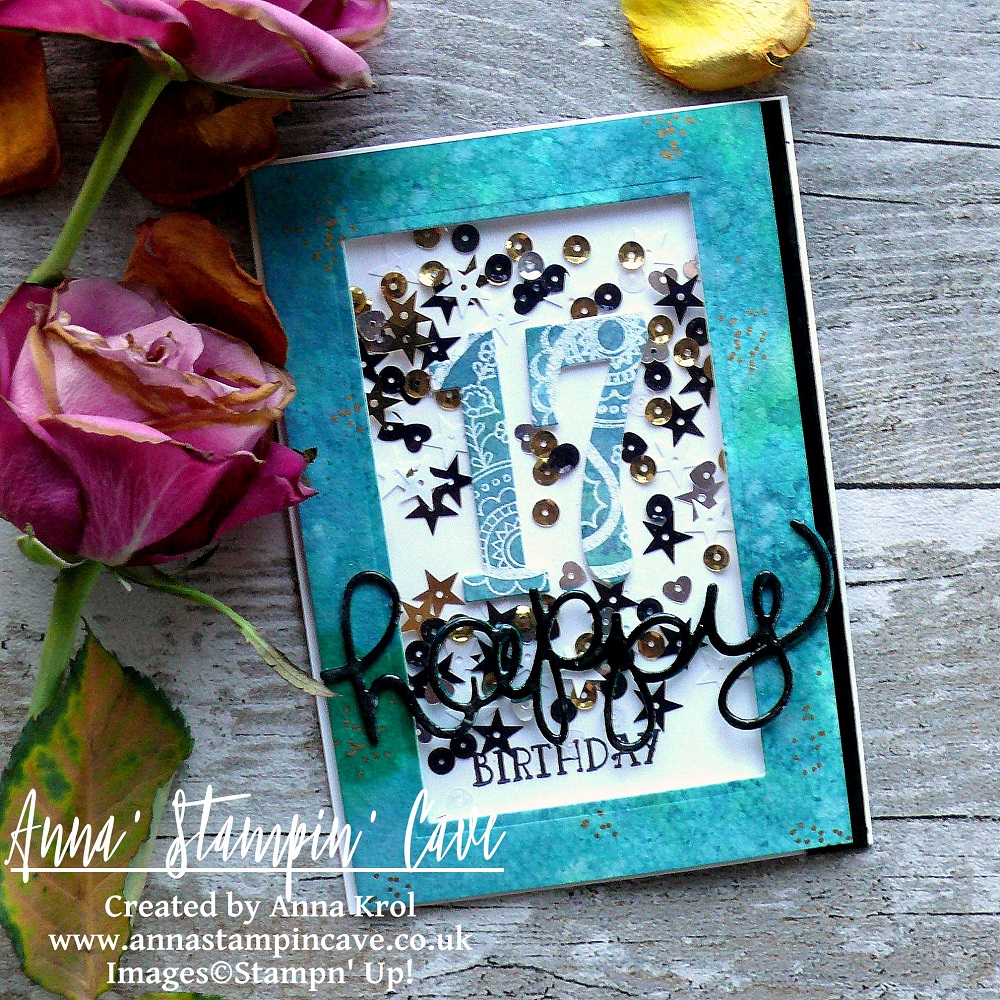
Hello and welcome! Today I want to share with you a card I’ve made for our daughter’s 17th birthday. I don’t know where the time has gone but I could swear she was just 7 not that long ago.

She’s not a girly-girl ( happy mamma here lol). She’s studying fine art in Sixth Form and she loves mixed media. So I had to come up with something little more ‘sophisticated’ than flowers and butterflies if you know what I mean 😉

This year I decided to make a shaker card in beautiful teal shades. [You can see her last year’s birthday card here]

P1130276

Shake It In Teals Card dimensions:

  • Thick Whisper White cardstock: 11-6/8″ x 4-1/8″ scored in half at 5-7/8″ (29.7 x 10.5 cm scored in half at 14.8 cm)
  • Watercolour Paper: 5-6/8″ x 3-7/8″ (14.5 cm x 9.7 cm)
  • Basic Black cardstock: 1/2″ x 5-6/8″ (14.5 cm x 1.2 cm)
  • for die-cutting word happy pieces of Basic Black, Island Indigo and Emerald Envy

It’s very simple, a straightforward card so I won’t include a whole step by step instructions, just some hints, and tips.

Frame: To create a teal-like shade for the watercolour panel I’ve mixed Island Indigo ink with Emerald Envy ink in a watercolour wash. When the panel was dry I die cut a rectangle from the middle of the panel, creating a frame.

P1130298

Numbers: I didn’t want the number to look flat and boring, so I took that watercoloured rectangle, stamped two paisley images in Versamark in the middle, heat embossed them in white and die cut numbers 1 and 7 from that piece.

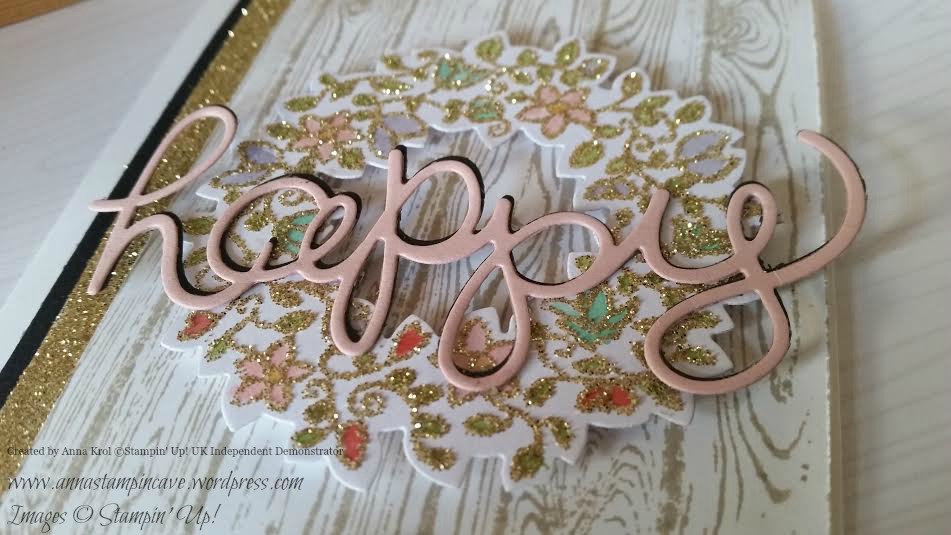
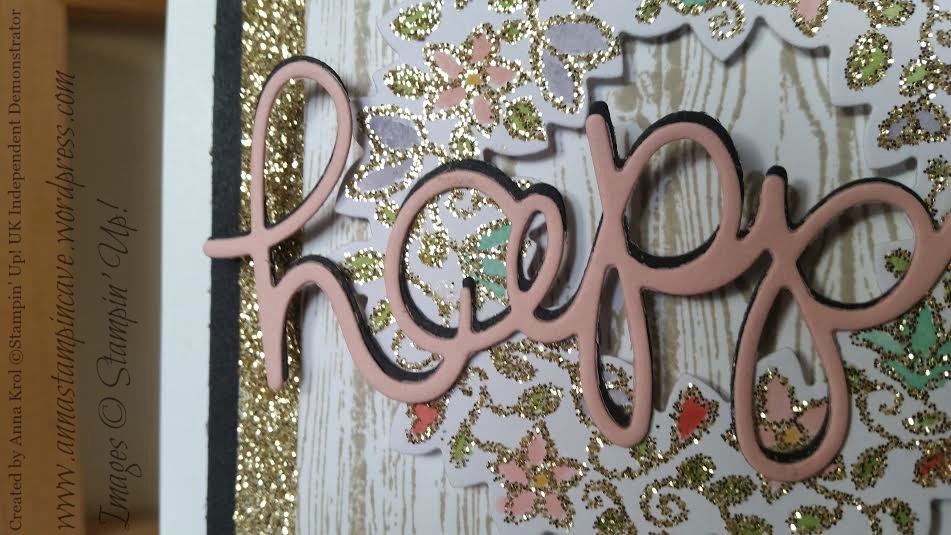
‘Happy’: I die cut it three times: one from Basic Black cardstock, 2nd from Island Indigo and 3rd from Emerald Envy and adhered them together. To add shine to it I cover my word in Versamark and heat embossed in clear. I did the same with the Basic Black strip.

P1130289

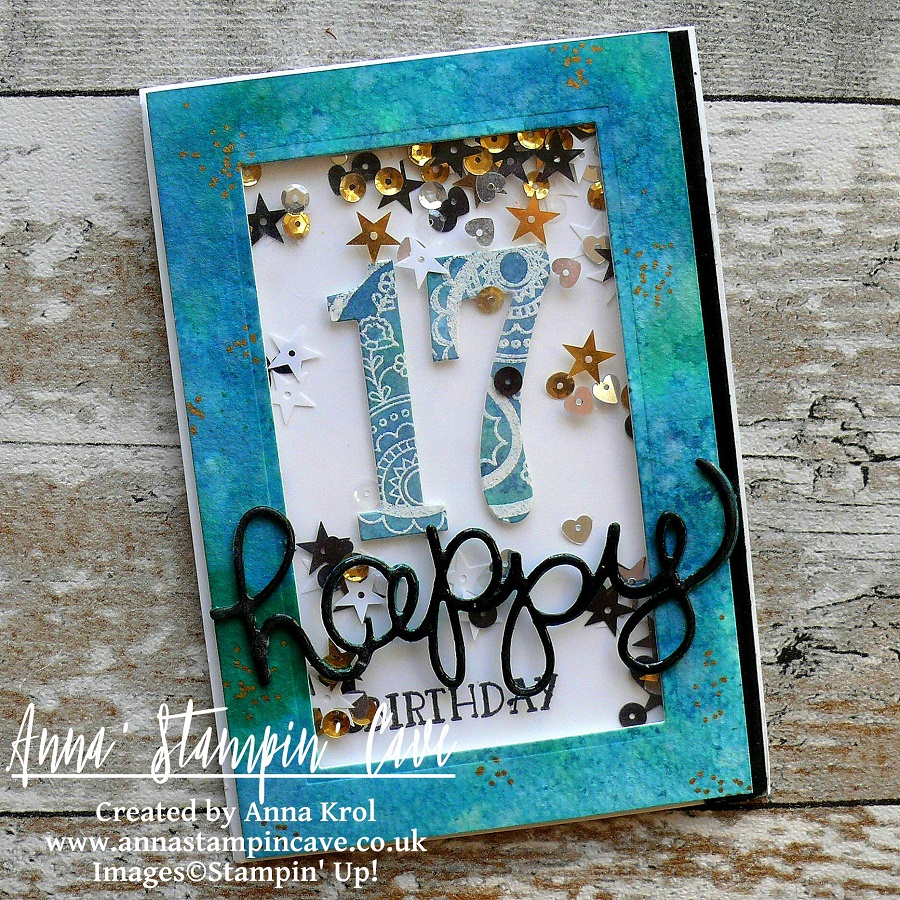
Before I put my shaker card together I adhered few sequins to the base of my card so not all sequins fall down when the card is standing on the shelf. For the final touch, I added some random gold dots to the frame with my gold Sharpie.

There’re few things that didn’t come out as I hoped for, but with my numb hands, I think that overall the card looks nice. The most important is the fact that our girl loved it, so YAY!

If you wish to purchase any of products I have used, simply click the images below to go directly to my online store and don’t forget to enter the hostess code for the month of March G3JKVASG to receive a gift from me.

Thank you for stopping by and have a blessed day

Beautiful Birthday Card Using Circle Of Spring Stamp Set By Stampin’ Up!

I love to make birthday cards for friends and family. Makes me so happy to see their smiles, it makes my day. And when the card I make is a challenge and turn out better then I hoped for?! Well, I nearly squealed with excitement when I finished this card for my friend’s birthday. She received the card already so I can share it with you now.

Spring wreath

My friend Linda is an amazing crafter and she makes the most beautiful, feminine cards ever. So no pressure there, haha

I wanted to create a card that is soft, feminine and exciting. Plus I wanted to use some cool techniques.

Spring wreath 4

I stamped this beautiful wreath in Versamark, heat embossed with Heat & Stick powder and sprinkled with Gold Stampin’ Glitter. I heat set it again and watercoloured flowers and leaves. Then I die-cut ‘happy’ twice: in basic black and blushing bride, and glue them together. I slightly offset both pieces for ‘shadow’ effect.

Spring wreath 3

I love this cute sentiment from Circle of Spring. I do not own many punches, so I had to cut it out with Circle Framelits Dies. But I believe you could use 1″ Circle punch too. The glittery scalloped circle is 1-1/4 Scallop Circle punch. To make it I didn’t use glimmer paper. I punched it from a piece of paper, squashed it into Versamark and again used Heat & Stick powder and gold glitter. It’s so easy to make your own glimmer paper, and I love it.

Spring wreath 6

Just look at all this sparkle ✨✨✨ I love it!

Hope you like my little card, and maybe you will try to add some sparkle to your projects too.

Thank you for stopping by and have a blessed day,


Thank You Card Using Crazy About You Stamp Set & Irresistibly Yours Specialty DSP by Stampin’ Up!

My card today uses Crazy About You stamp set and one of the Sale-A-Bration free items: Irresistibly Yours Specialty Designer Series Paper. I love the fresh look of this card as I really wanted to create card that is fresh and spring-ish, while not compromise on my beloved layers 🙂

thanks you

For the background I created a border with Scallop Edge Border punch and piece of Crisp Cantaloupe card stock. Then I randomly stamped leaves from Crazy About You. I chose Pear Pizzazz for that as it’s such a lush yet soft green.

thanks you 3

Above that border I added a piece of vellum. Vellum is quite tricky to attach as you always can see the adhesive trough. So I added few sequin to hide glue dots 🙂

thanks you 2

My little banner is created using a piece of Irresistibly Yours specialty paper. I spritz it with water and added Crisp Cantaloupe ink. This paper is so much more than just a paper. Glossy designs look great alone but they also resist ink. You can try it with spritzers, brayers, sponges, watercolour techniques and more. You can make it bold or subtle as you wish. This paper is a must-have for your paper stash. Check the video HERE

thanks you 1

Now, for the sentiment I cut “you” using Hello You thinlits and adhere it on the border. I stamped “thanks” just above that “you” and “so much” a little below. For a final touch I also made coordinating envelope. Isn’t it springy, fresh-looking card? I love it!

Hope you like this project and as always thank you for stopping by

Hello Sunshine Card Using Crazy About You Stamp Set & Matching Dies By Stampin’ Up!

Hello everyone! Today I’ve got for you a card made using cool technique called partial diecuting. This technique I learned from Jennifer McGuire. You can check her YouTube Channel. So when I saw Crazy About You stamp set and matching Hello You thinlits in Spring/Summer catalogue I knew I have to try this technique! This stamp set is absolutely amazing! 


hello sunshine 2

As you can see I partially diecut word hello, then I diecut whole word from Daffodil Delight and adhere it to the front of my card.

hello sunshine 1

Large flowers are cut by hand with scissors, as I don’t have that punch yet (1 3/4″ Scallop Circle). Small flowers are punched with 1 1/4 Scallop Circle Punch.

hello sunshine 5

To add some definition to the flowers I stamped twig with leaves on some scrap piece of cardstock. I hand cut few of them and adhered them here and there.

hello sunshine 3

Letters e and o are coloured with Blendabilities I get for FREE as my Sale-A-Bration freebie 🙂 If you want to choose something different as you free SAB items you can purchase Blendabilities in our store. I will add links at the end of this post.

hello sunshine 4

I added few sequins and voila! – card is done! Really hope you like today’s project!

Thank you for stopping by!