Rustic Best Birds For Global Design Project #084 Challenge

Anna’ Stampin’ Cave – Rustic Best Birds For Global Design Project #084 Challenge

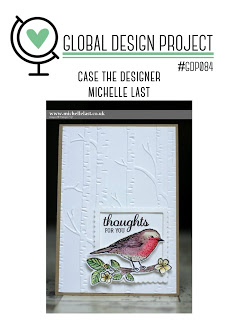
Hello and welcome everyone! Today I’m back with my entry for Global Design Project. This week is Case The Designer Challenge over at GDP and we’re casing wonderful Michelle Last. I have to admit I absolutely love Michelle’s style. She’s an incredible artist and amazing person too (I had the privilege to meet her in person a few years back).

It’s a beautiful card to CASE: clean & simple with lots of yummy texture. But I didn’t really want to follow the colour combination or the layout of Michelle’s card (but as you will see I failed miserably as I ‘accidentally’ cased the layout anyway haha ). For my card, I decided to focus on a couple of products she used instead: Best Birds Stamp Set and coordinating Birds & Blooms Thinlits Dies.
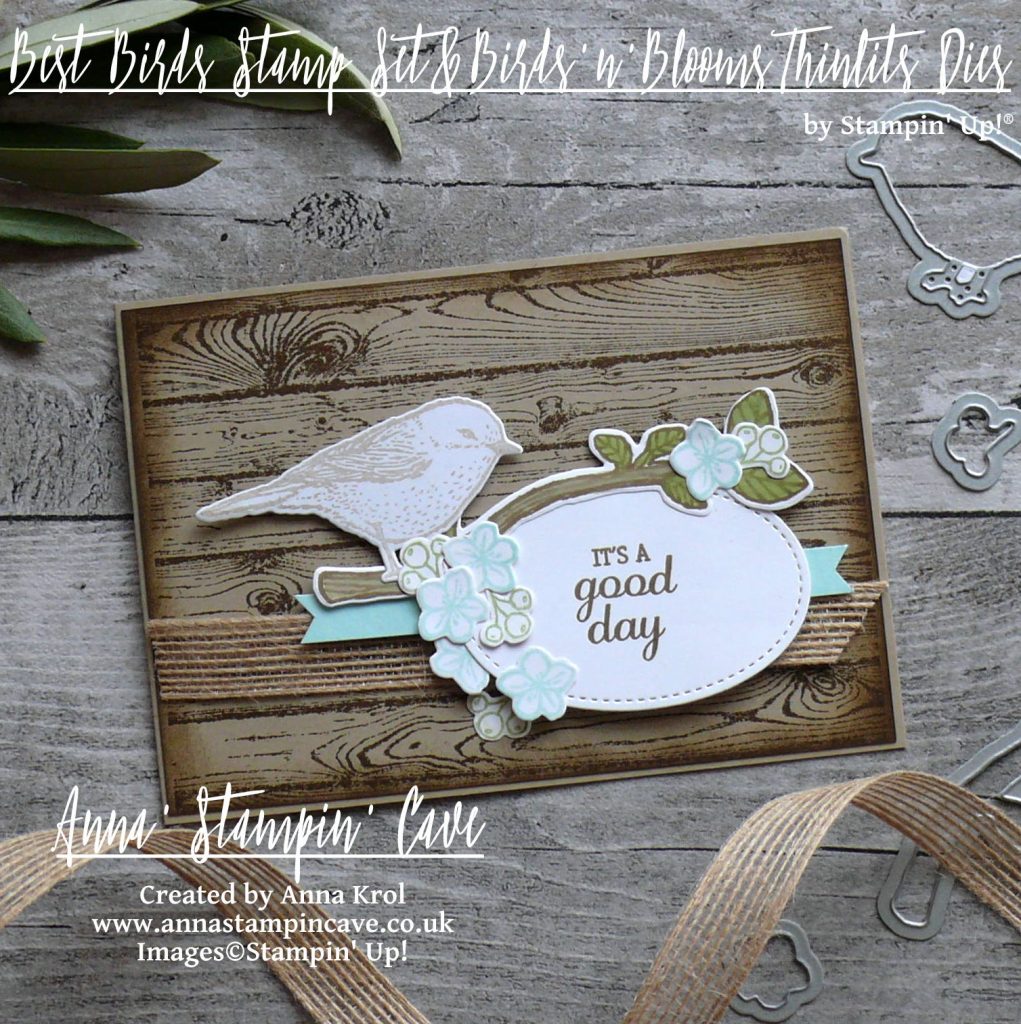
Rustic Best Birds card dimensions:

  • Crumb Cake cardstock: 8-1/4″ x 5-7/8″ scored in half at 4-1/8″ (21cm x 14.8 cm scored in half at 10.5 cm)
  • Crumb Cake cardstock: 4-1/8″ x 5-6/8″ (10.2 cm x 14.6 cm)
  • Whisper White cardstock for stamping & die cutting
  • Pool Party cardstock: 3/8″ x 4-3/8″
  • Burlap Ribbon: approx 5-6/8″ (14.6 cm)

I don’t know about you, but when I first saw this stamp set it has called countryside to me. I only bought this bundle a few weeks ago and was really eager to have a play. So this week’s challenge was perfect for inking up my stamp for the first time.
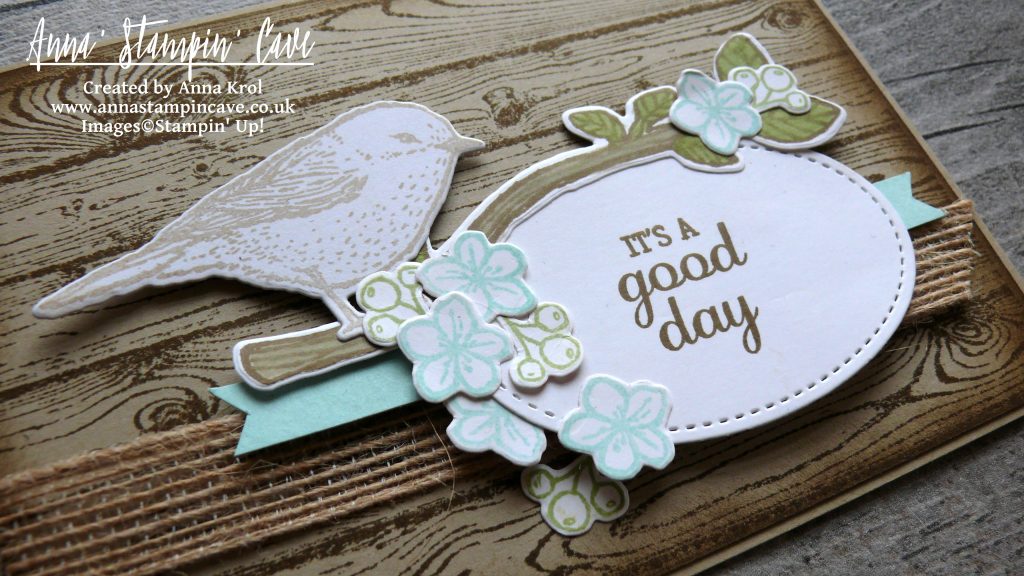
First, I created the background for my ‘idyllic’ scene. I took Crumb Cake panel and stamped it with Hardwood background stamp in Soft Suede. I also sponged the edges of the panel with Soft Suede ink to add to the ‘rustic feel’.

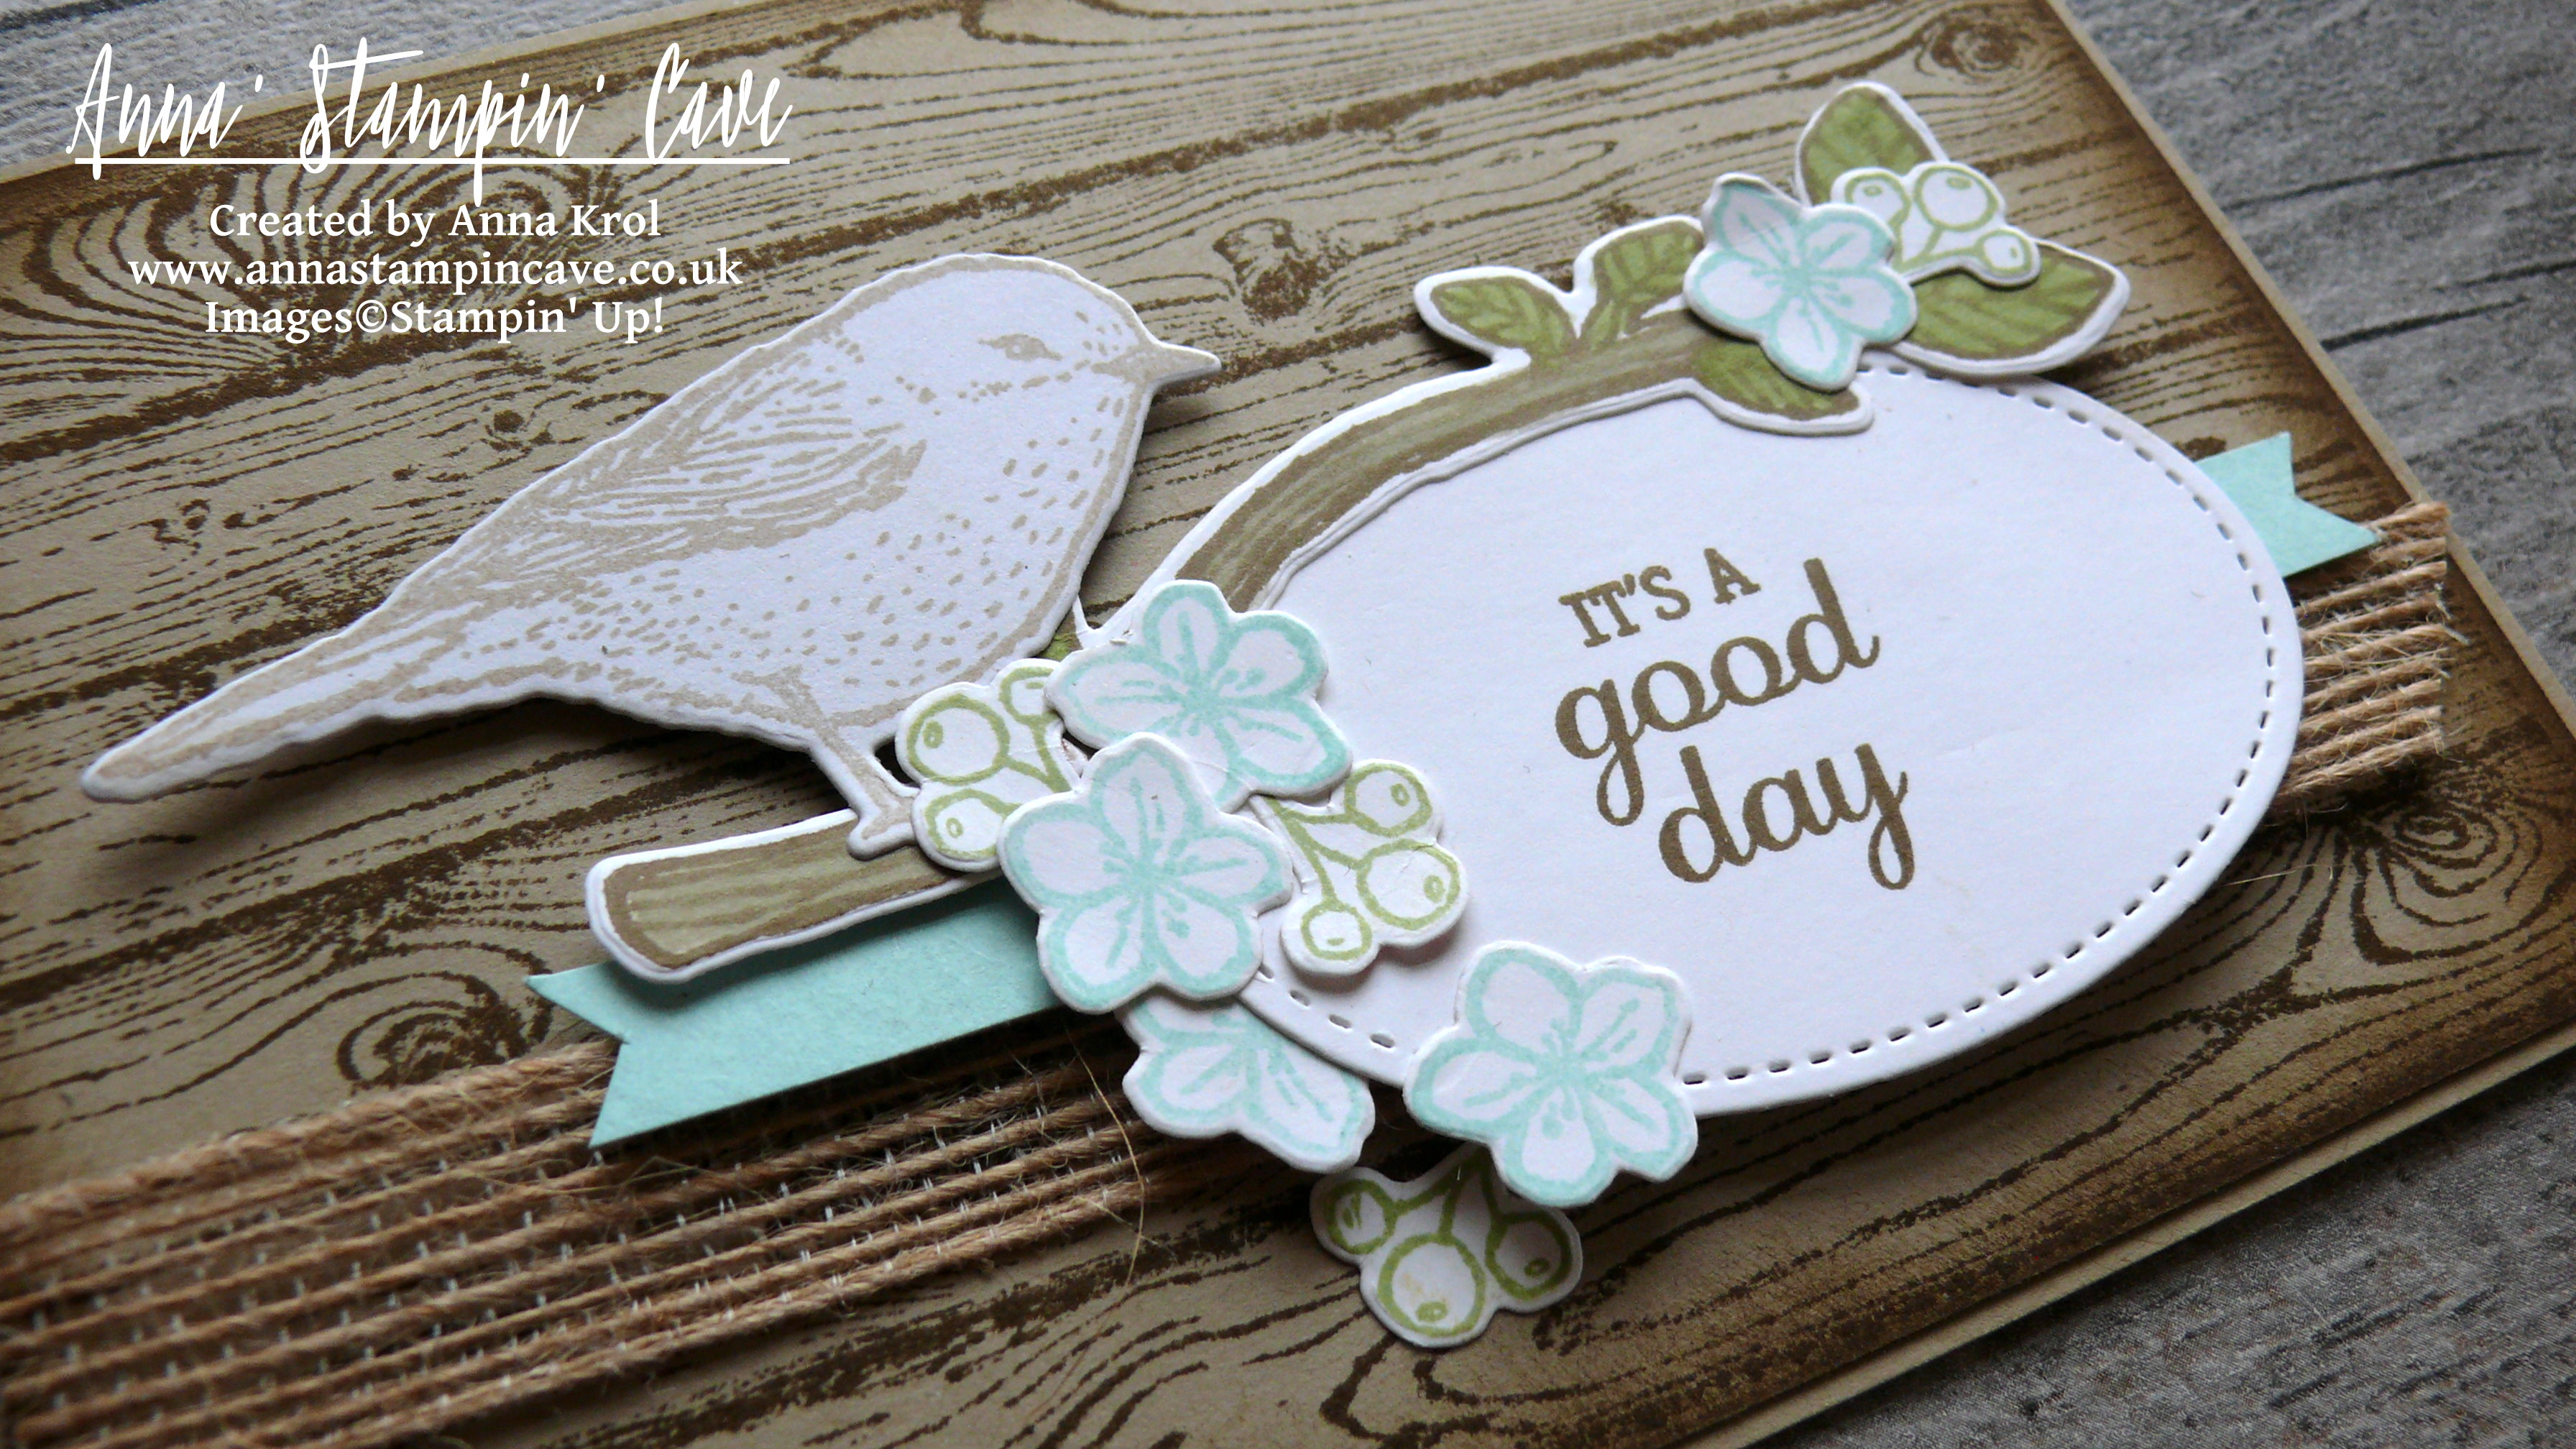
Next, I stamped and die cut all the elements of my scene. The bird is stamped using Crumb Cake ink. Flowers – Pool Party. For little berries/fruits, I’ve used Pear Pizzazz. Branch is stamped in Soft Suede ink and coloured in with markers: Crumb Cake for the branch and Pear Pizzazz for leaves.

I love this sentiment “It’s a good day” from Best Birds Stamp Set. I stamped it in Soft Suede on a piece of Whisper White cardstock and die cut using an oval die from Stitched Shapes Framelits Dies. I think stitched edge suit rustic ‘feel’ of this card just perfectly.
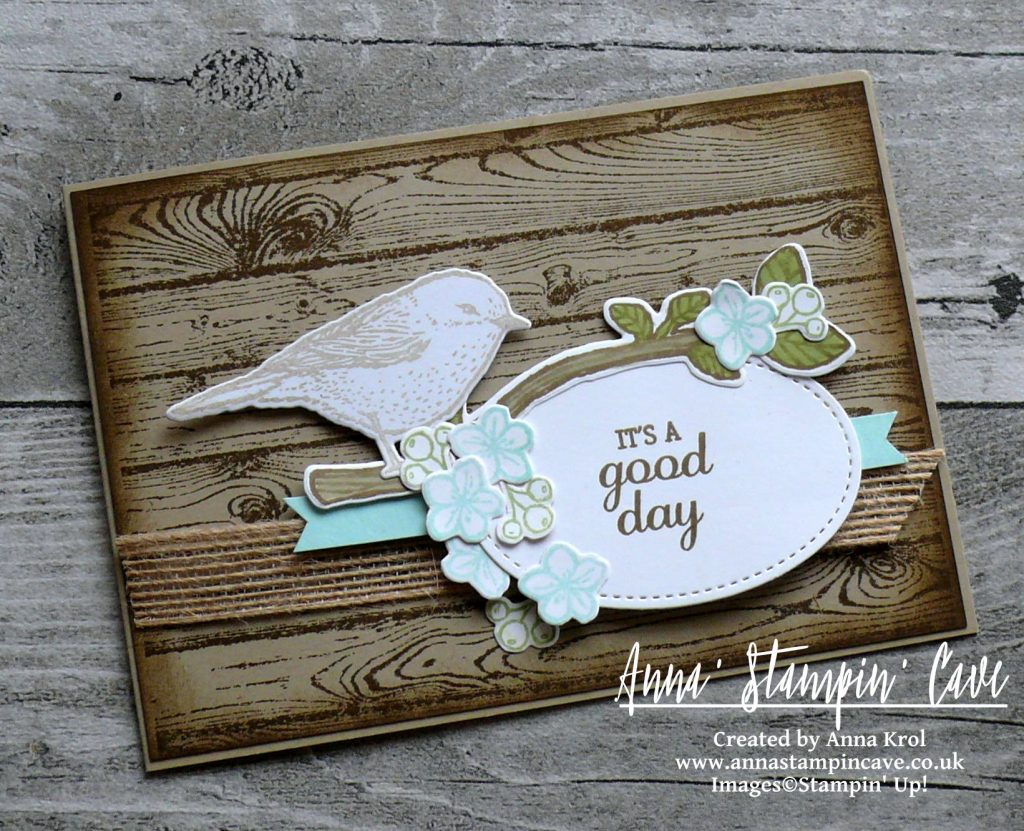
Before I assembled my card I played a little with a placement of all the elements. To add some ‘natural’ texture I decided to use Burlap Ribbon as a banner. I also cut a thin strip of Pool Party cardstock to ‘break’ all the browns. When I was happy with the placement, I took a photo and started the assembly.

Tip: If you have a layout, either a card or a scrapbook page, that consist of lots of small elements, play with the placement first, before glueing things down. Once you’re happy, take a photo of your test layout with your phone ( we all have it on hand, don’t we?). Next, assemble your card/scrapbook page piece by piece by piece with a help of your reference photo. No more guessing ‘where was this or that element supposed to go.

I truly hope you like my little, rustic card. It reminds me of my childhood in Poland and summer holidays we spent in the countryside with our great-grandmother. Wonderful memories.

As always, I really want to encourage you to visit the Global Design Project challenge blog to see other beautiful projects from all around the world. Just click on their logo below to visit the website

Thank you for stopping by and have a blessed day,

Simply Sketched Saturday Challenge #15 – Follow Your Dreams

Anna’ Stampin’ Cave – Simply Sketched Saturday Challenge #15 – Follow Your Dreams

SSSC Header

Thank you for joining us for another Simply Sketched Saturday Challenge!  We are so excited to be sharing this hop with you. The products used are all available in the current Annual, or seasonal, Stampin’ Up!®  Catalogues*. Simply use the buttons at the bottom of the post to keep hopping!

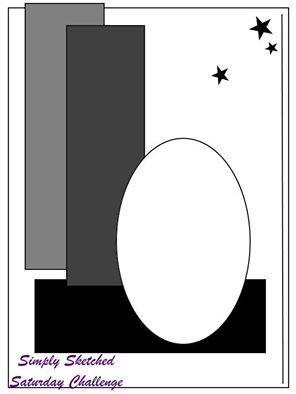
Welcome to our 15th sketch challenge blog hop! This month it was me who had a pleasure to create a sketch we are gonna work with. Here it is:

sssc-15

When creating this sketch, I won’t be lying, I had our new Stitched Shapes Framelits Dies in mind. And however I don’t have these dies yet myself, I hope to see them used a lot through this blog hop.

I know that in the ‘age’ of everything ‘clean and simple‘ and ‘less is more‘ in crafting world, layered, ‘busy’ and distressed cards are kinda faux pas. But I can’t help I love them the most! I love all the organic, (sometimes messy) creative process of designing a card.

stampin-up-follow-your-dreams

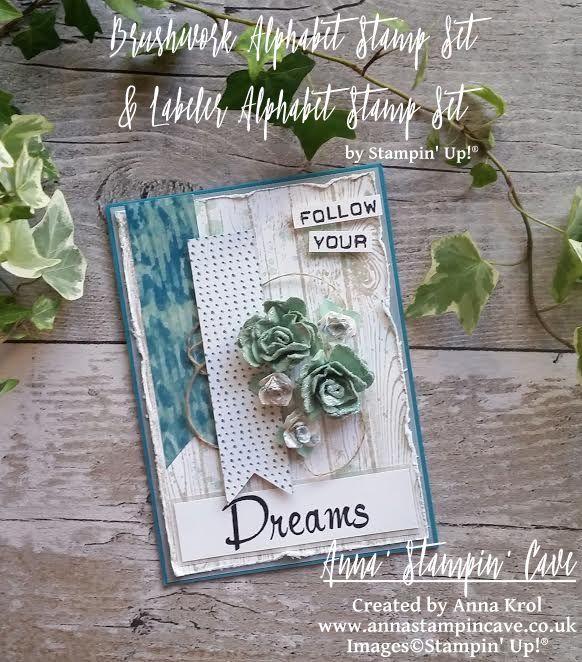
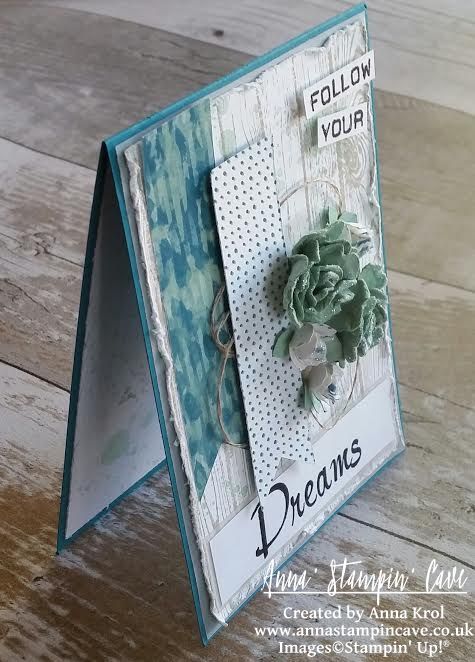
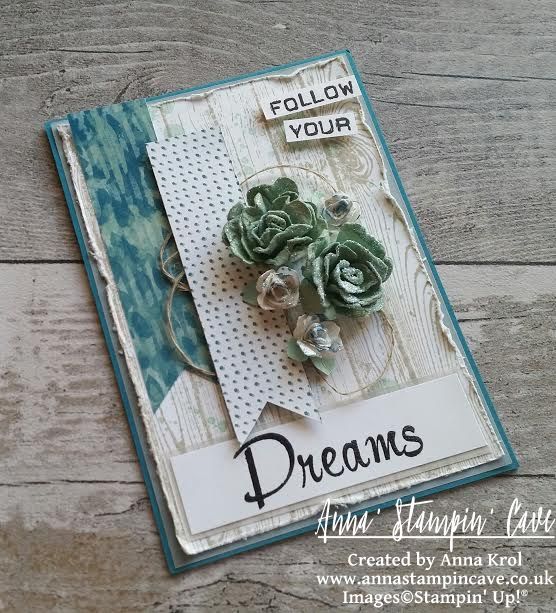
For my card base, I’ve used Island Indigo cardstock (standard top folding A6 size). The first layer is Vellum that measures 4”x 5-5/8” and next one is Whisper White 3-7/8”x 5-1/2” panel which I stamped using Hardwood background stamp in Sahara Sand. But because it felt rather ‘boring’ I also added few ‘splotches’ from Gorgeous Grunge stamp set in Mint Macaron, stamping them off a couple of times. I distressed the edges of my panel using regular scissors.

I also created a similar panel for the inside of the card, but this time I also stamped off the Hardwood image few times, so it wasn’t as crisp as the one on the card front.

follow-your-dreams

I took two pieces of Blooms & Bliss DSP, which measure 4”x 1” each, and cut them into banners. One of the banners I adhered flat down using a fast fuse and a second one I pop with dimensionals with few lengths of Linen Thread underneath.

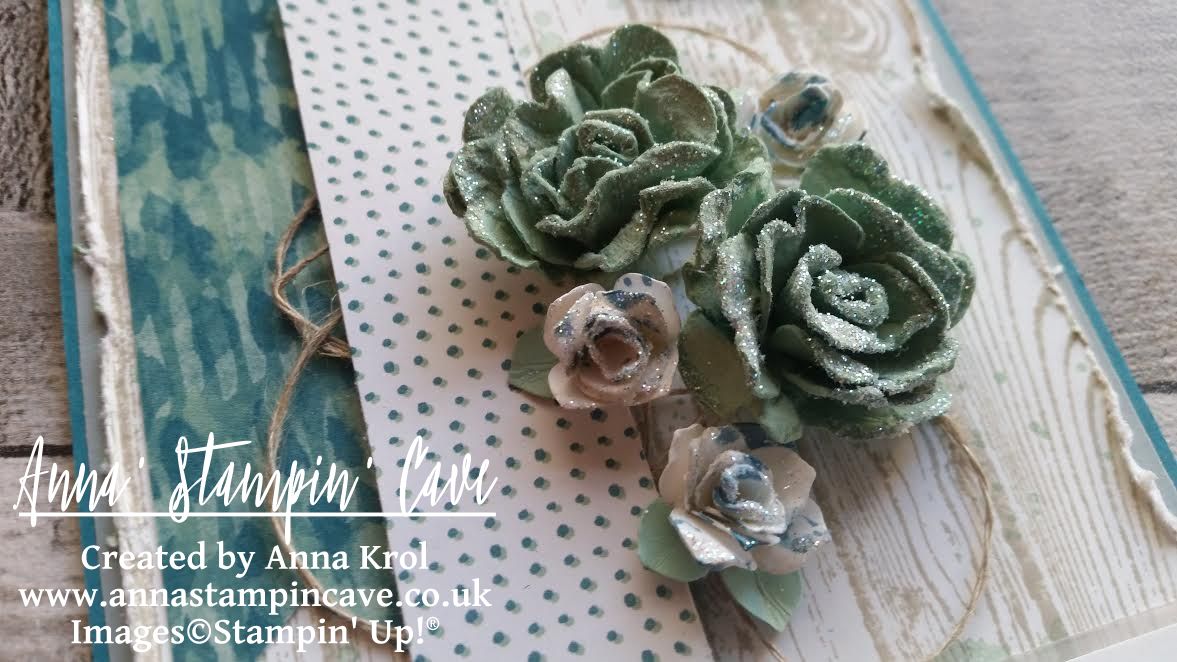
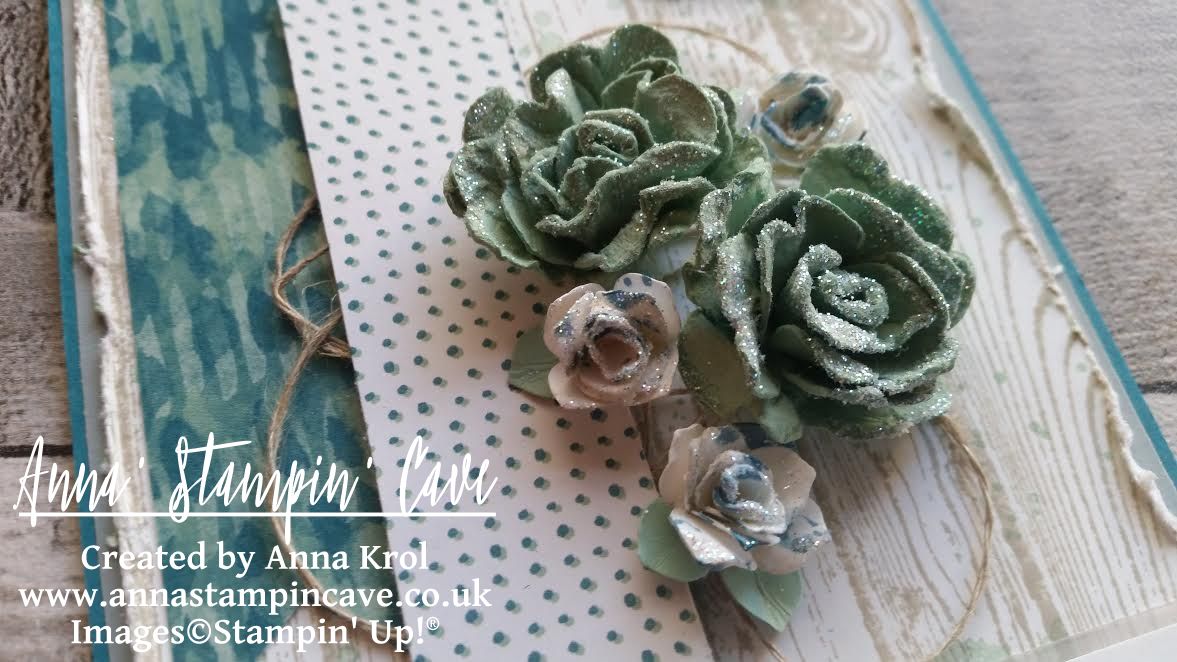
To create large roses I punched six flowers using Pansy punch from Mint Macaron cardstock (three flowers create one rose). For white tiny roses, I punched nine flowers using Petite Petals punch (again three flowers create one rose). I also punched one petite petals flower from Mint Macaron cardstock to create tiny leaves: I cut the shape apart so I end up with two double ‘leaves’ and one single ‘leaf’. White roses appeared bit ‘blunt’ so I decided to add some interest to them: using Island Indigo ink and a small paint brush I added some ‘speckles’ to them.

I also decided to add some sparkle to my flowers. I dipped the edges of petals first in watered-down Multipurpose Liquid Glue and next in Dazzling Diamonds glitter, and let it dry. Once they were ready I adhered them to the card with glue dots.

stampin-up-follow-your-dreams-handmade-roses

For the sentiment, I decided to use this awesome quote you probably have seen many times on the net: “Follow your dreams”. We might don’t have a stamp set with this sentiment, but this is where our amazing various alphabet sets come in handy.

Using Labeler Alphabet stamp set and Basic Black Archival ink pad, I stamped “follow your” on a 2/8” wide strip of Whisper White cardstock and cut it apart. Next, using Brushwork Alphabet stamp set and Basic Black Archival ink pad again, I stamped “Dreams” on a Whisper White panel that measures 7/8”x 3-1/2”, and heat embossed it with clear embossing powder for extra oomph. I pop ‘narrow’ part of the sentiment with dimensionals. For a wider piece, I created a vellum mat that measures 3-5/8”x 1”, and adhered them to the card front with a fast fuse.

anna-stampn-cave-stampin-up-follow-your-dreams

Do you like my project?! If so, please leave me a comment. I would love to hear from you!

Now, be sure to hop along and see more inspiring projects. Your next stop is Jillian’s blog  go and see what she has made for you.

Thank you for stopping by and have a blessed day,
SSSC Previous   SSSC Next Blog

Beautiful Birthday Card Using Circle Of Spring Stamp Set By Stampin’ Up!

I love to make birthday cards for friends and family. Makes me so happy to see their smiles, it makes my day. And when the card I make is a challenge and turn out better then I hoped for?! Well, I nearly squealed with excitement when I finished this card for my friend’s birthday. She received the card already so I can share it with you now.

Spring wreath

My friend Linda is an amazing crafter and she makes the most beautiful, feminine cards ever. So no pressure there, haha

I wanted to create a card that is soft, feminine and exciting. Plus I wanted to use some cool techniques.

Spring wreath 4

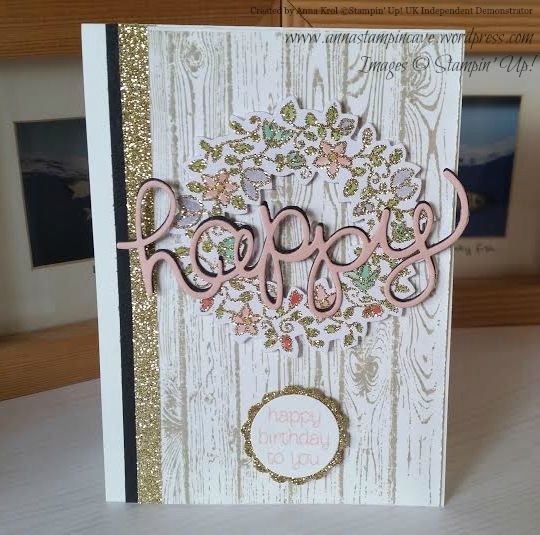
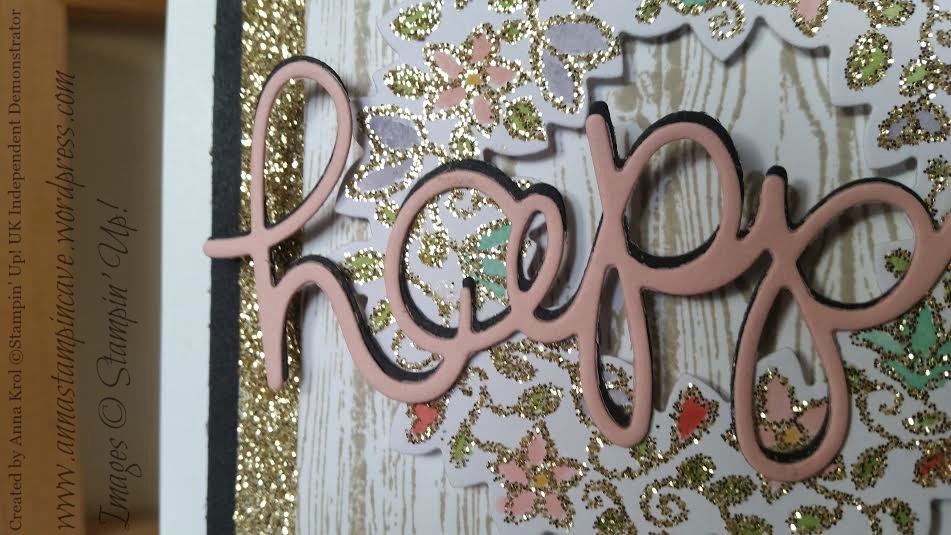
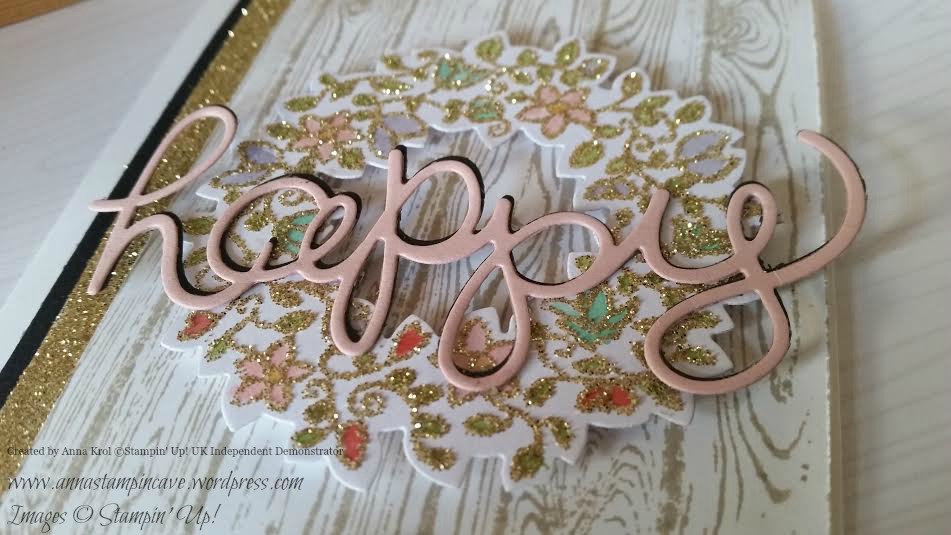
I stamped this beautiful wreath in Versamark, heat embossed with Heat & Stick powder and sprinkled with Gold Stampin’ Glitter. I heat set it again and watercoloured flowers and leaves. Then I die-cut ‘happy’ twice: in basic black and blushing bride, and glue them together. I slightly offset both pieces for ‘shadow’ effect.

Spring wreath 3

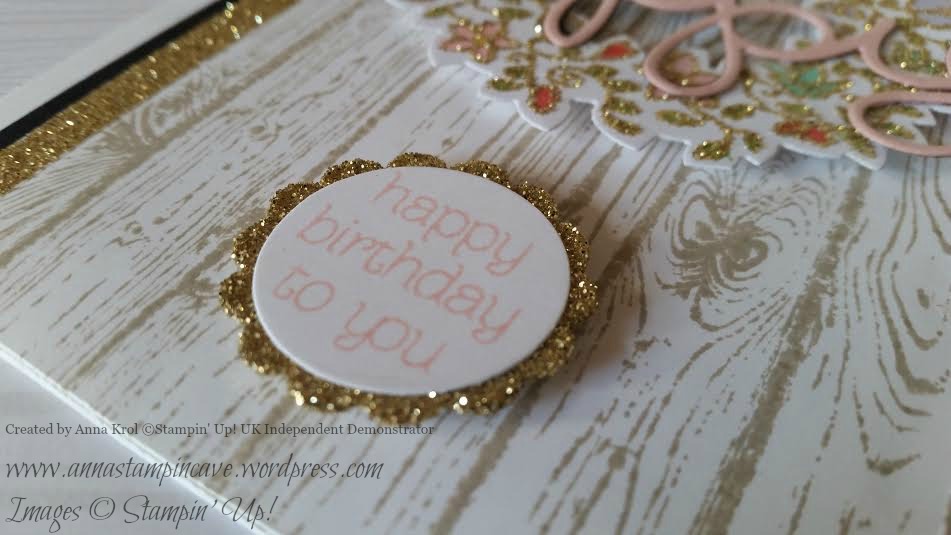
I love this cute sentiment from Circle of Spring. I do not own many punches, so I had to cut it out with Circle Framelits Dies. But I believe you could use 1″ Circle punch too. The glittery scalloped circle is 1-1/4 Scallop Circle punch. To make it I didn’t use glimmer paper. I punched it from a piece of paper, squashed it into Versamark and again used Heat & Stick powder and gold glitter. It’s so easy to make your own glimmer paper, and I love it.

Spring wreath 6

Just look at all this sparkle ✨✨✨ I love it!

Hope you like my little card, and maybe you will try to add some sparkle to your projects too.

Thank you for stopping by and have a blessed day,
 

He Is Risen Card Using Hardwood Stamp By Stampin’ Up! And Acrylic Block Stamping Technique

Today I’ve got for you a card that is very special for me.

I’m a Christian, but I do not belong to any denomination. Long story short: I try my best to follow Jesus, my saviour, and his teachings, not human traditions, in everything I do. So at the time when nearly all christian world celebrate Easter, I and my family, simply commemorate anniversary of Jesus’s death according to the Bible’s lunar calendar. But lets back to the card.

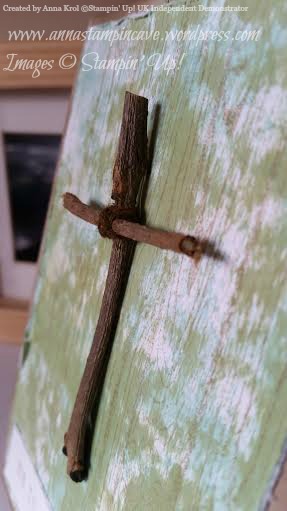
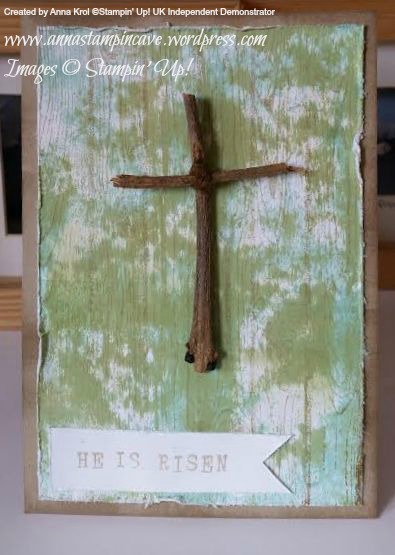
I love all things nature and had this idea for some time now. So went to my garden for a little “foraging” and brought myself few twigs. No, no plant gets hurt 😉 For the base for my card I choose Crumb Cake card stock. Sponged the edges to add a little depth.
he is risen 7

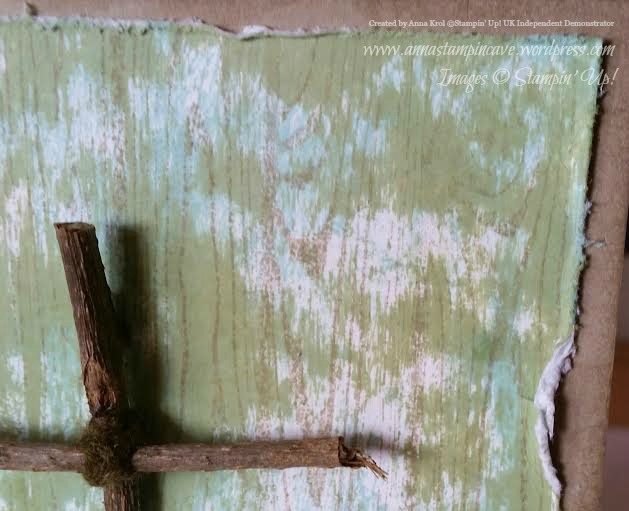
My background is created using acrylic block stamping technique. This technique is really easy. Take an acrylic block and ink pads of your choice. I used Pear Pizzazz and Pool Party. Then just press or tap (gently) your acrylic block into the pad. When you’ve got the ink transferred on your block (as much or as less as desired) swipe the block across your card stock. Repeat these steps until you’re happy with a result. You can use just one colour, or as many as you wish. There’s no right or wrong if it comes to this technique.

he is risen

I was really pleased how my background turned out. I inked Hardwood stamp in Crumb Cake, added some Soft Suede on edges and stamped it onto my background. Before adhered it to the base I distressed all edges with scissors.

he is risen 4

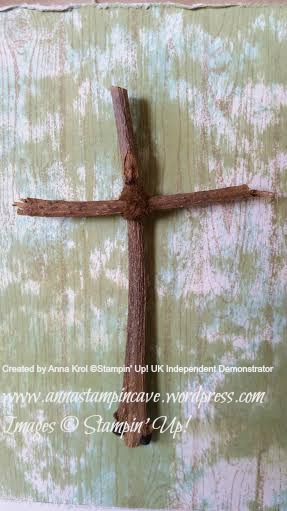
To form the cross I tied my twigs with piece of white baker’s twine. I coloured twine with Soft Suede marker after, because I wasn’t sure how much of a twine I will need in first place. Added my cross to the card using sticky strip. Hot glue would be better idea but my hands are not “safe” to hold glue gun 😉

he is risen 3

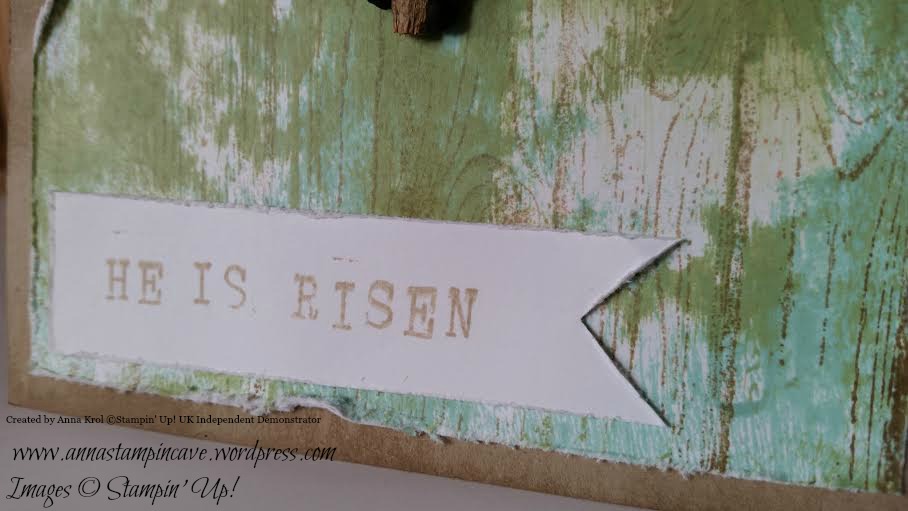
Long time I couldn’t decide what sentiment to use. I even thought about printing something from the internet. But then I had a lightbulb moment: Alphabet Rotary Stamp! It’s font is simple and rough – perfect for my card! I created my phrase “he is risen” in no time. Stamped on piece of card stock with Crumb Cake again and cut it into a banner. First I thought to rise a sentiment with dimensionals, but I really wanted the cross to stand out.

he is risen 6

I’m really pleased with my card. With acrylic block stamping technique I made it in no time. Hope you like this technique and that I inspired you to give it a try. If so please give me a “like” or live a comment below. Thank you for stopping by and happy crafting!