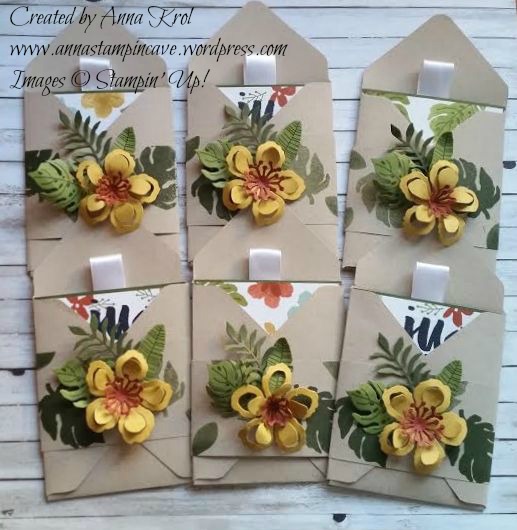
Today I decided to show you some thank you notes I’ve made using Botanical Blooms Stamp Set and coordinating Botanical Builder Framelits Dies.
I just love how these turned out!
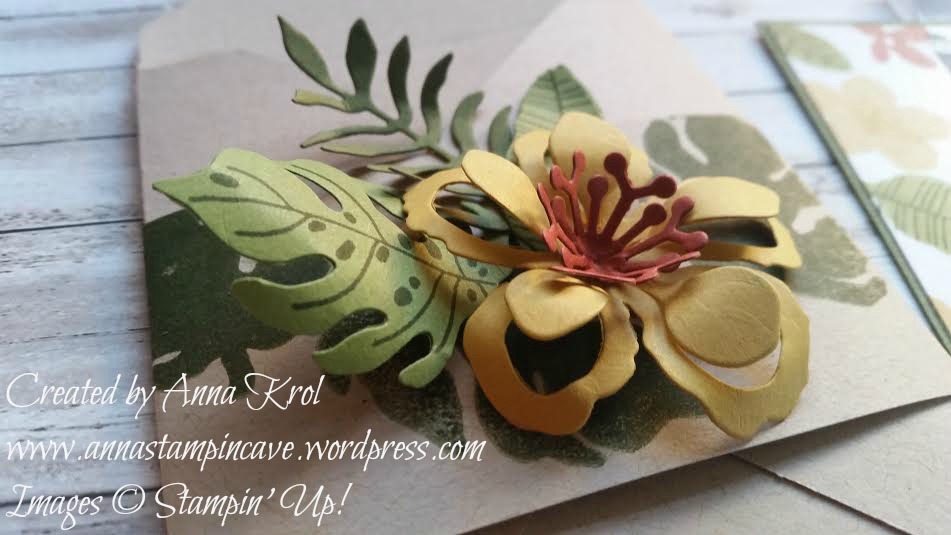
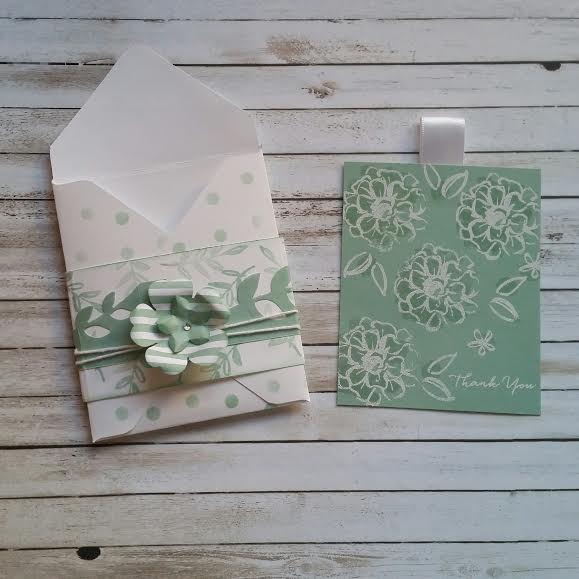
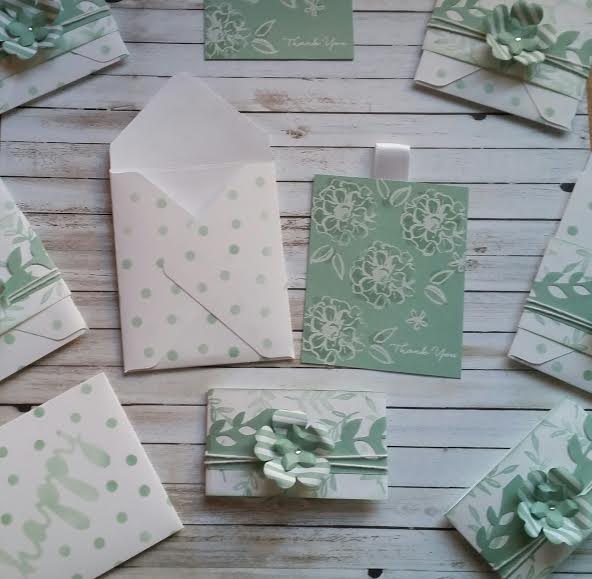
The idea behind these note cards was pretty simple. I wanted to create a panel card with floral design on one side and plain on the back, where you could leave a private message. Sentiments come from two different stamp sets: on the left from Rose Wonder Stamp Set and the other one is from Botanicals For You Stamp Set.
As my note cards aren’t typical size, they measure 3×4″, I created little holders for them using envelope punch board.
Now just a belly band to wrap it up together. Aren’t these A W E S O M E!!! I love love love these dies so much!
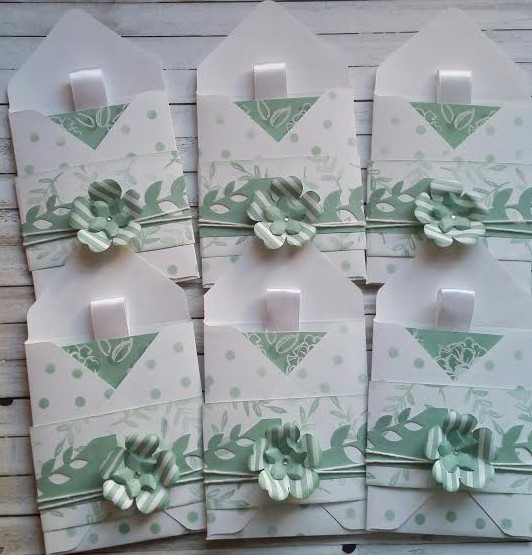
For a second lot, I have used the same idea just different stamp set and colours.
To create these I’ve used What I Love stamp set.
I love this three-step stamp set. It’s got a WOW factor without much effort. All I have done is to stamp step nr 3 & 2 in Mint Macaron, and nr 1 heat embossed in white. And voila!
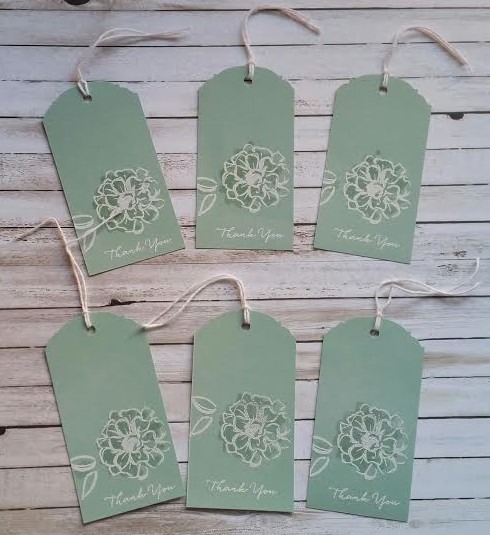
To “break” all that white I decorated the holder using sponges and one of Happy Patterns stencils. To decorate belly band I’ve used a border die from Botanical Builder and few punches: Petite Petals and Pansy punch. Super easy! As I was on the roll 😉 I also made these super lovely tags.
Hope you like my note cards. They are super easy and what fun to make! And you?
Thank you for joining us on the first Simply Sketched Saturday Challenge! We’re a small group of Stampin’ Up!® Demonstrators who fancied a new challenge to share with you all. The products used are all available in the current Annual, or seasonal, Stampin’ Up!® Catalogues*. Simply use the buttons at the bottom of the post to keep hopping!
If you have arrived here from Mandy’s blog thank you for stopping by. I hope you enjoy seeing the inspiration from our little group and continue hopping to see what everyone has made.
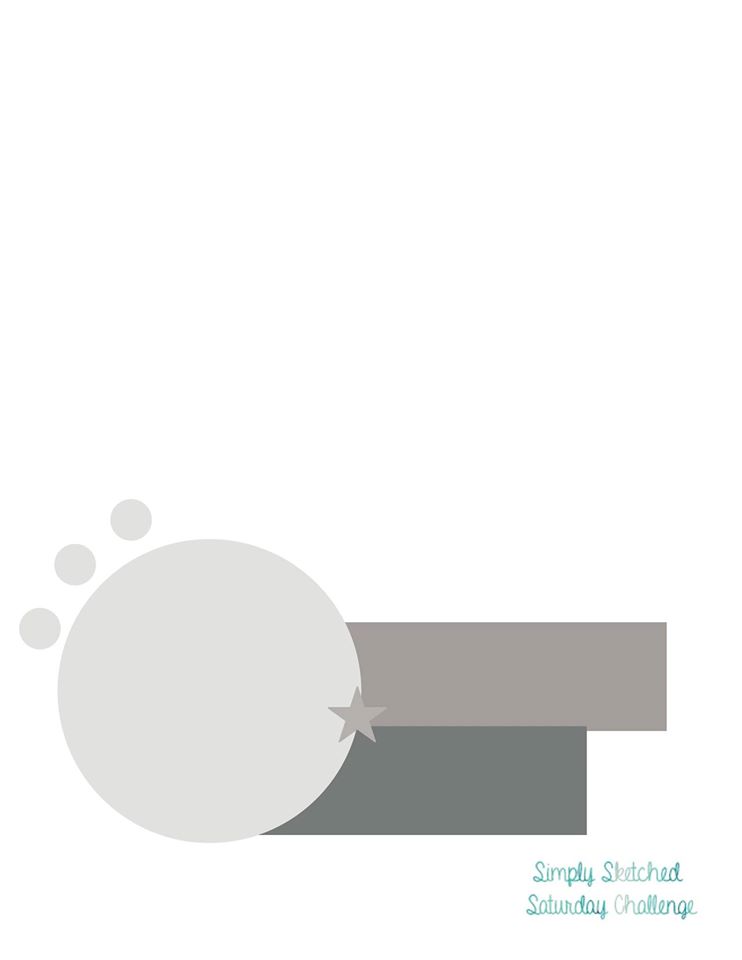
So here’s our very first sketch created by talented Sam Johnson:
The moment I saw the sketch I loved it to bits. But then I thought: OMG I’m gonna over-think it and over-complicate it! Yep, I am known for that haha Luckily it wasn’t that bad.
I created two samples one in silver and the other one in gold and meant to post one I like the most. But truly, I couldn’t decide which one, so I post both.
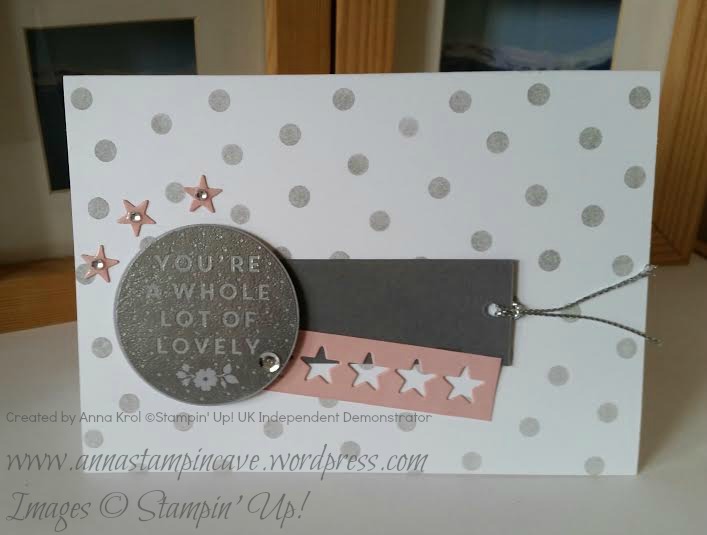
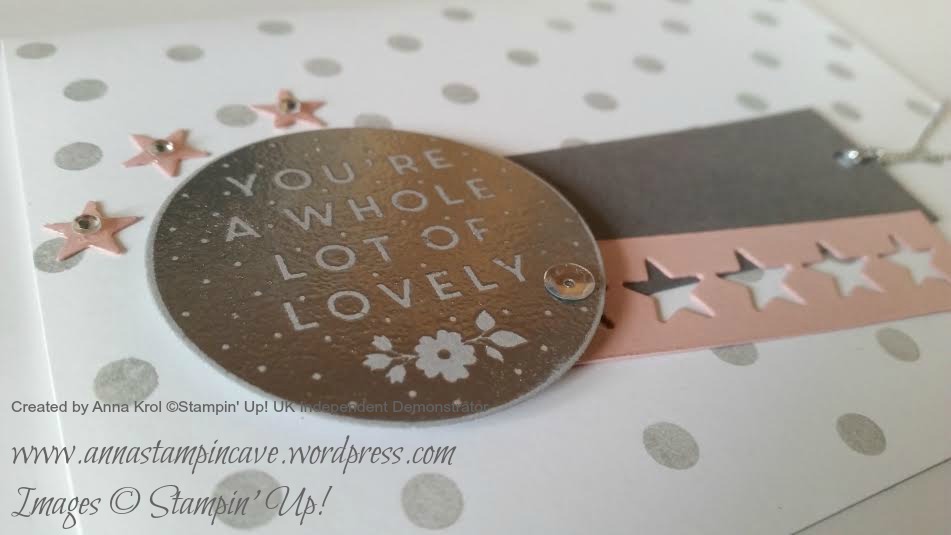
Card nr 1. The card base is Whisper White with Smoky Slate dots sponged over using one of Happy Patterns Decorative Masks. I cut two strips of paper: Basic Grey (1-1/8 x 3-1/2″) and Blushing Bride (5/8 x 3-2/8″) for a little splash of colour. I turned Basic Grey strip into a simple tag with a piece of Silver Cording Trim. For Blushing Bride piece: I run it through my Big Shot with “stars on stripe die” (however it’s called haha) from Mini Treat Bag Thinlits Die. Don’t throw these little stars away, you will use them later.
Sentiment comes from Whole Lots Of Lovely, gorgeous, hostess exclusive stamp set. I stamped it in Versamark on a piece of Smoky Slate, heat embossed in silver, die cut it using circle die and added silver sequin for a bling. Then I took three little stars, covered them in Crystal Effects and let them dry. Once dry, I attached one tiny rhinestone to each of the stars.
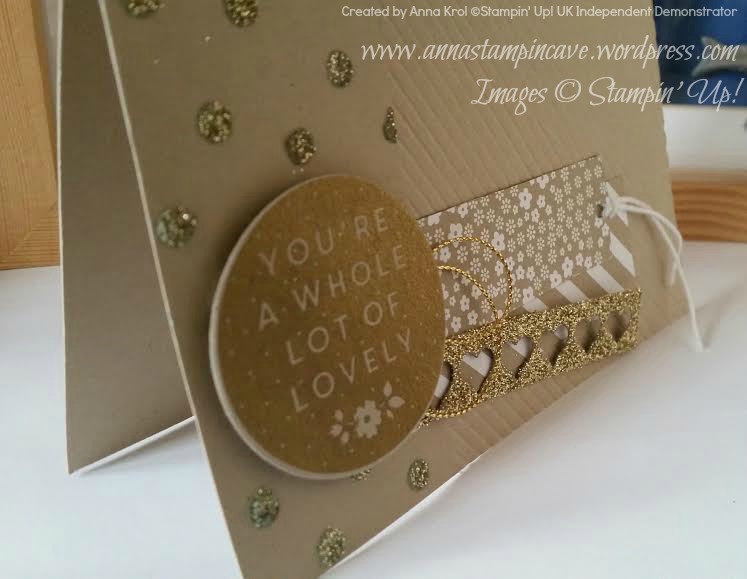
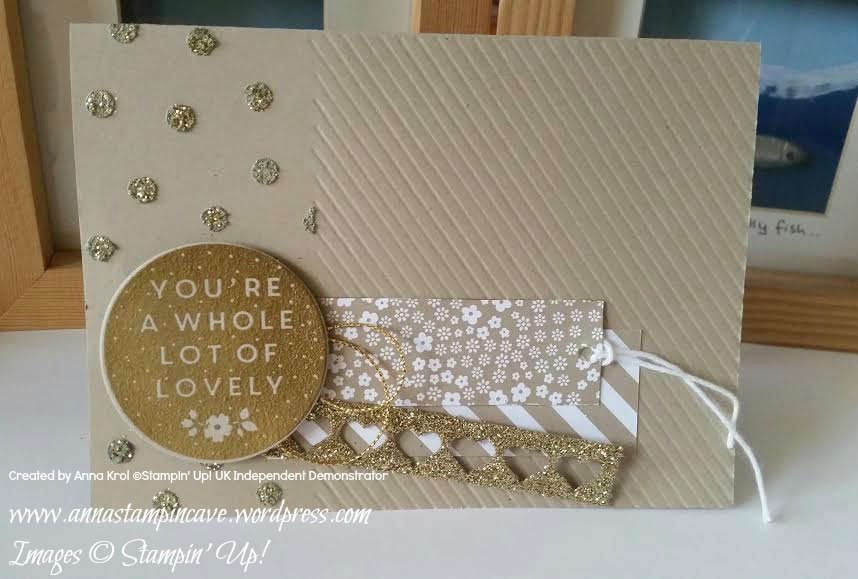
Card nr 2. I really wanted to go into gold and use embossing paste (I’ve bought it while ago at Lidl). I embossed diagonal stripes on 2/3 of my card front (Crumb Cake) and used embossing paste (same mask as with the first card) on 1/3 of the card. I sprinkled some gold glitter while embossing paste was still wet.
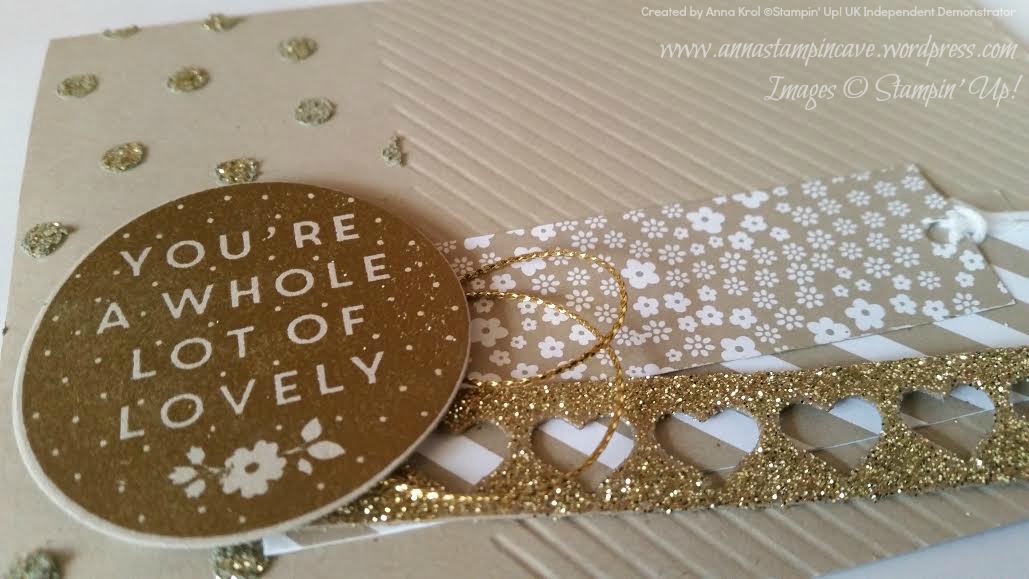
I cut two strips of patterned paper from Neutrals DSP Stack: 1″ x 3-2/8″ and 1-1/8″ x 3-6/8″. For third narrow stripe I could simply use Glimmer Paper, but I wanted to finally try my Heat and Stick Powder. I cut a strip of Crumb Cake that measure 5/8″ x 3-1/2″, die cut little hearts from it, covered my piece in Versamark and sprinkled Heat & Stick Powder over my piece (making sure it’s well covered). Then I heat it with my heat gun.
When the powder melted I covered the whole piece with gold glitter and heat it again. The powder melts with glitter creating your own glimmer paper 🙂 I used the same sentiment for both cards, just this time I heat embossed it in gold.
So? Which card is your favourite? Silver or gold? Let me know in the comments below.
Now, be sure to hop along and see more inspiring projects. Your next stop is lovely Debbie at Larli Crafts. Thank you for stopping by and have a blessed day!