Good evening everyone. It’s Saturday – only week away from us moving a home! Yes, finally 🙂 There was so many things coming out in over a month that I thought it will never happen for us to moving hahaha. But finally everything gets into place. The whole new bathroom suite is waiting to be fixed, floor is bought, new soil pipe is on it’s place and the plumbing work will be finished on Tuesday. Plasterboards are nearly done as well – yay! I will tell you more in a coming week 🙂
Today’s project is not today’s for the true. It’s been waiting to be posted for few days now but always something get me distracted. But because I’ve got free hour or so I thought I will post it tonight 🙂
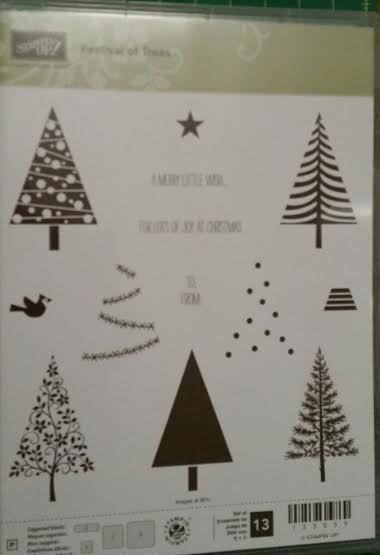
I don’t have to tell you I love Festival of Trees by Stampin’ Up! Do I?! 😀 I absolutely adore this stamp set, and I will tell you it’s not the last project I will make using it 🙂
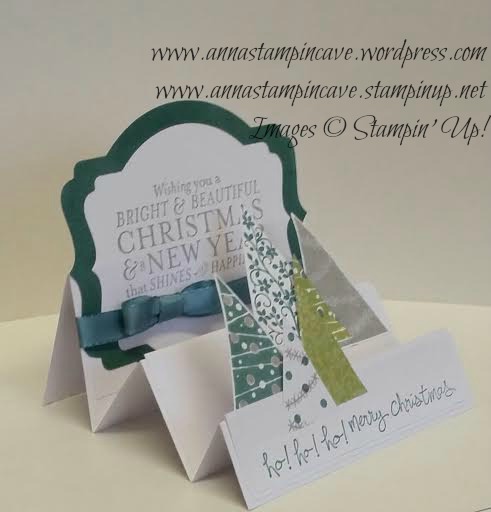
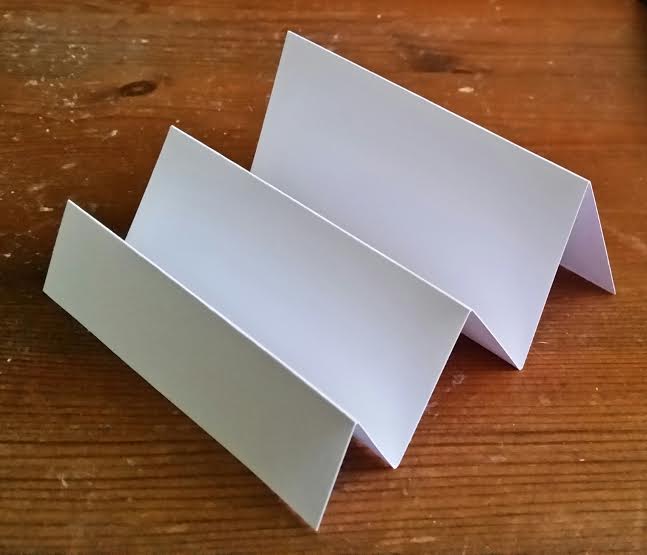
This is simple Stair Step Card. For the base you need piece of card stock that measure 9 x 4 1/8 inches (22.8×10.5 cm). Then score it at 1, 2, 3 4/8, 5, 7 inches (2.5, 5, 8.9 , 12.8 and 17.8 cm) making “hills and valleys” same as on the picture:
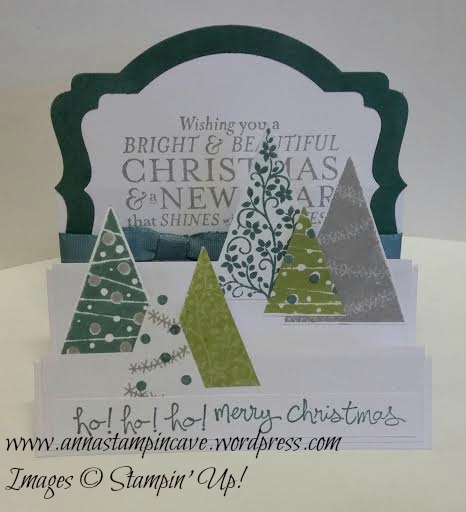
For two first “stairs” I cut two pieces of card stock that measures as follows: smallest 4 x 1″ (10 x 2.5 cm) and medium piece 4 x 1.5″ (10 x 3.8 cm). I glued them to the base 1/16″ higher then each “stair” starts. In imperial it’s around 2 mm higher. For the last stair I’ve cut the piece of cardstock which measure 4 x 3 4/8″. One half of that piece I run through the Big Shot using the biggest Deco Label. Then I took a piece of Lost Lagoon cs slighty wider and run it through the Big Shot again using the same size Deco Label to make a frame for the sentiment.
I’ve stamped six different trees using Lost Lagoon, Smoky Slate and Pear Pizzazz. I used different tree designs from Festivals of Trees. Also, for the “chain” stamp, I’ve used Versamark pad making so called resistant stamping technique where you stamp the details with Versamark and then stamp solid image on the top. The image stamped as first will resist the ink from second stamping 🙂 Then I’ve cut all the trees with coordinating punch. At the end I used the trimmer ( you can use scissors too) to shorten all of the trees so each one have different lenght now. I’ve attached them to the card with Tombow glue: three on the smallest stair and three on the medium one.
I took the piece of Whisper White (which I’ve run through the Big Shot before) and using stamp-a-ma-jig and Smoky Slate I’ve stamped the sentiment from Bright & Beautiful stamp set.
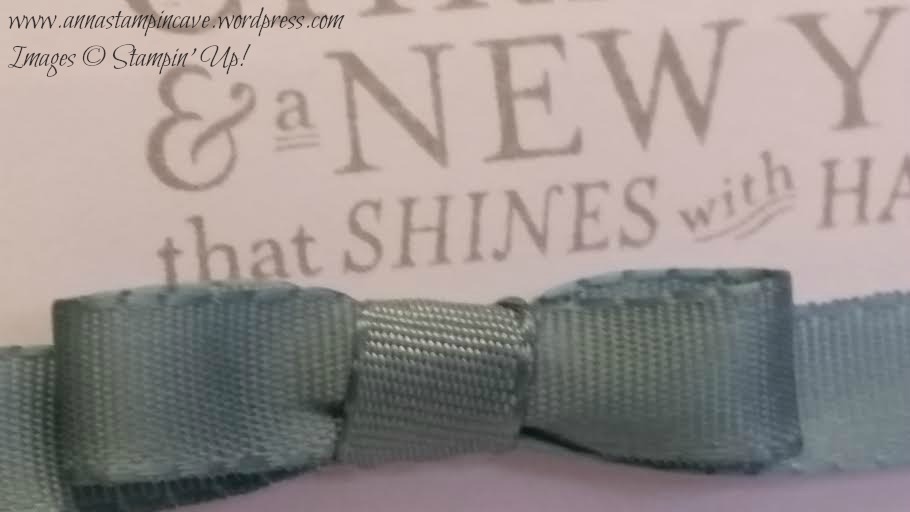
Then I’ve glued the frame and a piece of Lost Lagoon Silky Taffeta Ribbon. To add more interest I’ve tied a little bow. Now I could glue it all to the card. It really looked good. But something seemed to be missing. So I took a strip of Whisper White and I’ve stamped “ho-ho-ho” and “merry christmas” from Good Greetings. For this sentiment I’ve used Lost Lagoon. I glued that strip to the first stair just below trees.
Et voila – the card is done 🙂 I really think this stamp set is awesome. And even though for this card you can use different colours, different designs of trees or even different sentiments, but it’s still pretty awesome card! Don’t you think?! 🙂 If you like it (or not 😉 ) please leave a comment below.
Thank you for stopping by,

