Negative Die-Cutting

Anna’ Stampin’ Cave – Negative Die-Cutting


Hello everyone and welcome! Today I’ve got for you super cool & easy technique to try out: negative die-cutting. Just a reminder: each week we are using Ronald McDonald House stamp set ‘My Hero’.
anna-stampin-cave-my-hero-stamp-set-with-negative-die-cutting

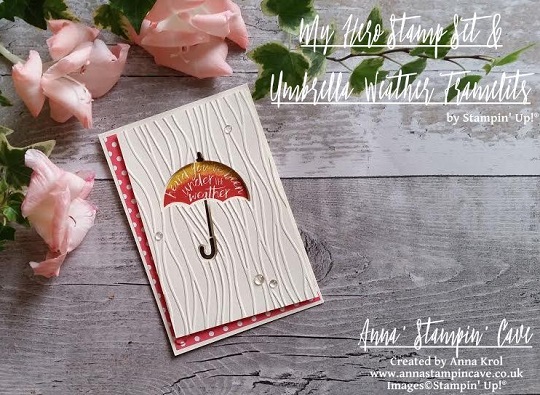
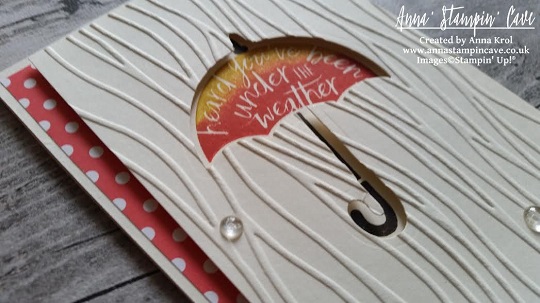
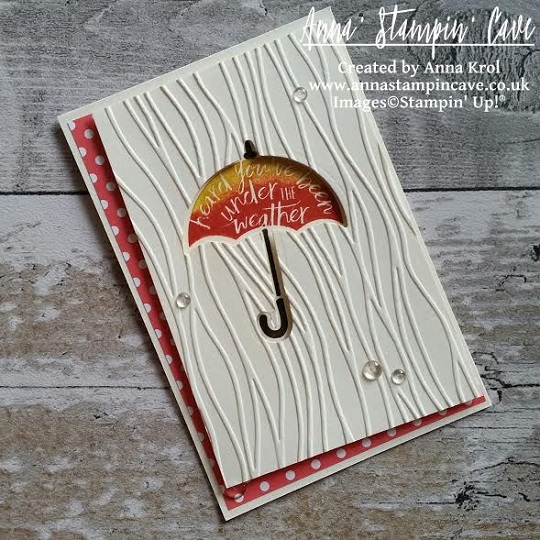
For today’s project, I’ve decided to use this lovely umbrella image. To create my card I started with a Very Vanilla card base and a Very Vanilla panel, slightly smaller than my base. First, I arranged the layout of my card using the Umbrella Weather Framelits. When I was happy with the placing, I die cut the umbrella first and the handle next, from my panel. But instead of using the die-cut piece on the card (as we usually do, don’t we?), I’ve used the negative image. Savvy tip: Don’t throw your die cuts away. You can use them for your next project.

I took my panel, placed it on the card base without adhering it, and I stamped the umbrella and the handle through a die cut holes. Stamp-A-Ma-Jig ( I love this tool!!!) was a big help to position my stamps perfectly. To create an ombre effect on umbrella image, I coloured the stamp with Crushed Curry and Tangerine Tango Stampin’ Markers (Crushed Curry to the top and Tangerine Tango in the middle). And, because I don’t own the 2015-2017 In Colour Stampin’ Markers, I carefully dabbed Watermelon Wonder ink pad to the bottom of the stamp.
my-hero-stamp-set-with-negative-die-cutting-2

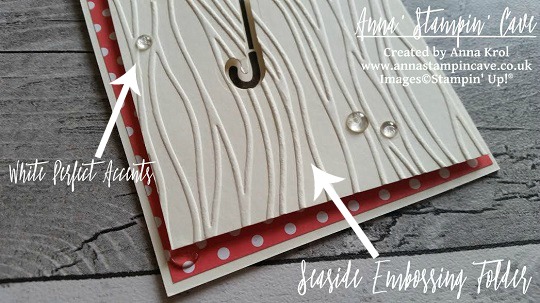
When I was done with the stamping, I trimmed my layer at slightly ‘wonky’ angles, and run it through the Big Shot with a Seaside embossing folder. This folder is intended to imitate the waves, but if you turn it aside, it looks like rain streaks on a window, which is totally cool 🙂

I took a piece of Watermelon Wonder DSP from 2015-2017 In Color Designer Paper Stack (there are four different designs to choose from, but I’ve gone for dots). It was slightly bigger than my top layer, but I  didn’t want to use it all on my card. I only wanted it to peek from underneath my top layer where the ‘wonky’ angles were. So I measured it up, trimmed the piece and adhered it to the base. next, using dimensionals, I’ve added the top layer.
my-hero-stamp-set-with-negative-die-cutting

I decided not to use any additional sentiment on my card, as I think the one on the umbrella says it all. To embellish the card I’ve used White Perfect Accents. But hey, you say, these are clear, right? But did you know that you can peel off the white, sticky backing from your  White Perfect Accents, and you get these super awesome clear, perfectly round embellishments?! It’s cool or what?! But, of course, once you peel the backing off, you need to use glue to adhere them.
pootlers-design-team-week-2

So, did you liked my project?! I hope I inspired you to give this technique a go. It’s really cool and you will be hooked in no time!

Thank you for stopping by and have a blessed day,

Simply Sketched Saturday Challenge – Silver Contra Gold

SSSC Header

Thank you for joining us on the first Simply Sketched Saturday Challenge!  We’re a small group of Stampin’ Up!® Demonstrators who fancied a new challenge to share with you all. The products used are all available in the current Annual, or seasonal, Stampin’ Up!®  Catalogues*. Simply use the buttons at the bottom of the post to keep hopping!

If you have arrived here from Mandy’s blog thank you for stopping by. I hope you enjoy seeing the inspiration from our little group and continue hopping to see what everyone has made.

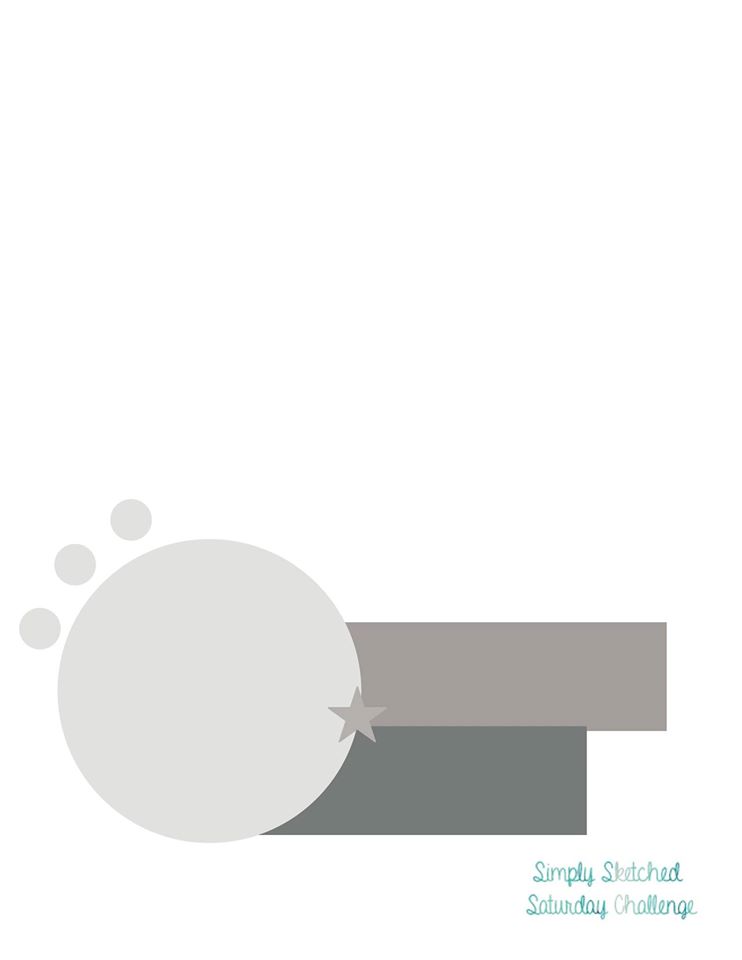
So here’s our very first sketch created by talented Sam Johnson:

SSSC 1

The moment I saw the sketch I loved it to bits. But then I thought: OMG I’m gonna over-think it and over-complicate it!  Yep, I am known for that haha Luckily it wasn’t that bad.

I created two samples one in silver and the other one in gold and meant to post one I like the most. But truly, I couldn’t decide which one, so I post both.

silver

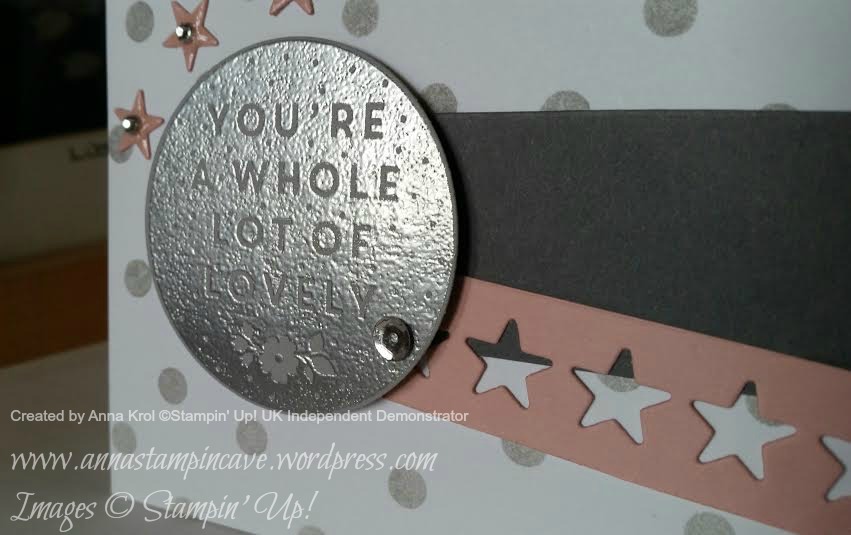
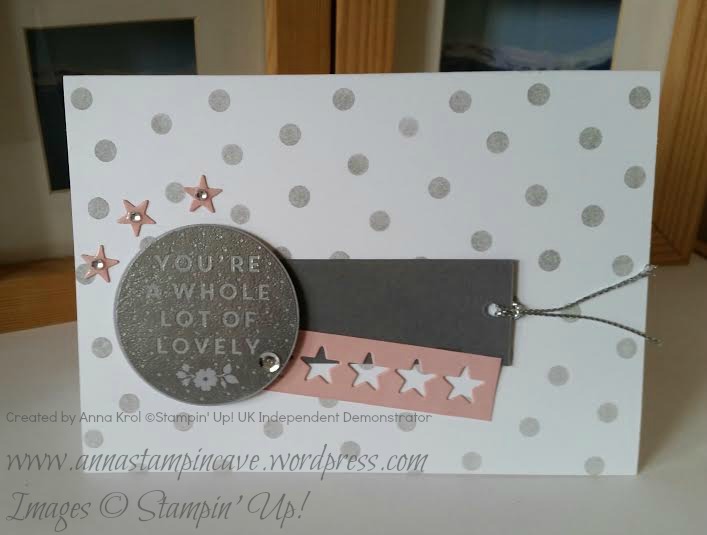
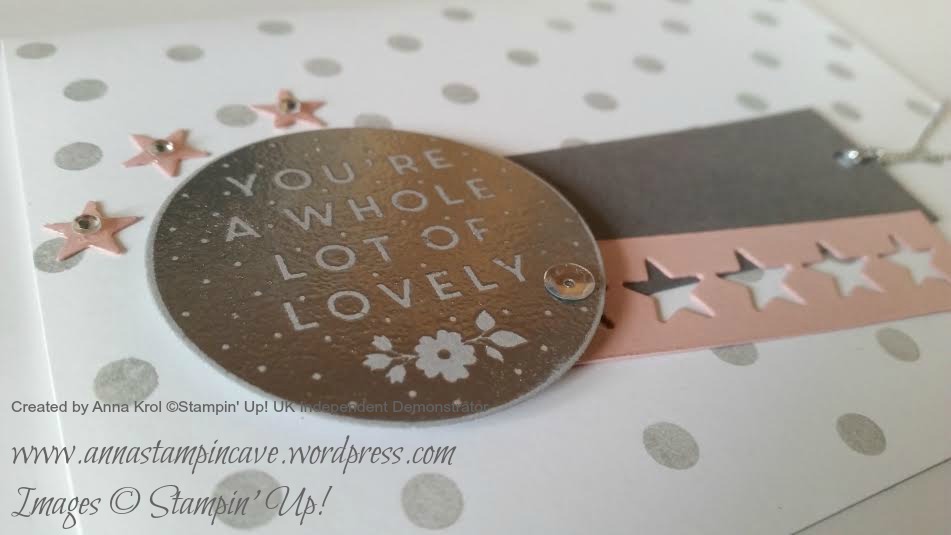
Card nr 1. The card base is Whisper White with Smoky Slate dots sponged over using one of Happy Patterns Decorative Masks. I cut two strips of paper: Basic Grey (1-1/8 x 3-1/2″) and Blushing Bride (5/8 x 3-2/8″) for a little splash of colour. I turned Basic Grey strip into a simple tag with a piece of Silver Cording Trim. For Blushing Bride piece: I run it through my Big Shot with “stars on stripe die” (however it’s called haha) from Mini Treat Bag Thinlits Die. Don’t throw these little stars away, you will use them later.

silver 3

Sentiment comes from Whole Lots Of Lovely, gorgeous, hostess exclusive stamp set. I stamped it in Versamark on a piece of Smoky Slate, heat embossed in silver, die cut it using circle die and added silver sequin for a bling. Then I took three little stars, covered them in Crystal Effects and let them dry. Once dry, I attached one tiny rhinestone to each of the stars.

silver 2

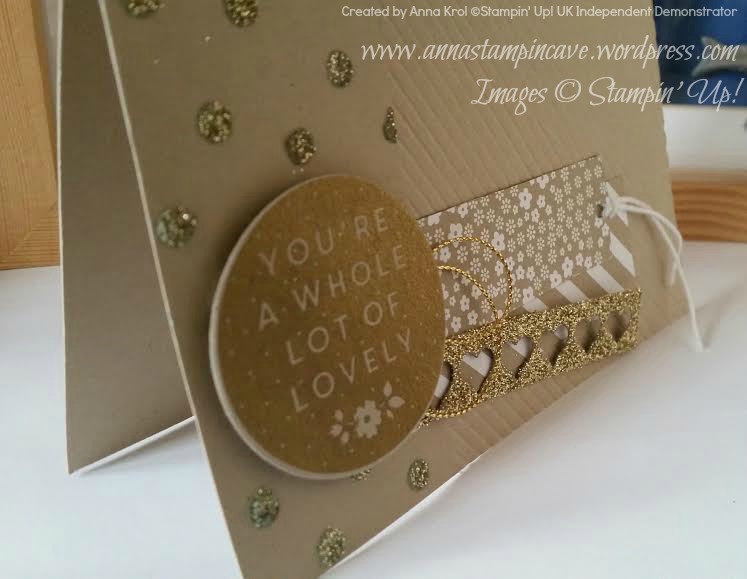
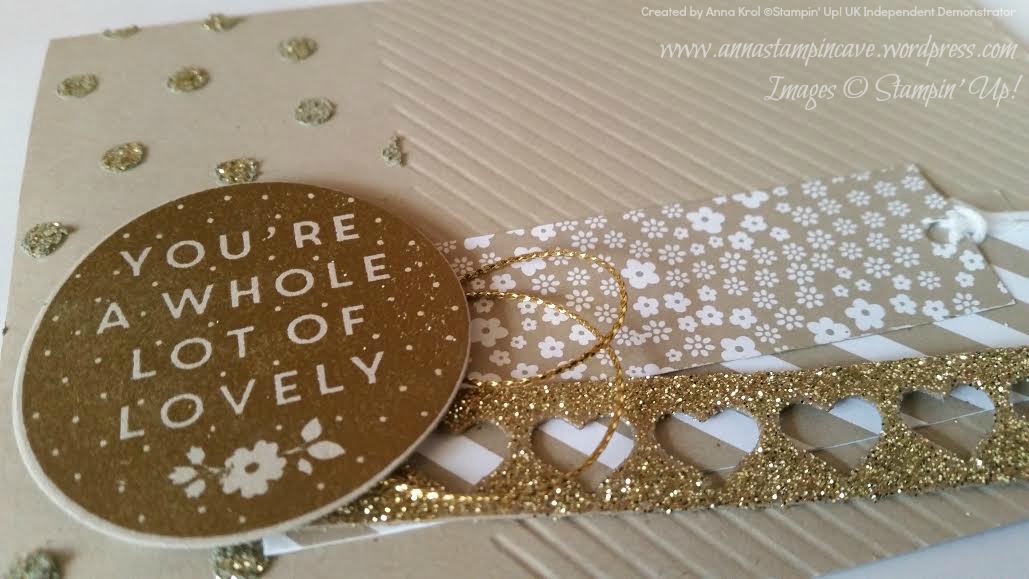
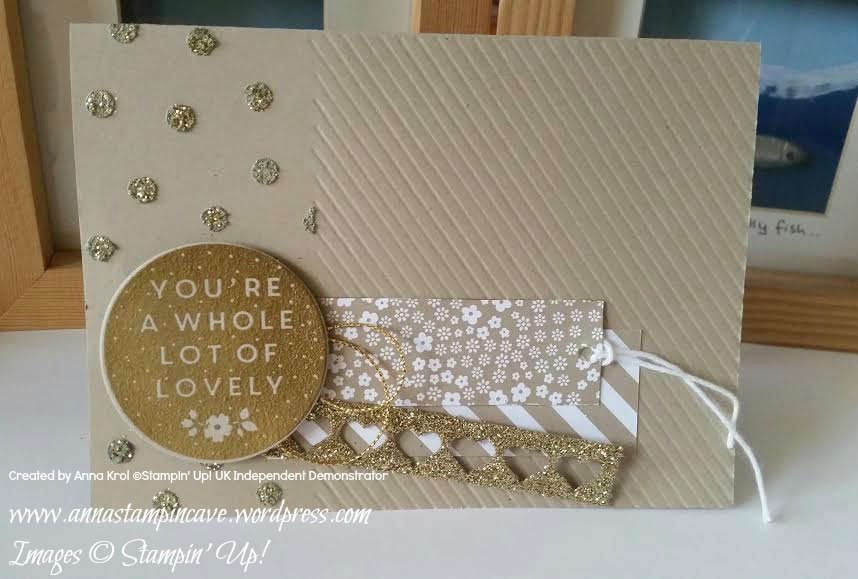
Card nr 2. I really wanted to go into gold and use embossing paste (I’ve bought it while ago at Lidl). I embossed diagonal stripes on 2/3 of my card front (Crumb Cake) and used embossing paste (same mask as with the first card) on 1/3 of the card. I sprinkled some gold glitter while embossing paste was still wet.

gold 3

I cut two strips of patterned paper from Neutrals DSP Stack: 1″ x 3-2/8″ and 1-1/8″ x 3-6/8″. For third narrow stripe I could simply use Glimmer Paper, but I wanted to finally try my Heat and Stick Powder. I cut a strip of Crumb Cake that measure 5/8″ x 3-1/2″, die cut little hearts from it, covered my piece in Versamark and sprinkled Heat & Stick Powder over my piece (making sure it’s well covered). Then I heat it with my heat gun.

gold

When the powder melted I covered the whole piece with gold glitter and heat it again. The powder melts with glitter creating your own glimmer paper 🙂 I used the same sentiment for both cards, just this time I heat embossed it in gold.

gold 2

So? Which card is your favourite? Silver or gold? Let me know in the comments below.

Now, be sure to hop along and see more inspiring projects. Your next stop is lovely Debbie at Larli Crafts. Thank you for stopping by and have a blessed day!

 SSSC Previous  SSSC Next Blog