The Creative Flow Blog Hop – Cookie Cutter Peek-A-Boo Baby Cards

Anna’ Stampin’ Cave – The Creative Flow Blog Hop – Cookie Cutter Peek-A-Boo Baby Cards

the-creative-flow-header

Thank you for joining us on our Creative Flow Blog Hop. Each month we are set a challenge to creatively stretch our imaginations. To hop along, please use the buttons at the bottom of the post to keep hopping.

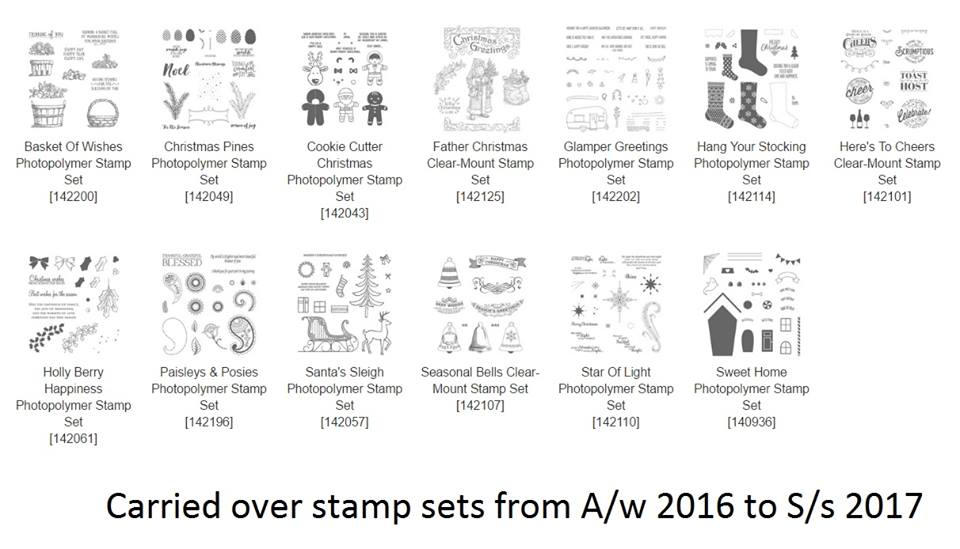
For this month we’ve been set a challenge to use any carry-over holiday-themed stamps to create a non-Christmassy project.
stampin-up-carry-over-stamp-sets

I knew straight away I wanted to use Cookie Cutter Christmas Stamp Set to create some super cute baby cards.
anna-stampin-cave-cookie-cutter-peek-a-boo-baby-card

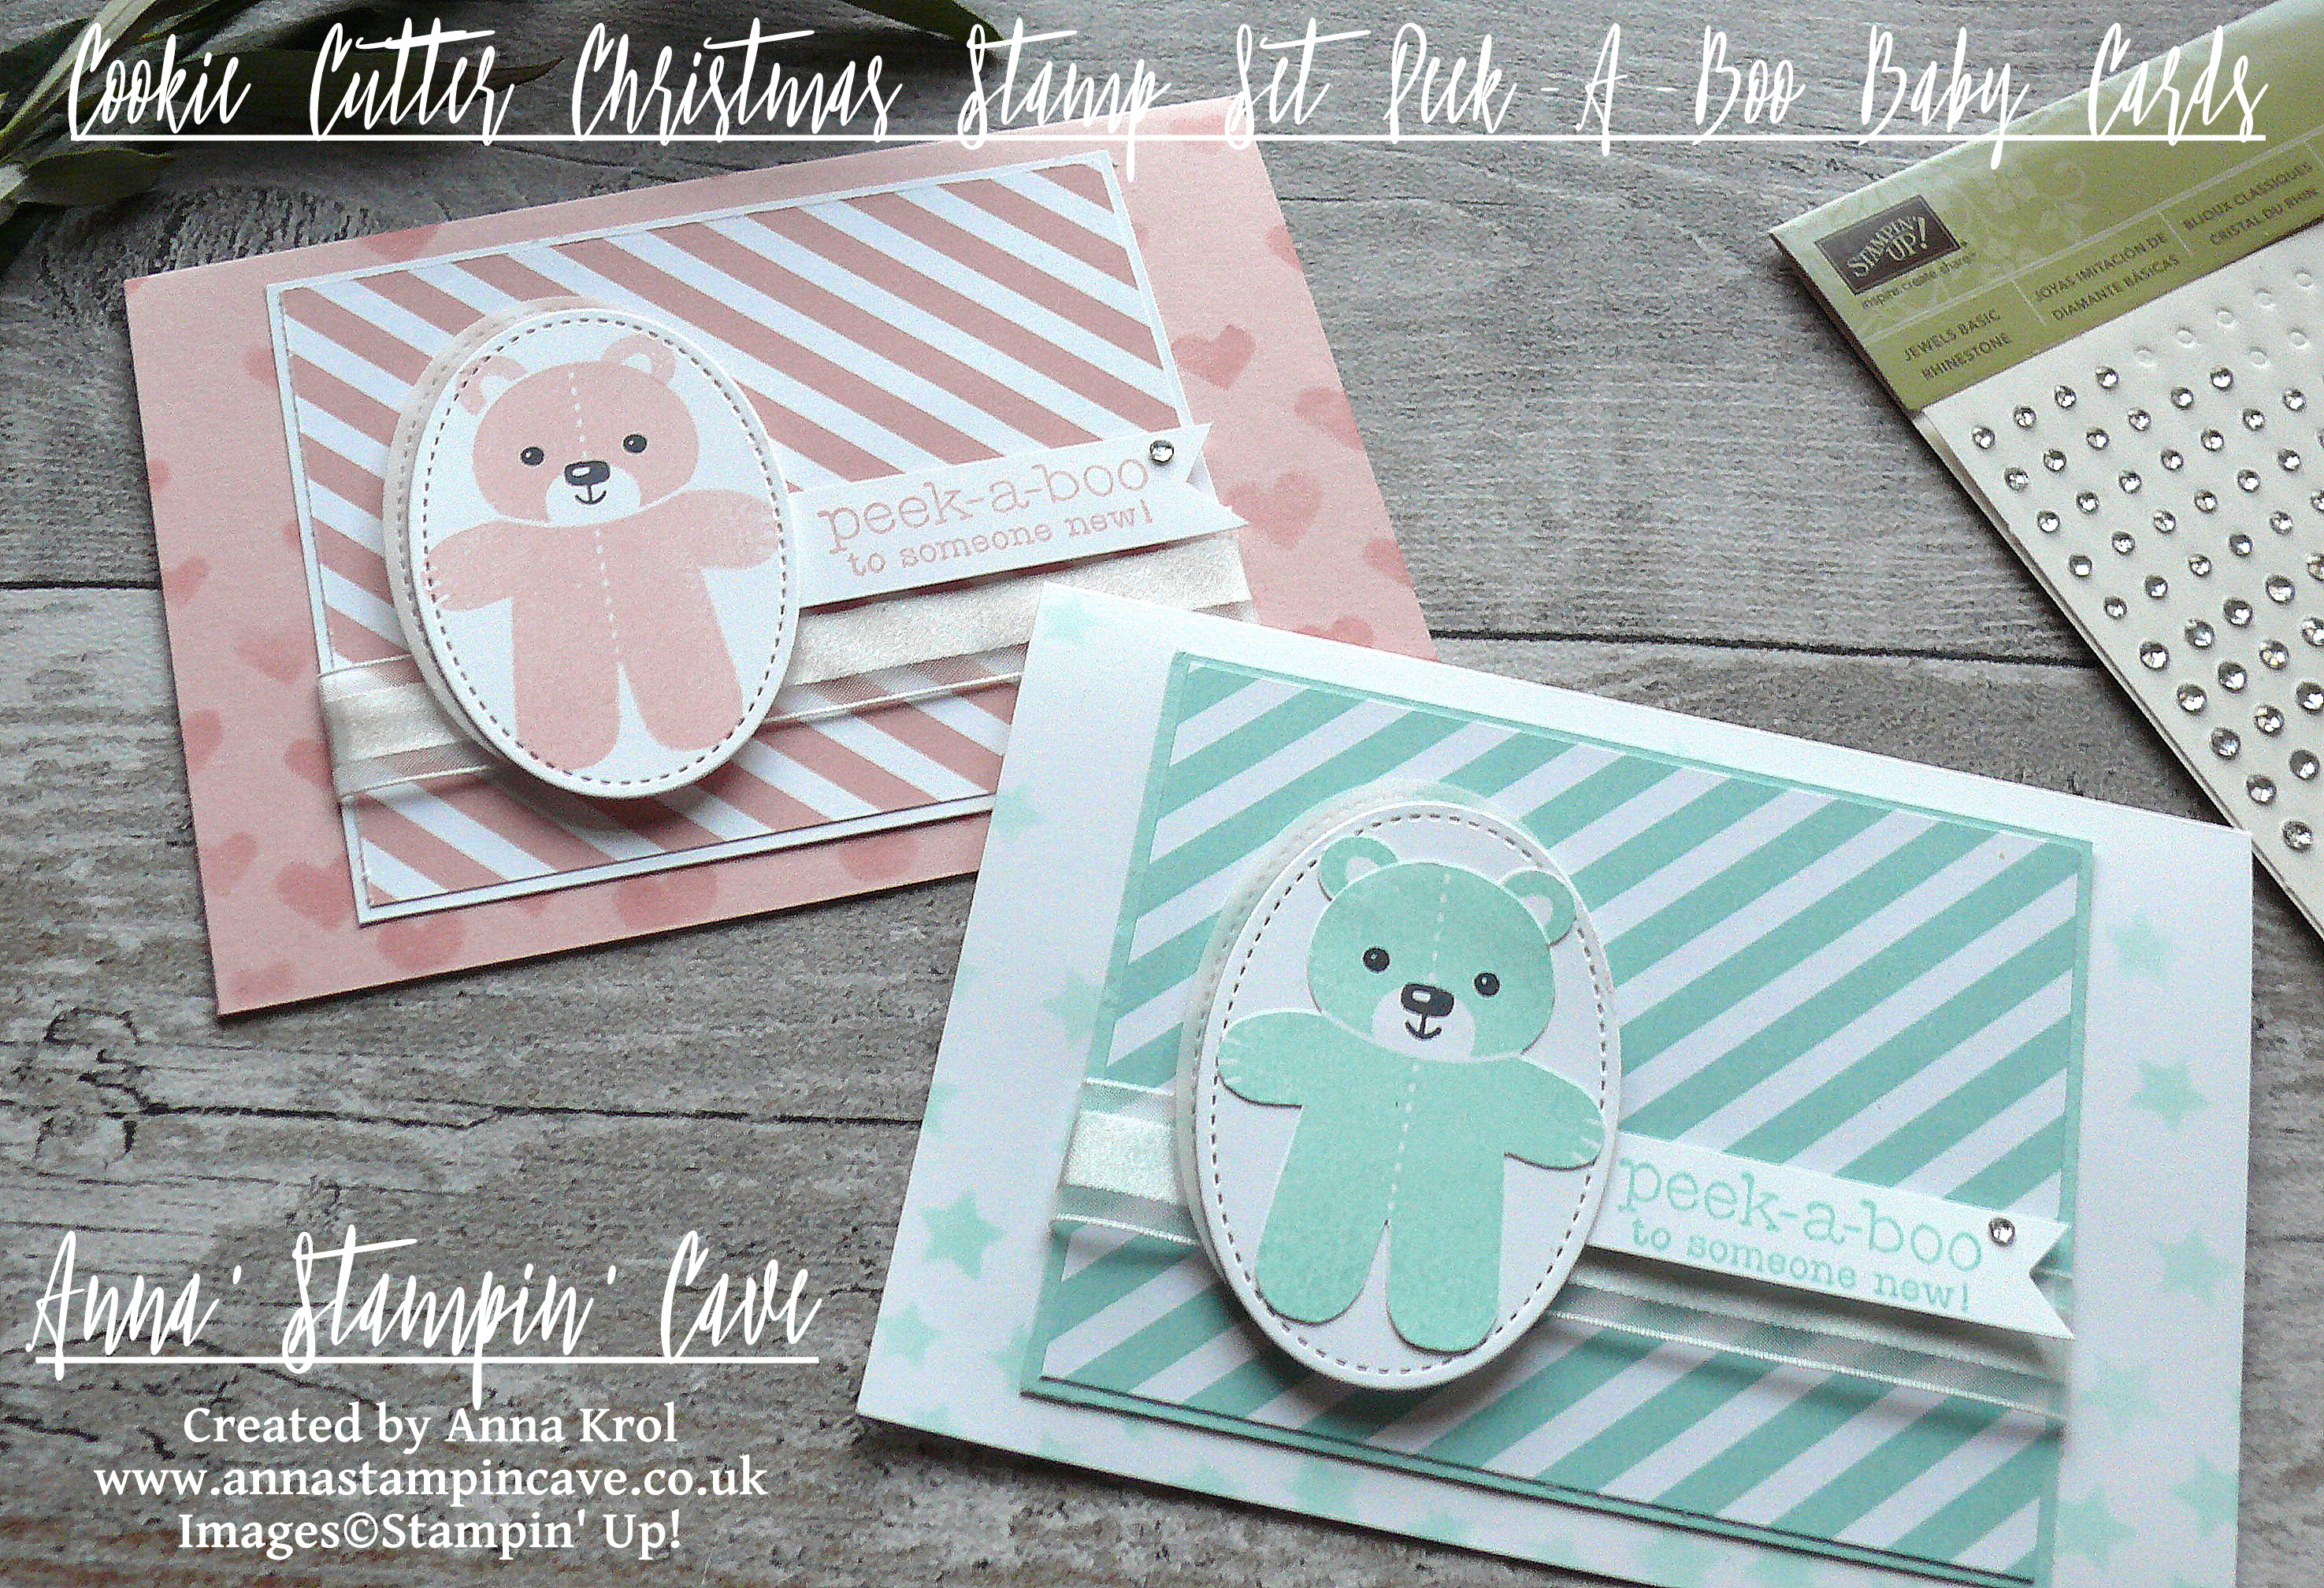
I chose rather traditional baby colours: pink and blue. For the pink, I’ve used beautiful dusty Blushing Bride, and Pool Party seemed just perfect for a baby boy card.
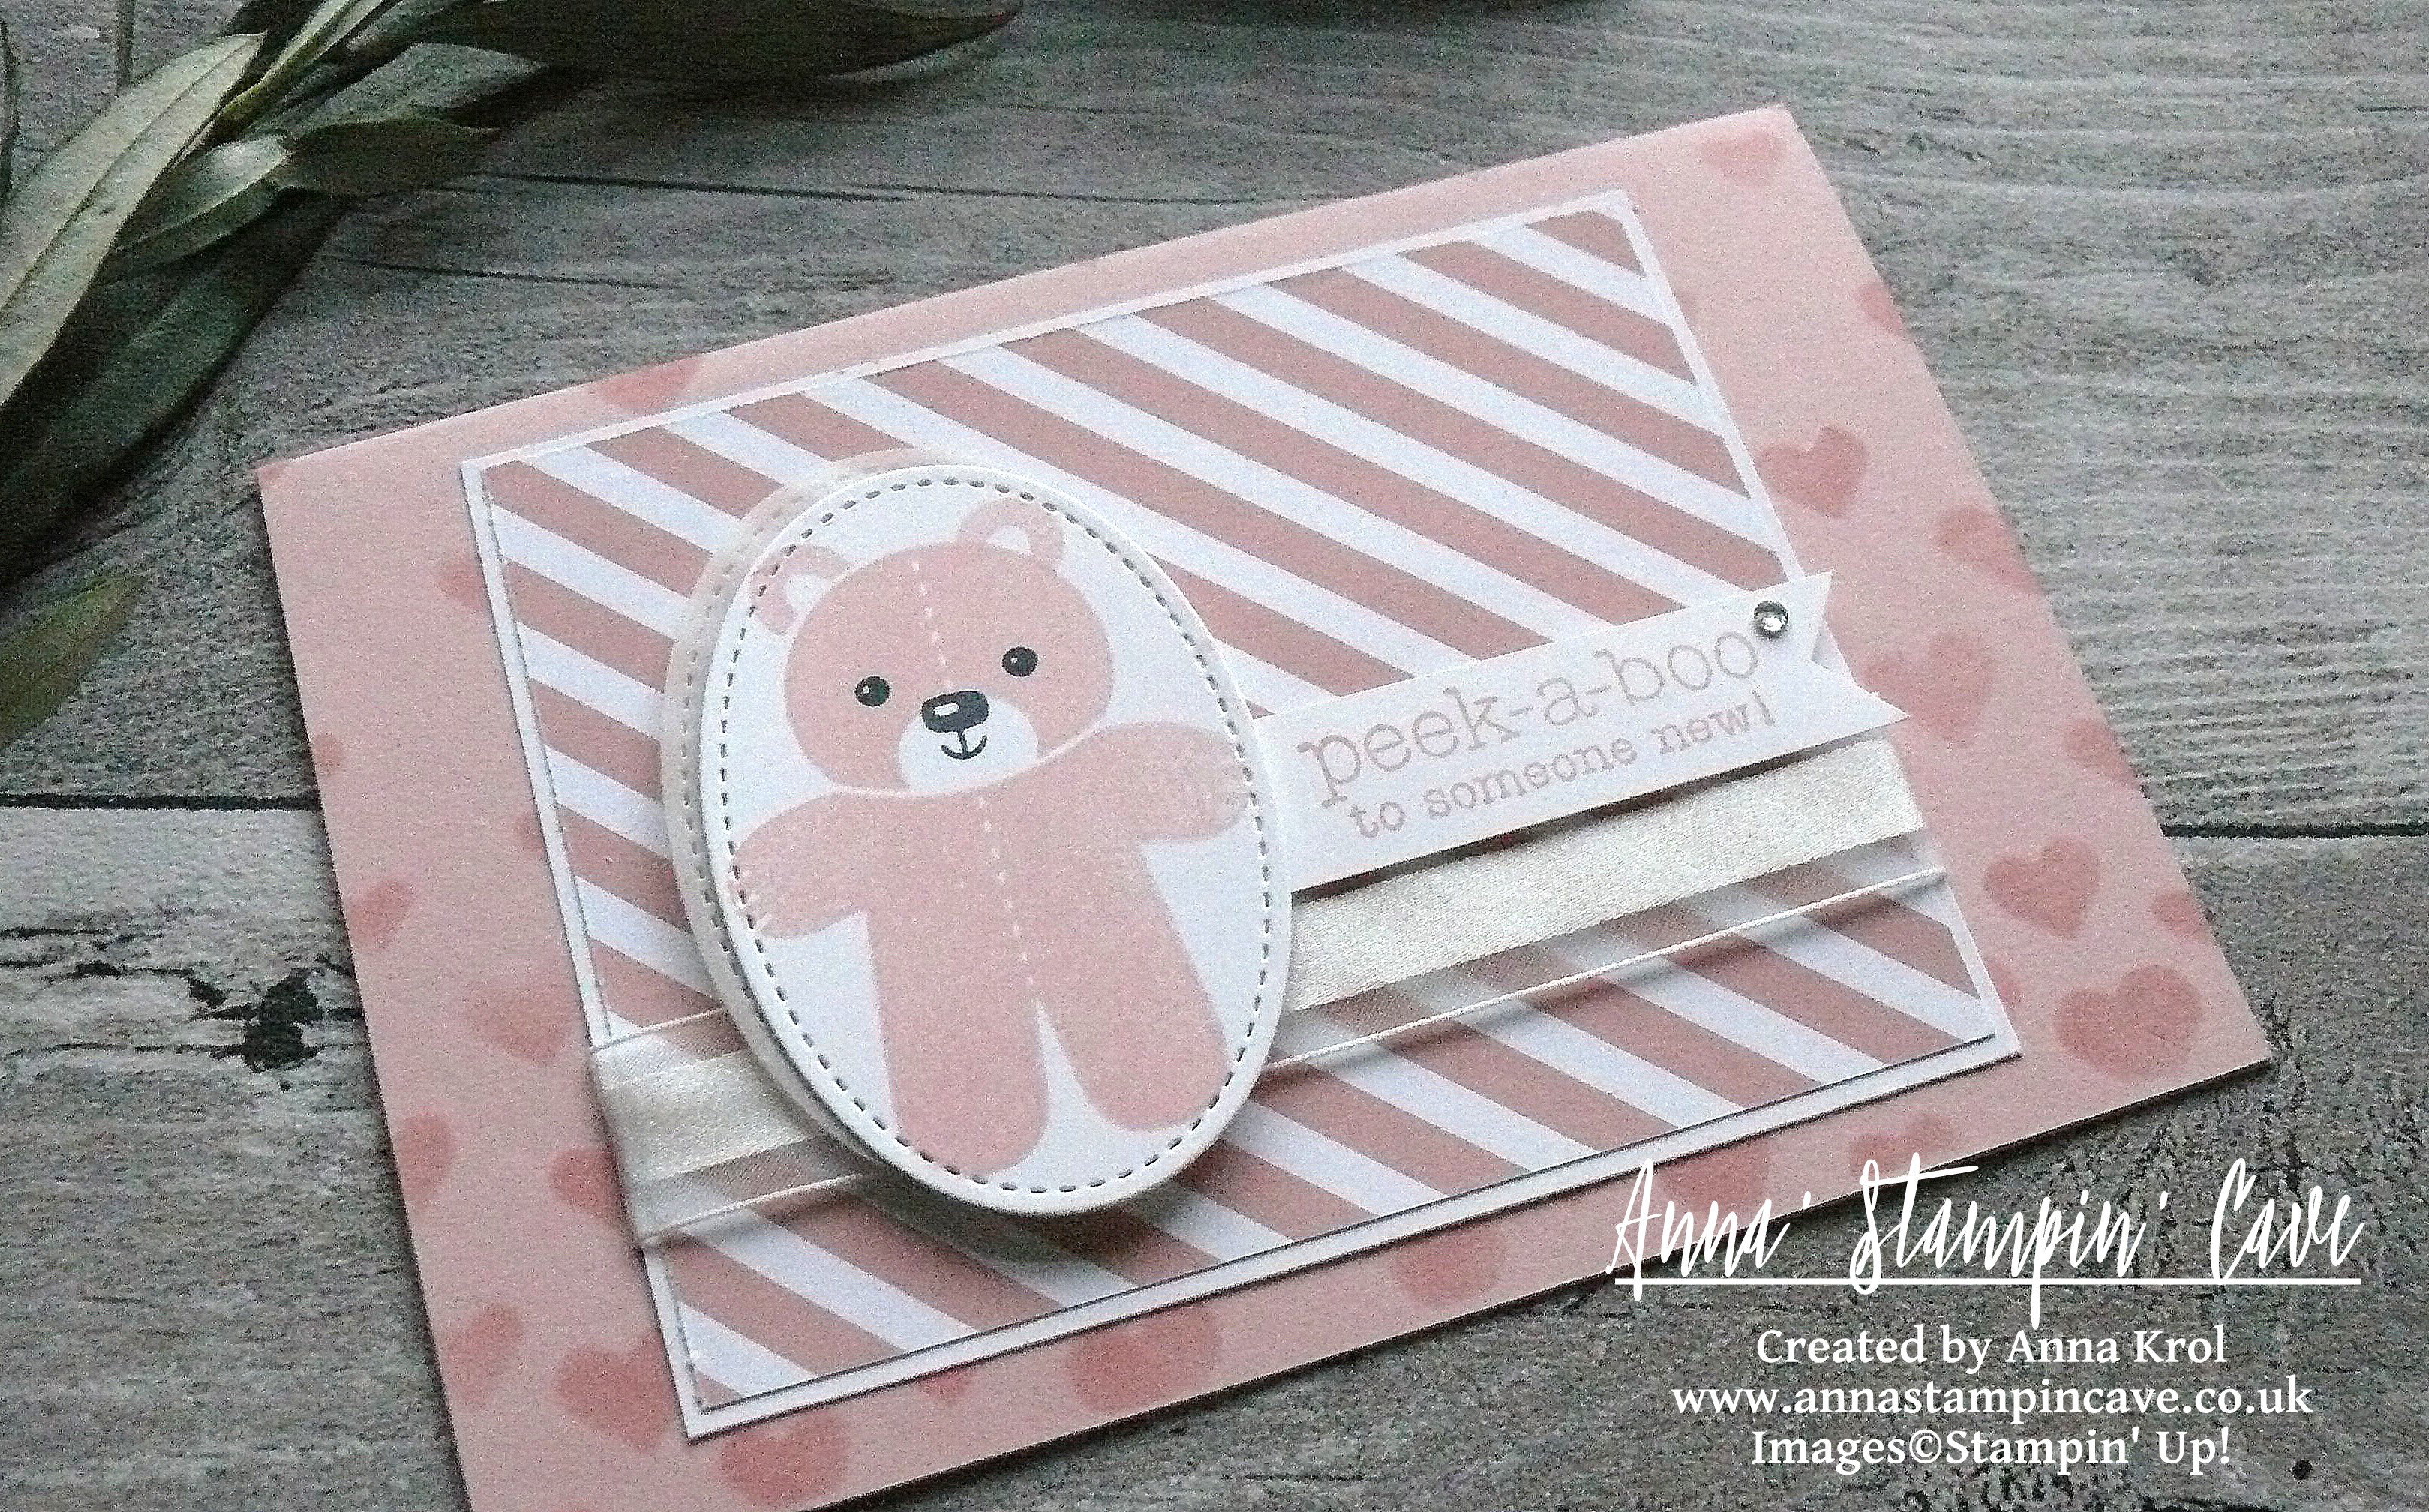
anna-stampin-cave-cookie-cutter-peek-a-boo-baby-card-baby-girl

Peek-A-Boo Baby Girl card dimensions:

  • Blushing Bride cardstock: 8-1/4″ x 5-7/8″ scored in half at 4-1/8″ (21 x 14.8 cm scored in half at 10.5 cm)
  • Whisper White cardstock: 4-3/8″ x 3-5/8″ (11.1 x 9.2 cm)
  • Blushing Bride Designer Series Paper from Subtles Designer Series Paper Stack: 4-2/8″ x 3-1/2″ (10.7 x 8.8 cm)
  • Scraps of Whisper White and White Vellum cardstock for die-cutting and sentiment
  • Whisper White Organza Ribbon: approx 6″

First, I stamped the little bear from Cookie Cutter Christmas Stamp Set, in Blushing Bride, onto a piece of Whisper White cardstock. For the little face, I’ve used Basic Black Archival Ink Pad. I die-cut the bear image using the second largest oval from Stitched Shapes Framelits Dies. I also die-cut the same size stitched oval shape from White Vellum. Next, I stamped ‘peek-a-boo’ sentiment from Suite Sayings Stamp Set, also in Blushing Bride, on a strip of Whisper White, and cut it into a banner. A baby card can’t go without a little bling so I added a tiny rhinestone to the sentiment banner.

To add some interest (and cuteness) to the card base, I pull out long forgotten Hearts & Stars Decorative Masks. For the girly card, I’ve used hearts stencil. First, I thought to add some sparkle through the stencil, but at the end, I decided for tone on tone effect and sponged hearts with Blushing Bride Ink.
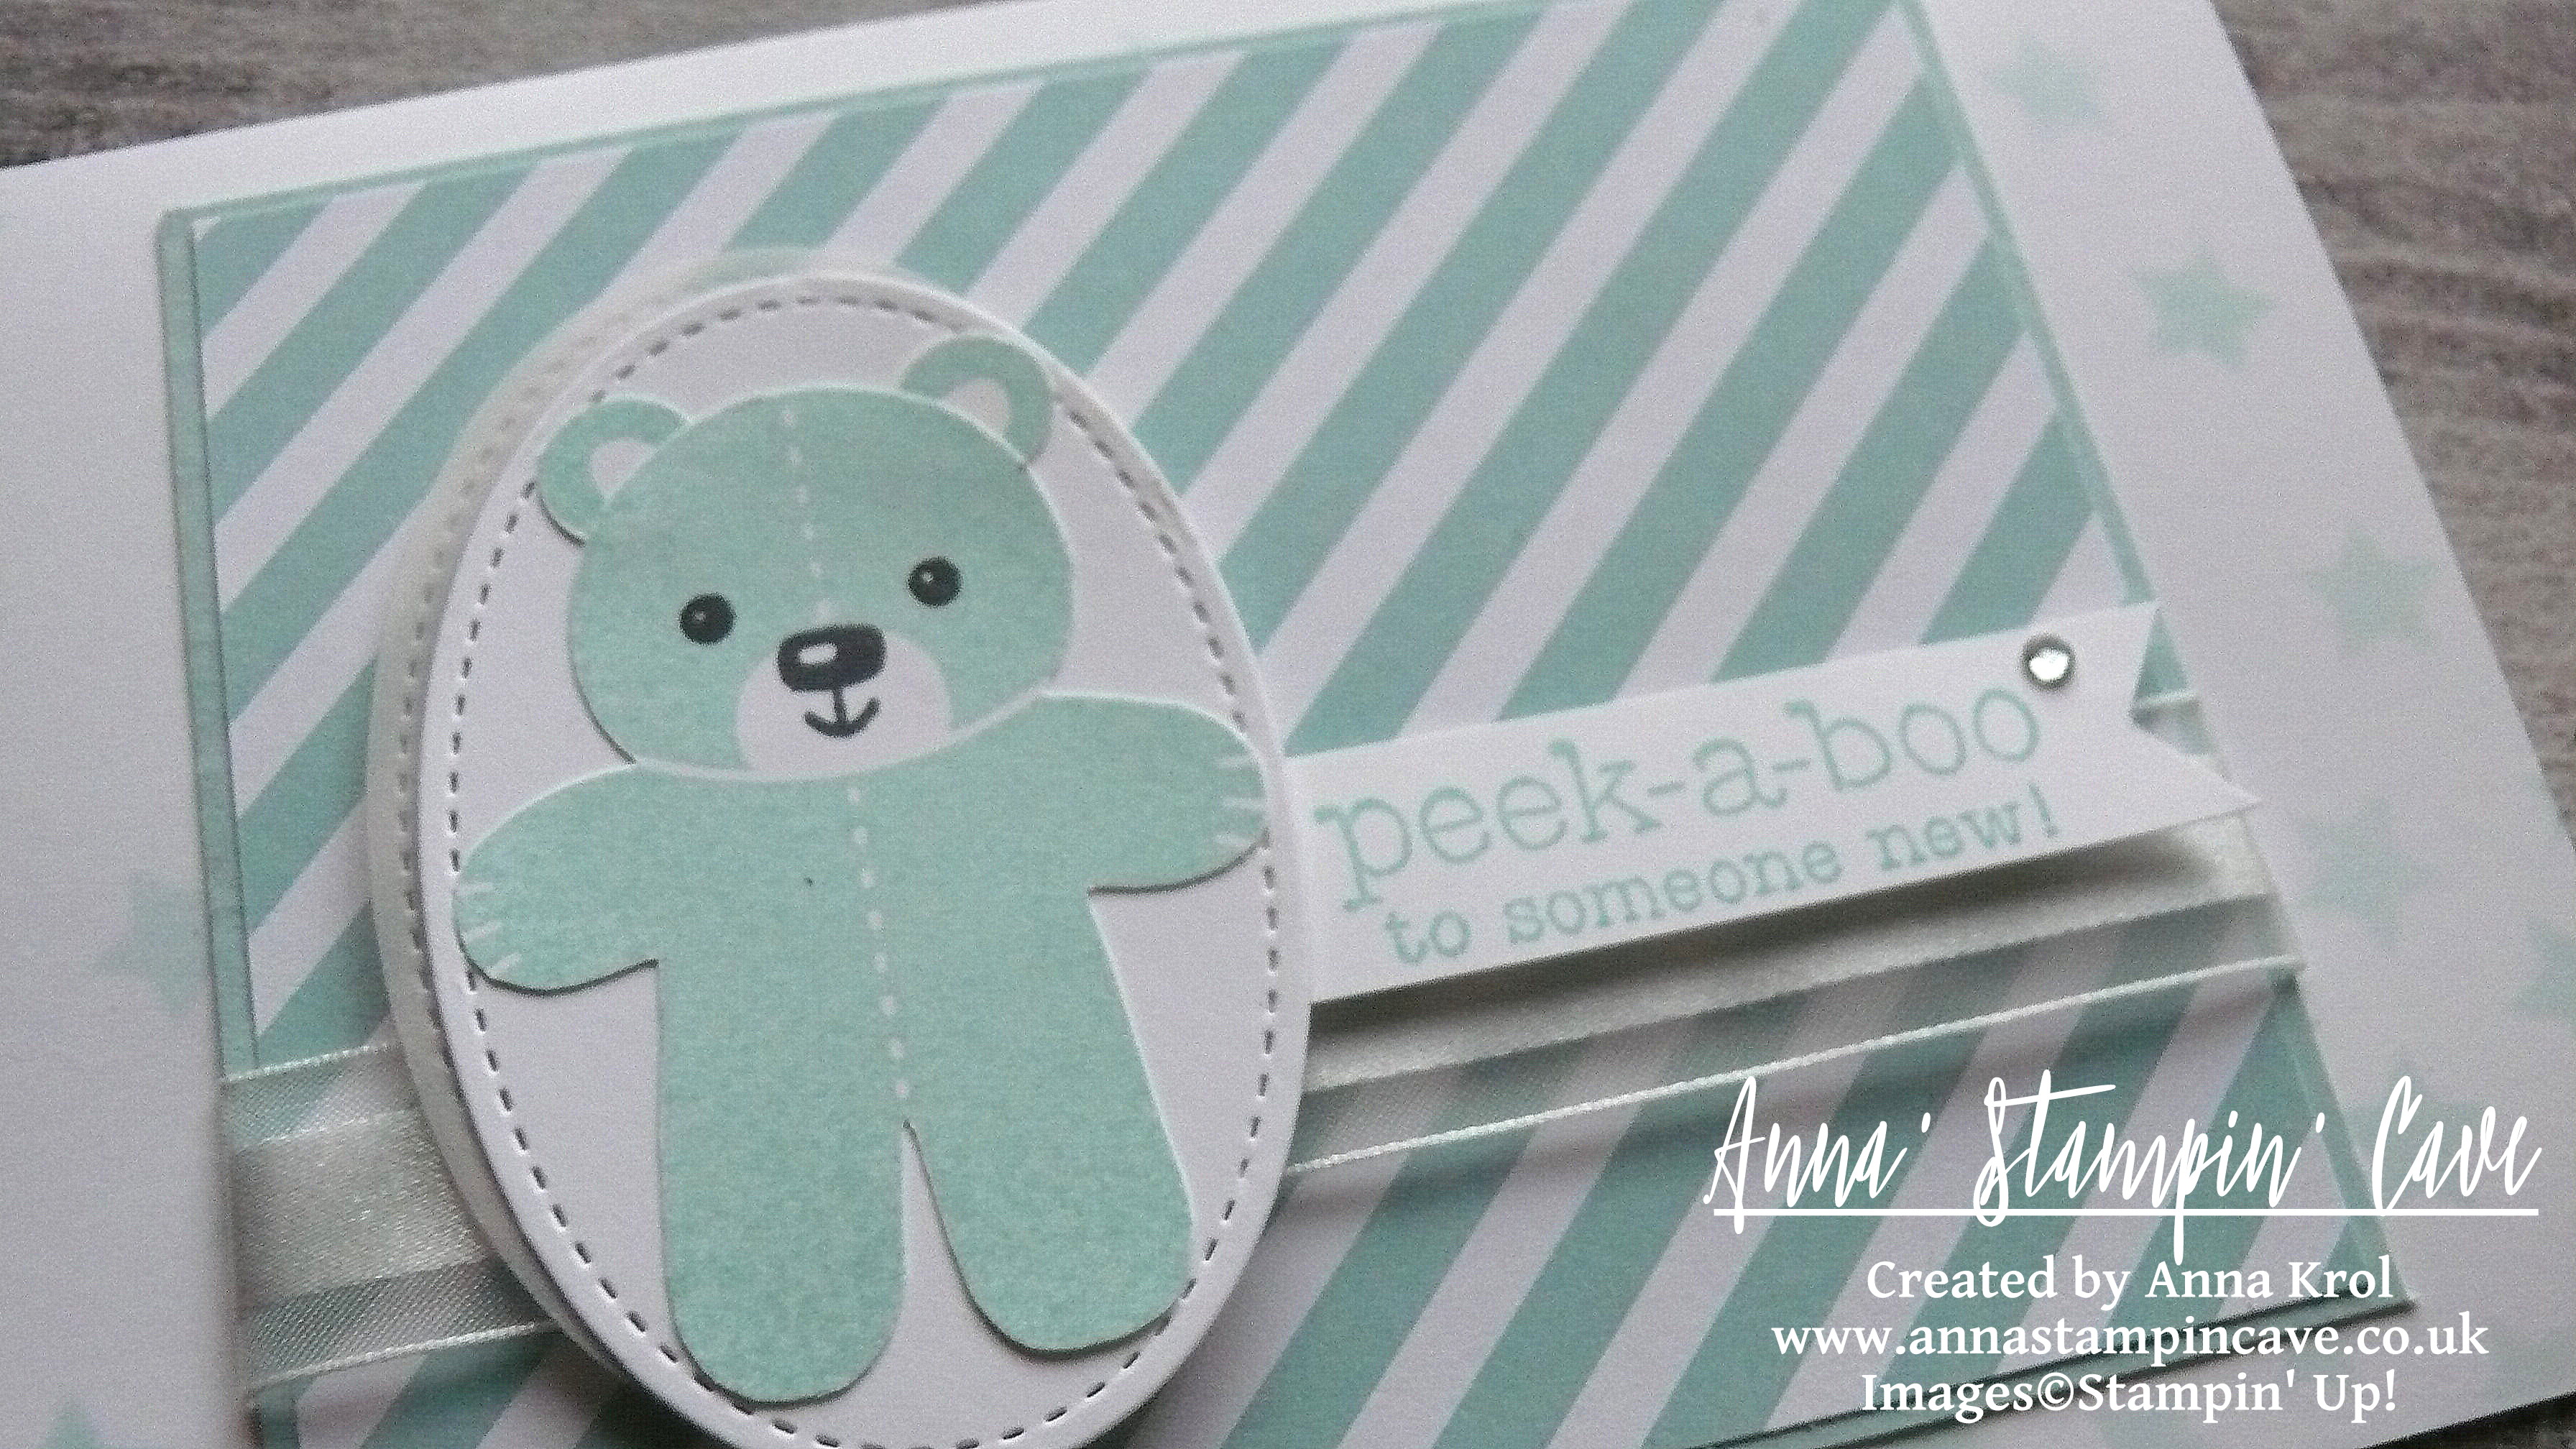
anna-stampin-cave-cookie-cutter-peek-a-boo-baby-card-pool-party

Peek-A-Boo Baby Boy card dimensions:

  • Whisper White cardstock: 8-1/4″ x 5-7/8″ scored in half at 4-1/8″ (21 x 14.8 cm scored in half at 10.5 cm)
  • Pool Party cardstock: 4-3/8″ x 3-5/8″ (11.1 x 9.2 cm)
  • Pool Party Designer Series Paper from Subtles Designer Series Paper Stack: 4-2/8″ x 3-1/2″ (10.7 x 8.8 cm)
  • Scraps of Whisper White and White Vellum cardstock for die-cutting and sentiment
  • Whisper White Organza Ribbon: approx 6″

This card was made similarly to the baby girl one. The only significant change, except colour combo obviously,  was that I stamped the bear and his ears separately as I planned to punch the bear using Cookie Cutter Bilder Punch. 

It turned out that the bear has a slightly wider ‘body’ than the other images from this stamp set and you can’t punch it without losing a little bit of his chubby shape.

At the end, I had to fussy-cut the bear but it’s quite a straightforward process. I punched out his ears and using snail adhesive I glued his ears behind his head and next I glued the bear flat onto the stitched oval shape.

Assembling these cards was pretty easy. First I adhered DSP panels to the cardstock. I added the ribbon at the bottom of my panels. I secured it at the back of the panels using snail adhesive and glued it to the card base.

Next step was to assemble my little bears. I glued the ovals with bears to the vellum ovals, offsetting them slightly. I adhered them to the card with Stampin’ Dimensionals for some extra dimension. Sentiments are adhered using Stampin’ Dimensionals too.
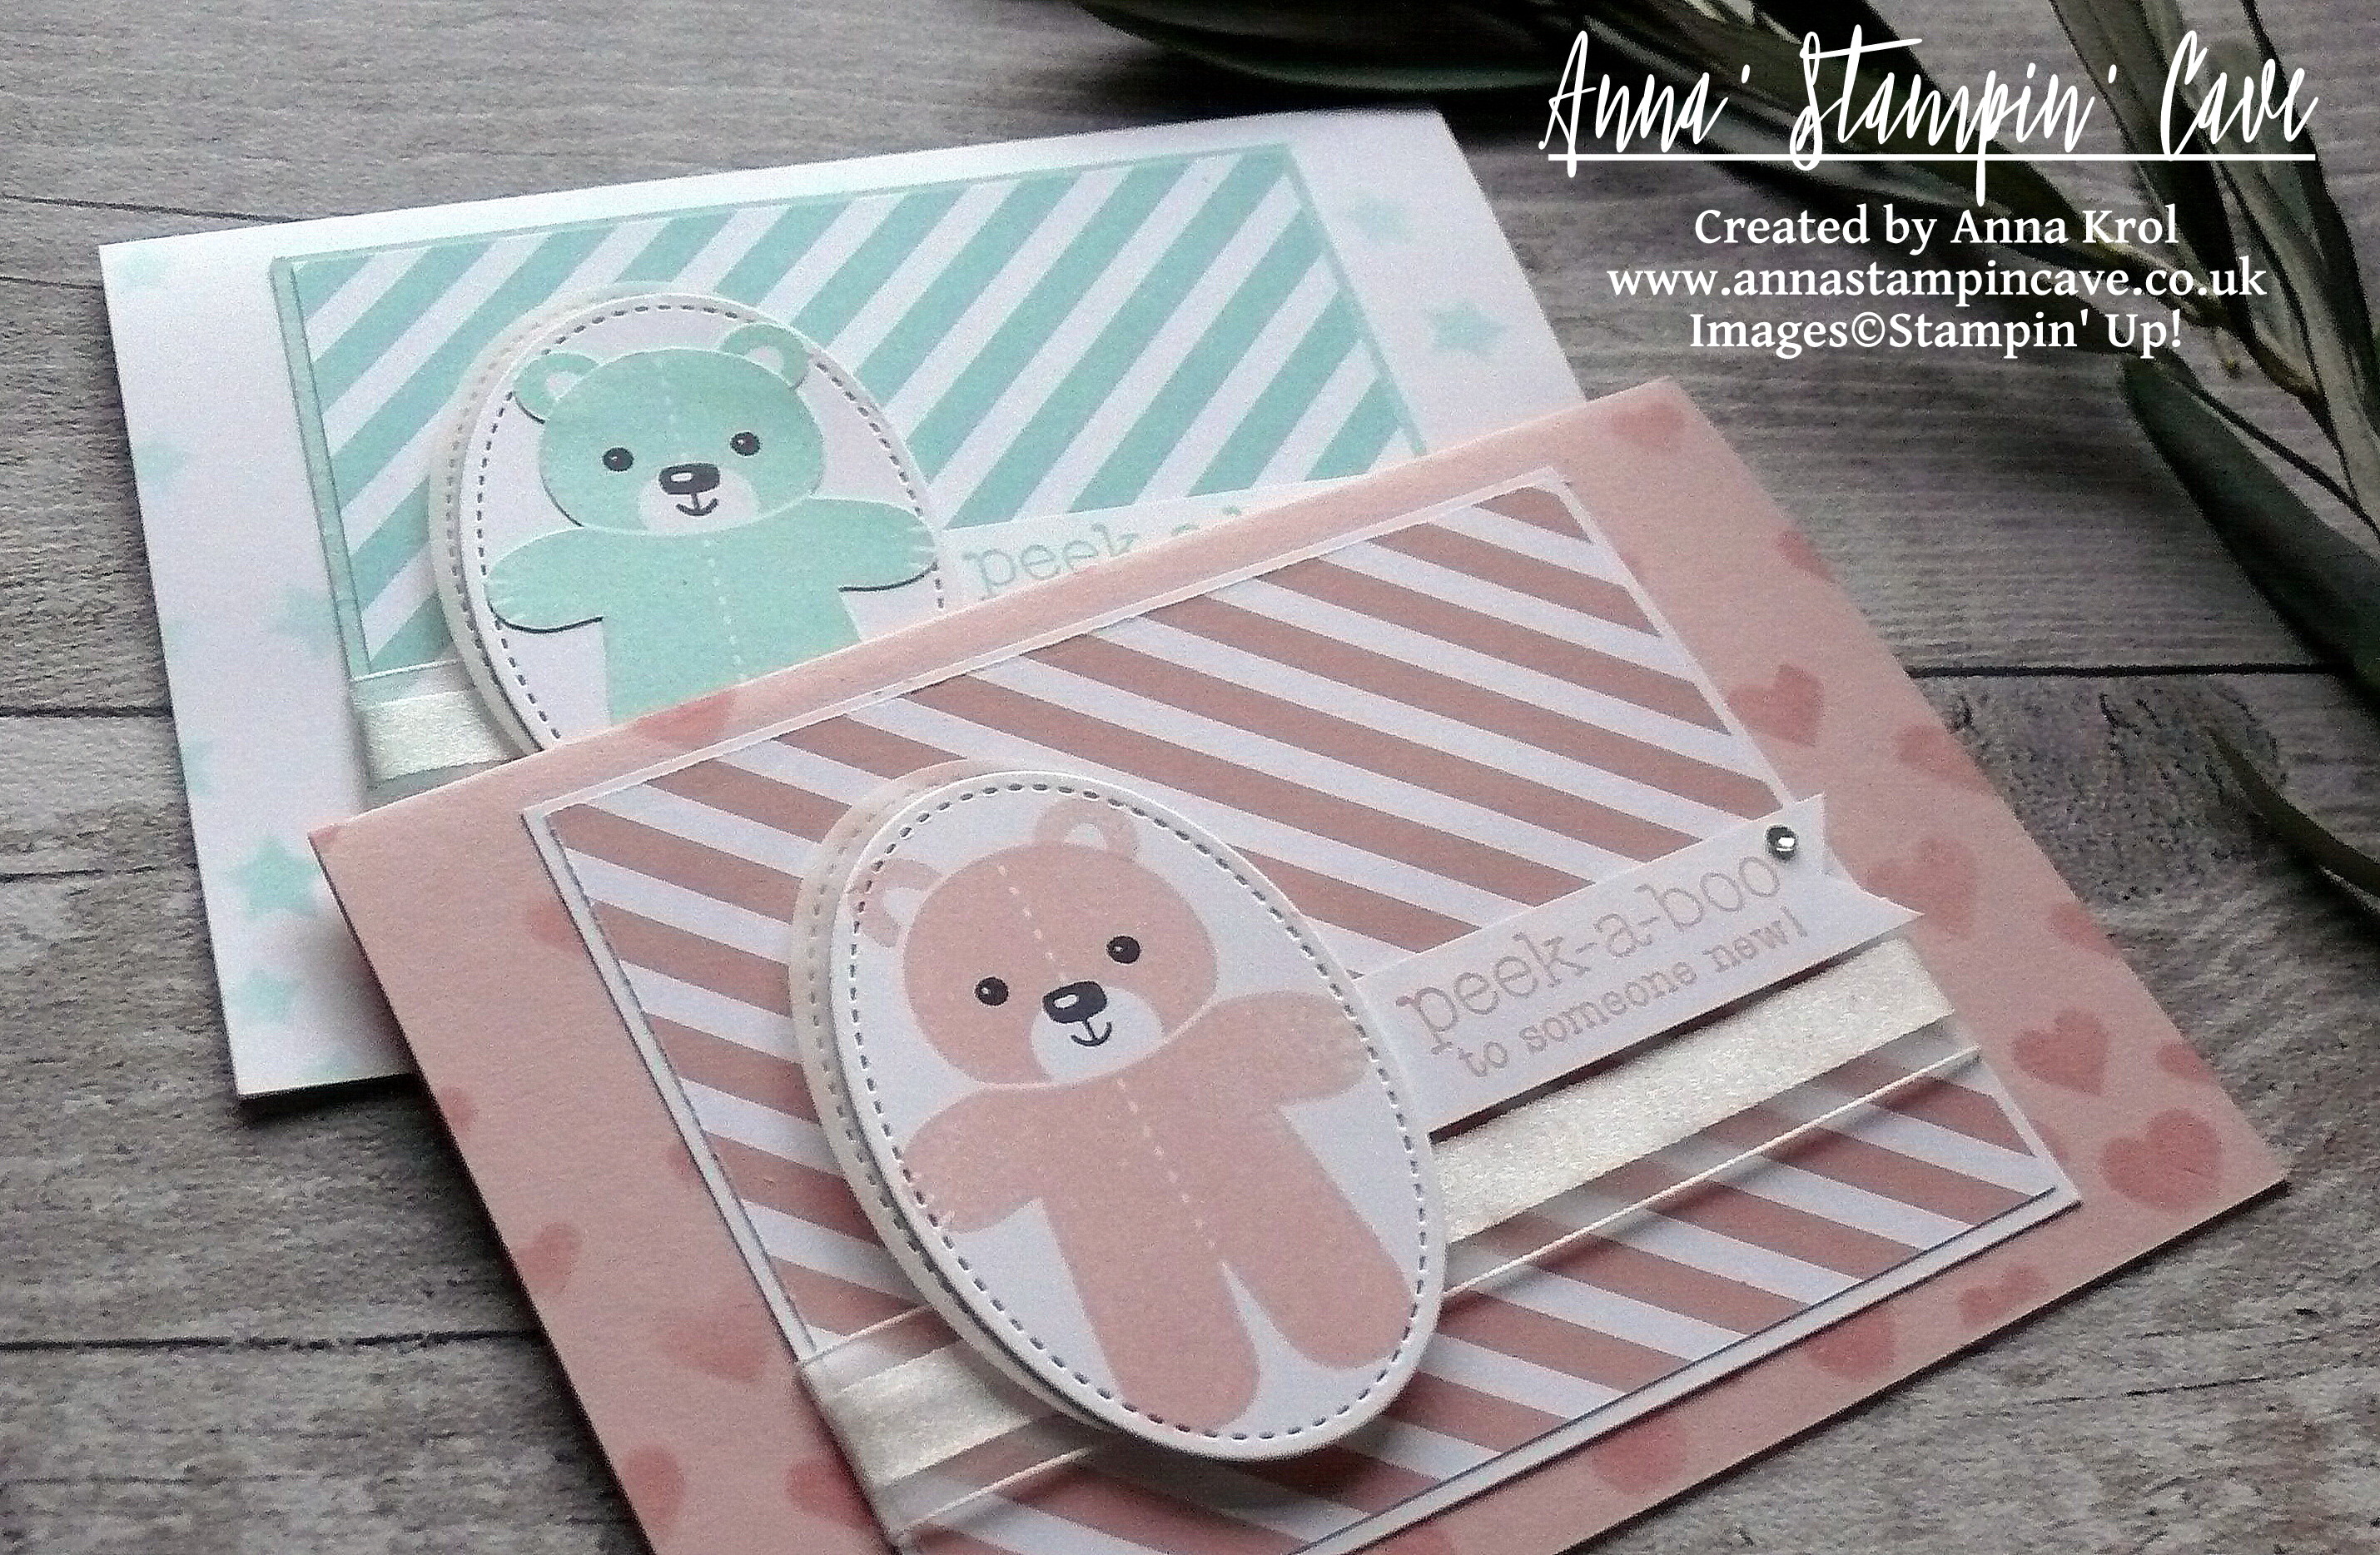
anna-stampin-cave-cookie-cutter-peek-a-boo-baby-cards

I truly hope you like my cute ‘peek-a-boo’ baby cards. They are not only adorable but also very easy to recreate.

Now, be sure to hop along and see more inspiring projects. Your next stop is lovely and talented Heidi.

Thank you for stopping by and have a blessed day

the-creative-flow-previous-button the-creative-flow-next-button

Thank You Notes Using Botanical Blooms & What I Love Stamp Sets

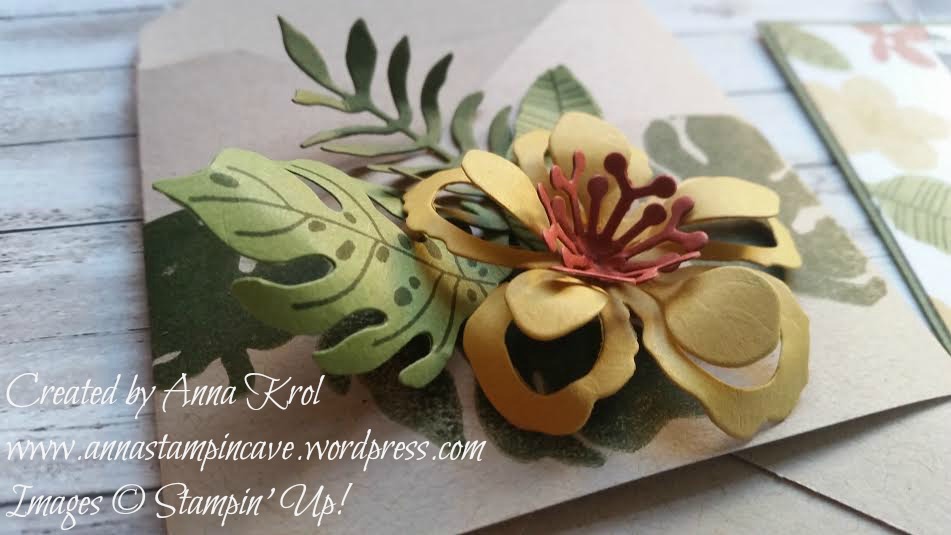
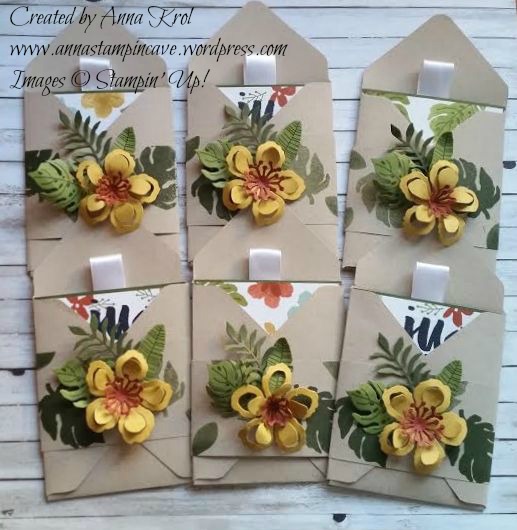
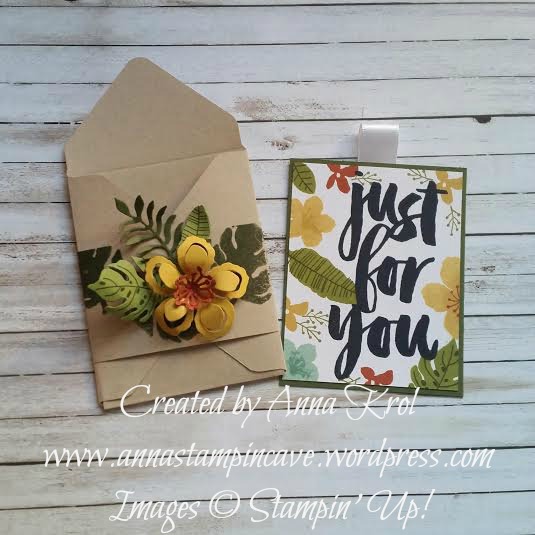
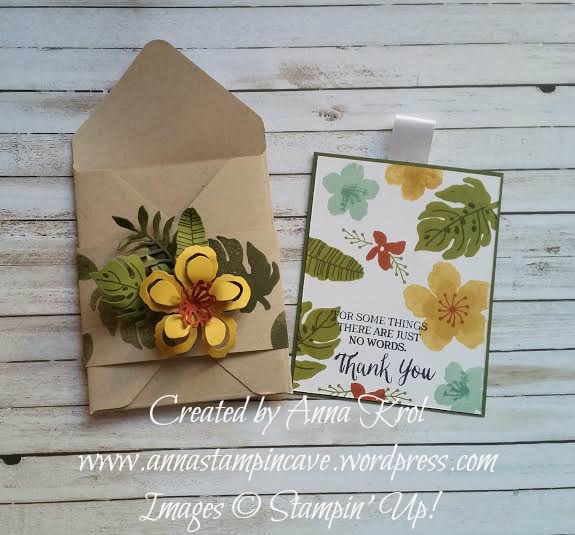
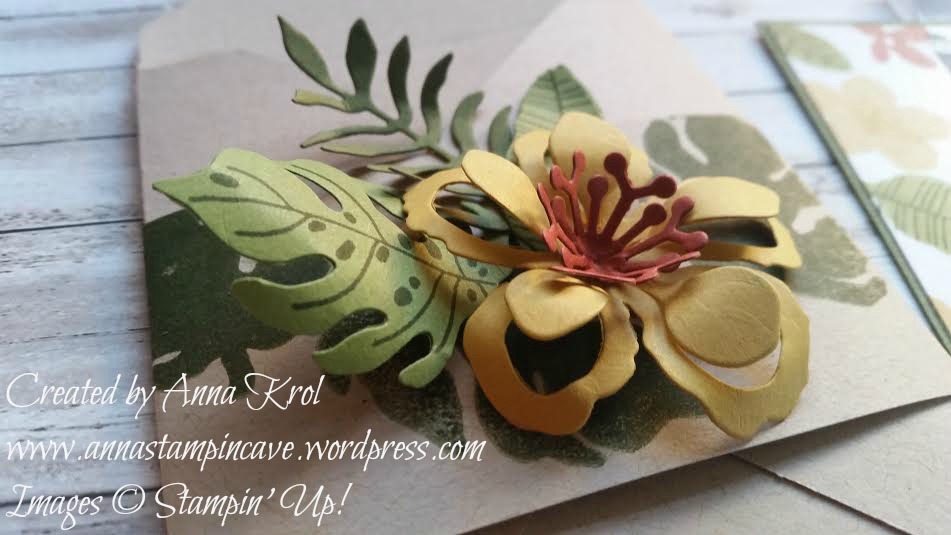
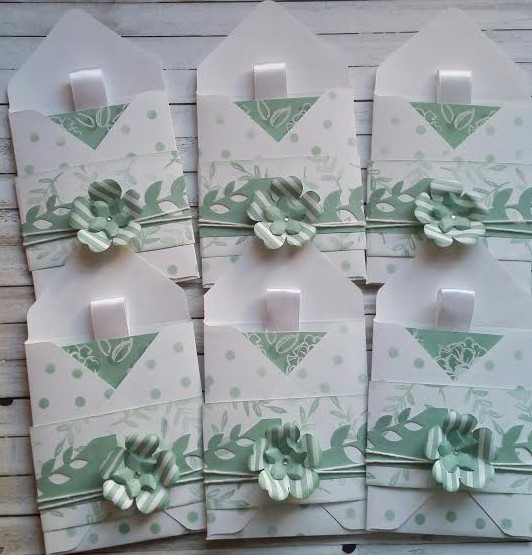
Today I decided to show you some thank you notes I’ve made using Botanical Blooms Stamp Set and coordinating Botanical Builder Framelits Dies.

customer gifts botanicals 5

I just love how these turned out! 

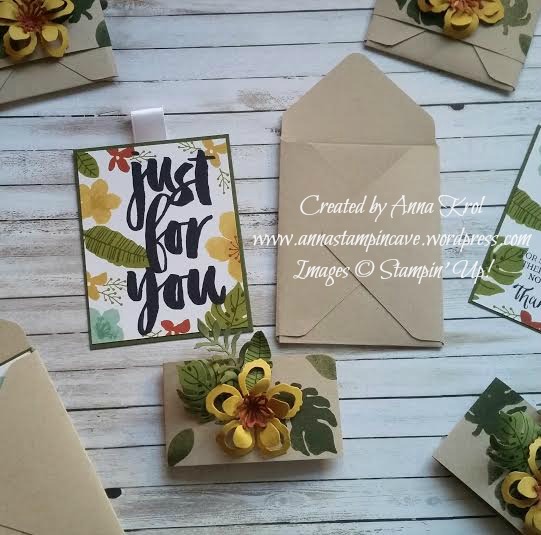
The idea behind these note cards was pretty simple. I wanted to create a panel card with floral design on one side and plain on the back, where you could leave a private message. Sentiments come from two different stamp sets: on the left from Rose Wonder Stamp Set and the other one is from Botanicals For You Stamp Set.

customer gifts botanicals 3

As my note cards aren’t typical size, they measure 3×4″, I created little holders for them using envelope punch board.

customer gifts botanicals 4

Now just a belly band to wrap it up together. Aren’t these A W E S O M E!!! I love love love these dies so much!

For a second lot, I have used the same idea just different stamp set and colours.

customers thank you notes 3

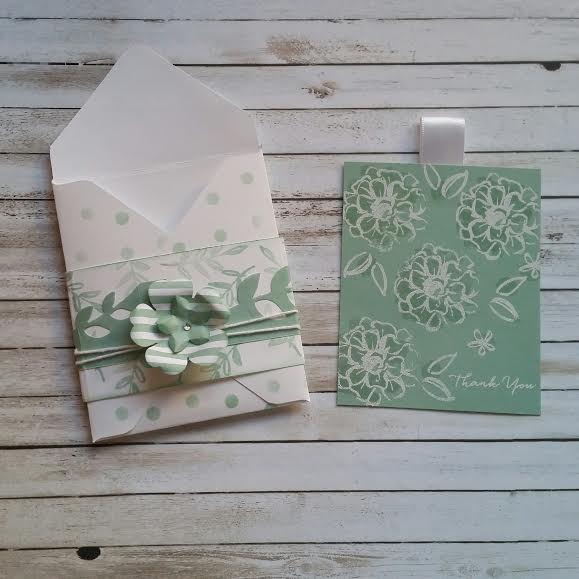
To create these I’ve used What I Love stamp set.

customers thank you notes 2

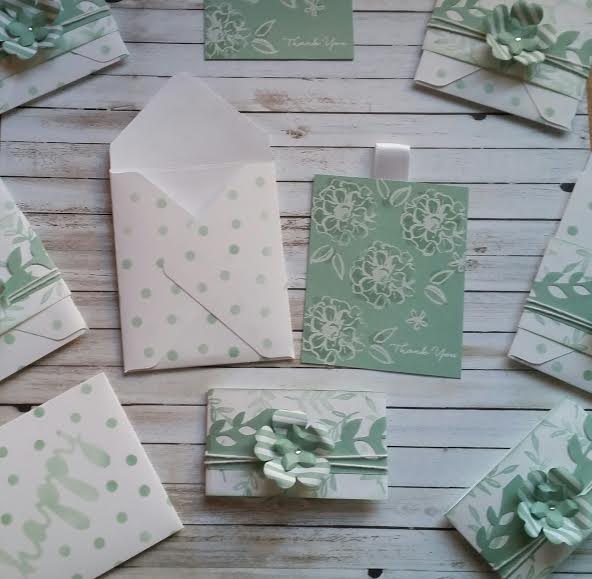
I love this three-step stamp set. It’s got a WOW factor without much effort. All I have done is to stamp step nr 3 & 2 in Mint Macaron, and nr 1 heat embossed in white. And voila!

customers thank you notes

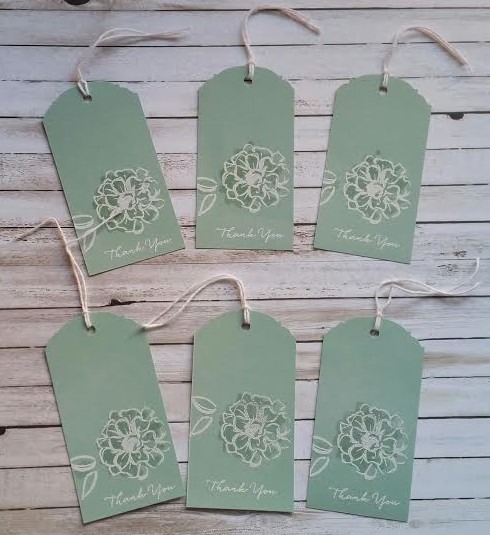
To “break” all that white I decorated the holder using sponges and one of Happy Patterns stencils. To decorate belly band I’ve used a border die from Botanical Builder and few punches: Petite Petals and Pansy punch. Super easy! As I was on the roll 😉 I also made these super lovely tags.

tags

Hope you like my note cards. They are super easy and what fun to make! And you?

Have a blessed day,

For Our Mum – Birthday Cards Using Garden In Bloom Stamp Set By Stampin’ Up!

This term seems to be really busy: with our daughter having MOCK exams in a few weeks time = parents meetings at school;  my little sister temporarily moving with us ( only for weekdays; she just started Interior Design MDes course at Coventry University); and me trying to cope with MS as best as I can + infusions in hospital every 4 weeks…there are days I can’t do anything and idea of crafting don’t even cross my mind.

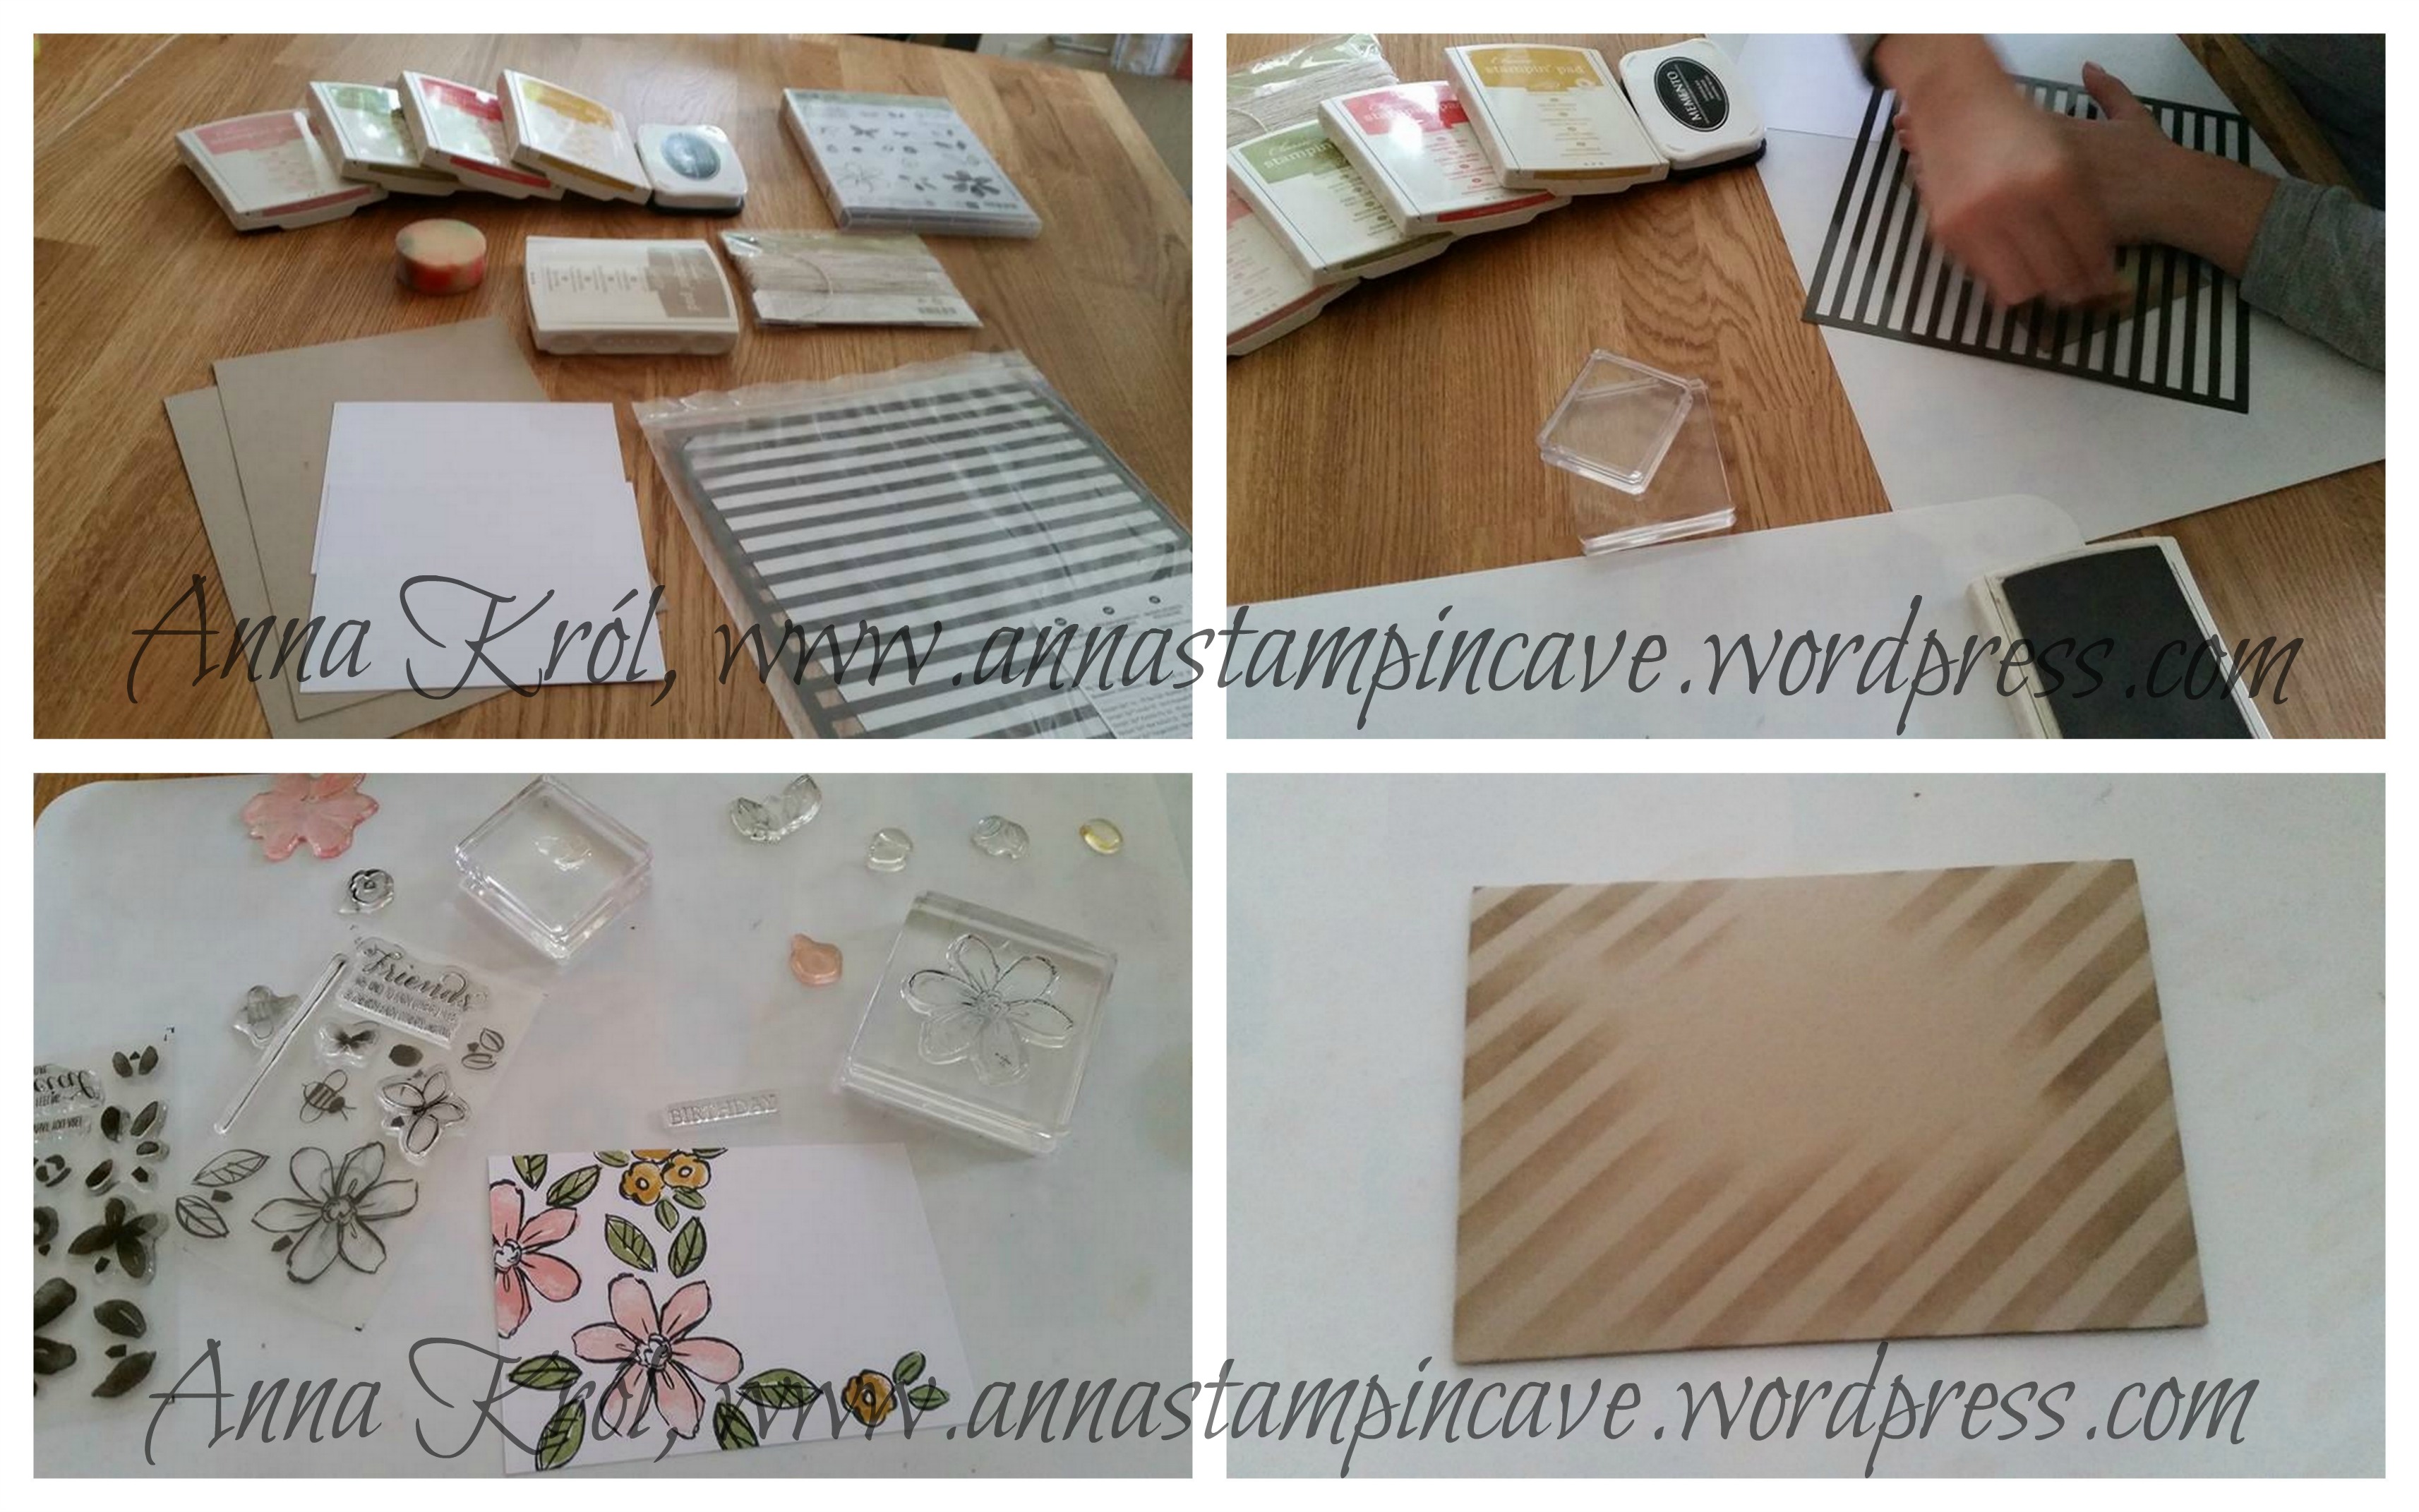
But last week there was our mum’s 63rd birthday. My sister said she really wanted to make a handmade card for our mum but she had no idea where to start. She has never done a card in her life. I took her to my “studio” so she could choose stamp sets & ink pads she liked. And she chose gorgeous Garden In Bloom stamp set + Blushing Bride, Calypso Coral, Hello Honey and Pear Pizzazz ink pads. Then I thought: oh well, while teaching her how to make a card I could make one for our mum too, right? So I grabbed all essentials: card, adhesives, masks, sponges etc. and we made our way to kitchen (my craft room is really tiny).

Do I have to say we had a blast?! It was so good to craft together…

annastampincave - collage

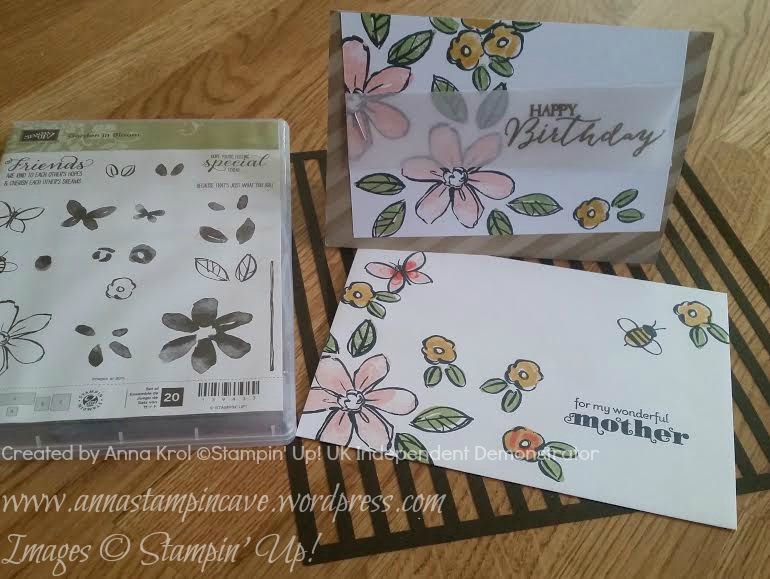
..and she did very well as for her first time stamping, don’t you think? The sentiment is a mix of two stamp sets: Crazy About You and retired Delightful Dozen.

paulina woźniak

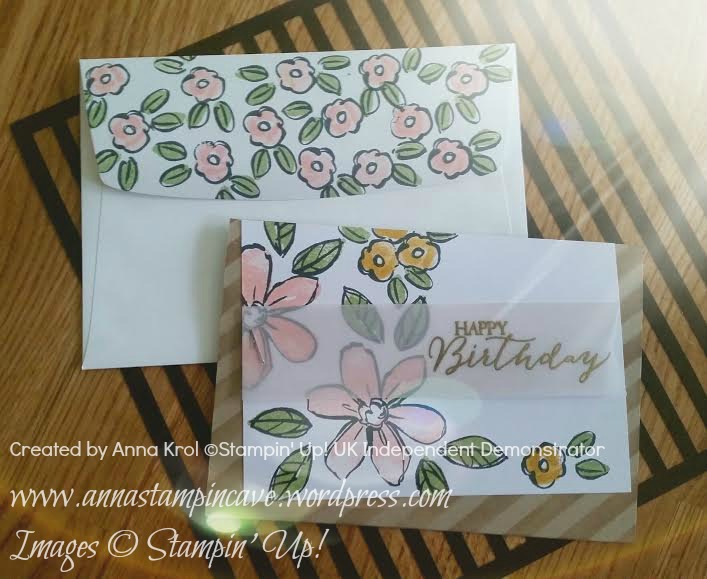
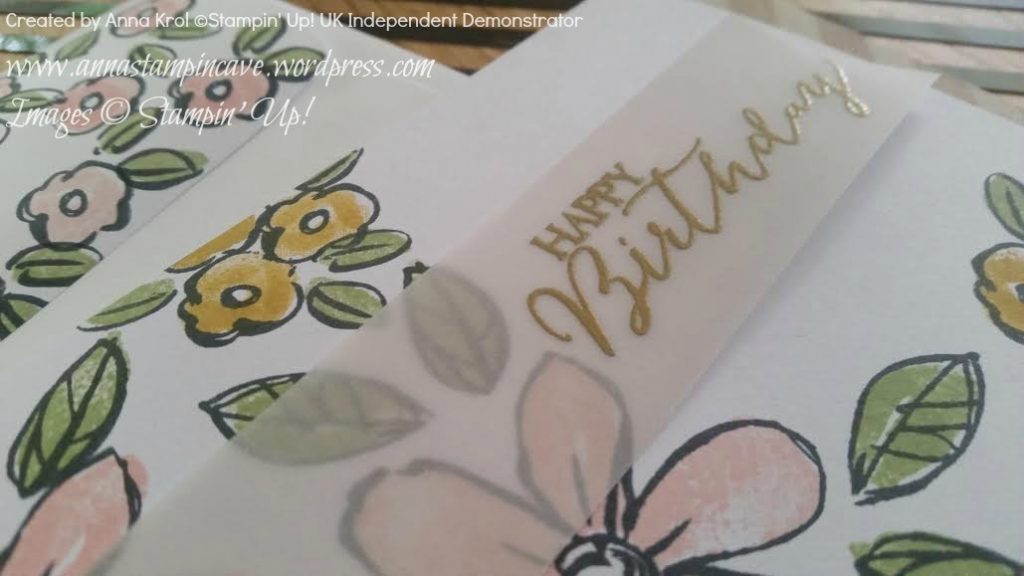
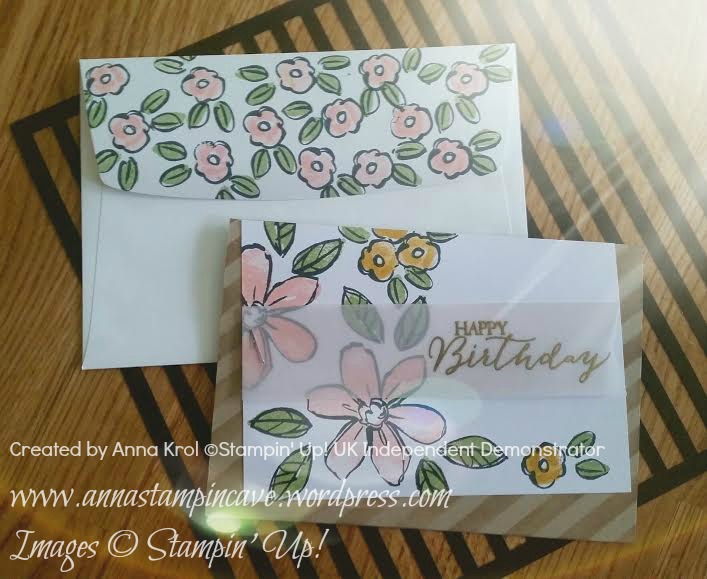
For my card, I’ve used same design/layout. Just twisted it a bit with a piece of vellum. I also made a matching envelope. Isn’t it pretty? Vellum is attached with stapler

63 urodziny 2

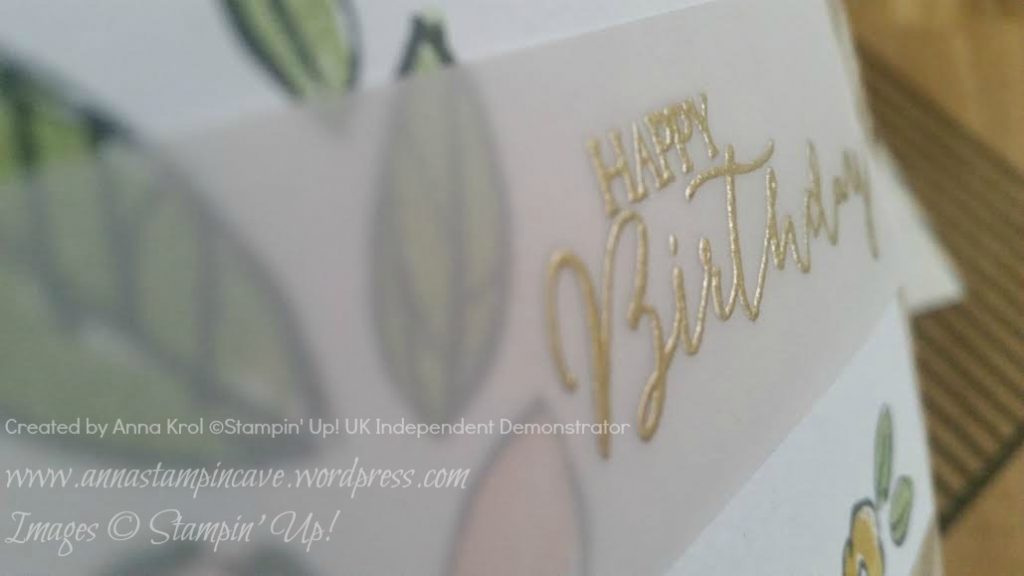
Sentiment on a card comes from Butterfly Basics and is heat embossed in gold.

I’ve also decided to decorate flap of my envelope

annastampincave bday set

Love love love how these two turned out! Chuffed even more because mum loved cards we’ve made. And my sister is now hooked, so I’m pretty sure it wasn’t last time when we were crafting together.

Thank you for stopping by,