You Send Me Soaring

I love the vintage feel to Sky is the Limit stamp set from Stampin’ Up! and I’ve used it recently to create cute Valentine’s Day cards perfect for men in our lives.

sky is the limit 3

First card I’ve made for a card-swap in our group of demonstrators. As all stampers, we love to swap! Swapping lets you share your creativity, enjoy the creativity of other stampers, and gather and collect ideas.

sky is the limit 7

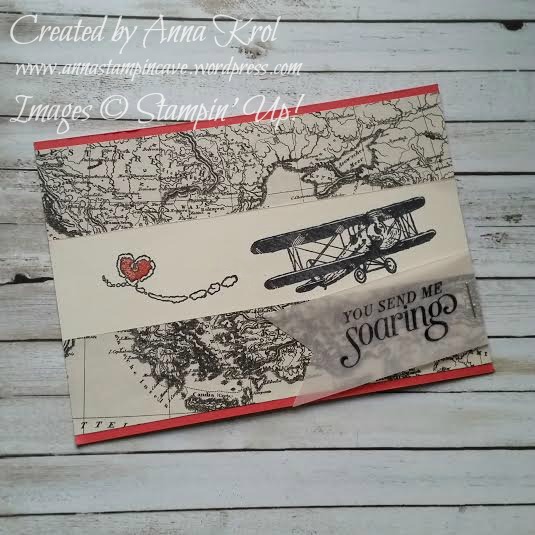
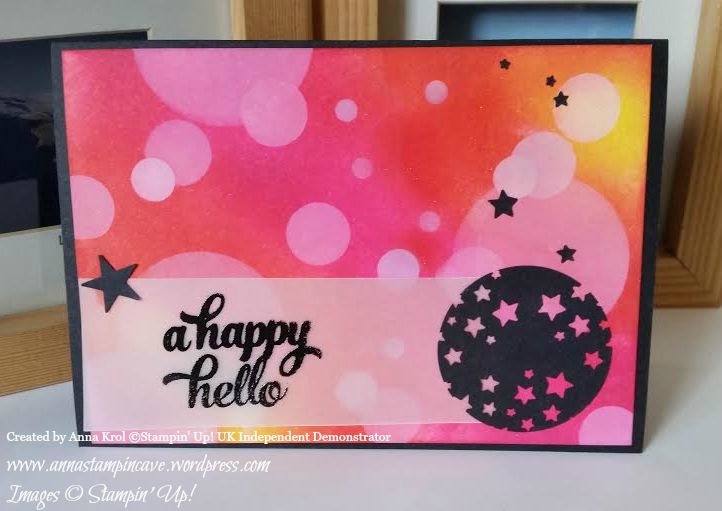
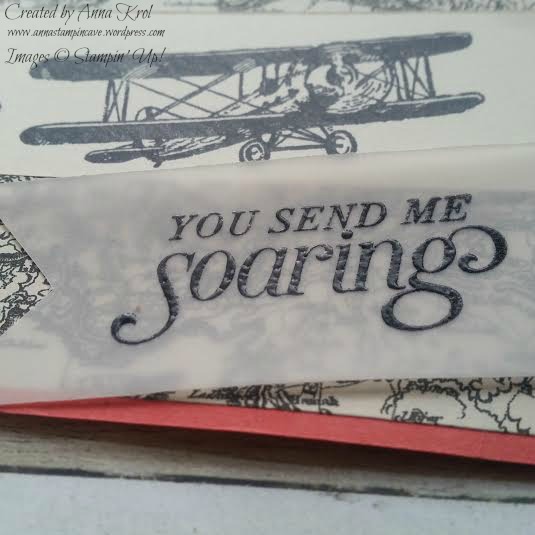
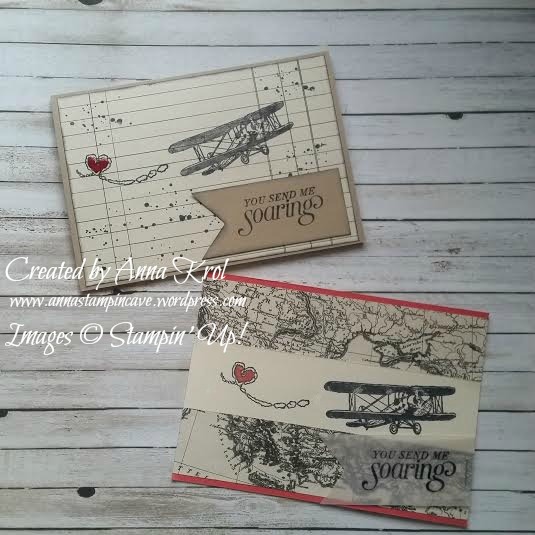
The base of my card is Watermelon Wonder cardstock. For the layer, I cut two pieces of Typeset Specialty DSP (each measure 5-7/8″ x 1-3/8″) and a strip of Very Vanilla cardstock that measure 5-7/8″ x 1-1/4″. Before I adhered them on my base I stamped my images on Very Vanilla using Basic Black Archival Stampin’ Pad, as I was planning to do a little colouring. Our archival ink pads are perfect for watercolouring as they do not bleed. I coloured heart using Watermelon Wonder ink pad and a blender pen and added a little shimmer with clear Wink of Stella Glitter Brush. Yeah, I know that most of the guys do not like a bling. But come on: he loves you, so you can sneak a little shimmer here and there, and he won’t say a word 😉 I stamped the sentiment on a piece of vellum and heat embossed in black. Cut it into a banner and attached to the card using a regular stapler.

For the second card base, I chose cardstock in my favourite neutral colour – Crumb Cake.

sky is the limit 6

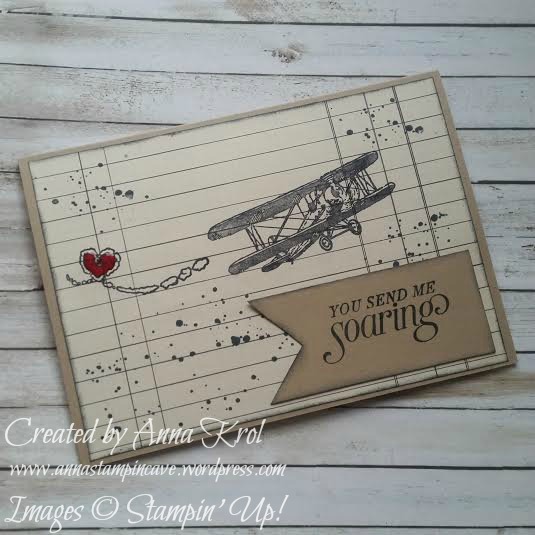
For the layer again I reached for Typeset DSP. But this time I stamped directly onto my designer paper. I also added some splotches from Gorgeous Grunge stamp set and sponged the edges to add to the vintage look. This time I stamped sentiment onto a piece of Crumb Cake instead of vellum. I attached everything to the base using snail adhesive. The plan for the heart was to leave it blank this time, but when the card was put together I’ve changed my mind. I colour the heart using a Real Red marker and then filled it with Crystal Effects. I have to say I love how a little of Crystal Effects makes the heart just POP! sky is the limit 4

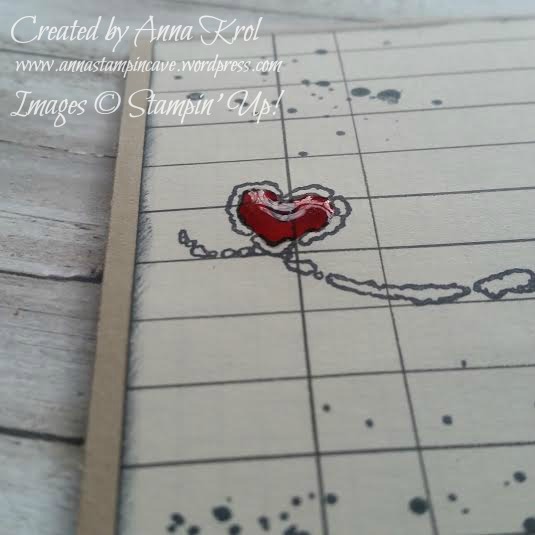
It’s been ages since last time I’ve made masculine cards, so rather pleased how these turned out. I was wondering which of the finishes get more votes: Wink of Stella or Crystal Effects. So I’ve asked my fellow crafters (showing them just a hearts sneak peek) what they think. And I’m not surprised that Crystal Effects gets more votes. And which finish do you prefer? Let me know in the comments below.

Thank you for stopping by and have a great day,

Easy Peasy Bokeh Technique And Tin Of Cards Stamp Set By Stampin’ Up!

Bokeh technique! Have you ever tried it?! I loved this technique “from aside” for a while but never get around to try it myself. Until now 🙂 And why oh! why I waited so long?! hahaha

This is such a cool and easy technique and you can achieve this effect in many different ways. But wait, what the bokeh effect is and means?! In photography bokeh (originally /ˈbkɛ/, /ˈbk/ boh-kay — also sometimes pronounced as /ˈbkə/ boh-kə is the aesthetic quality of the blur produced in the out-of-focus parts of an image produced by a lens. The term comes from the Japanese word boke (暈け or ボケ), which means “blur” or “haze”, or boke-aji (ボケ味), the “blur quality”. The Japanese term boke is also used in the sense of a mental haze or senility. The term bokashi (暈かし) is related, meaning intentional blurring or gradation.

pobrane

Cool, hey? 🙂

To achieve a similar effect on your card you can try the watercolour technique background which can be pretty amazing, and for the “blur” you simply add lighter “circles” with white pigment ink. And what’s cool about the pigment ink, you can make your circles as soft or as intense as you wish.

The first card I created is for my hubby’s 41st Birthday which happens to be today! HAPPY BIRTHDAY, BABY!!! I love you to the moon and back! You are such a blessing in my life xx

ja aaa

You must have noticed our ‘cheeky little thing’ photobomb the picture haha

And here’s the card –

Happy Birthday Card - Anna's Stampin' Cave

For the background, I’ve used three colours of ink: Pool Party, Bermuda Bay and Island Indigo. I’ve sponged the panel randomly, making sure all the colours are blended well. When I was happy with my background I started adding circles in various sizes with Whisper White Craft Ink and sponge.

Happy Birthday Card - Anna's Stampin' Cave

Sentiment and border come from Tin Of Cards stamp set that coordinates with Tin Of Cards Project Kit. But this set is so versatile with its bold images. Once you’ve created your beautiful kit you can use that stamp set over and over again on different occasions. I stamped the sentiment in Versamark and heat-embossed with black embossing powder. Stars are punched with Confetti Stars Punch. To add some WOW effect I added Crystal Effects to the sentiment and stars. I love how they “pop!” from the card.

But because I had all my supplies out, I’ve created three more cards using same technique and stamp set but different colours.

A Happy Hello Card - Anna's Stampin' Cave

For this one, I used Daffodil Delight, Watermelon Wonder and Melon Mambo. For a little twist, I stamped my sentiment onto vellum and added a circle full of punched out stars so the background is peeking from behind. I really love this effect. Larger star comes from Itty Bitty Accents punch pack and it holds vellum in place.

Thank You Card - Anna's Stampin' Cave

My third card is a Thank You card. And again same technique but different sentiment and colours: So Saffron, Pear Pizzazz and Old Olive. And again I used Crystal Effects on stars and sentiment.

For my last card today I used Wisteria Wonder, Perfect Plum and Rich Razzleberry.

Congrats To You - Anna's Stampin' Cave

But this time I decided to add a vellum “screen” to my layout. Such an easy way to intensify the blur effect.

Hope you like my today’s cards and that I’ve inspired you to try bokeh technique yourself. Honestly, I had lots of fun creating these cards and would love to hear what you think about them. Please let me know in the comments below.

Thank you so much for stopping by,