Hello everyone! Today I wanted to share with you couple of cards I created a few weeks back. In August we had two birthdays in close family: my niece had her 15th birthday, and my little sister was celebrating her round 20 🙂
For both cards, I’ve used the same layout, but by simply changing focal point and embellishments I created two cards that looked completely different 🙂
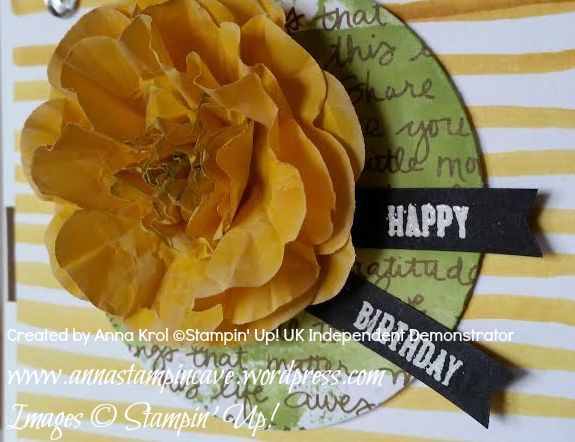
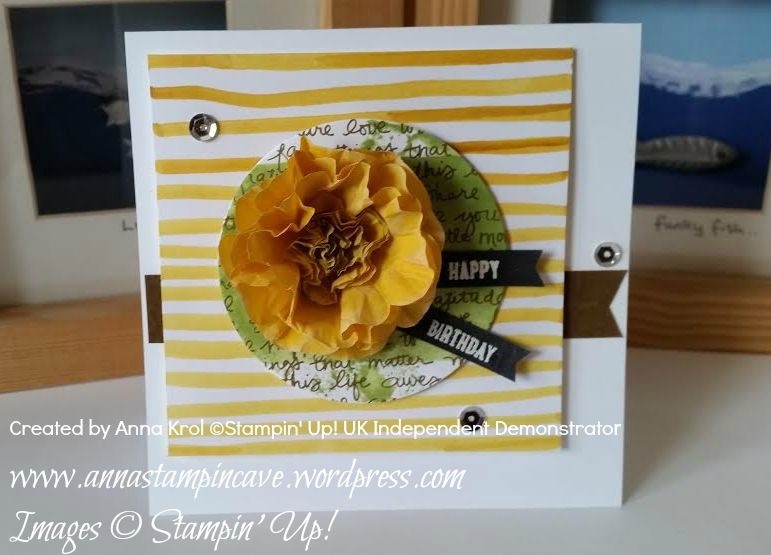
The first card I’ve made for my niece and I was dying to use our new Cotton Paper. With Floral Frames framelits, Pansy Punch and Petite Petals Punch I created this amazing 3D flower.
I’ve sponged edges of petals with Whisper White Craft ink and close to center slightly in Wild Wasabi. The sentiment comes from Sprinkles Of Life; stamped in Versamark and heat embossed in white on a piece of Basic Black.
The base for a card is 4×4″. The first layer is 3×3″ and I created this patterned paper myself. I simply used Stampin’ Write Marker in Crushed Curry and hand-drawn horizontal lines – cool, isn’t it? The second layer is a circle cut out from a piece of Neutrals DSP Stack (Soft Suede) with Wild Wasabi watercolour “wash”. For more interest, I added a banner underneath my layers and few sequins.
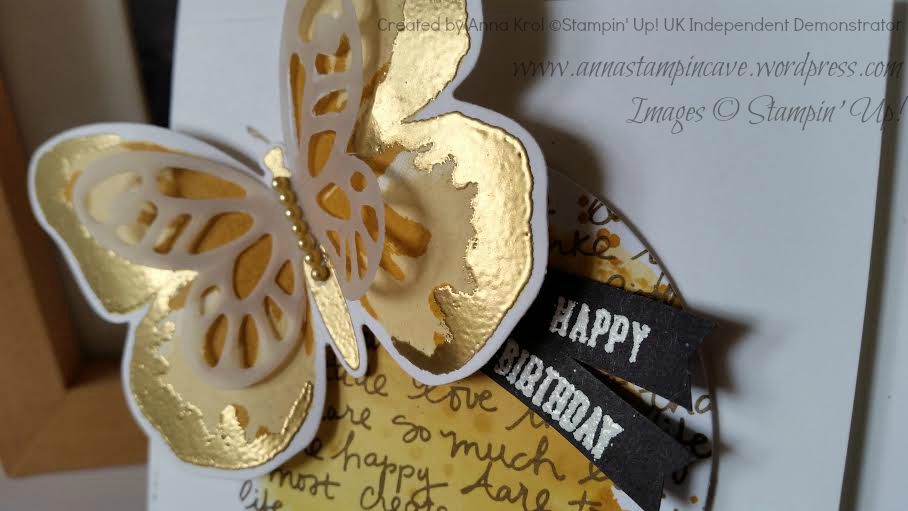
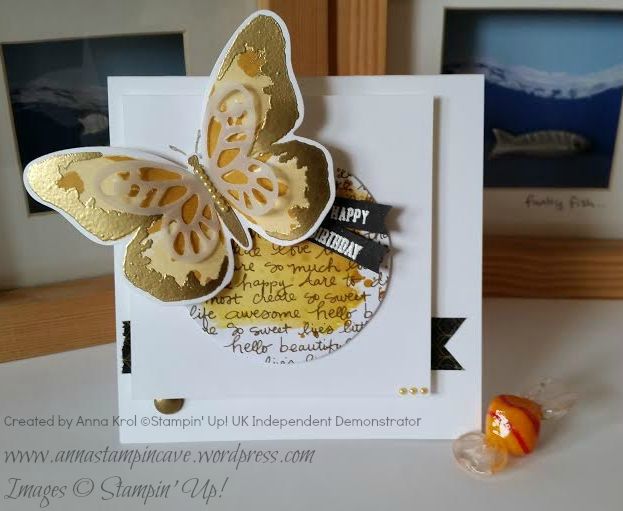
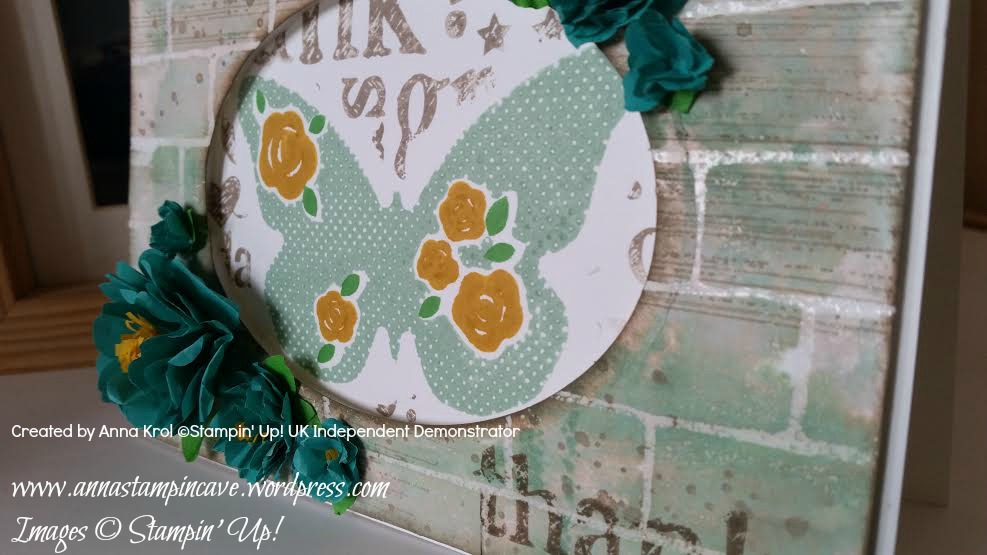
The second card I’ve made for my sister’s birthday. As I mentioned it’s the same design. The only difference is that I kept 2nd layer clean and for the circle, I used So Saffron, Hello Honey and Delightful Dijon “wash”. Same colours I’ve used for this gorgeous butterfly from Watercolor Wings.
The edges of wings and the body of butterfly I heat embossed in gold. On top, I added small vellum butterfly. Tiny yellow pearls, as well as a piece of black/gold washi tape, comes from my stash. Can you see little gold “bauble” peeking from underneath white layer? It’s one of White Perfect Accents, heat embossed in gold.
So what do you think about my cards? My niece and sister loved them to bits, so I really hope you like them too.
Thank you for joining us on our second Pootler’s Blog Hop! This Blog Hop is all about new Stampin’ Up!® Annual Catalogue so prepare yourself for lots of beautiful projects and tonnes of inspiration. Simply use the buttons at the end of each post to keep hopping!
If you have arrived here from Keren’s blog thank you for stopping by. I hope you enjoy seeing the inspiration from our team and continue to hop on through to see what everyone has made.
It’s actually my very first blog hop so I’m a little bit nervous but hey – let’s have some fun!
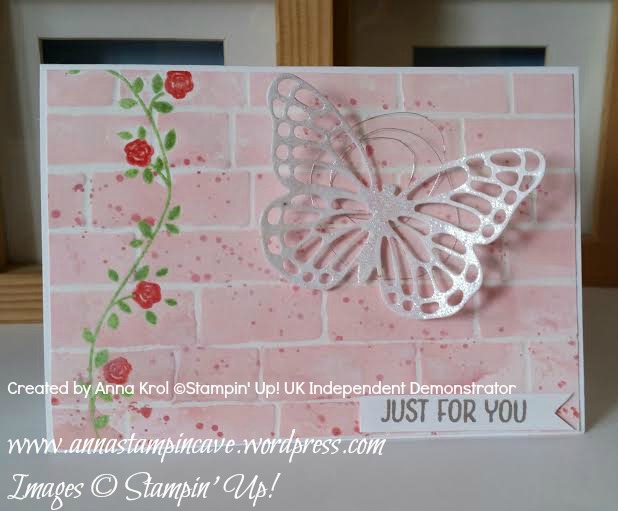
For today’s projects, I’ve chosen gorgeous new hostess set Floral Wings. The idea for today’s cards was born the minute I saw our new 6×6″ Brick Wall Embossing Folder.
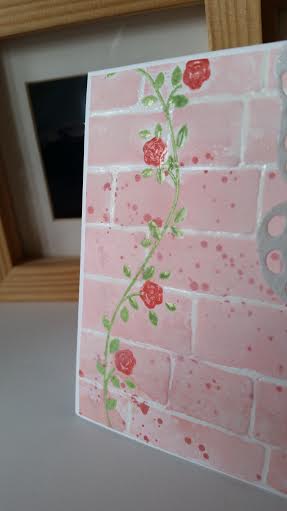
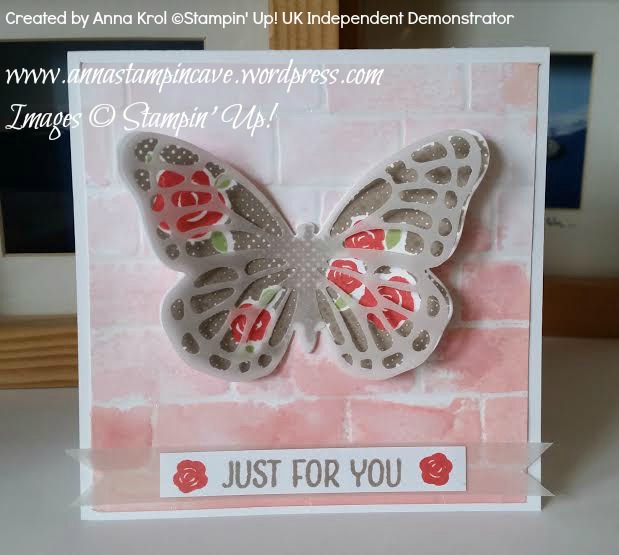
For my top layer, I stamped the vine and roses first before embossing it with Brick Wall TIEF. But I wanted to watercolour my panel so needed my images to be water-proof. To achieve it I ink vines stamp in Versamark first, followed by Pear Pizzazz ink pad – this way once stamped Versamark was on top and I could emboss it with clear embossing powder. I did the same with roses, just used one of our new In Colors: Watermelon Wonder ink pad. The sentiment is stamped in another new In Color: Tip Top Taupe.
I’ve used embossing resist technique to create the background. I applied Versamark onto the ridges of embossing folder ( on the side that says Sizzix) and run it through the Big Shot with a piece of Whisper White. Then I heat embossed it with clear embossing powder. I used Pink Pirouette, Blushing Bride and Watermelon Wonder to watercolour my panel, and added few Gorgeous Grunge splotches.
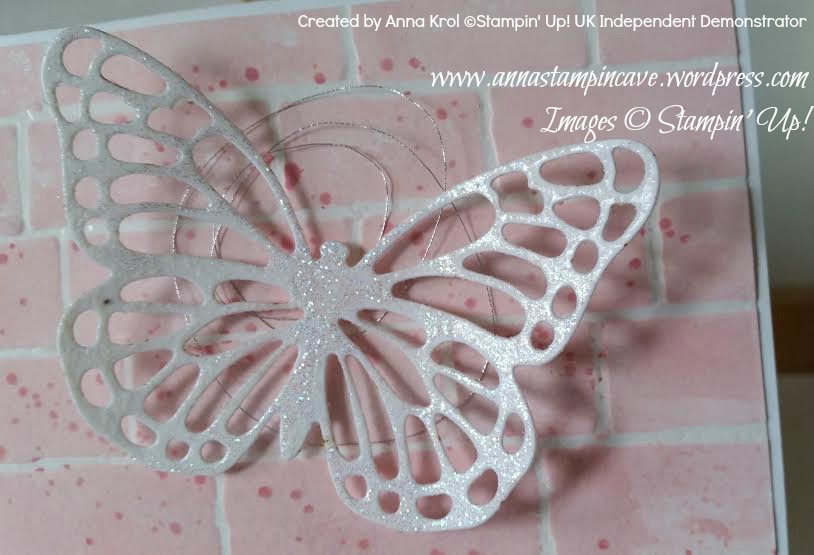
I die cut butterfly from Whisper White and embossed it using Iridescent Ice embossing powder for some sparkle. Tiny bit of new Silver Metallic Thread (L.O.V.E. this stuff!!!) and my card was done 🙂
My second card measures 4×4″ and background (panel) is made using the same technique.
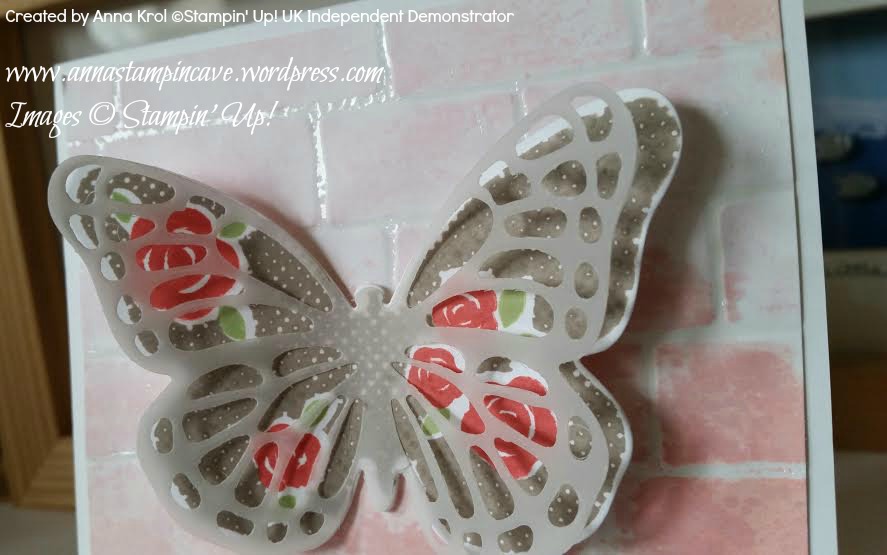
This time for the focal point I’ve used this gorgeous three-step butterfly stamp from Floral Wings set. First I stamped wings in Tip Top Taupe. Next roses in Watermelon Wonder. Leaves are the third step. I’ve used (again) Pear Pizzazz. I die cut the butterfly using new Bold Butterfly Framelits, but if you don’t have dies you can also fussy cut it. The second butterfly is die cut from vellum, this time with Butterfly Thinlits Die. I layered them together to add some more interest and dimension to the card.
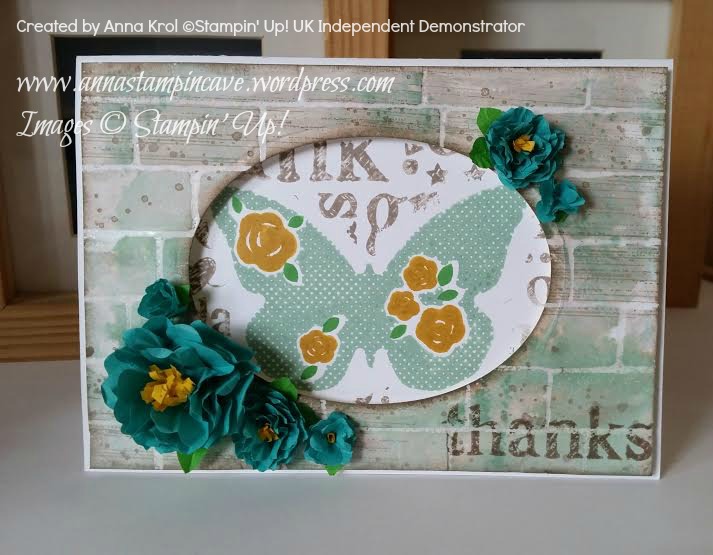
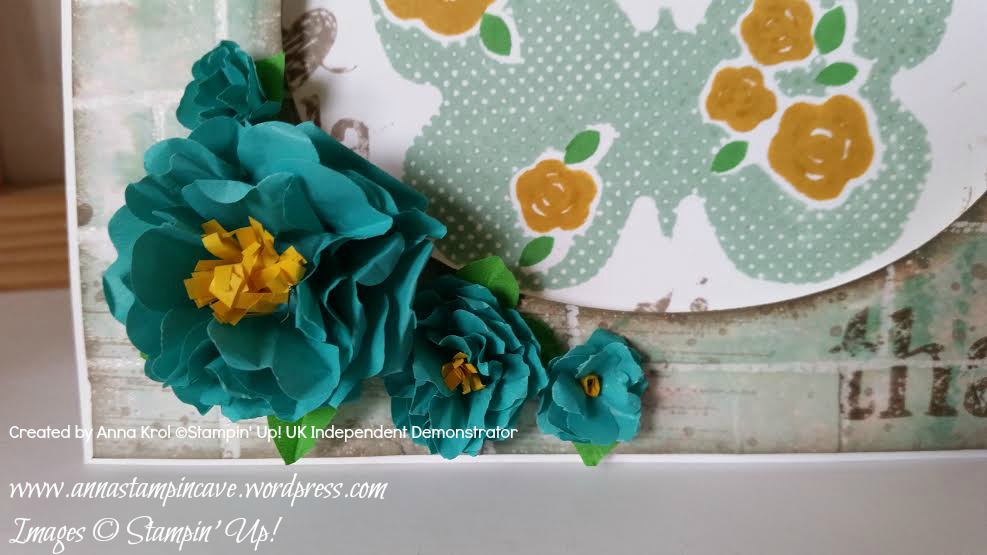
My last card for today uses same technique and stamp set like previous cards – just completely different style and different colours. I also used new background stamp A World Of Thanks and Cotton Paper. And again – I love this stuff! I know that many people got mixed feelings about it but I truly, deeply love it 🙂 Cotton paper is quite thin, like a tissue paper, but is much, much stronger. Really hard to tear it’s perfect for making flowers. It die-cuts beautifully but if you want to use punches (like me in this project) bear in mind that you need to punch through several layers at a time, otherwise it won’t punch. But enough talking – here’s my card:
I won’t go into details how I made the entire card, but…
For flowers, I’ve used Bermuda Bay cotton paper and three different punches: Pansy Punch for the largest one (six layers), Petite Petals Punch for medium flowers (six layers) and little flower from Itty Bitty Accents Punch Pack for the tiny ones (three layers for each flower).
To make leaves I’ve used Petite Petals and Flower Medallion punches and Cucumber Crush cotton paper. For the flower centres, I’ve used 2/8″ wide and around 2″ long strips of Crushed Curry cotton paper. I do not own fringe scissors however it wasn’t that hard to make tiny cuts (halfway) through those strips. Adhered them with Tombow glue.
I really hope you’ve enjoyed my projects today. Which one is your favourite? Feel free to leave a comment below. Next stop is lovely Jerim at Willow Piggy. I’m sure she’s made something beautiful for you.