
Last-Chance Products – Retiring List Announced

Anna’ Stampin’ Cave – Last-Chance Products – Retiring List Announced

Anna’ Stampin’ Cave – Stampin' Up! Last-Chance Products – Retiring List Announced

It’s that time of the year again, when Stampin’ Up! is getting ready to retire stamps and accessories from both the Annual and Spring Summer catalogues. As sad as it is to see these products go, there’s still time for you to get them before they’re gone. Retiring products will only be available until 31 May, or while supplies last. So if there’s something from retiring products on your wishlist, don’t wait until last day – once they’re gone, they’re gone. And they are selling fast!

Check retiring stamp sets here –>

Check retiring bundles here –>

Check retiring everything else here –>

You can also download a list of retiring products from Spring/Summer Catalogue below:

The list of retiring products from 2017-2018 Annual catalogue can be found below:

Promotion Information

  • Promotion dates: 9 April–31 May 2018 beginning at 21:00 (CET)/8:00 p.m. (GMT)
  • There is no minimum purchase required to participate in this promotion.
  • Retiring items may be added to all order types
  • All retiring items are only available while supplies last and will be discontinued after 31 May.
  • Due to high demand for retiring stamp sets, retiring stamp sets will be guaranteed available until 7 May; all other products are not guaranteed and are only available while supplies last.
  • Retiring items are eligible for Stampin’ Rewards with qualifying orders.
  • Retiring host sets can only be purchased using Stampin’ Rewards from a qualifying party/order
  • Depending on inventory levels, discounts on select products may be introduced on or after 8 May.
    • These discounts will not be preannounced.
    • If you buy a product at a retail price and then it is later discounted, Stampin’ Up! will not refund the difference.
    • If there is a product you want, we recommend buying it right away and not waiting to see if it’s discounted later or you risk it being sold out.
    • If you start an order before a discount is announced, the order will not include the discounted pricing. If you want to order a product that has been discounted, you will need to start the order after the discounts are announced.

Order Deadlines

  • Phone: 31 May 2018, by 17:50 (CET)/4:50 p.m. (GMT)
  • Online: 31 May 2018, by 23:50 (CET)/10:50 p.m. (GMT)

If you have any questions please drop me a message. I’m more than happy to help.

Thank you for stopping by and have a blessed day

Hostess Code for a month of April: 77BSGU7H – Use this code in the month of April and receive a gift from me. Spend £75 or more and use the code, and you will receive from me a Berry Burst 3/8″ (1 cm) Metallic-Edge Ribbon plus BRAND NEW Stampin’ Up! 2018-19 Annual Catalogue and a handmade gift. Special Notes:
1) Make sure you select Anna Krol as your demonstrator;
2) If you select “No Contact” box I do not have access to your name and can’t send you a gift;
3) If your order is £150 or more do not use the code and grab your own Stampin’ Rewards + gift from m

Don’t forget to check:
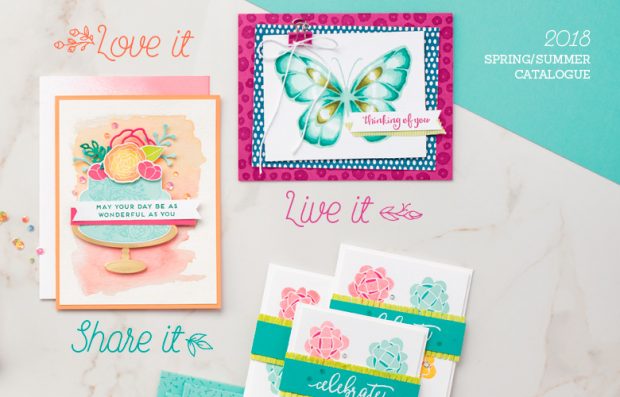
Spring Summer 2018 catalogue is in full swing. Click here for more details –>

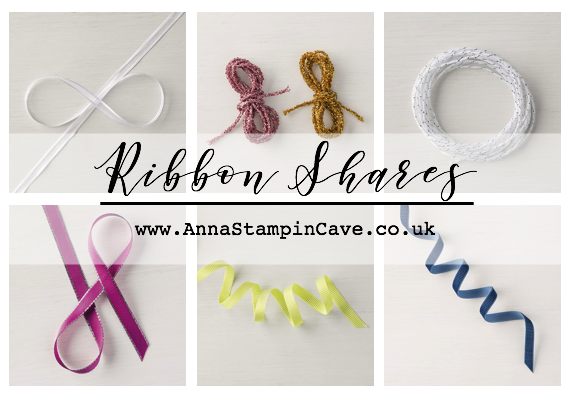
Spring Summer Catalogue Paper & Ribbon Shares. Shares are open to Austria, France, Germany, Netherlands & United Kingdom. 102 sheets of DSP & 2 yards of each type of ribbon from Spring/Summer Catalogue. Click here for more details —>

Ever wondered what it’s like to join Stampin’ Up!’s community? I may have few answers for you. Click here for more details –>
Stampin’ Up! Daisy Delight Sneak Peek

Anna’ Stampin’ Cave – Stampin’ Up! Daisy Delight Sneak Peek

Hello, everyone! What a beautiful day we had today down here in Coventry, Warwickshire. Even though I can’t fully enjoy the weather (yet) I managed to spend few minutes in the garden. And oh, boy, what a wonderful feeling it was.

Today I’m back with a lovely card I created for this week’s sketch over at Global Design Project Challenge Blog. I truly enjoy their challenges as each week they have a new challenge based on either a colour combination, a sketch, theme and CASE-ing the Designer. Lot’s of fun!

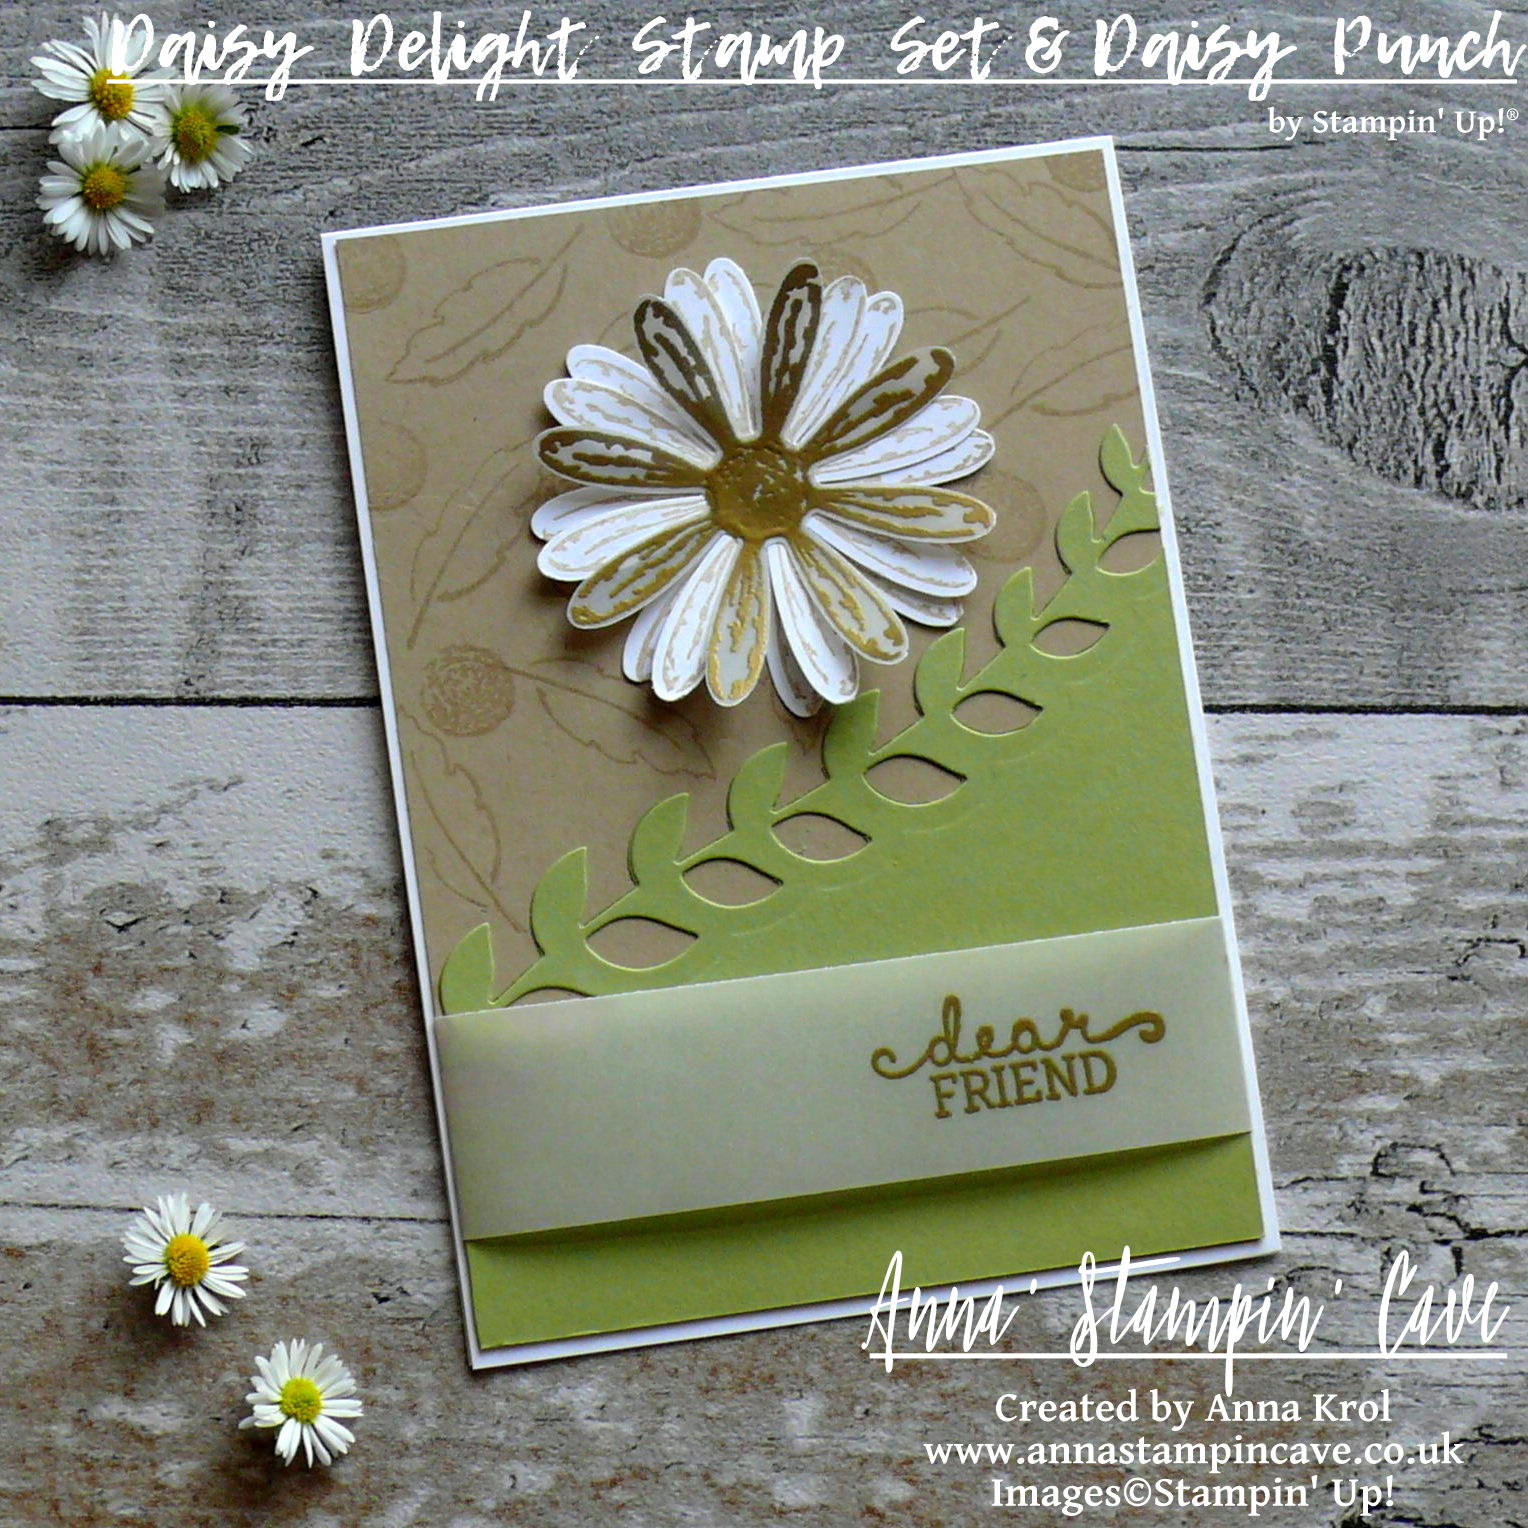
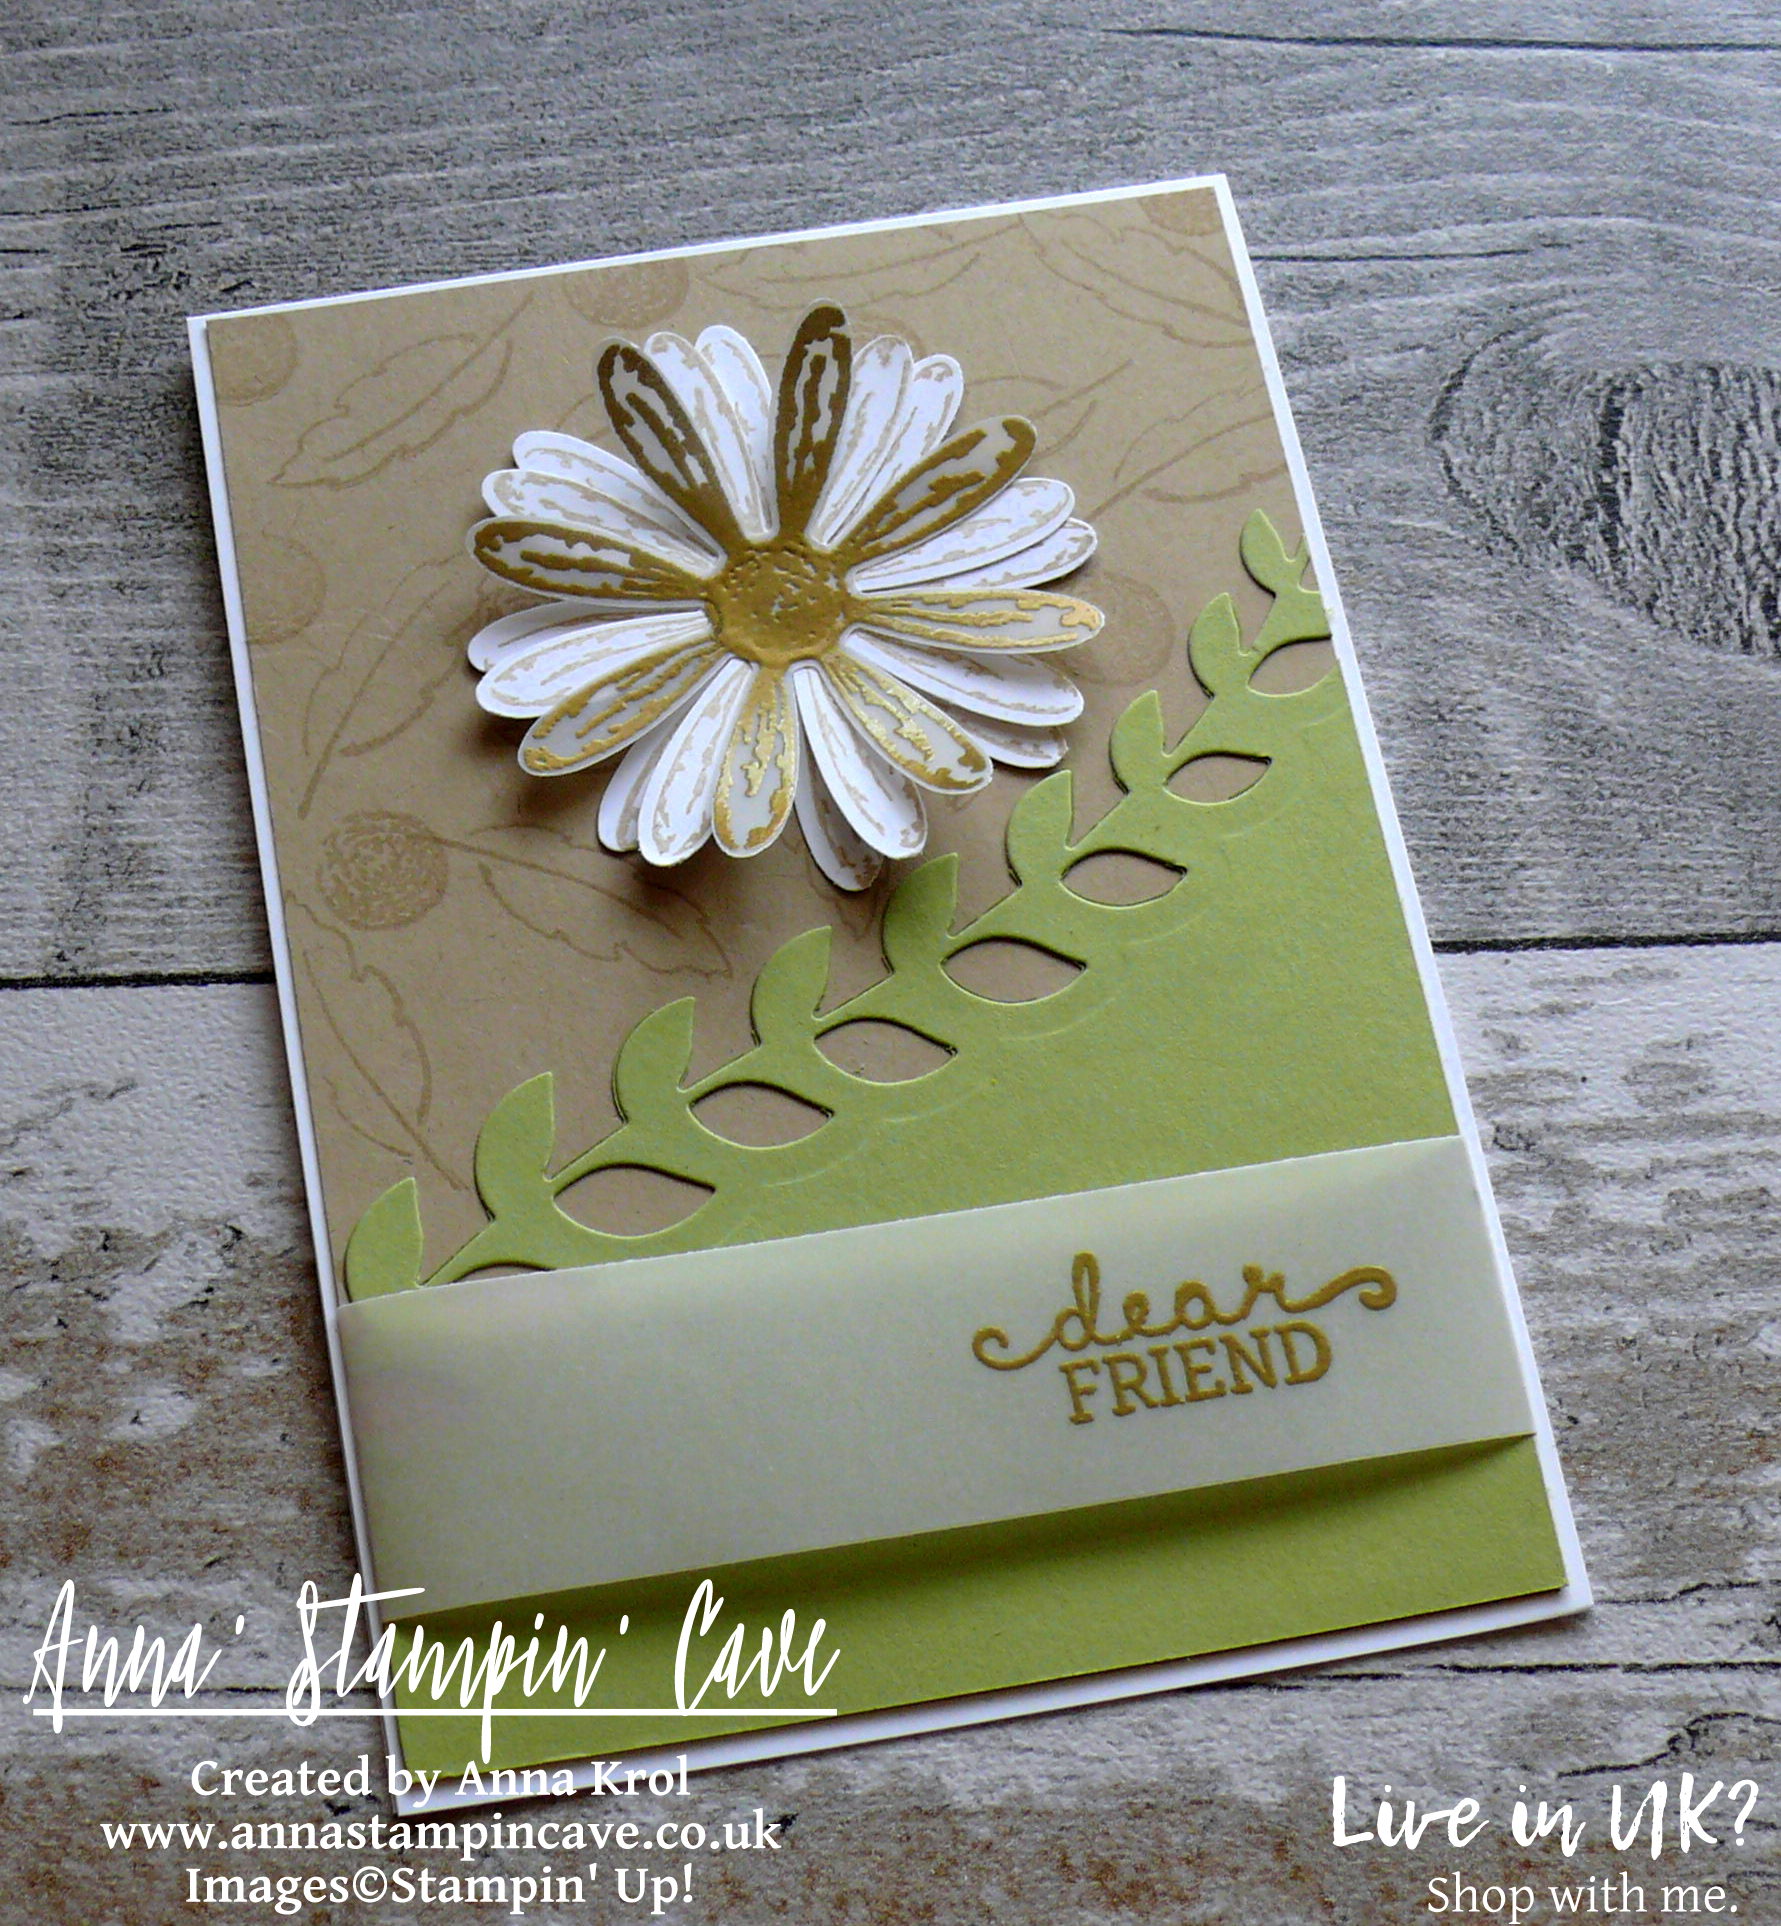
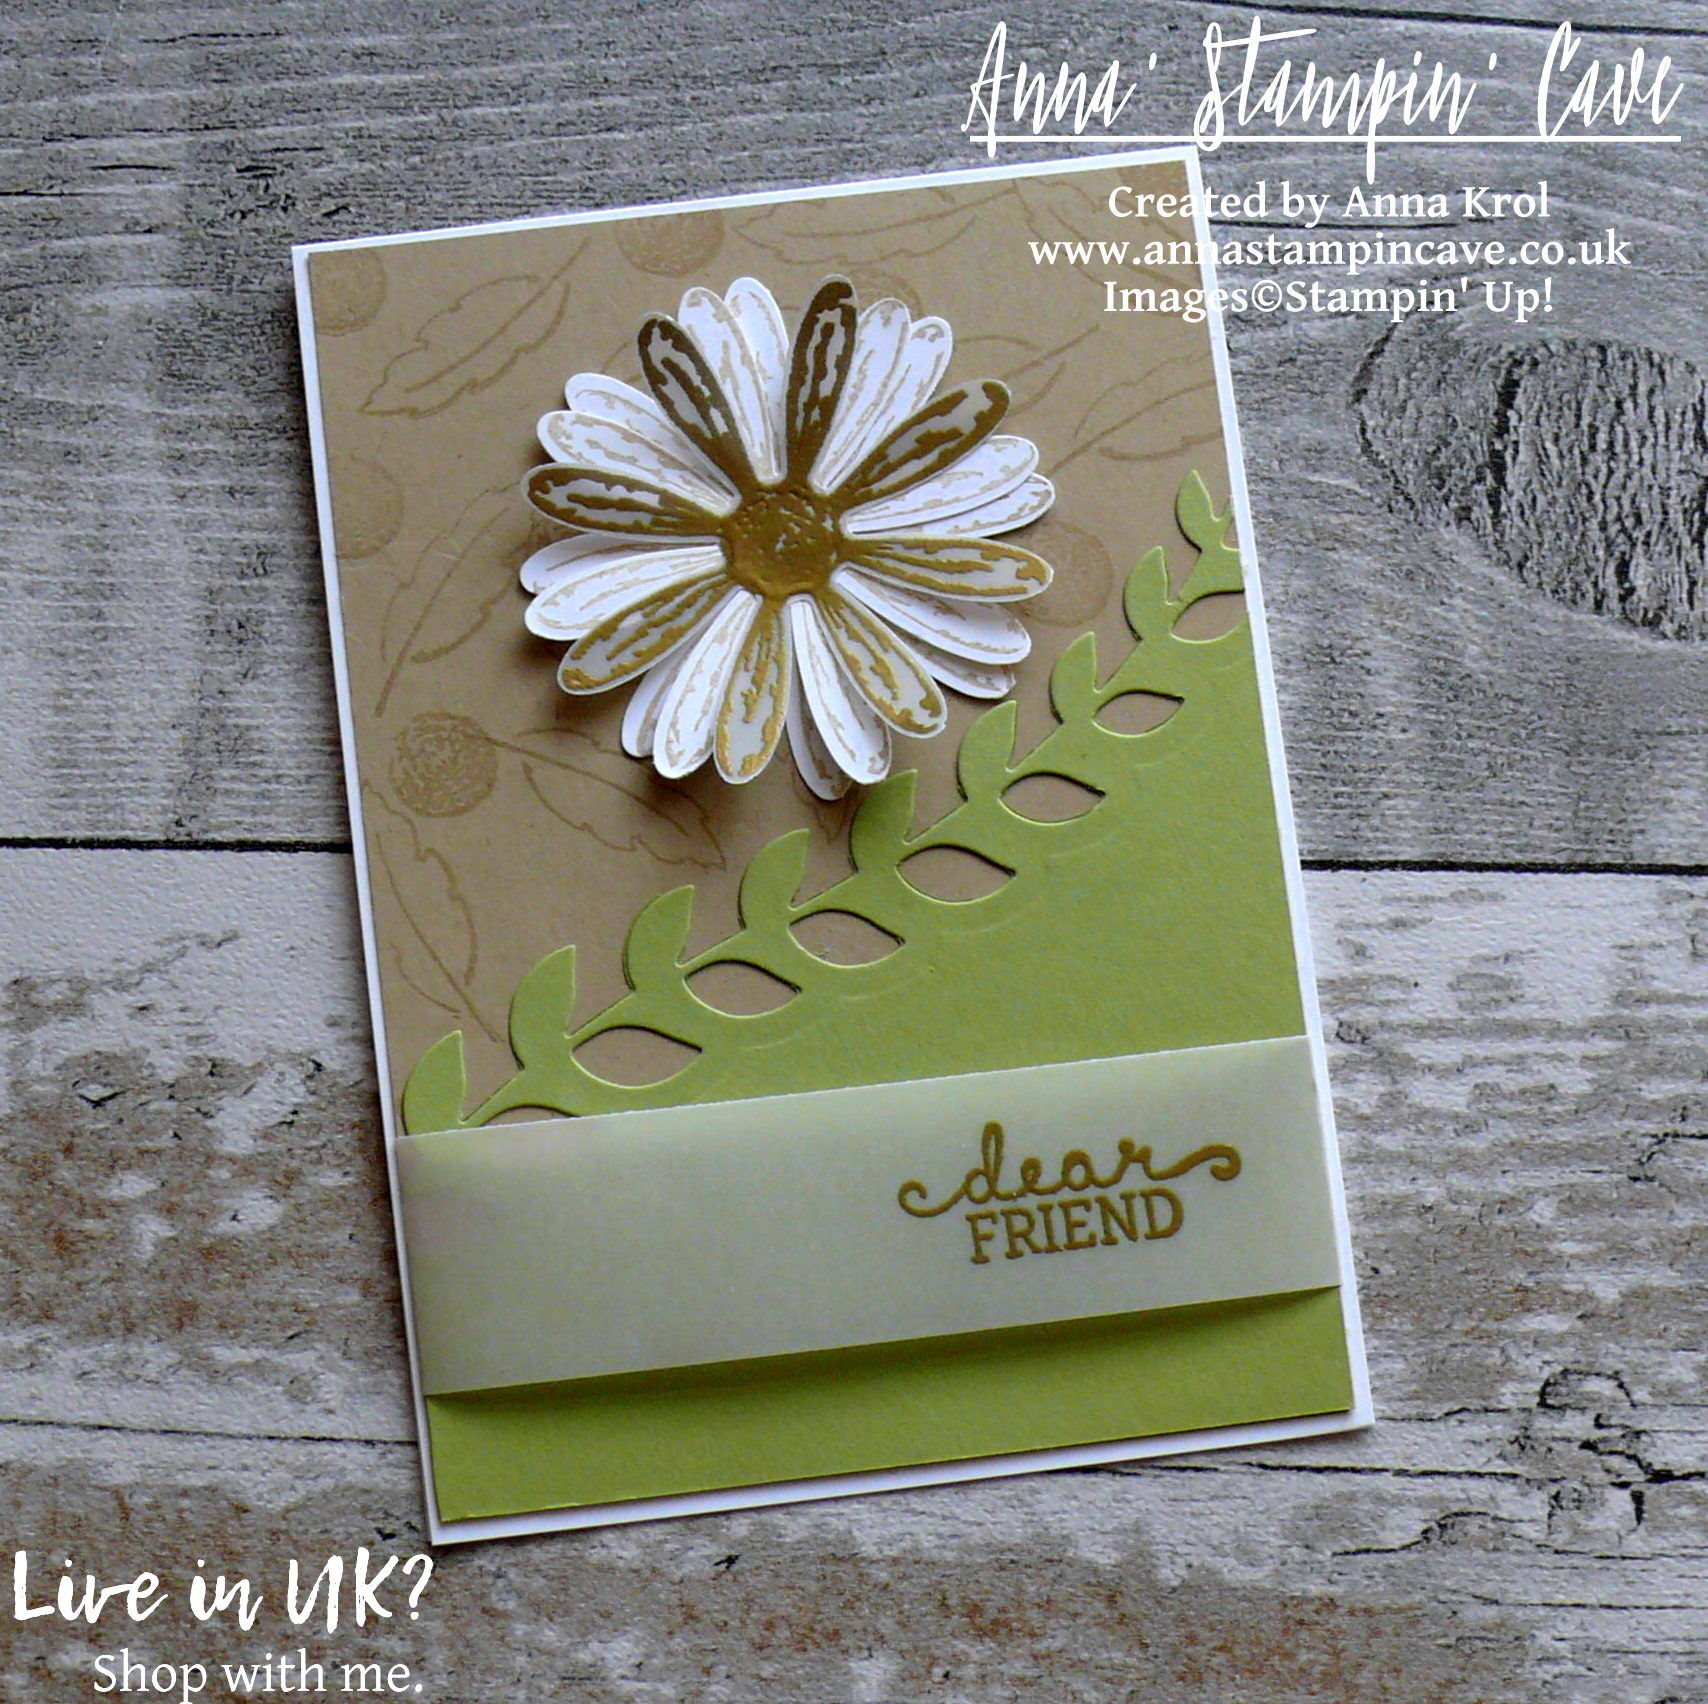
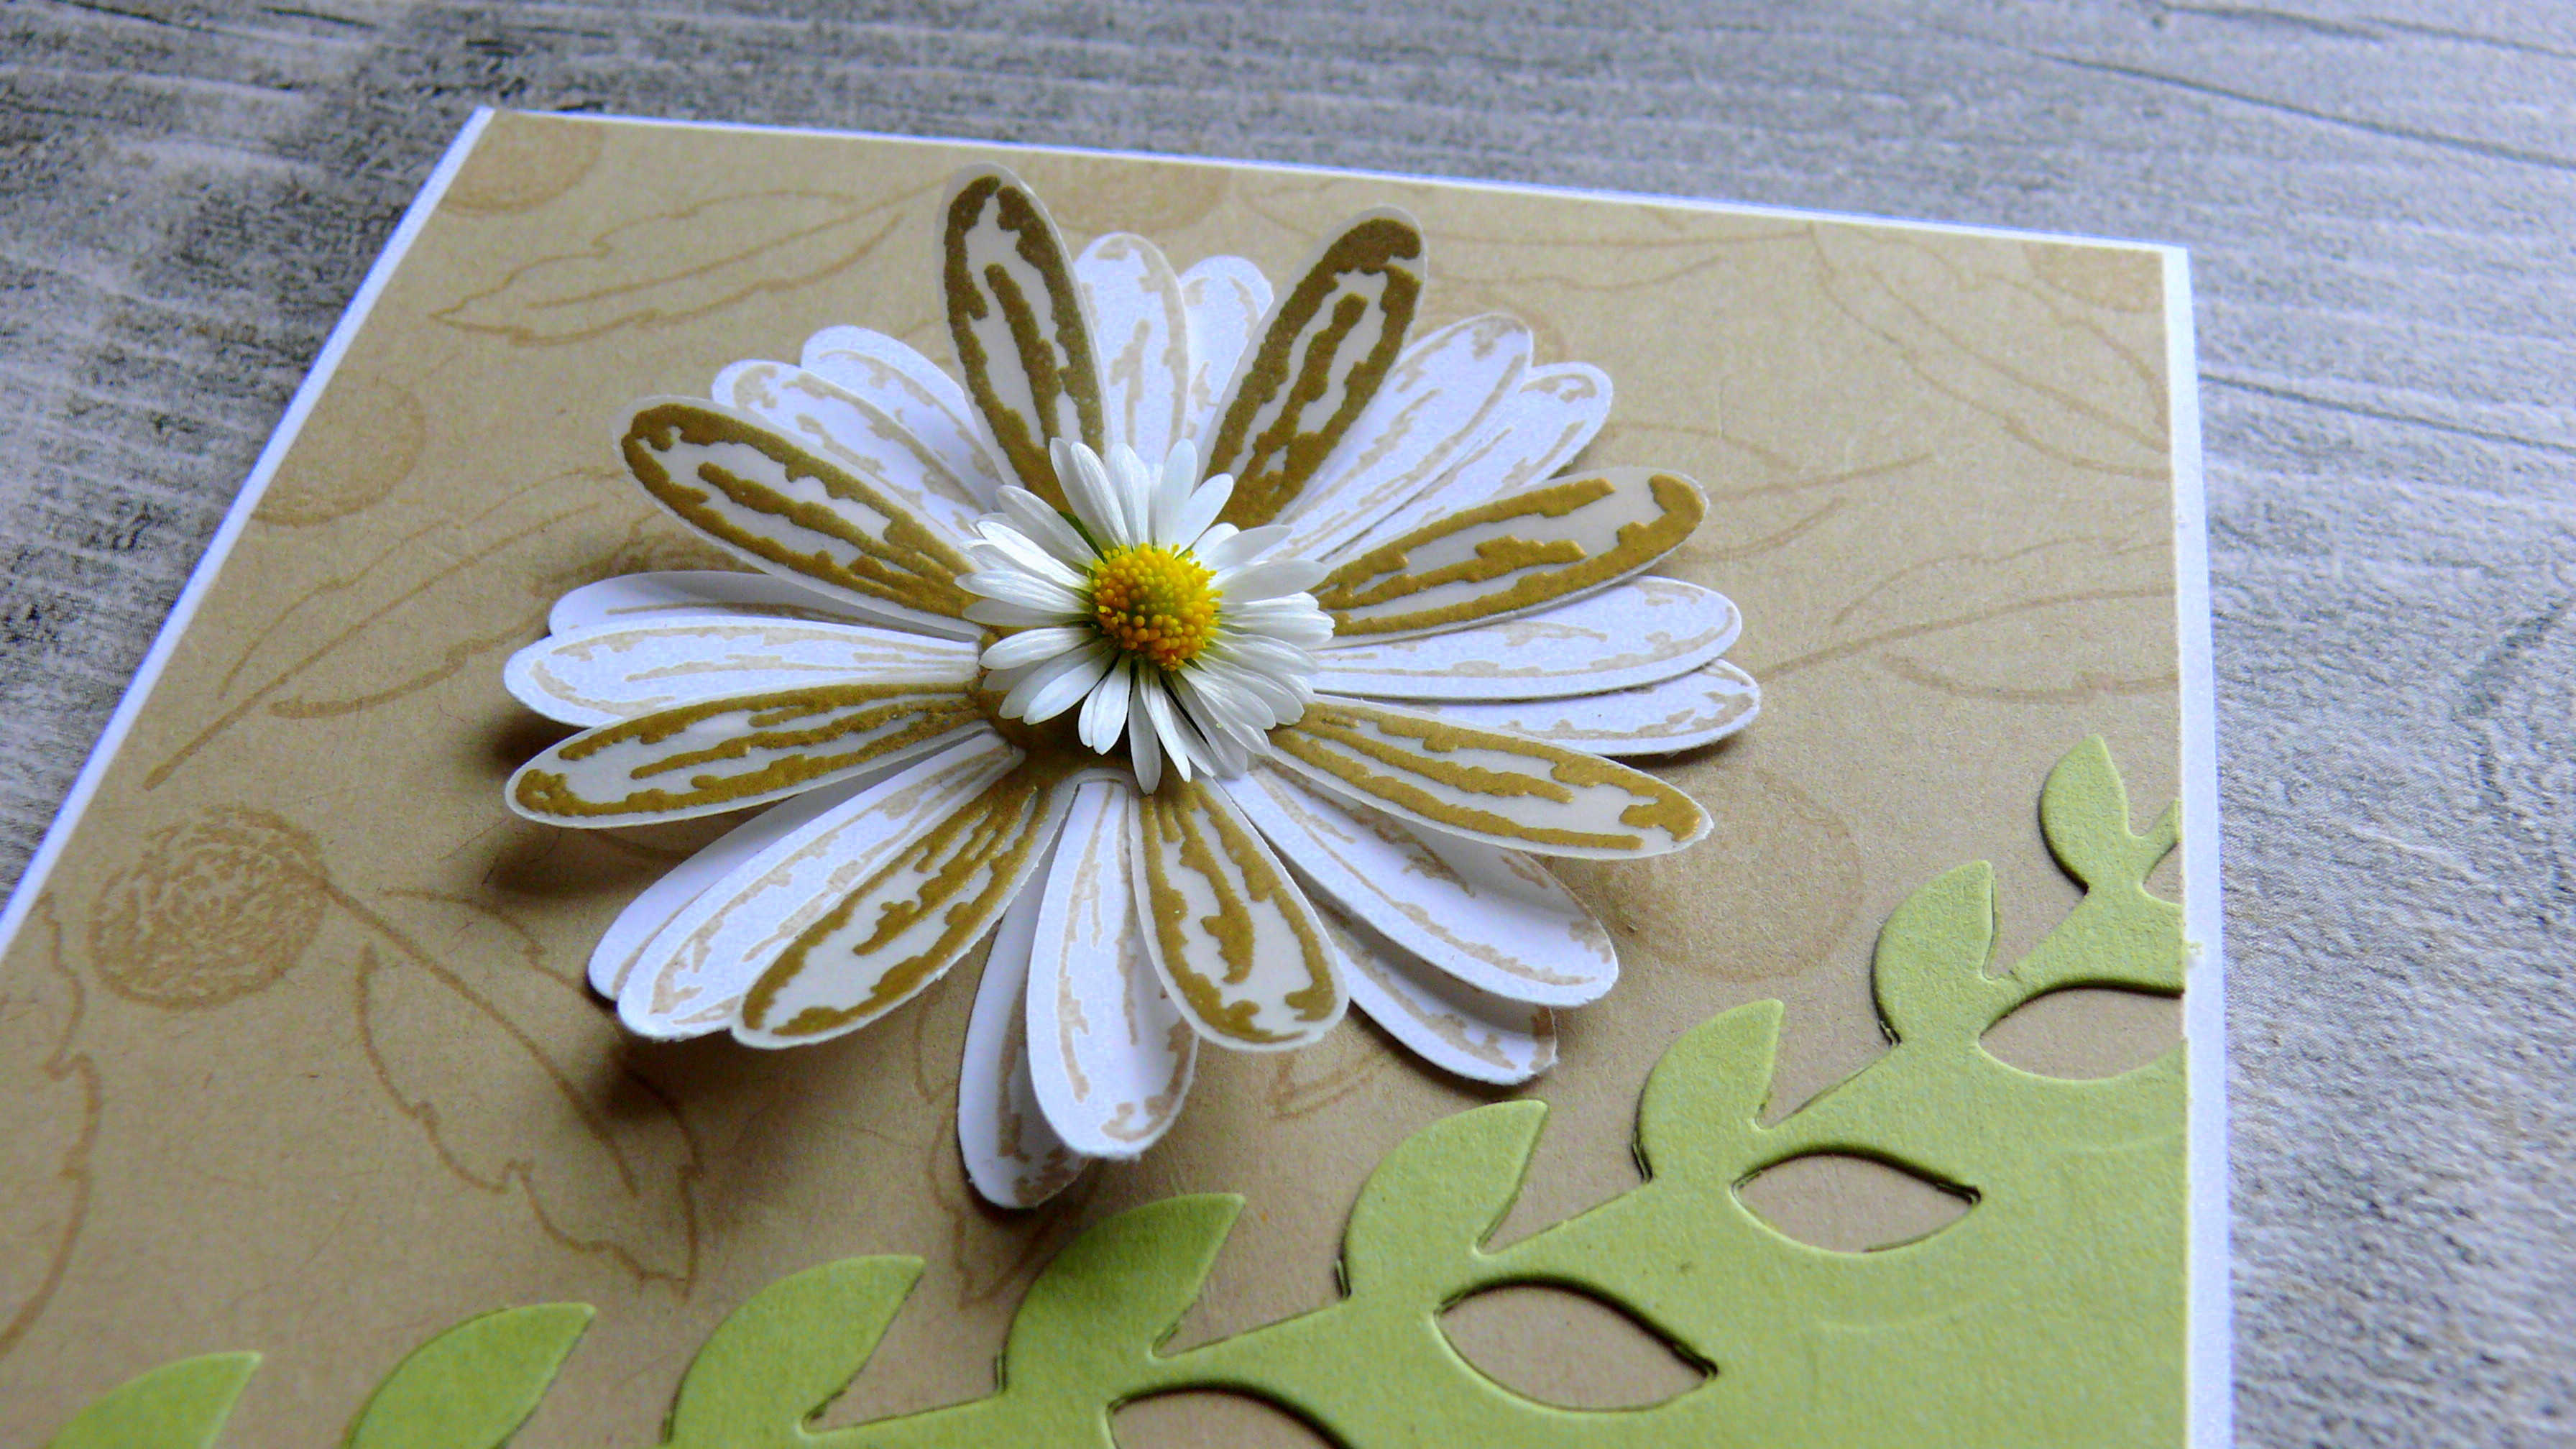
For my card today I decided to use some old favourites, as well as a sneak peek of new, coming soon bundle: Daisy Delight Stamp Set and coordinating Daisy Punch.

Dear Friend card dimensions:

  • Whisper White cardstock: 11-6/8″ x 4-1/8″ scored in half at 5-7/8″ (29.7 x 10.5 cm scored in half at 14.8 cm)
  • Crumb Cake cardstock: 5-6/8″ x 4″ (14.6 cm x 10.2 cm)
  • Pear Pizzazz cardstock: 5″ x 4″ (12.6 cm x 10.2 cm)
  • White Vellum cardstock: 1-1/8″ x 5-1/2″ strip
  • White Vellum and Whisper White cardstock scraps to stamp and punch daisies

First, I created the bottom half of my panel using the border die from retiring Botanical Builder Framelits Dies. I die-cut it at a slight angle, so it creates a diagonal ‘line’, and adhered it to the Crumb Cake panel. I also randomly stamped a couple of images from Daisy Delight Stamp Set: centre of the flowers and outline of the leaves, on the Crumb Cake panel.

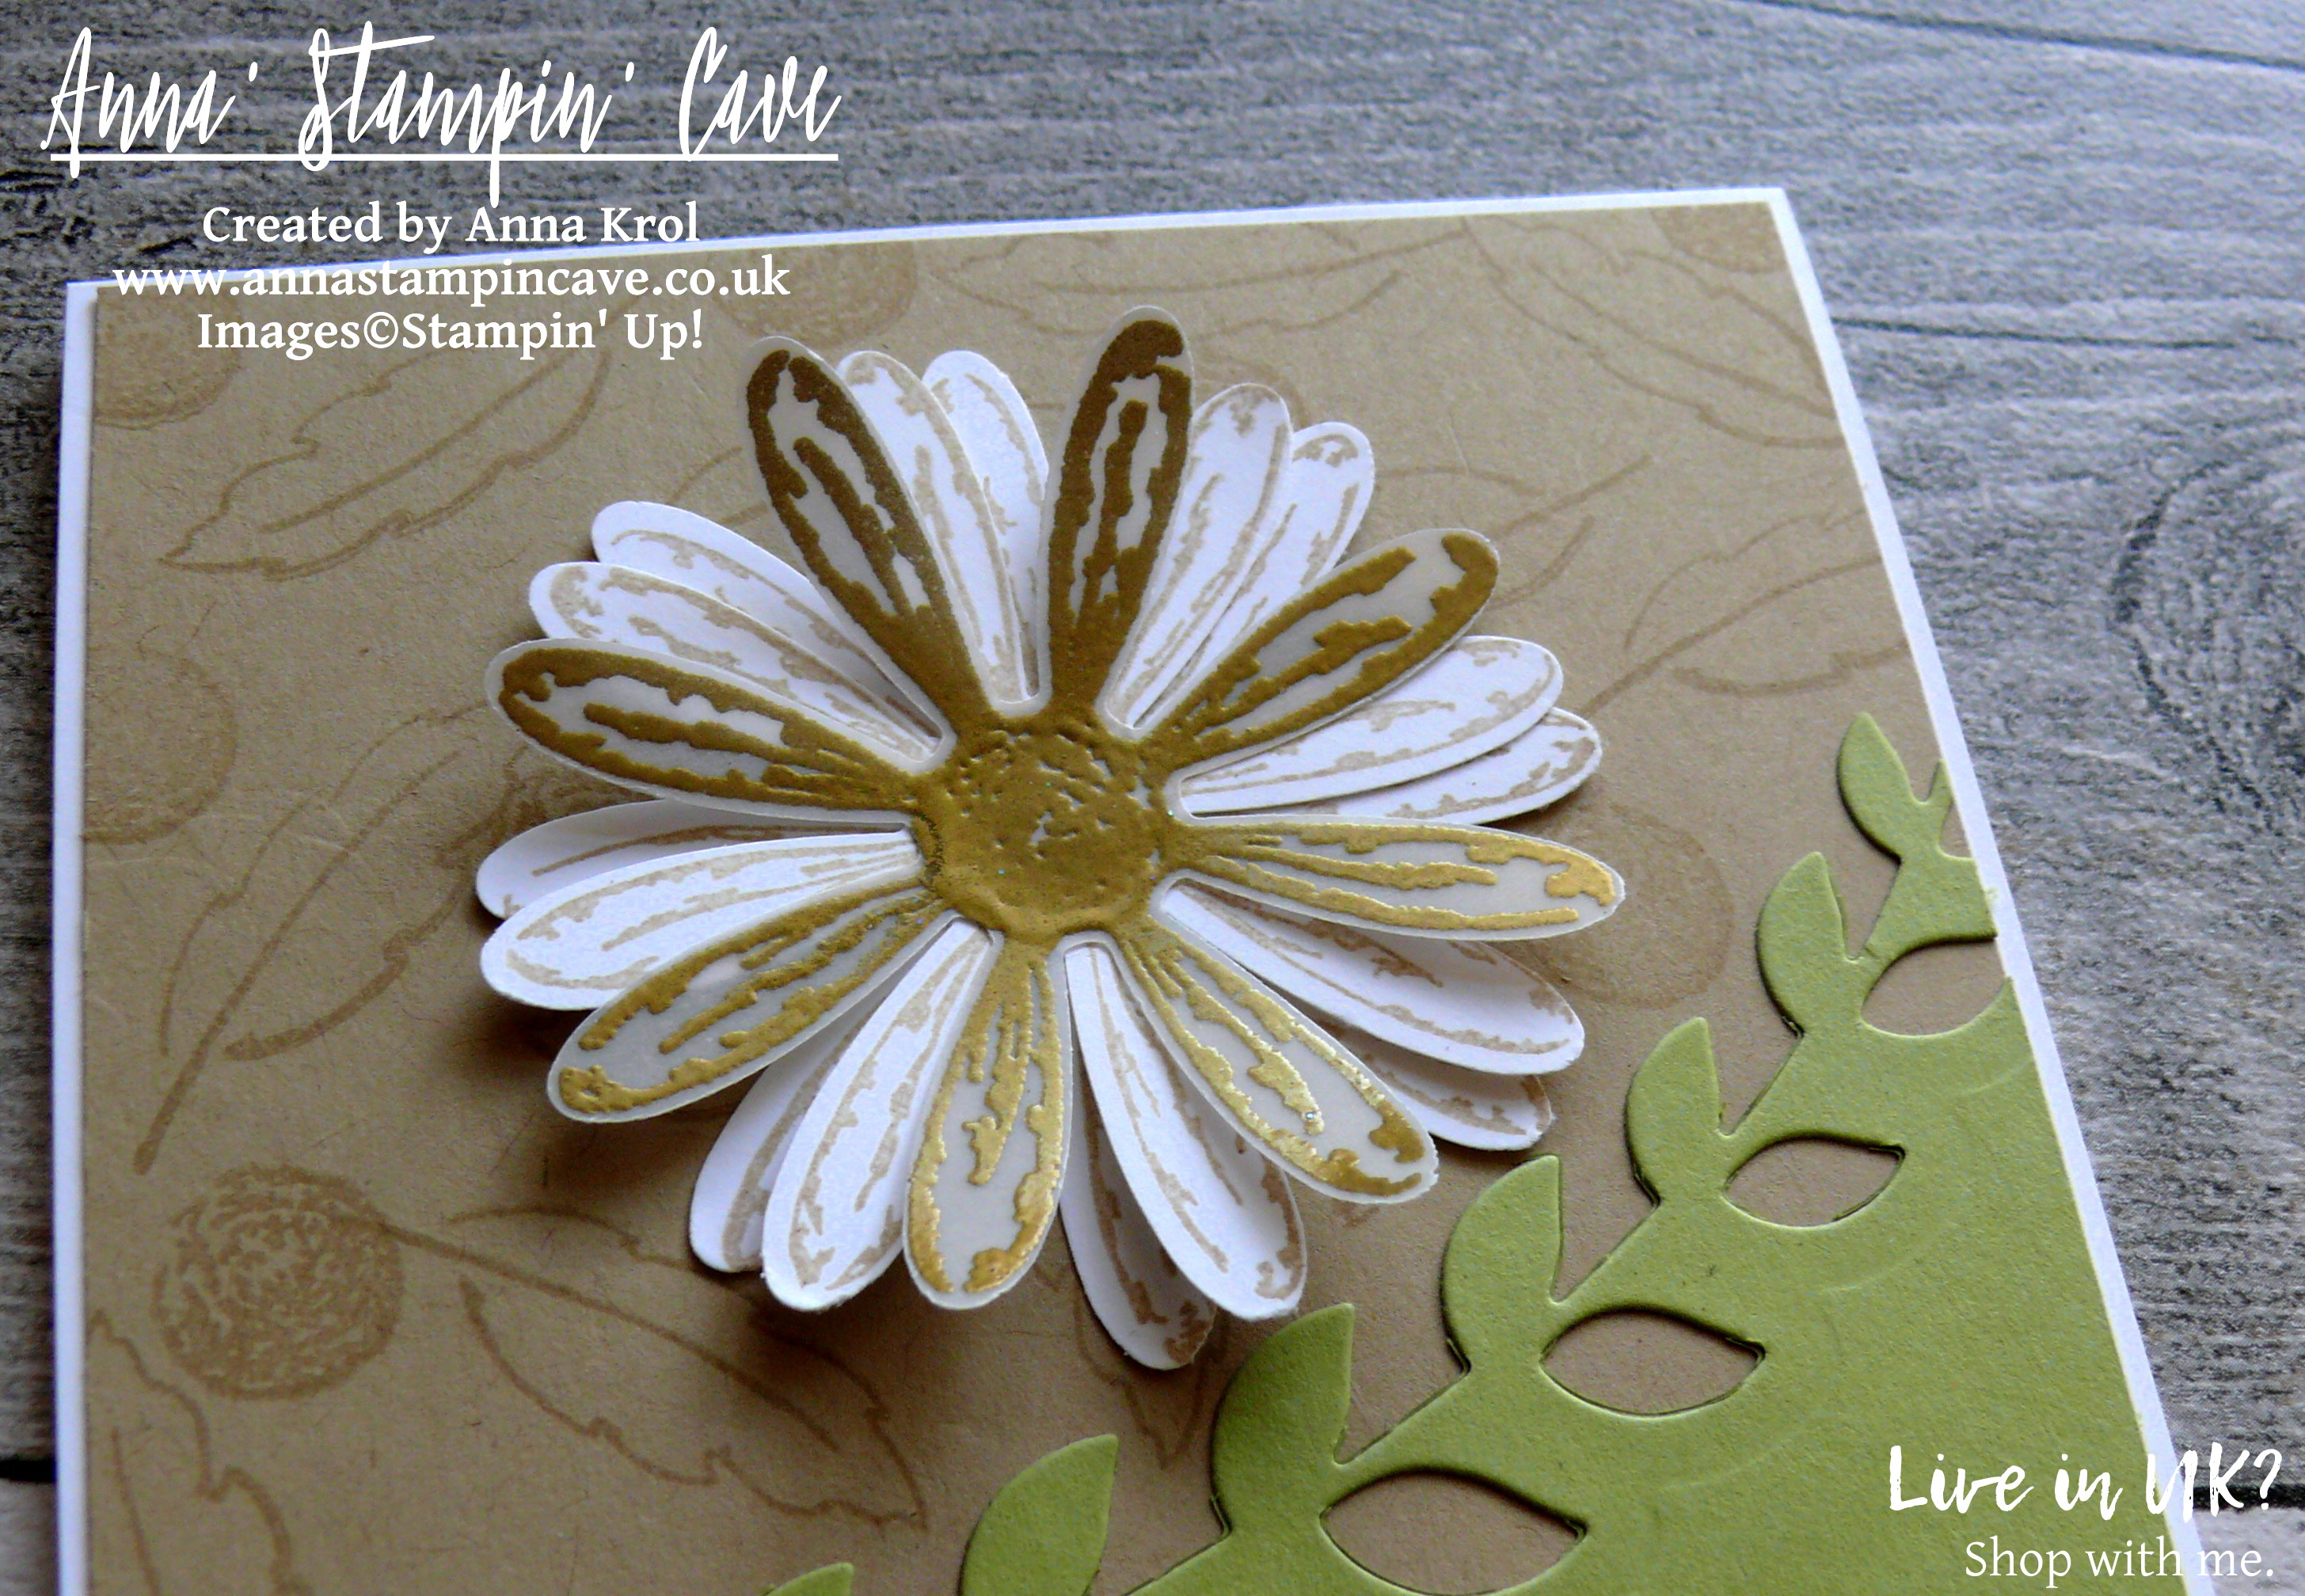
Next, I took a Crumb Cake ink pad and a scrap of Whisper White cardstock. I stamped two flowers from Daisy Delight Stamp Set and punched them out using coordinating Daisy Punch.

I also stamped one daisy and daisy centre onto vellum with Versamark ink, heat embossed it in gold and punched out as well. I layered all flowers together with vellum as a top layer, offsetting them slightly for extra dimension. I adhered them to my panel, just above Pear Pizzazz piece, using liquid adhesive.

The sentiment comes from Birthday Blooms Stamp Set and I heat embossed it in gold on a strip of White Vellum. Because my vellum strip was wider than the Crumb Cake piece I was able to adhere the ends to the back of my panel. This way I didn’t have to worry how to hide the adhesive. I mounted my panel to the card base.

And that’s my card for today. I hope you like it. I also hope you’ve enjoyed seeing a sneak peek of Daisy Delight Stamp Set and Daisy Punch. These both will be available in my shop on 1 June 2017. But if you don’t want to wait, and want to be able to order new products earlier, it’s as easy as 1…2…3… -> simply join the fun and order your Starter Kit. If you have more questions why don’t you drop me a message?

As always, I really want to encourage you to visit the Global Design Project challenge blog to see other beautiful projects from all around the world. Just click on their logo below to visit the website

If you wish to purchase any of products I have used, simply click the images below to go directly to my online store and don’t forget to enter the hostess code for the month of May SS3AK62K to receive a gift from me.

Just a reminder: Botanical Builder Framelits Dies are still available at a fraction of a price! But only until the end of May. After that date, you won’t be able to purchase them. So if you waited for a better moment to buy them – this moment is now.

Thank you for stopping by and have a blessed day,


Don’t forget to check:

Stampin’ Up! Spring Summer & Annual Catalogue 2016 2017 Retiring List

Anna' Stampin' Cave Stampin' Up! Retiring Products 2017

It’s that time of the year again, when Stampin’ Up! is getting ready to retire stamps and accessories from both the Annual and Spring Summer catalogues. As sad as it is to see these products go, there’s still time for you to get them before they’re gone. Retiring products will only be available until 31 May, or while supplies last. So if there’s something from retiring products on your wishlist, don’t wait until last day – once they’re gone, they’re gone. And they are selling fast! Click here for more details ->

Rustic Best Birds For Global Design Project #084 Challenge

Anna’ Stampin’ Cave – Rustic Best Birds For Global Design Project #084 Challenge

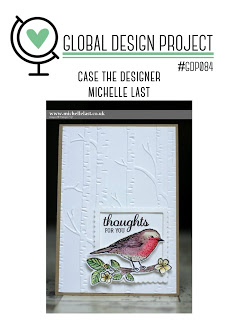
Hello and welcome everyone! Today I’m back with my entry for Global Design Project. This week is Case The Designer Challenge over at GDP and we’re casing wonderful Michelle Last. I have to admit I absolutely love Michelle’s style. She’s an incredible artist and amazing person too (I had the privilege to meet her in person a few years back).

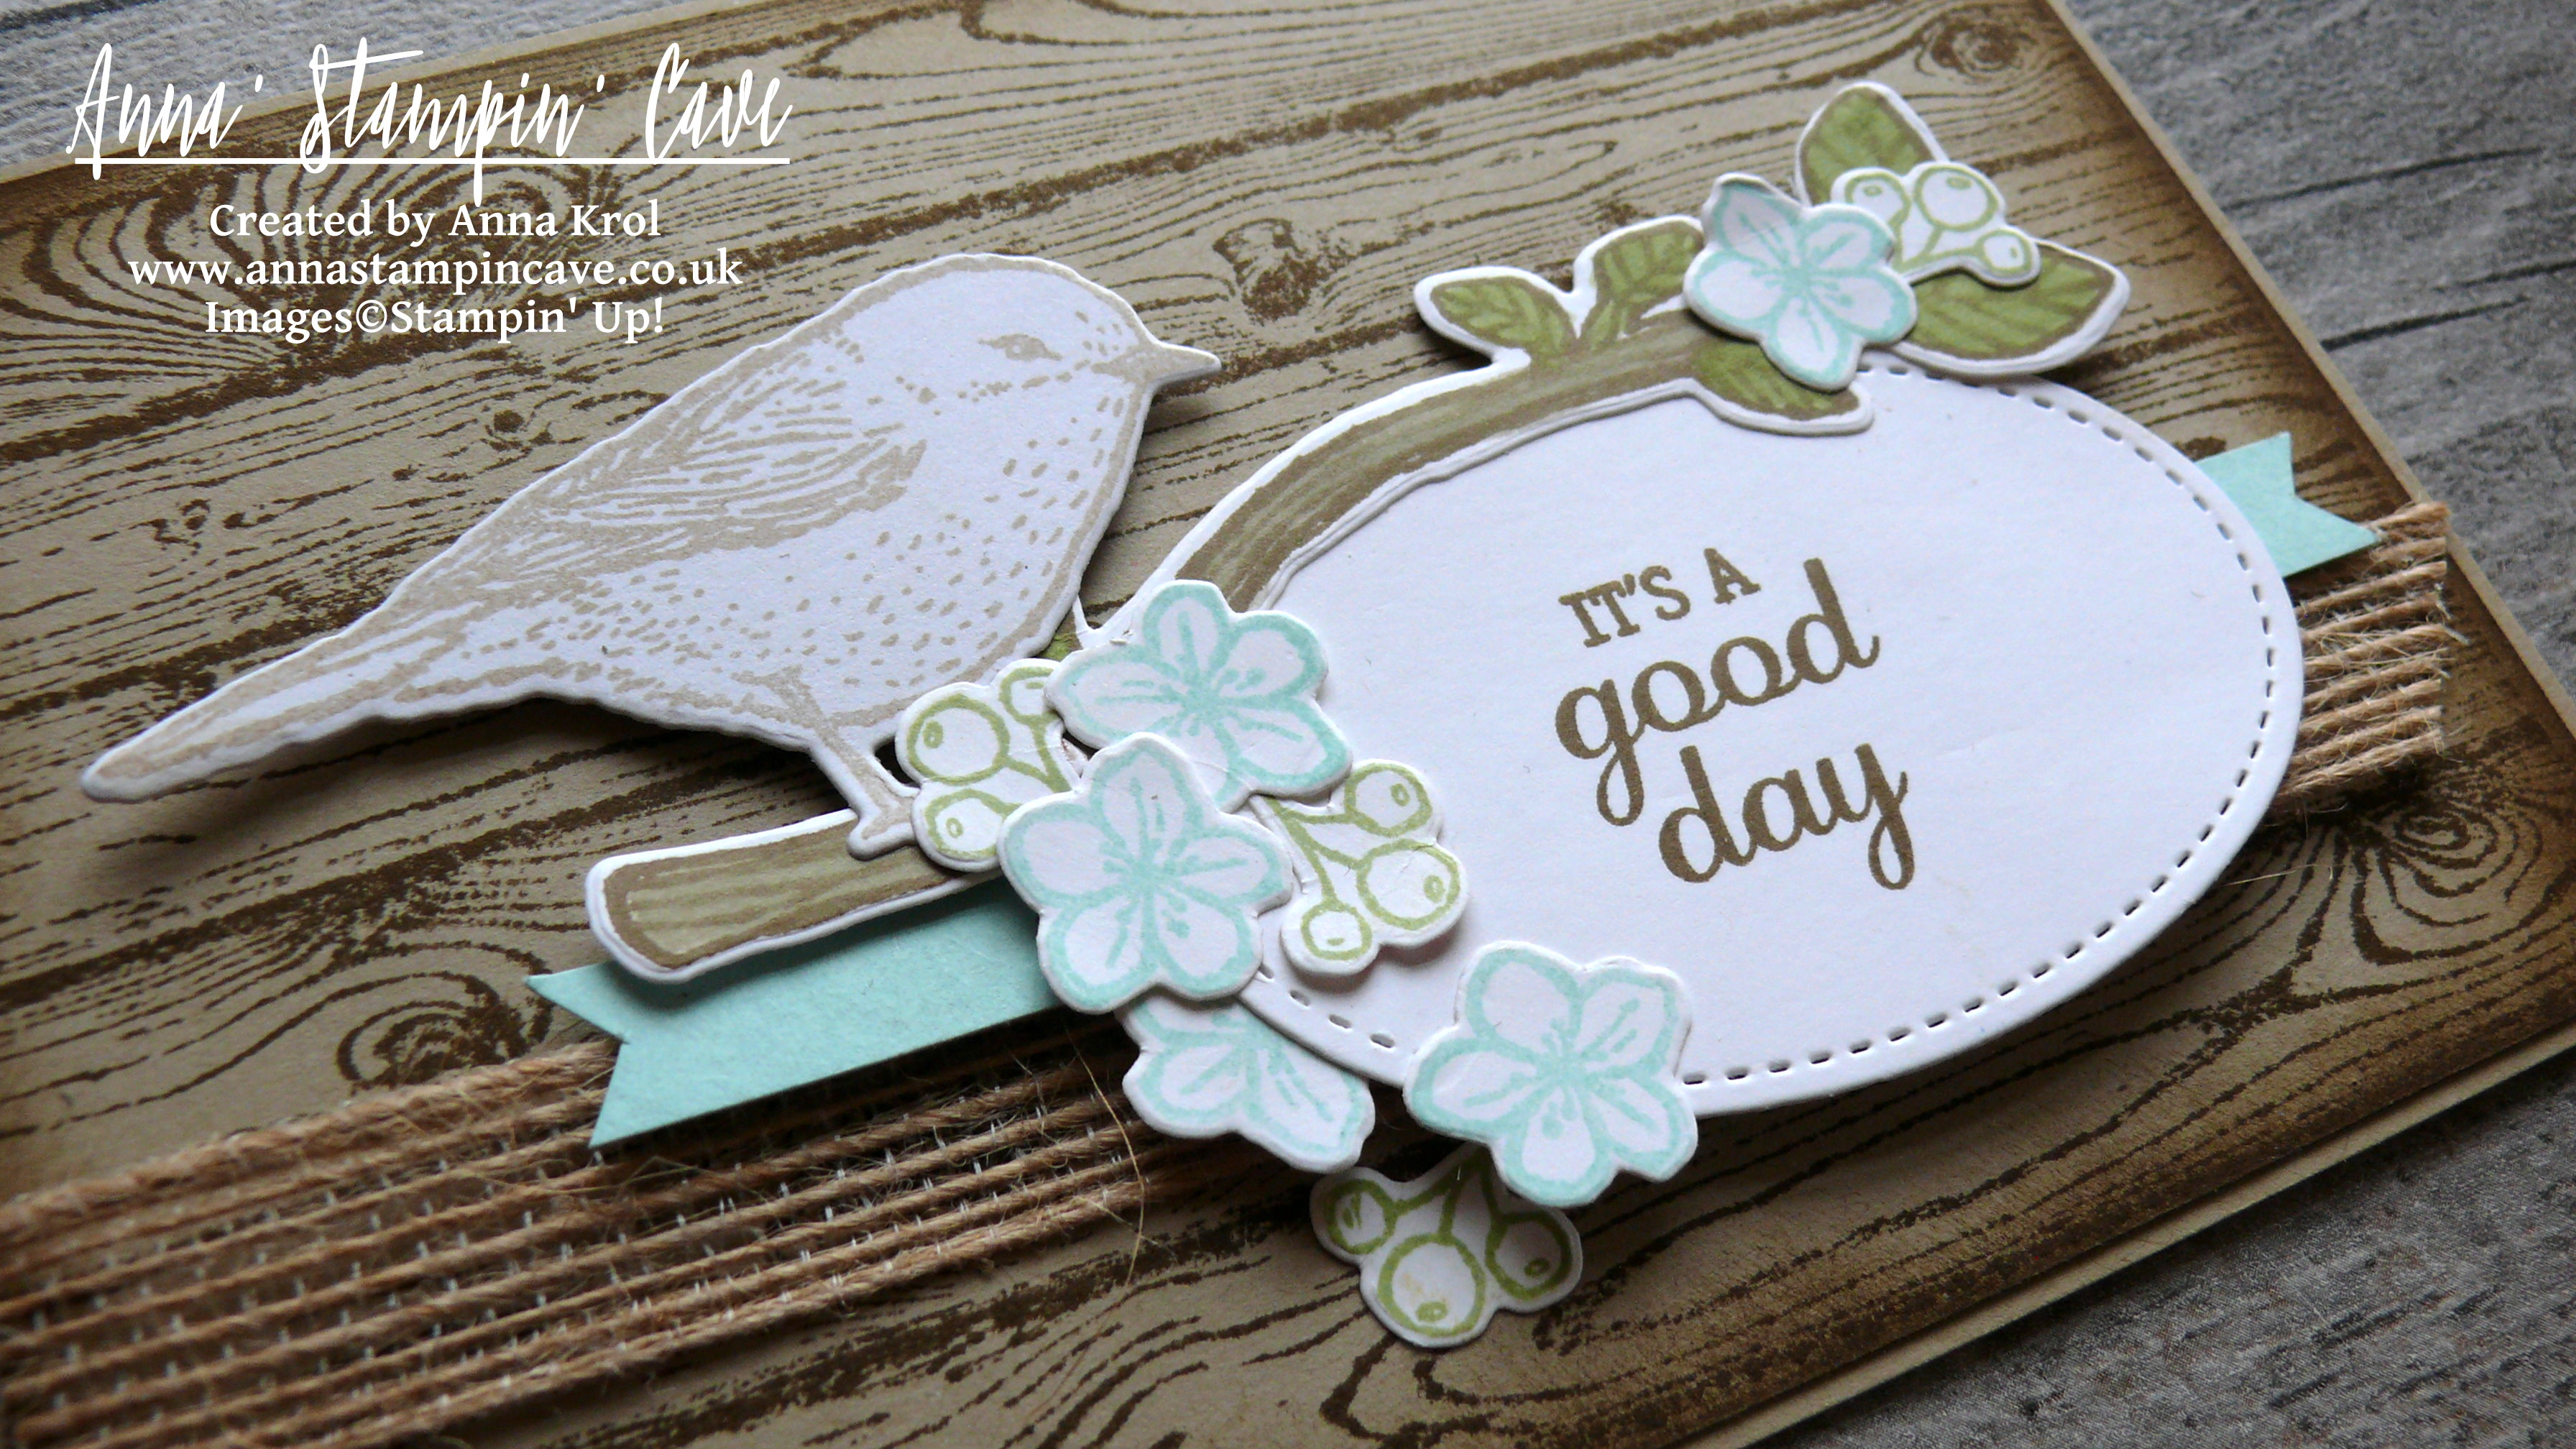
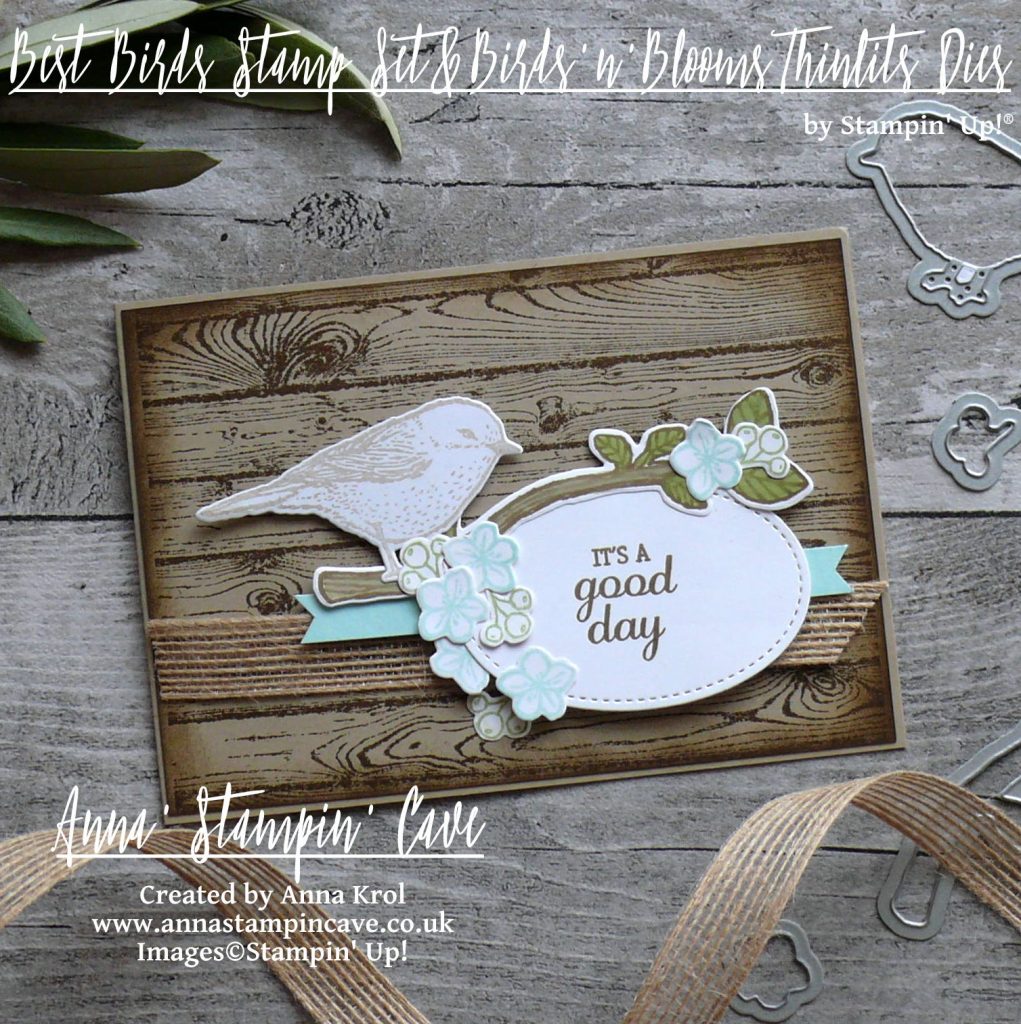
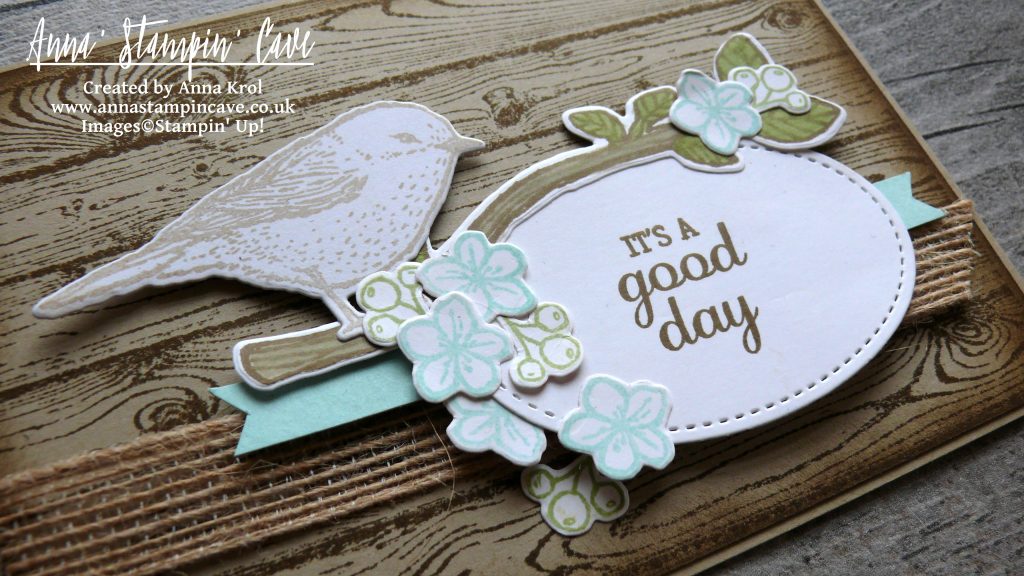
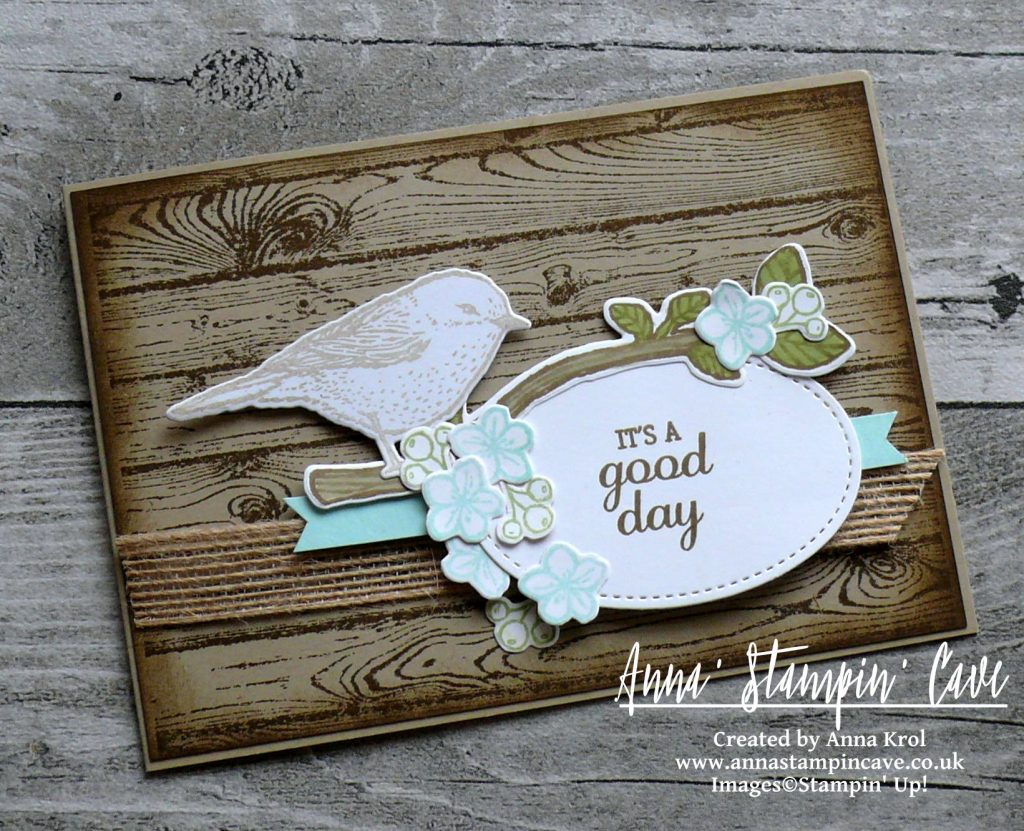
It’s a beautiful card to CASE: clean & simple with lots of yummy texture. But I didn’t really want to follow the colour combination or the layout of Michelle’s card (but as you will see I failed miserably as I ‘accidentally’ cased the layout anyway haha ). For my card, I decided to focus on a couple of products she used instead: Best Birds Stamp Set and coordinating Birds & Blooms Thinlits Dies.

Rustic Best Birds card dimensions:

  • Crumb Cake cardstock: 8-1/4″ x 5-7/8″ scored in half at 4-1/8″ (21cm x 14.8 cm scored in half at 10.5 cm)
  • Crumb Cake cardstock: 4-1/8″ x 5-6/8″ (10.2 cm x 14.6 cm)
  • Whisper White cardstock for stamping & die cutting
  • Pool Party cardstock: 3/8″ x 4-3/8″
  • Burlap Ribbon: approx 5-6/8″ (14.6 cm)

I don’t know about you, but when I first saw this stamp set it has called countryside to me. I only bought this bundle a few weeks ago and was really eager to have a play. So this week’s challenge was perfect for inking up my stamp for the first time.

First, I created the background for my ‘idyllic’ scene. I took Crumb Cake panel and stamped it with Hardwood background stamp in Soft Suede. I also sponged the edges of the panel with Soft Suede ink to add to the ‘rustic feel’.

Next, I stamped and die cut all the elements of my scene. The bird is stamped using Crumb Cake ink. Flowers – Pool Party. For little berries/fruits, I’ve used Pear Pizzazz. Branch is stamped in Soft Suede ink and coloured in with markers: Crumb Cake for the branch and Pear Pizzazz for leaves.

I love this sentiment “It’s a good day” from Best Birds Stamp Set. I stamped it in Soft Suede on a piece of Whisper White cardstock and die cut using an oval die from Stitched Shapes Framelits Dies. I think stitched edge suit rustic ‘feel’ of this card just perfectly.

Before I assembled my card I played a little with a placement of all the elements. To add some ‘natural’ texture I decided to use Burlap Ribbon as a banner. I also cut a thin strip of Pool Party cardstock to ‘break’ all the browns. When I was happy with the placement, I took a photo and started the assembly.

Tip: If you have a layout, either a card or a scrapbook page, that consist of lots of small elements, play with the placement first, before glueing things down. Once you’re happy, take a photo of your test layout with your phone ( we all have it on hand, don’t we?). Next, assemble your card/scrapbook page piece by piece by piece with a help of your reference photo. No more guessing ‘where was this or that element supposed to go.

I truly hope you like my little, rustic card. It reminds me of my childhood in Poland and summer holidays we spent in the countryside with our great-grandmother. Wonderful memories.

As always, I really want to encourage you to visit the Global Design Project challenge blog to see other beautiful projects from all around the world. Just click on their logo below to visit the website

Thank you for stopping by and have a blessed day,

Roses & Dragonfly No°2 – Inlaid & Partial Die-cutting Birthday Card

Anna’ Stampin’ Cave – Roses & Dragonfly No°2 – Inlaid & Partial Die-cutting Birthday Card

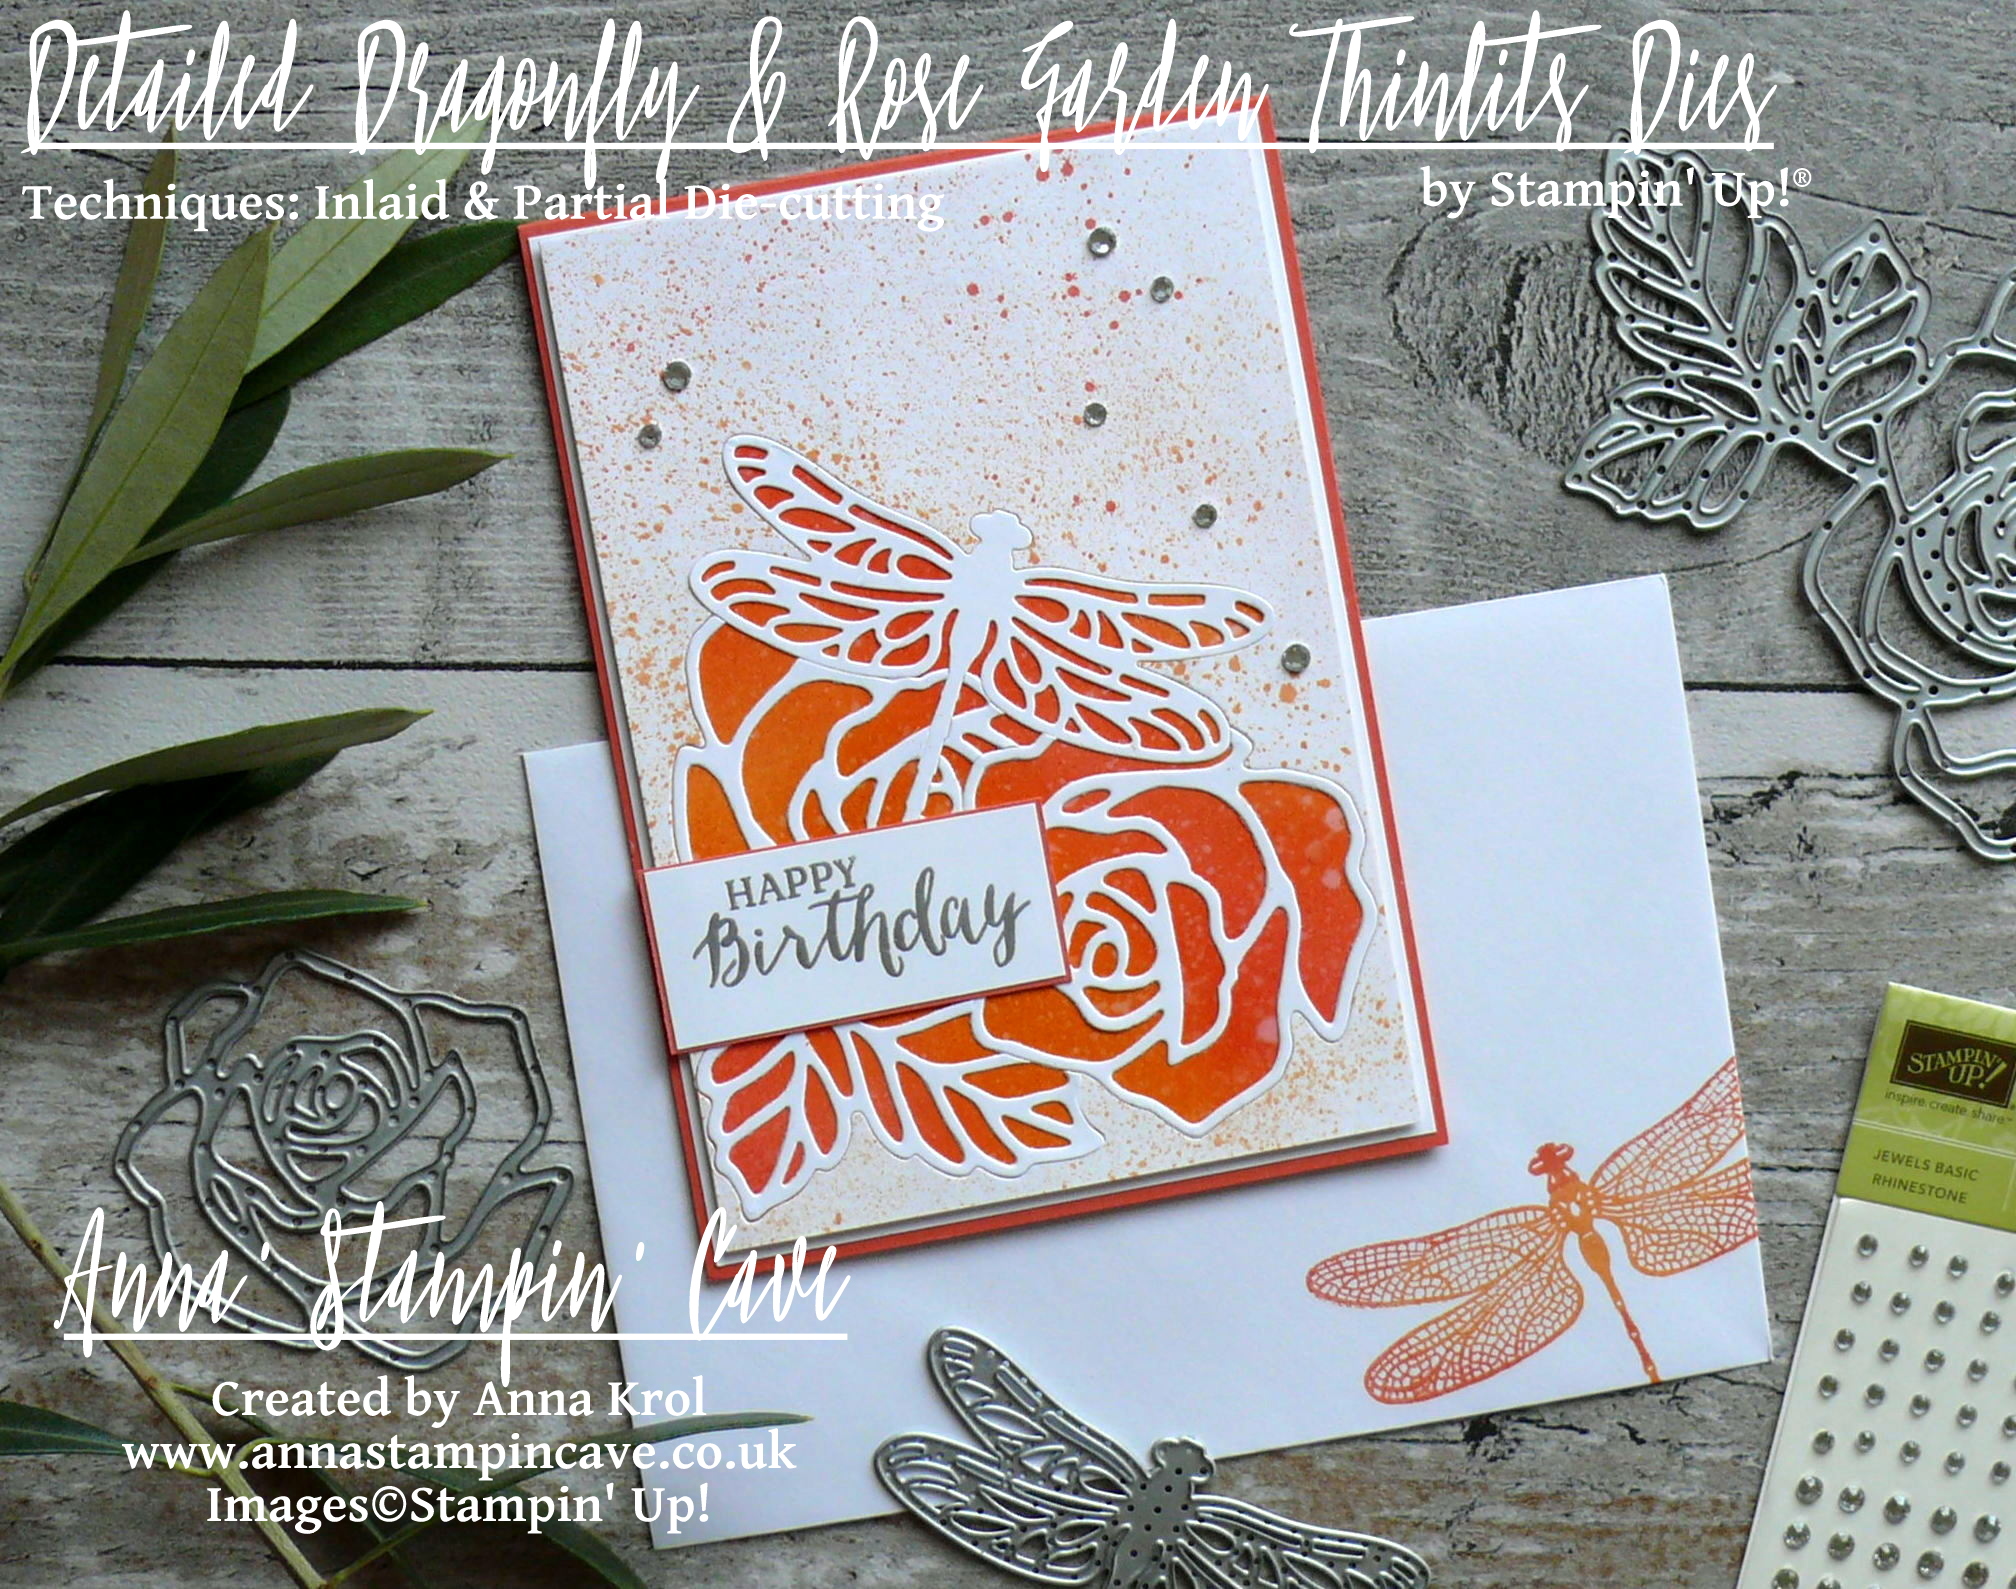
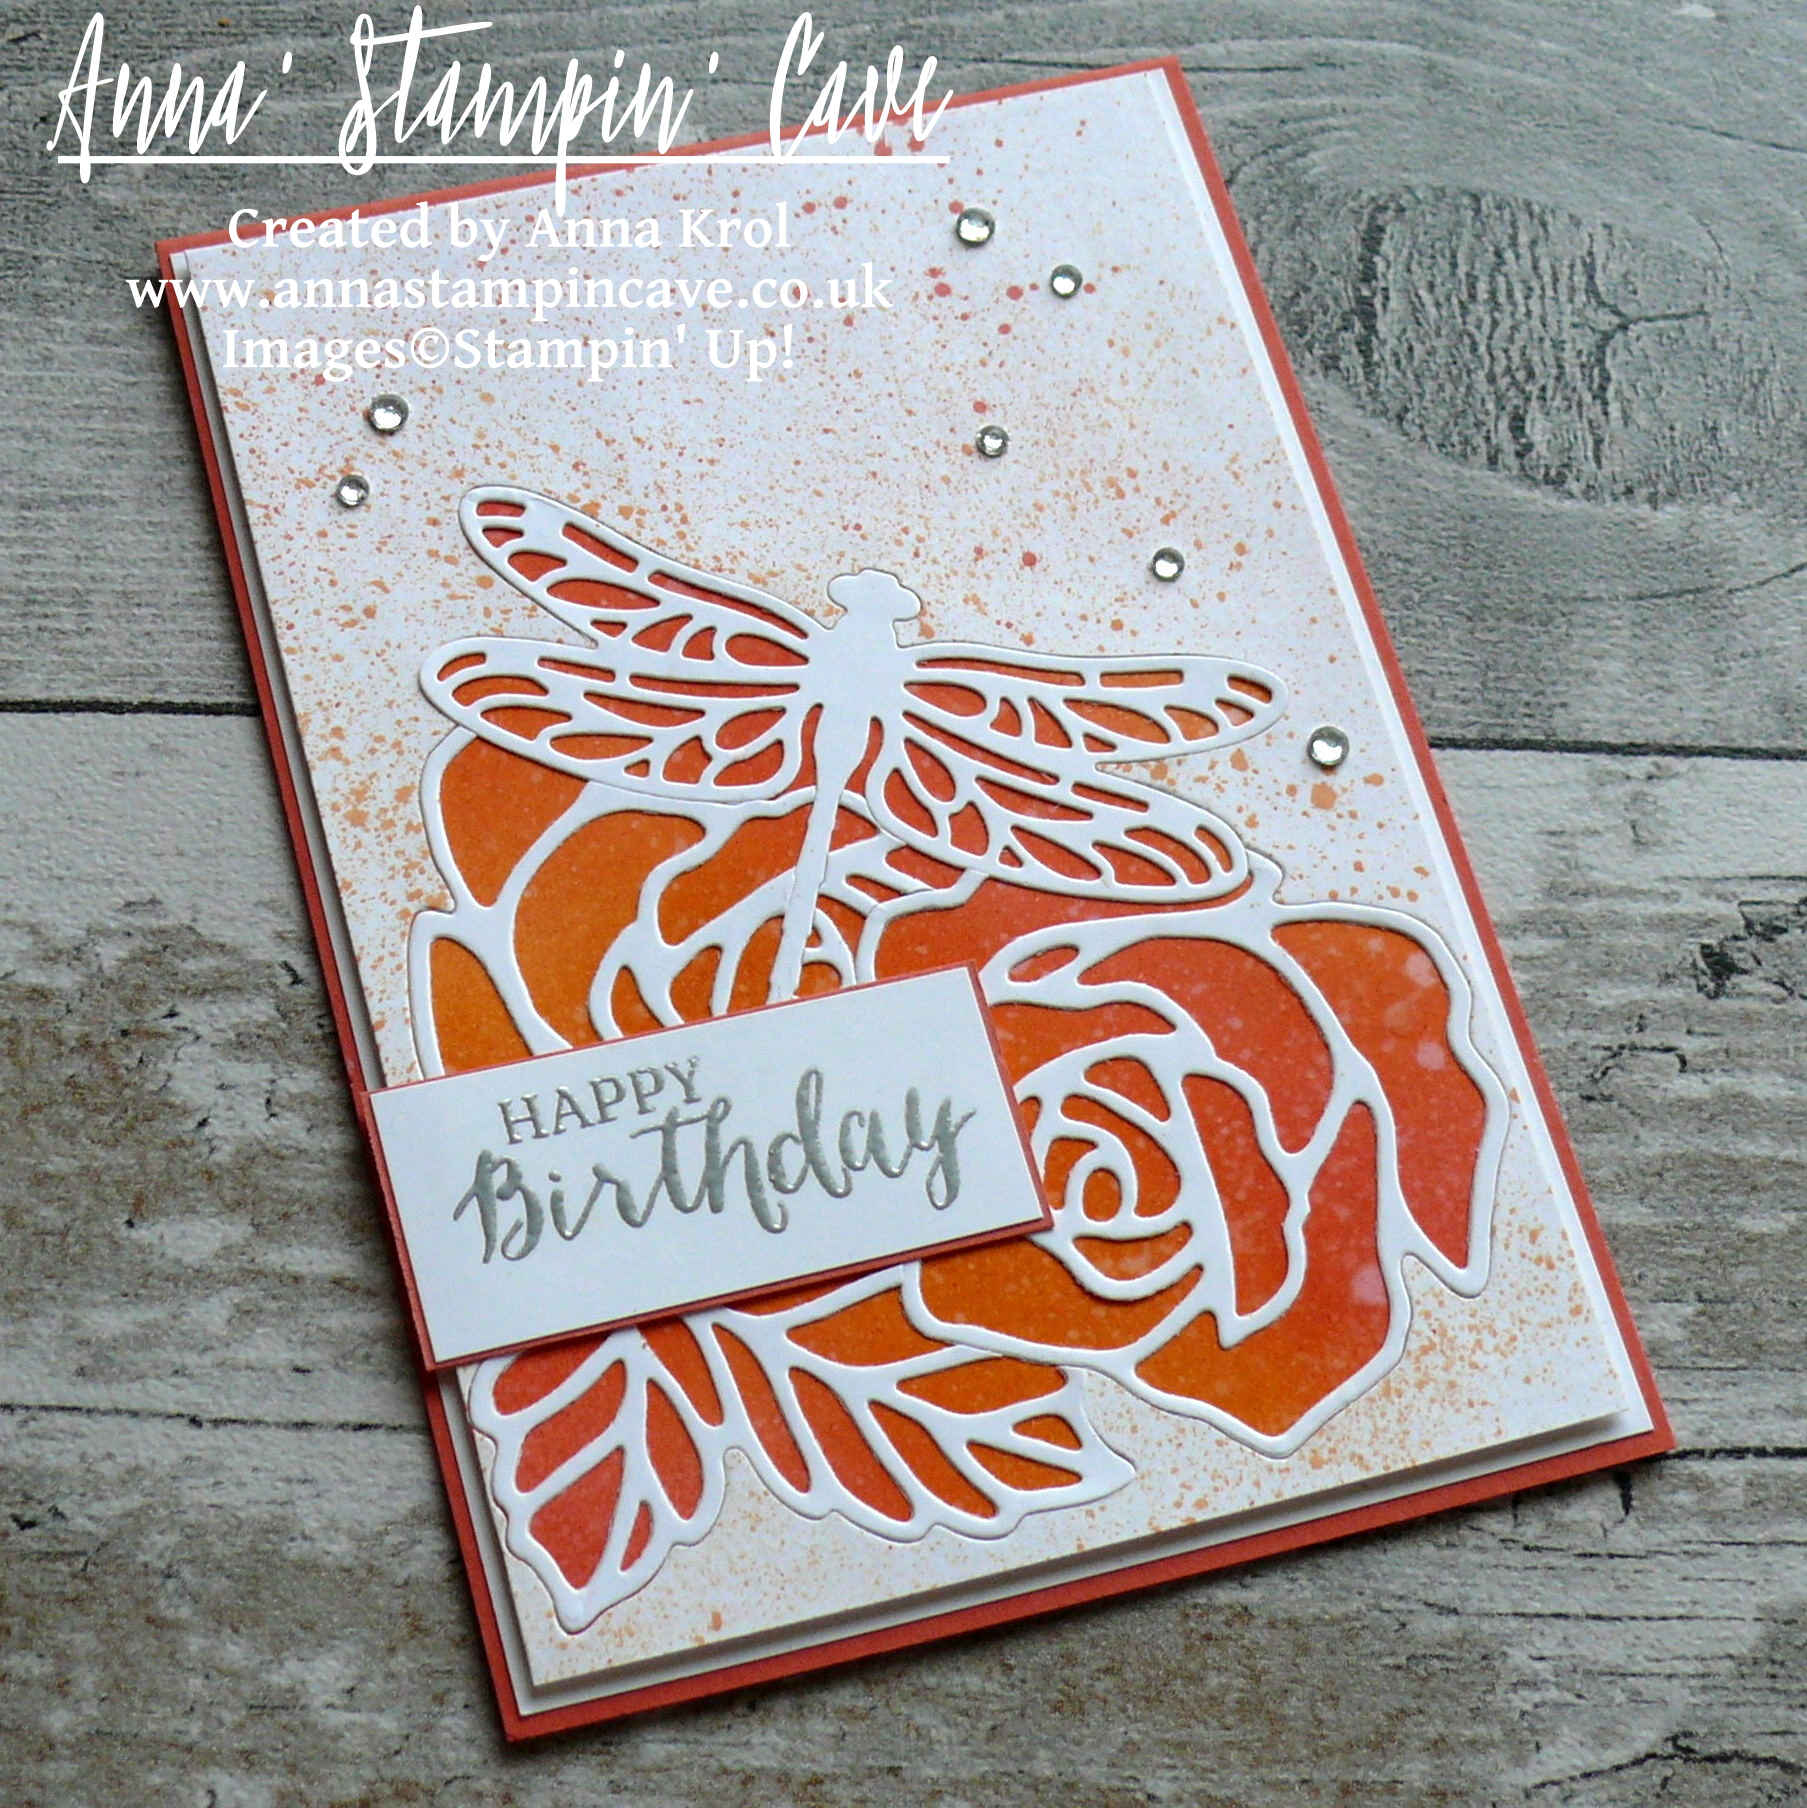
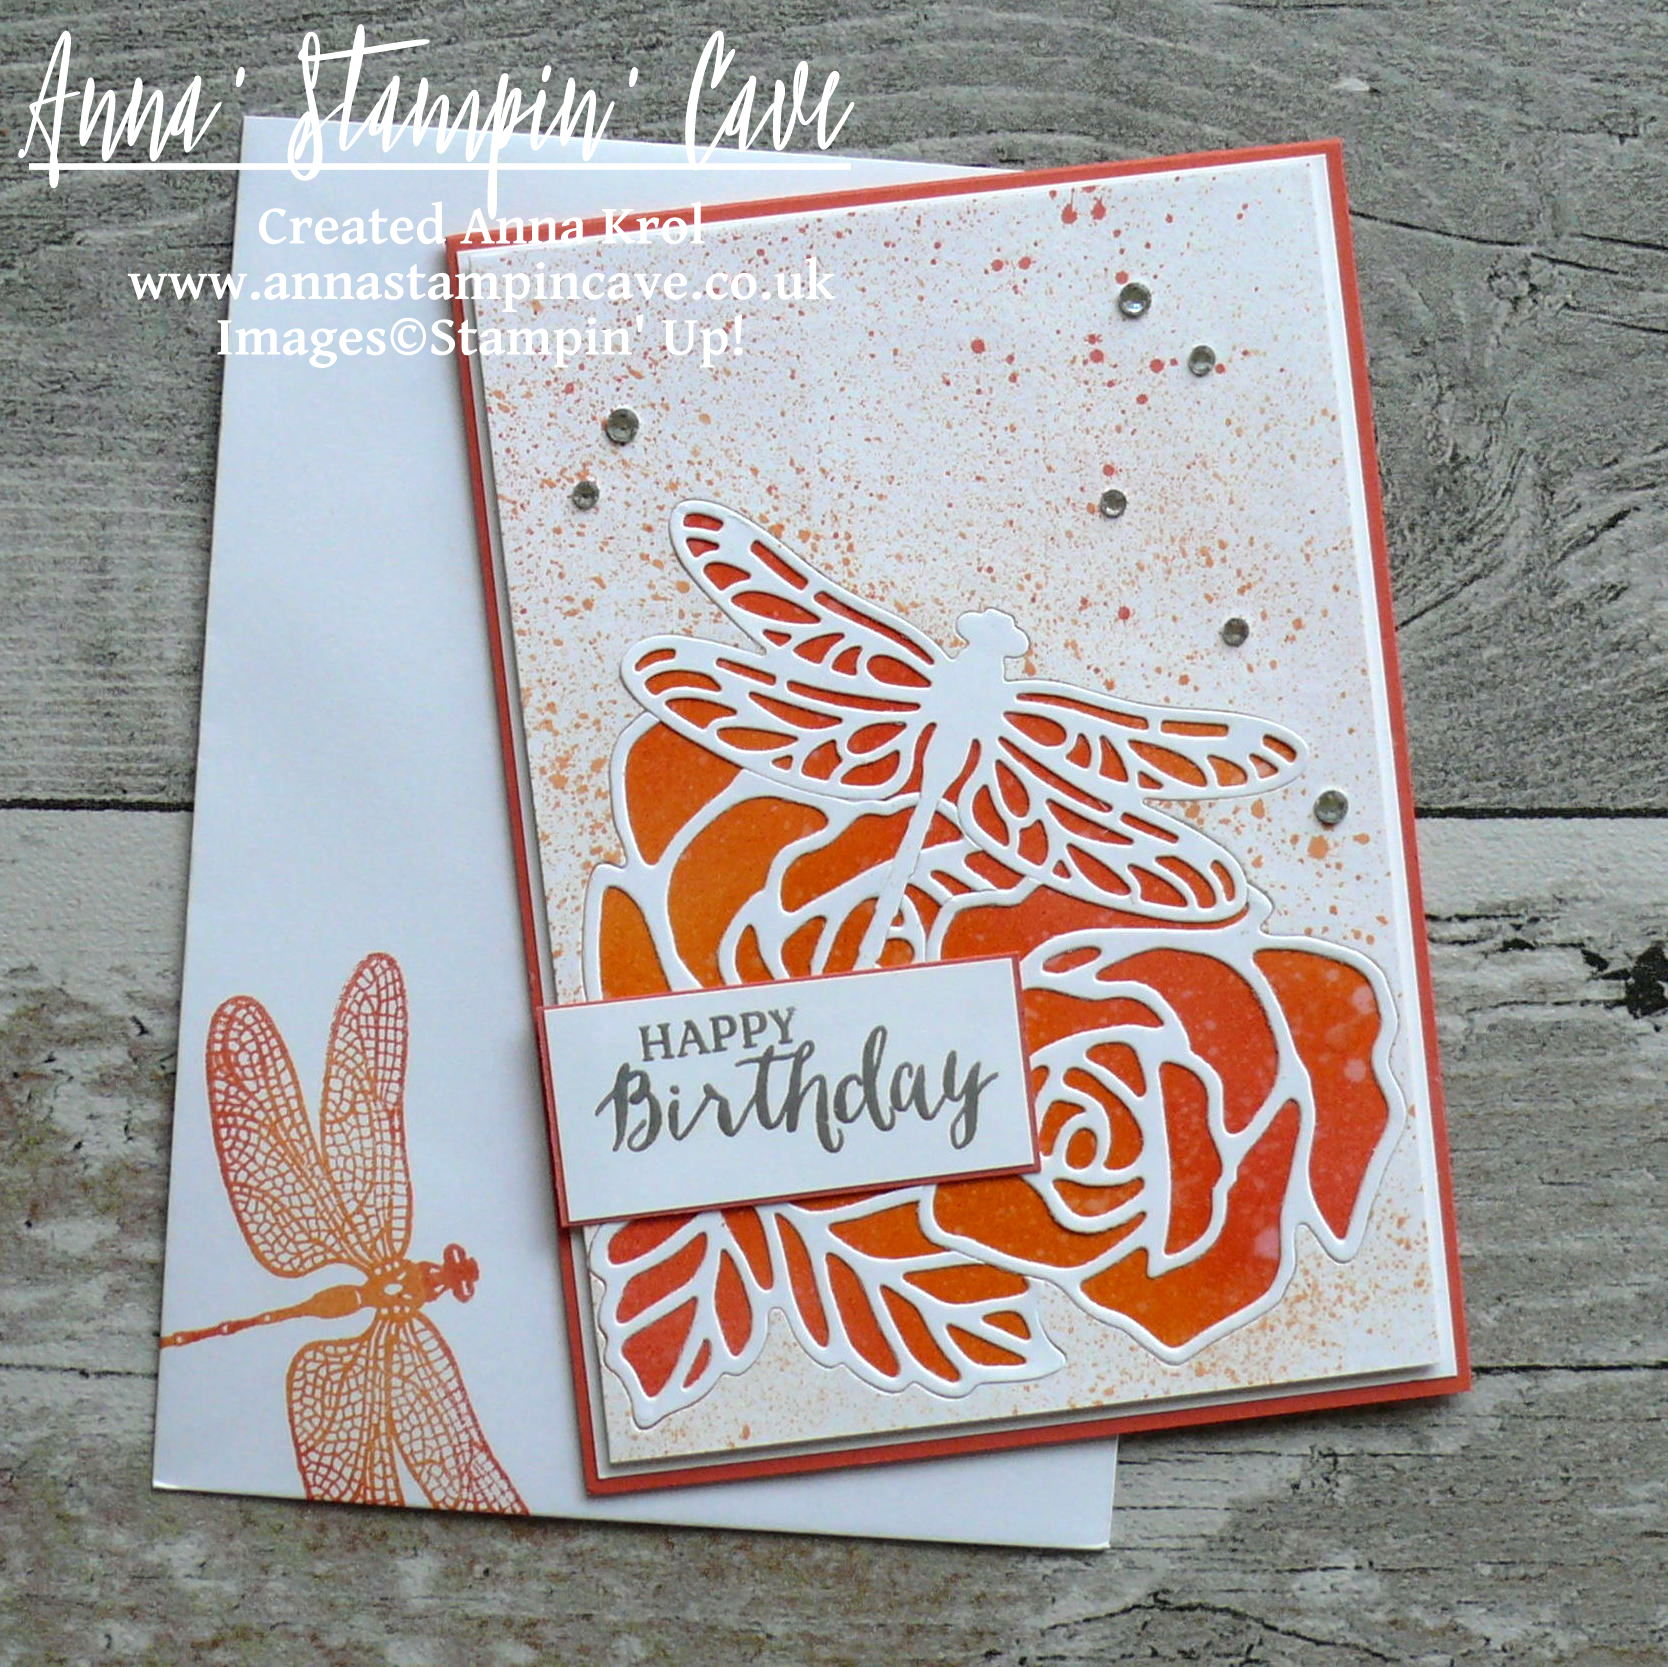
And here I am again with Rose Wonder and Detailed Dragonfly Thinlits Dies!

My little sister (well not that little, she’s nearly 22 y.o. But hey! she will always be my little sister) came to last week and said she and her friends wanted me to make a birthday card for their girlfriend.

They really liked this card I’ve made a few weeks back…

anna-stampin-cave-stampin-up-dragonfly-dreams-bundle-and-rose-garden-thinlits-dies-inlaid-partial-die-cutting-technique

…and wanted something similar hence No°2 in the title 🙂

The base colour they wanted was orange with silver details, as these are the colours their friend loves. So fun and challenging as I don’t create much in orange! But I love challenges. I love to sit down and design, create something unusual; not just grab a card, two or three colours one stamp and bah! – five minutes later the card is done! I do clean & simple sometimes but that’s not my concept of creativity 🙂 I am an artist at heart. It have to be a process, it have to be messy and a little bit crazy too; so when I’m done my soul sings…

…and this is exactly how this card came to life

Anna' Stampin' Cave - Roses And Dragonfly Birthday Card using Inlaid Partial Die Cutting_Stampin' Up! Rose Garden Thinlits Dies_Detailed Dragonfly Thinlits Dies

Roses & Dragonfly No°2 card dimensions:

  • Calypso Coral cardstock card base: 11-6/8″ x 4-1/8″ scored in half at 5-7/8″ (29.7 x 10.5 cm scored in half at 14.8 cm)
  • Whisper White cardstock: 5-6/8″ x 4″ (14.6 cm x 10.2 cm)
  • Whisper White cardstock: 2 panels 5-5/8″ x 3-7/8″ each (14.3 cm x 9.8 cm); one for blending and one for die-cutting
  • strips of Calypso Coral and Whisper White cardstock for sentiment

First I adhered panel of Whisper White cardstock to the card base using snail adhesive. Next, I took one of the smaller panels and using ink pads and sponges I created a backing panel for the die-cut piece.

Anna' Stampin' Cave - Roses And Dragonfly Birthday Card using Inlaid Partial Die Cutting_Stampin' Up! Rose Garden Thinlits Dies_Detailed Dragonfly Thinlits Dies 4

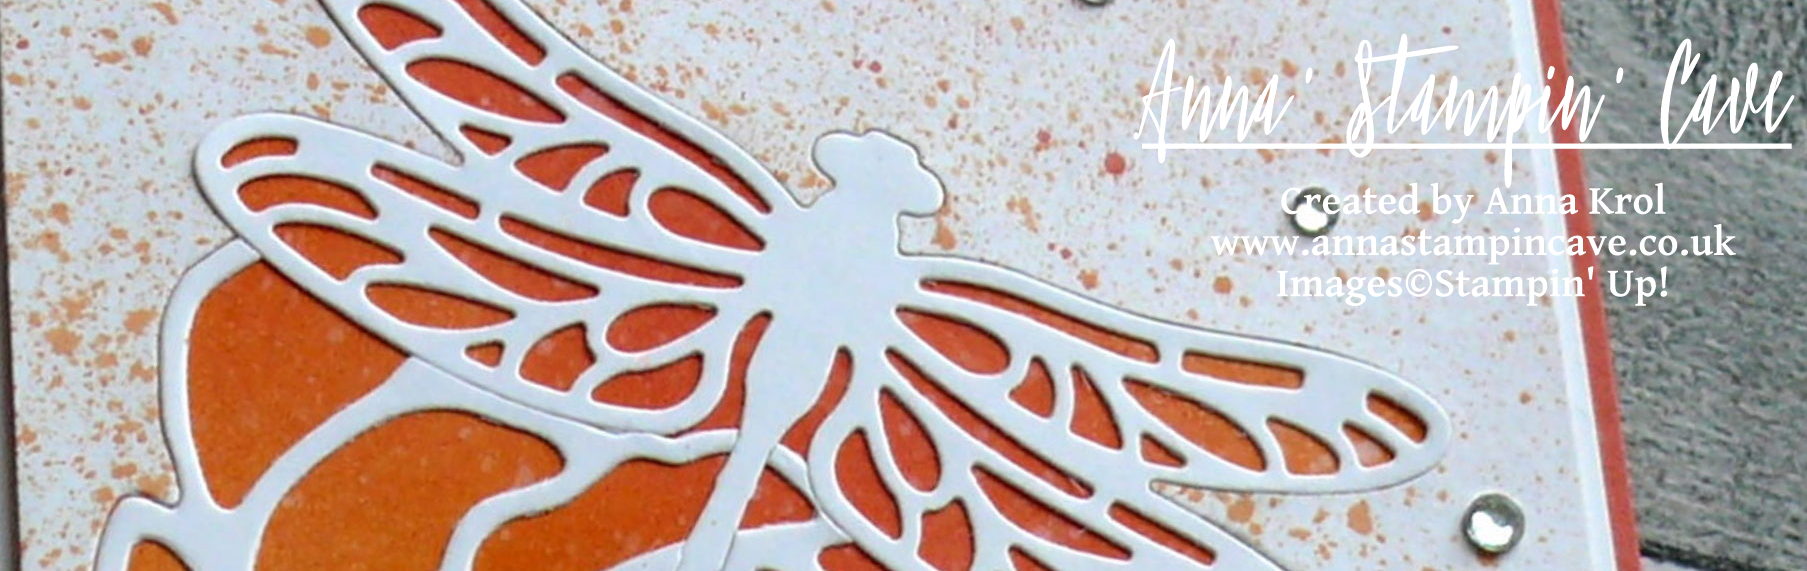
As first, I blended in my darkest colour, Calypso Coral, followed by Pumpkin Pie and Peekaboo Peach. But you can start with the lightest shade first, it doesn’t really matter. I continued adding more colour until I was happy with the depth. To add more interest I flicked few droplets of water to my panel.

Water react with ink creating this beautiful, distressed look. Bear in mind that for the best results you have to do it when the ink is freshly blended.

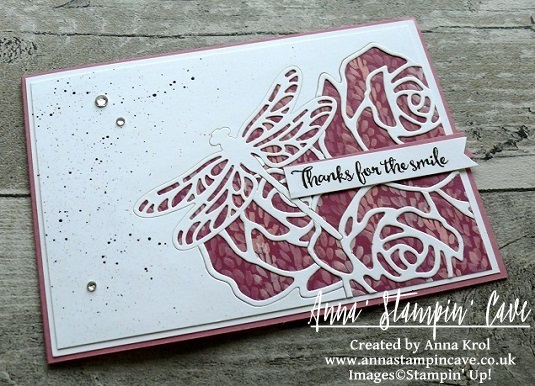
I took the second Whisper White panel and arranged the dies how I wanted them to go. Next, I die-cut all elements, one at a time and put them away on a flat surface so I don’t lose any of the small pieces. Once everything been die-cut I adhered what’s left of the panel to the orange background. I’ve added some splatters of ink all over it and inlaid all my die-cut pieces back in. More detailed explanation can be found here ->

I added this panel to the card base with Foam Adhesive Strips for extra dimension.

Anna' Stampin' Cave - Roses And Dragonfly Birthday Card using Inlaid Partial Die Cutting_Stampin' Up! Rose Garden Thinlits Dies_Detailed Dragonfly Thinlits Dies 3

The sentiment I’ve used comes from Rose Wonder Stamp Set. I stamped it on Whisper White cardstock with Versamark ink. I heat embossed it in silver, mounted on a slightly wider piece of Calypso Coral cardstock and add it to the card.

To make the card looks even more pretty, I scattered rhinestones all over the panel. To wrap it up, I stamped dragonfly image inside the card and on the envelope. It’s hard to see but I’ve used all three colours of ink on this little creature.

The card has been given already and I know the girl loved it to bits. That is my biggest reward 🙂 But I hope you like it too. Would love to hear your opinion it the comments below.

If you wish to purchase any of products I have used, simply click the images below to go directly to my online store and don’t forget to enter the hostess code for the month of April XMAJ4CYX to receive a gift from me.

Thank you for stopping by and have a blessed day,

Just a note: the Dragonfly Dreams as a Bundle at 10% discount is available only until 31 May. After that date, you will be able to purchase Dragonfly Dreams Stamp Set and Detailed Dragonfly Thinlits Dies only separately, not as a bundle.

Don’t forget to check:

Stampin’ Up! Spring Summer & Annual Catalogue 2016 2017 Retiring List

Anna' Stampin' Cave Stampin' Up! Retiring Products 2017

It’s that time of the year again, when Stampin’ Up! is getting ready to retire stamps and accessories from both the Annual and Spring Summer catalogues. As sad as it is to see these products go, there’s still time for you to get them before they’re gone. Retiring products will only be available until 31 May, or while supplies last. So if there’s something from retiring products on your wishlist, don’t wait until last day – once they’re gone, they’re gone. And they are selling fast! Click here for more details ->

Global Design Project #082 Sketch Challenge Beautiful Message

Anna’ Stampin’ Cave – Global Design Project #082 Sketch Challenge Beautiful Message

GDP82

Hello, everyone! Today I’m playing again with Global Design Project Sketch Challenge. But before I show you my take on the sketch I want to share with you some exciting news. My cards were among the winners at the last GDP Colour Challenge! Woo hoo! But that’s not all. I have also been chosen to be a Guest Designer in the next colour challenge! How cool and what a privilege?!

Guest_Designer_Winner_Anna

Totally unexpected; I’m still pinching myself 🙂 If you have not seen my winning cards, just click the button above.

But now let’s go back to today’s project.

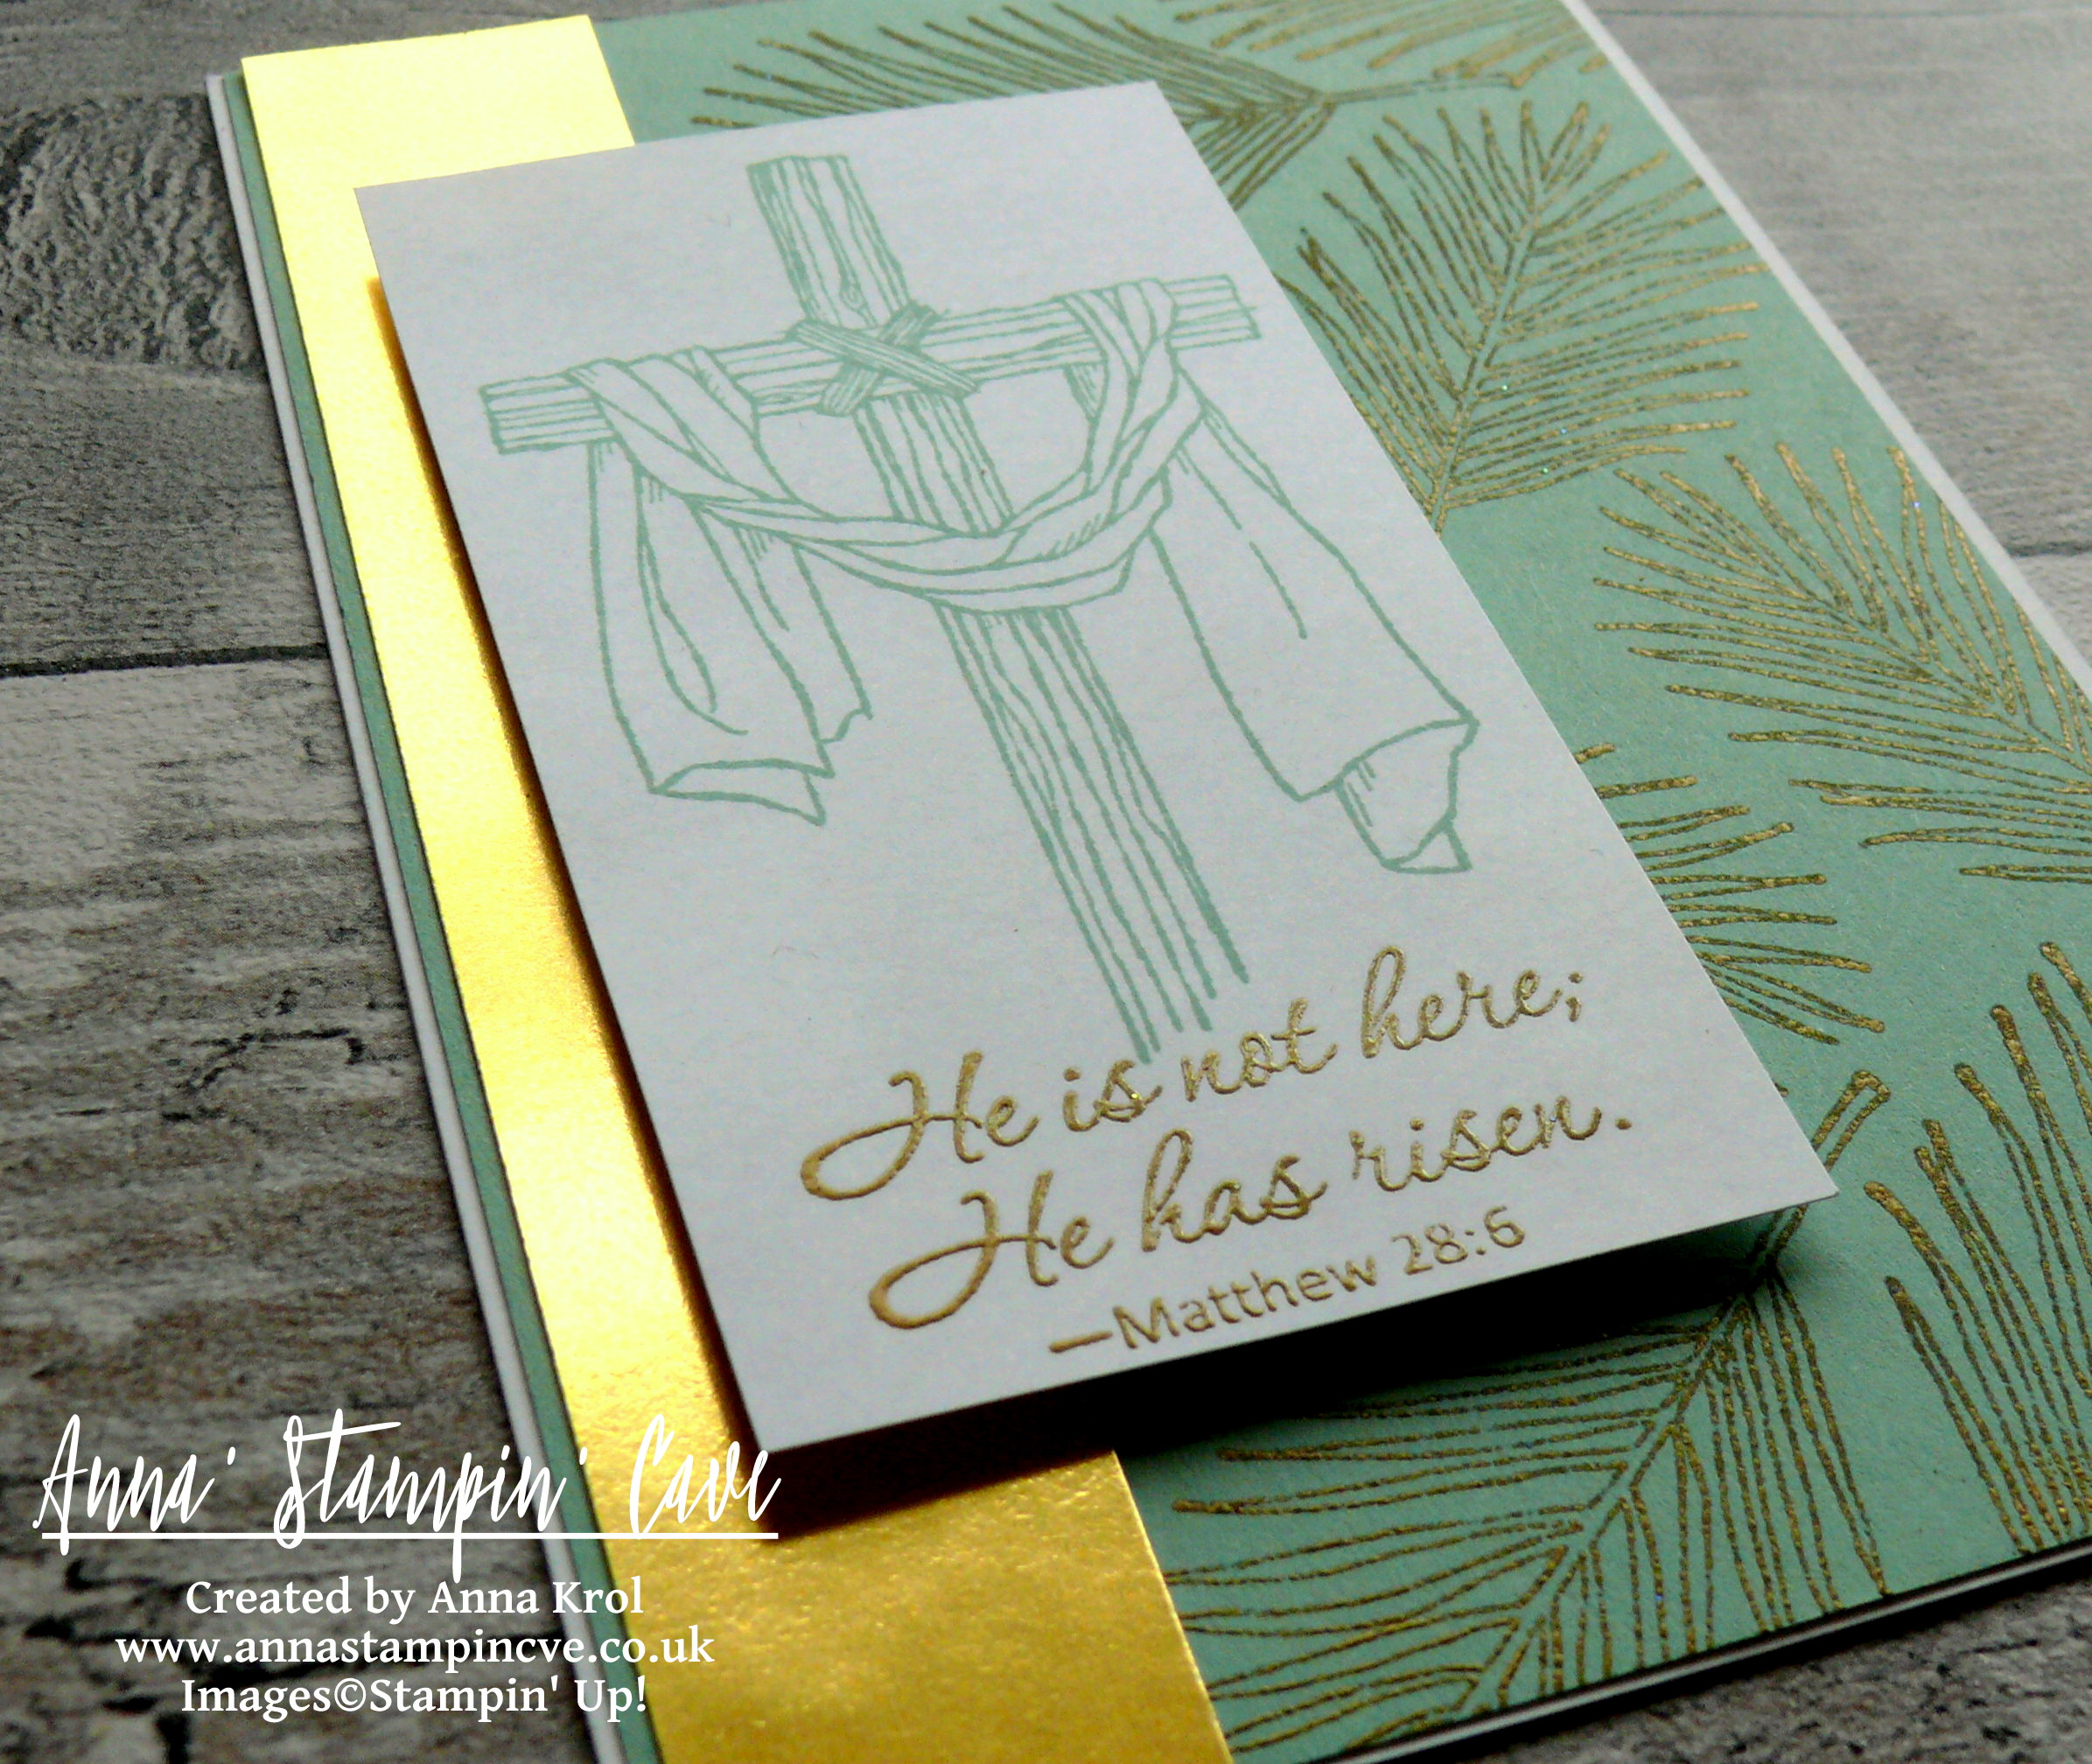
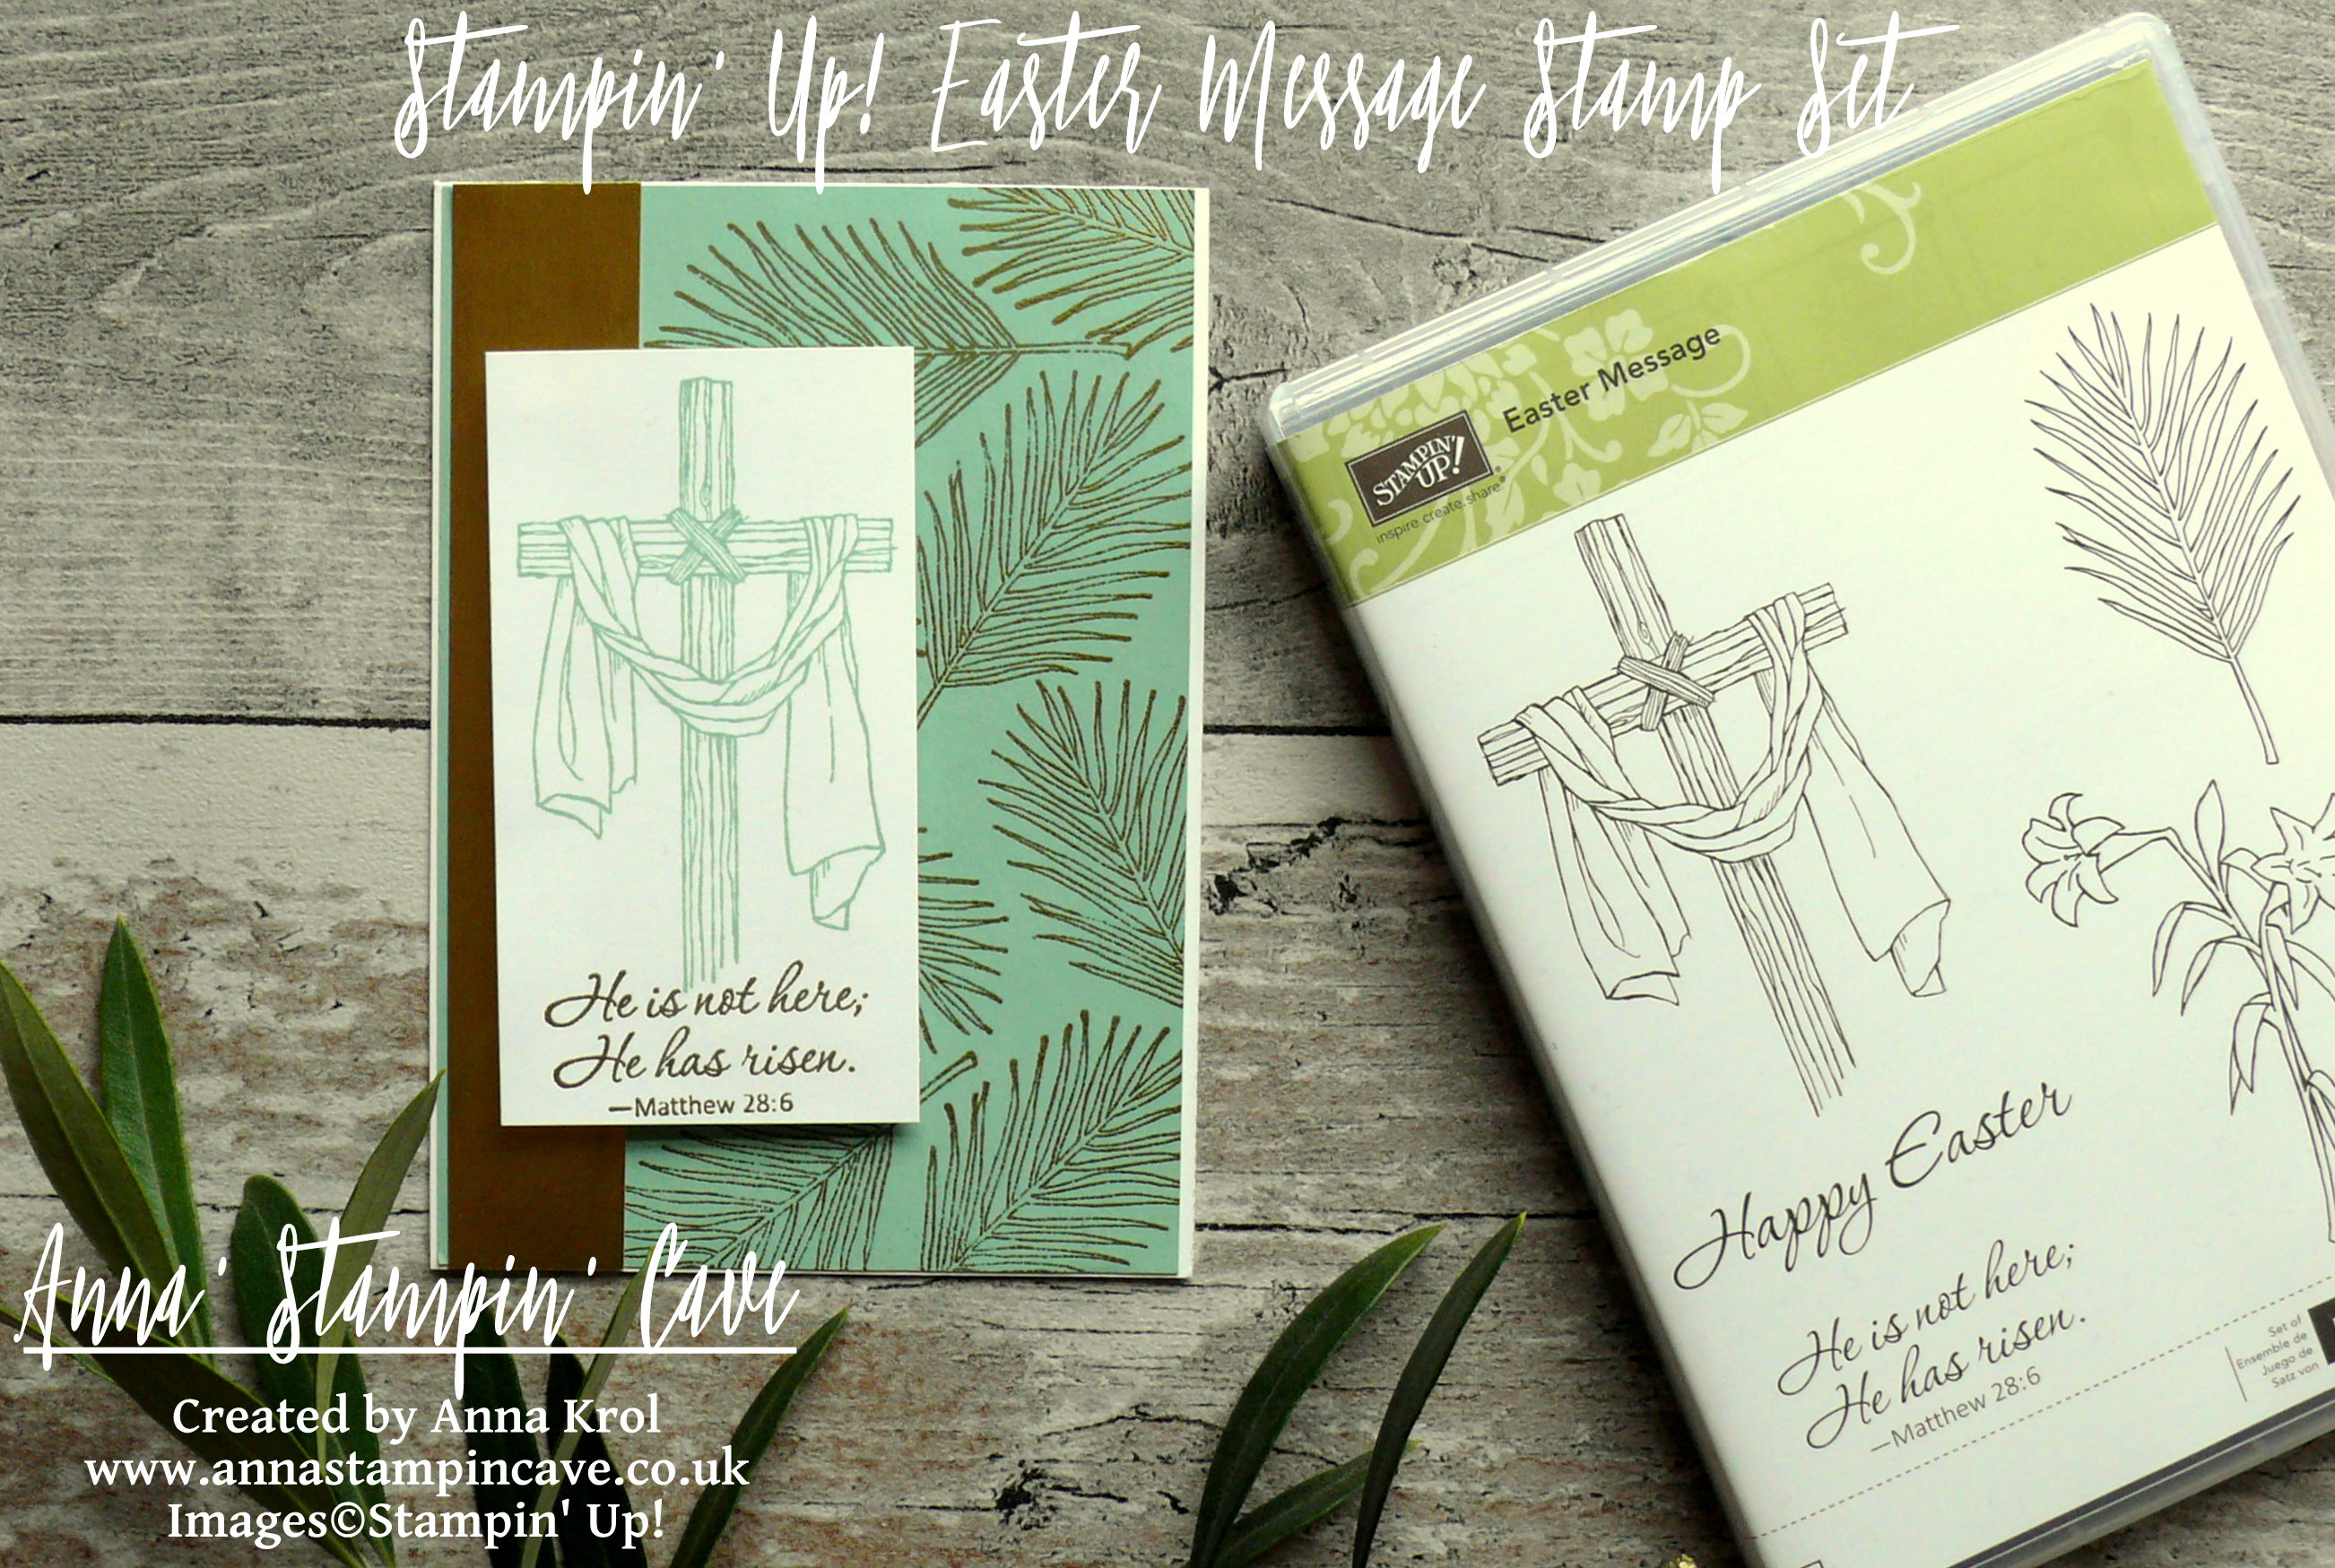
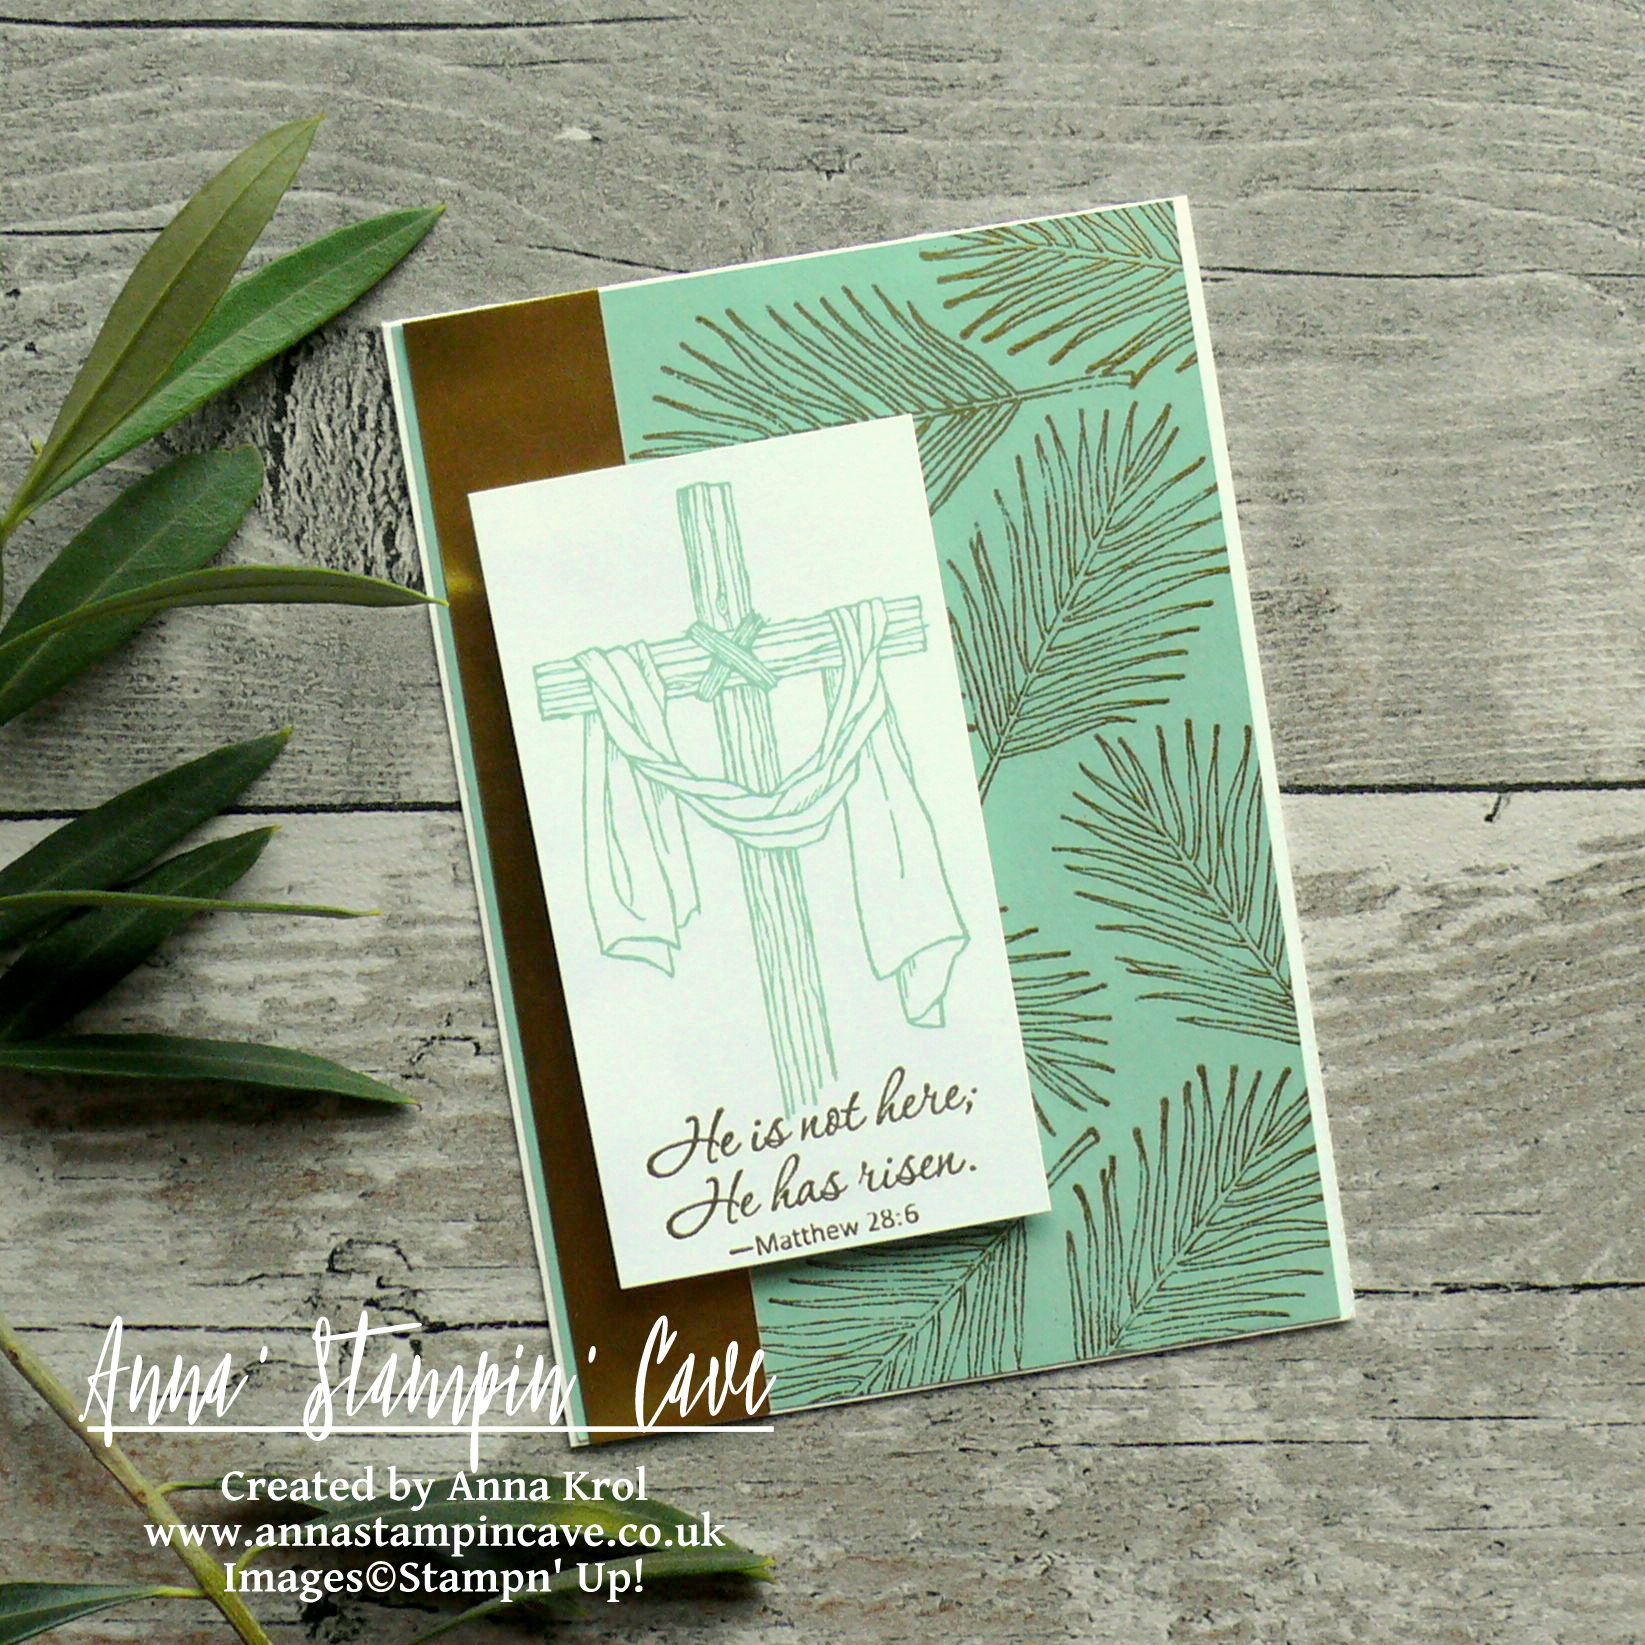
Today I’ve got for you this beautiful, clean & simple card with an amazing message from the Bible.

Anna' Stampin' Cave_Stampin' Up! Easter Message Stamp Set_Mint Macaron_gold foil_gold heat embossing_clean and simple_Jesus is risen

Beautiful Message card dimensions:

  • Whisper White Thick cardstock: 11-6/8″ x 4-1/8″ scored in half at 5-7/8″ (29.7 x 10.5 cm scored in half at 14.8 cm)
  • Mint Macaron cardstock: 5-7/8″ x 4″ (14.8 cm x 10.2 cm)
  • Whisper White cardstock: 4-1/8″ x 2-2/8″ (10.4 cm x 5.7 cm)
  • Gold Foil: 5-7/8″ x 1″ (14.8 cm x 2.5 cm)

I was really eager to put my hands on this beautiful stamp set ‘Easter Message’ the moment I saw it. But I was able to order it only just recently.

Anna' Stampin' Cave_Stampin' Up! Easter Message Stamp Set_Mint Macaron_gold foil_gold heat embossing_Jesus is Risen

To create this beautiful card I first took Mint Macaron panel and randomly stamped palm tree all over it, using Versamark inkpad, and heat embossed it in gold.

To make sure none of the embossing powder sticks to the cardstock where unwanted, I rubbed my embossing buddy across the paper before application.

To slightly ‘dull’ golden embossing I rubbed my piece with a dry cloth. I think it creates unique, dramatic effect.

I adhered Mint Macaron panel to the card base, followed by a piece of gold foil.

Next, I took my piece of regular Whisper White cardstock and I stamped cross image in Mint Macaron on the top of my piece, so I still had a room for a sentiment below the cross.

For the sentiment I chose this beautiful, life-giving verse from a Bible: Matthew 28:6 ‘He is not here; He has risen’. I’m short for words to say how much this little verse mean for me.

Anna' Stampin' Cave_Stampin' Up! Easter Message Stamp Set_Jesus Is Risen_Mint Macaron_gold foil_gold heat embossing_clean and simple

I stamped my sentiment in Versamark and heat embossed using Gold Stampin’ Emboss Powder again. To stamp it and not ruin my panel, I’ve used good ole stamp-a-ma-jig, so it’s straight and exactly where it should be.

I mount my piece onto the card base using dimensionals.

I may not be an expert if it comes to clean & simple cards. I’m not good at using a minimal number of supplies either. But I’m working on it, and I have to say I’m really happy how this card came out. I hope you like it too. Gold and mint make such an amazing colour combination.

As always, I really want to encourage you to visit the Global Design Project challenge blog to see other beautiful projects from all around the world. Just click on their logo below to visit the website

If you wish to purchase any of products I have used, simply click the images below to go directly to my online store and don’t forget to enter the hostess code for the month of April XMAJ4CYX to receive a gift from me.

Thank you for stopping by and have a blessed day,

Don’t forget to check:

Stampin’ Up! Spring Summer & Annual Catalogue 2016 2017 Retiring List

Anna' Stampin' Cave Stampin' Up! Retiring Products 2017

It’s that time of the year again, when Stampin’ Up! is getting ready to retire stamps and accessories from both the Annual and Spring Summer catalogues. As sad as it is to see these products go, there’s still time for you to get them before they’re gone. Retiring products will only be available until 31 May, or while supplies last. So if there’s something from retiring products on your wishlist, don’t wait until last day – once they’re gone, they’re gone. And they are selling fast! Click here for more details ->